Finished Knitting Needles Case #2

Finished: Knitting Needles Case #2: closed

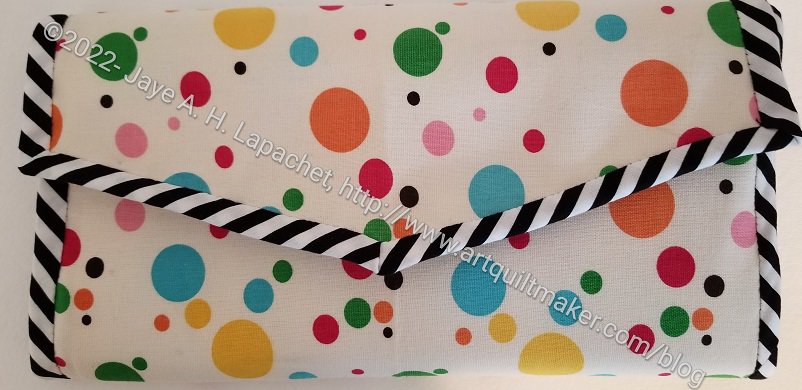
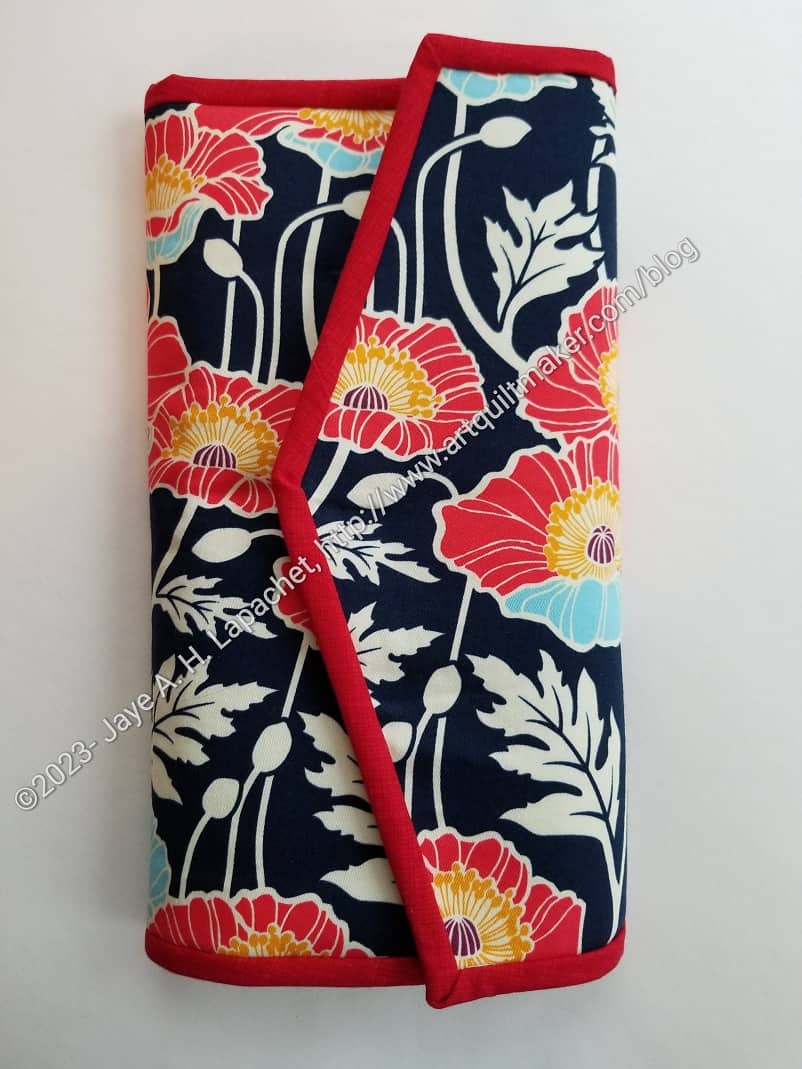
I sewed the binding on to the Knitting Needles Case #2 on Tuesday night and was able to finish the piece. It is great! I really like it. It will be hard to give away. Fortunately, I have more of the poppy fabric so I could make another.

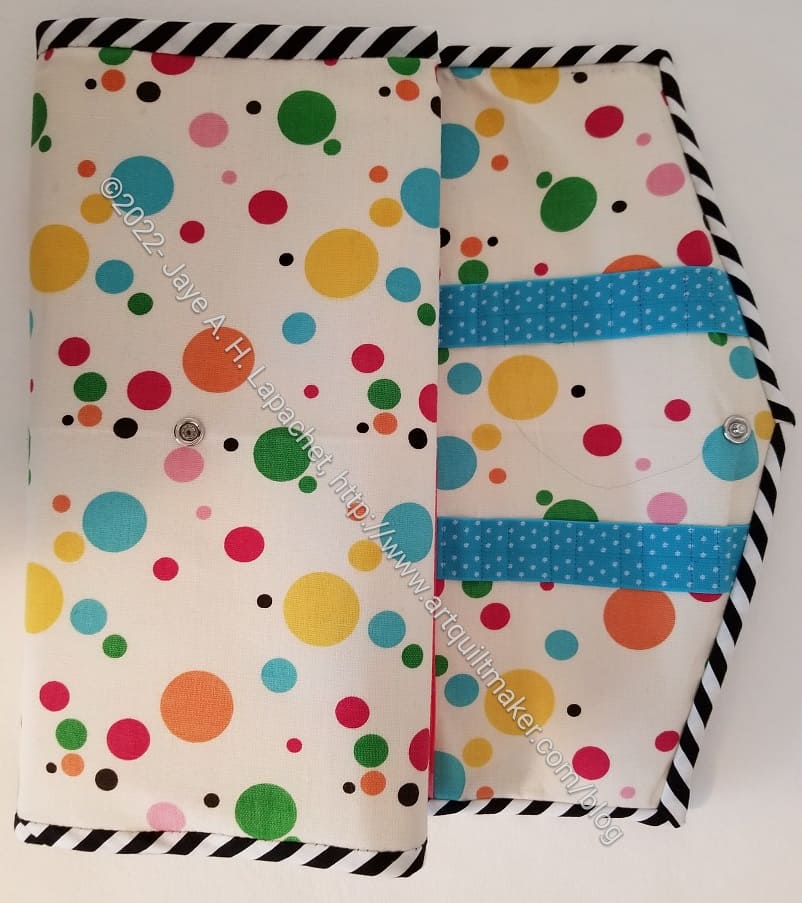
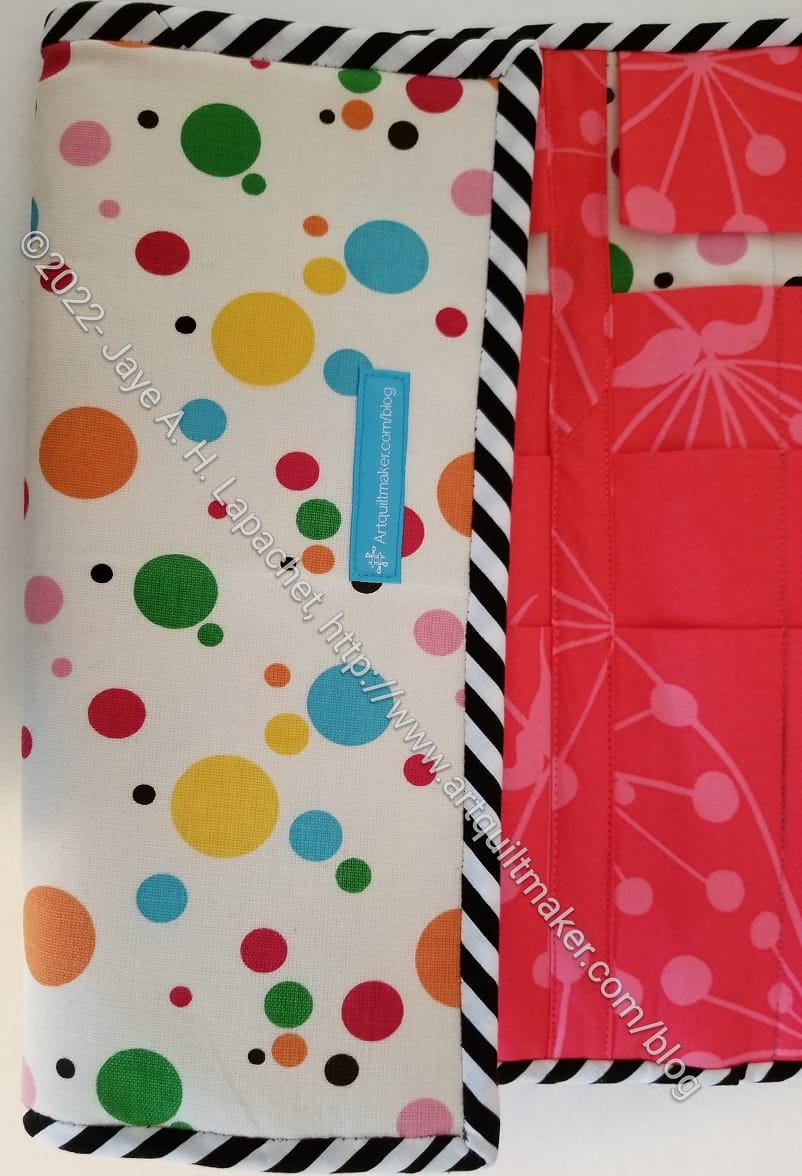
I love the way this closes up so neatly. The roll is so slim and convenient to carry. Of course, I haven’t crammed 100 needles into it yet!

I think my choice of binding was better this time as well. The tone-on-tone red compliments the flora fabric much better than the stripes I used on the first Knitting Needles case.

Finished: Knitting Needles Case #2: open, inside

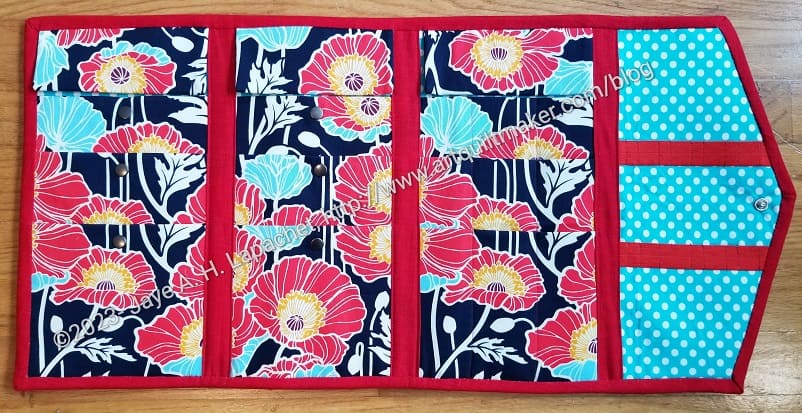
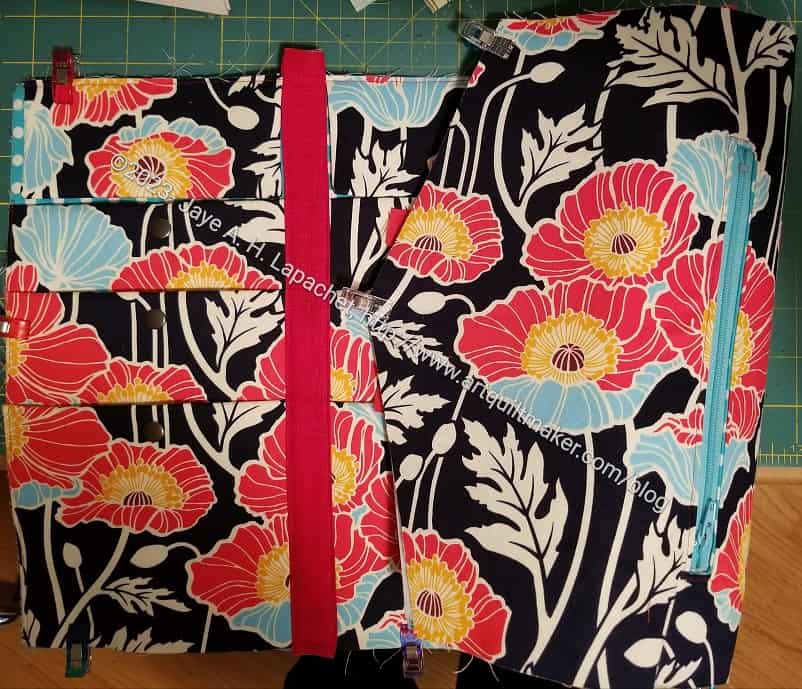
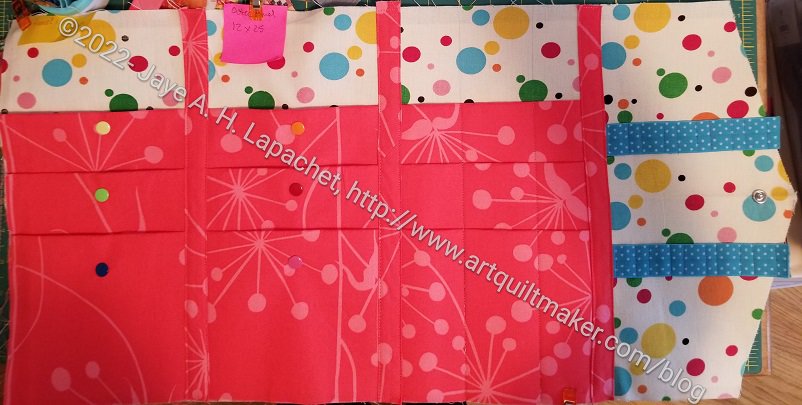
I was very careful with the fabric, both on the outside and the inside. I wanted it to line up properly and be oriented in the right way.

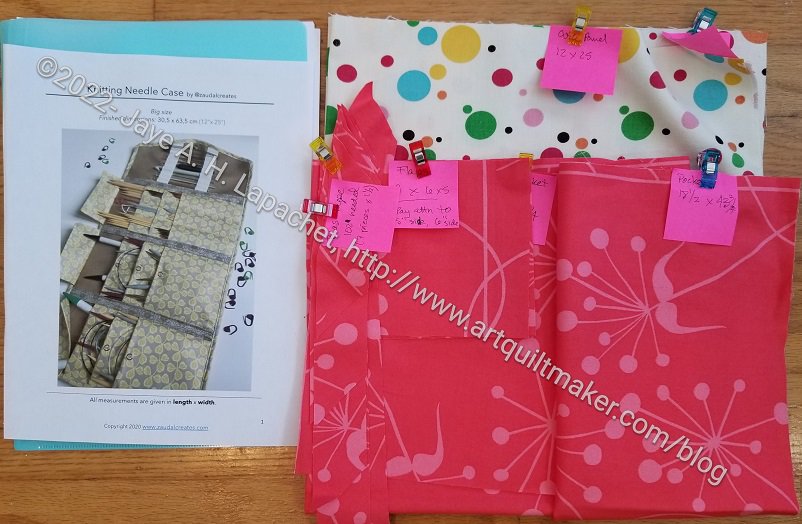
I really wanted to see the poppy fabric. I decided to use the canvas for the pockets instead of for the inside lining. I used to have some of this fabric in cotton. I made a Petrillo Bag out of it. I should have looked to see if I had enough to cut the pockets out of it. It didn’t occur to me until I had already sewn the pieces together, so maybe I’ll make this bag again and use the cotton, if I still have some.

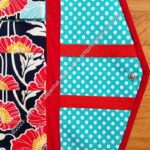
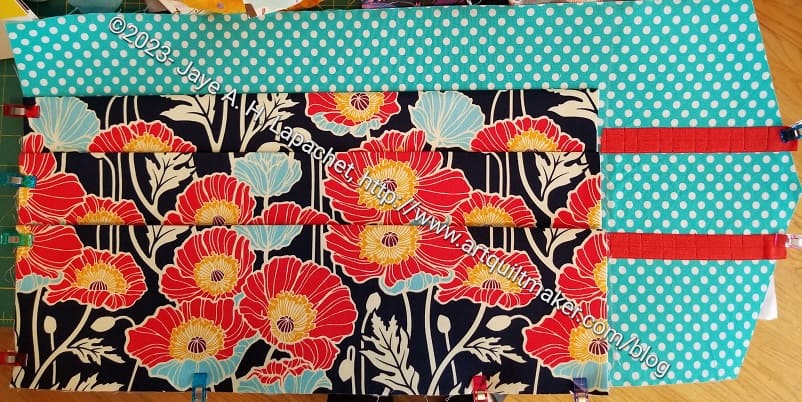
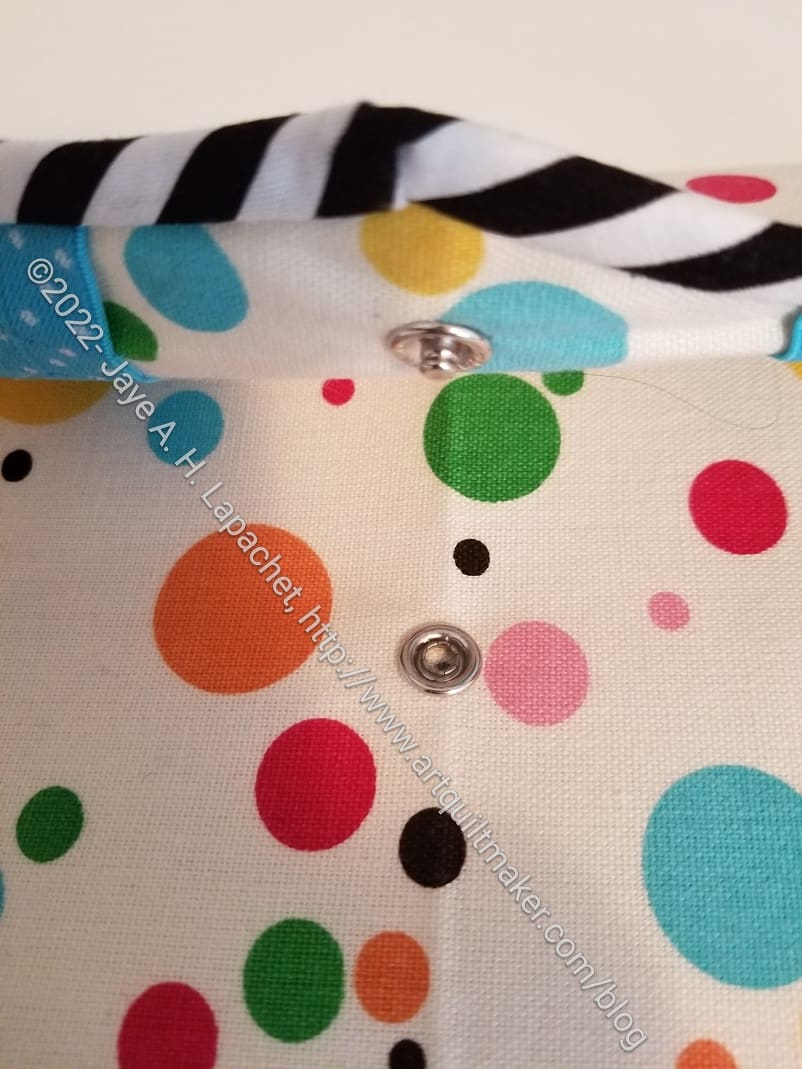
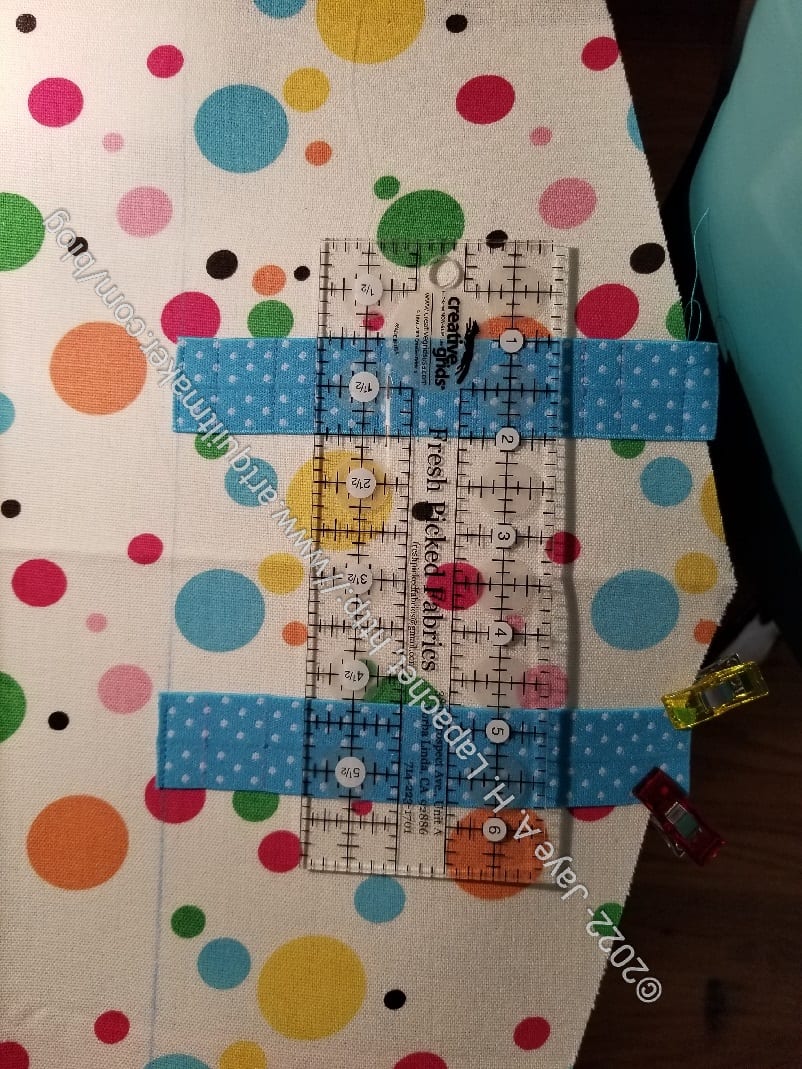
The inside came out pretty well. I sewed carefully because of the thickness, but really had no problems. I think the turquoise dot fabric goes very well with the Poppy print

Finished: Knitting Needles Case #2: exterior

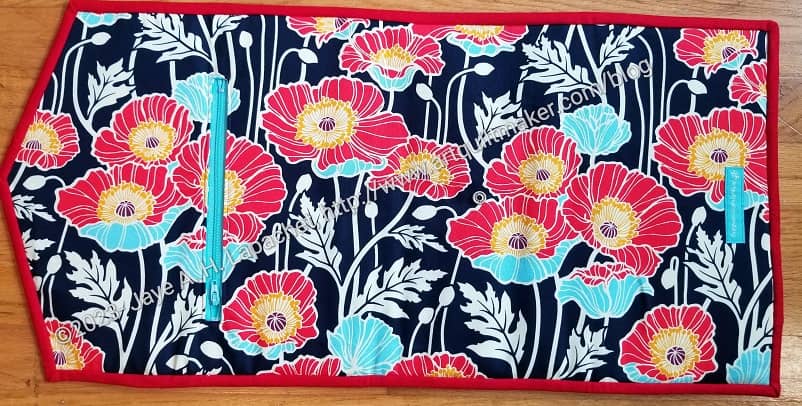
The zipper, if a tiny bit short, went in very well and matches the fabric very well.

I plan to use the Poppy print for a Sheffield bag, but I may also make a Kit Supply Tote with it. I really like that fabric.

New Knitting Needles Case Progress

Poppies Knitting Needles Bag - inside
Poppies Knitting Needles Bag – inside

I made some good progress since my last post.

You can see that I added the flaps to the top. This keeps the needles in the bag when it is closed. The case rolls up, sort of, so the straight needles could fall out if there were no flaps.

Poppies Knitting Needles Bag - inside with exterior
Poppies Knitting Needles Bag – inside with exterior

I was also able to start putting the exterior together. One thing I did was add the snap and I also sewed the zipper pocket.

I was pleased that I had done inside zipper pockets before as I found the start of this step confusing to read. The pictures are good, so once I took a look at them, I remembered what I was supposed to be doing.

This is a good use of 8″ zippers. I think using a 9″ zipper might be better. I would have to trim it, but the assembly wouldn’t be as tight.

I had fun pounding the snaps into place. There is somethign satisfying about pounding. 😉  I checked the Tinberry/ZaudalCreates videos for the positioning of the various parts. I also used the Sew Sweetness video on how to use the Snapsetter. Using both helped me to get the snaps installed the way they should be. 

Next step is to sew the pieces together and apply the binding.

New Knitting Needles Bag

Poppies Knitting Needles Bag

A few Sew Days ago, I cut out another Knitting Needles Bag. This will be a gift for a friend who is a great knitter.

I used the Tinberry/ ZaudalCreates pattern that I discussed before. If you want to buy this pattern, make sure you get the bundle. It is easy to miss.

I used the Joel Dewberry poppy fabric in canvas from several years ago. I got a lot of nice comments on the fabric.

Yesterday, I got out all the pieces and worked on it. I need to get it done as someone has volunteered to take a package to Austria and mail it for me. This saves on postage.

I made good progress and have the inside piece with the pockets made. I should be able to finish soon

It was helpful to have the first one I made handy so I could see what the end result looked like. I often wonder how I made the first one when I read pattern directions. 😉

I also used the video, which I noticed had time markers with links in the description. Very useful!

Finished: Knitting Needles Bag

Knitting Needles Bag - closed
Knitting Needles Bag – closed

I am really pleased with the way this bag went together and moderately pleased with how it came out. I want to make another one, now that I have the basics down in my head, because there are some things that didn’t come out right….for me.

Knitting Needles bag - starting to open
Knitting Needles bag – starting to open

I was glad to have a project on which to use canvas. I bought the cream dot canvas A LONG time ago and have just never used it. This pattern specifically called for canvas and I am determined to use fabric I have as much as possible, so I pulled it out. It looks very cheerful in the picture and IRL, too.

I thought the pattern was very good, too. I know I didn’t believe what the designer wrote, but she wrote it correctly.

Knitting Needles Bag snaps

I know I mentioned adding snaps in the last post, but I have to say that I was pleased to do so and have some ideas for using them. Also, again kudos to the designer: the snaps all lined up properly, which was great.

I used the SnapSetter I got from Sew Sweetness. I tried to use the pliers I bought, but couldn’t figure them out. I found the SnapSetter to be really easy and straightforward to use. Sara of Sew Sweetness has a video on how to use the tool.

Knitting Needles Bag - label and binding
Knitting Needles Bag – label and binding

My striped binding wasn’t the ideal choice. If I had it to do over again, I’d choose a solid. Normally, I am a huge striped binding fan, but in this case it clashes a bit with the dots and I think a solid would work better with that non-45 degree point in the front. The stripes make that weird angle look bad. Otherwise, the binding looks fine.

The other good thing about the pattern is that the designer tells you exactly where to put a label. I am excited about that since I just bought some Wunderlabels. You can see that I added one in the location indicated. It is covered when the bag is closed.

Knitting Needles Bag - fully open
Knitting Needles Bag – fully open

The bag has three compartments. It is designed for circular and double pointed needles. There are some optional directions for modifying the compartments for other types of needles. I have a lot of circular needles so I will use it for those.

Knitting Needles Bag - starting to fill
Knitting Needles Bag – starting to fill

I haven’t completely filled it yet, but I have started to put some needles in it.

The circular needles are placed so the snap is in the middle of the needle. This is great, because it is another check to make sure the needles don’t slide out.

I really like the shape and the way the bag snaps together. I highly recommend the pattern by Tinberry/Zaudal Creates.

Knitting Needles Bag in Process

Knitting Needles Case in process

I finally got over the hump of the elastic on my Knitting Needle Case and started to make progress. It has been over a month since I started working on this bag and I thought it would go more quickly.

The problem was that I couldn’t believe I was reading the pattern correctly. The first instruction after cutting is to apply elastic to the right side of the fabric. I couldn’t believe that was right, so I procrastinated, then I DMed the creator and then I found her videos. There are two videos. I skipped through a lot of the first one, though when I found the section I needed it was really helpful.

Lining Up Elastic
Lining Up Elastic

Neither of the videos have talking. The sound is all musical (I turned the sound off), but there are some titles. It doesn’t matter, the visuals are helpful. The part about the elastic also gives a helpful tip for lining up the elastic as holders for needles.

After getting over the elastic hump and learning to add snaps, I was able to make good progress in a few hours. The last step I have is to sew on the binding.

Knitting Needles Bag

Remember when I went to the sock knitting class? One thing I realized is that my knitting needles were disorganized. I have two needle holder bags, but somehow they don’t fit my needles. It is sad because they are really pretty bags, made from silk. Perhaps I don’t know how to use them?

Zaudal Creates Knitting Needles Case

One day, I went on a rampage to find a great knitting bag. What I found was a Knitting Needle Case pattern from Zaudal Creates. It has been sitting in my “must make ASAP” pile for a few months. I took it to Sew Day to cut out. Fortunately, I had already gathered the pattern and supplies, so I was able to cut out most of the pieces.

N.B. If you are careful in your shopping, you can get two bag patterns for only slightly more money from her shop.

One of the things I like about this pattern is the snap that keeps circular needles in place. I don’t know if this bag will hold all of my needles, but I can always make a second one, if it doesn’t. Maybe one for circular needles and one for double pointed needles?

Zaudal is located in Norway, so she had references to Vilene  interfacing. I was able to find a chart created by Sara at Sew Sweetness. This chart told me that Vilene H250’s US equivalent is Pellon Decor Bond (809). I didn’t have this at Sew Day, so it was the only part I didn’t cut out.

I asked some questions about what I could use instead. I was being cheap and lazy, but eventually I went to Joann and got some Decor Bond. It is not too stiff, but it does add some stiffness to the fabrics. I cut it out and fused it to the interior and exterior of the fabrics shown above at Gerre’s house .

As a result, I am pretty much ready to sew this bag together. It is waiting its turn, which will be after I finish PP4.