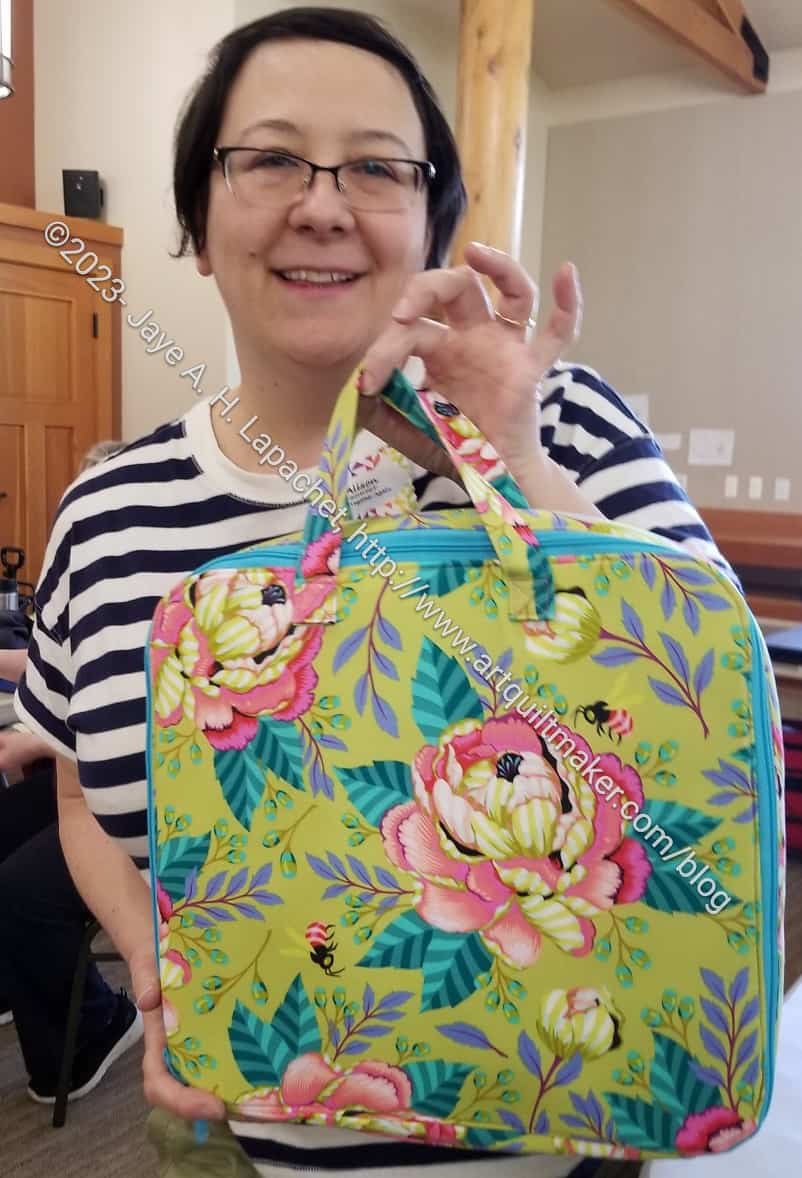
Hooray! I finished and I had plenty of time to post it on the blog post to win a prize. I may not win, but hope springs eternal.
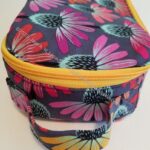
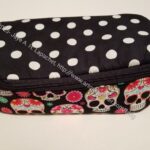
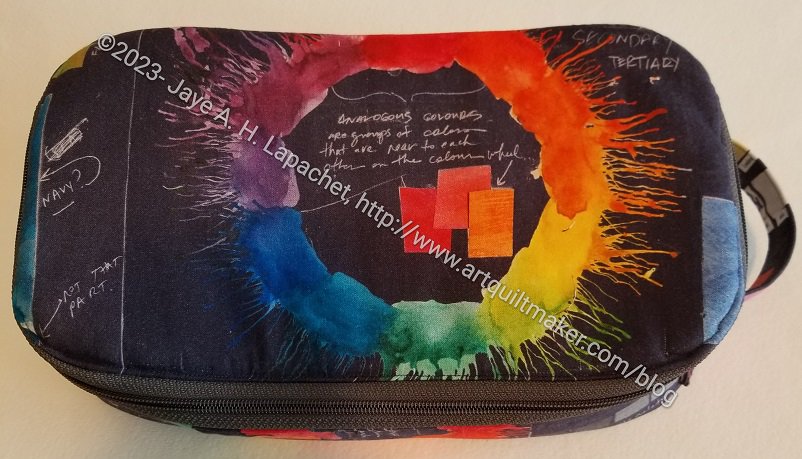
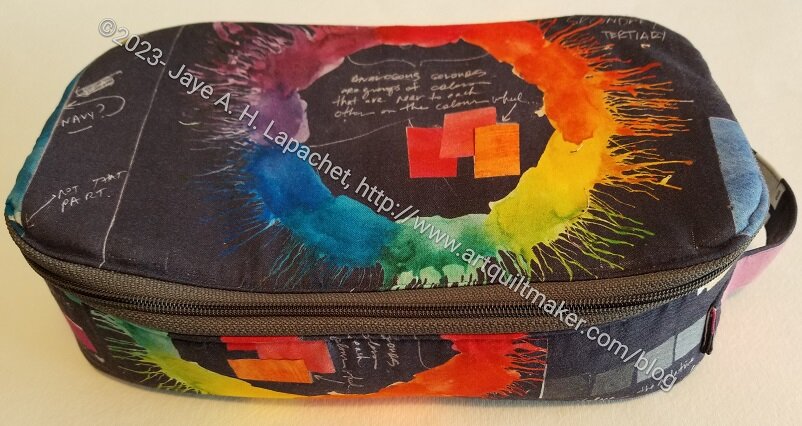
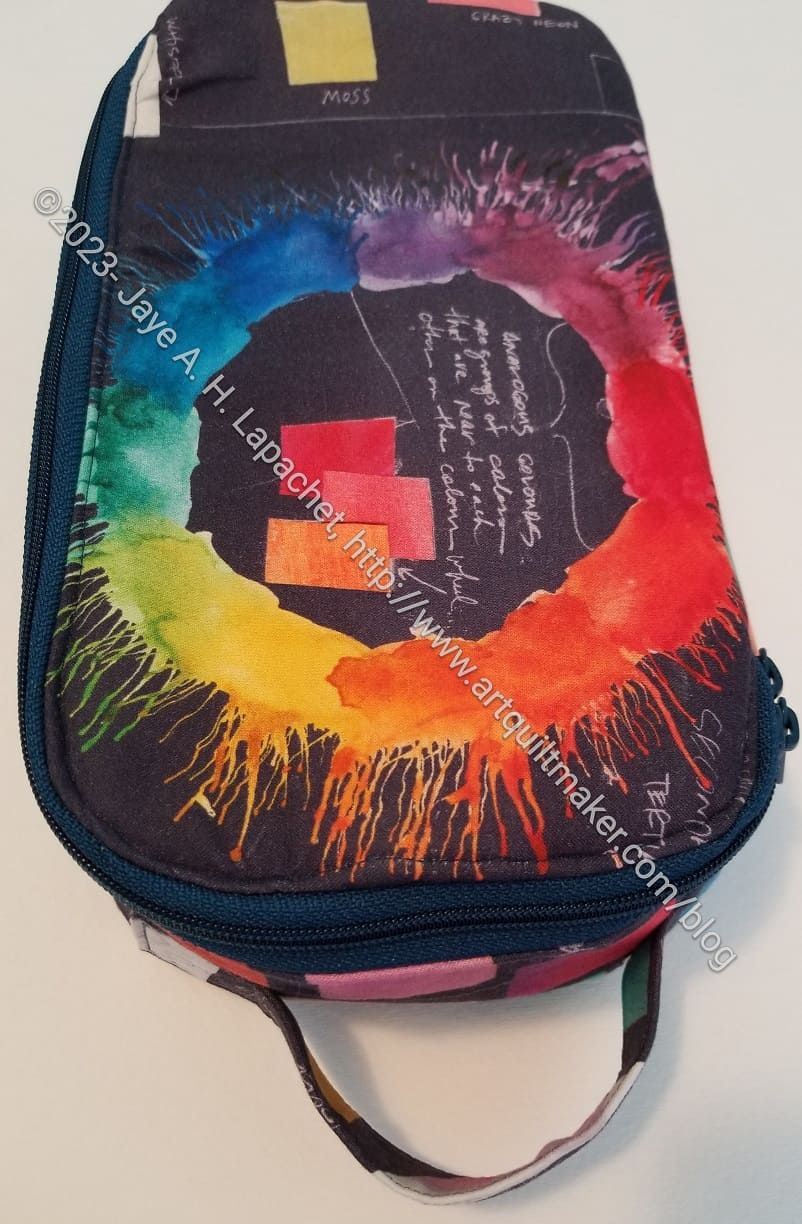
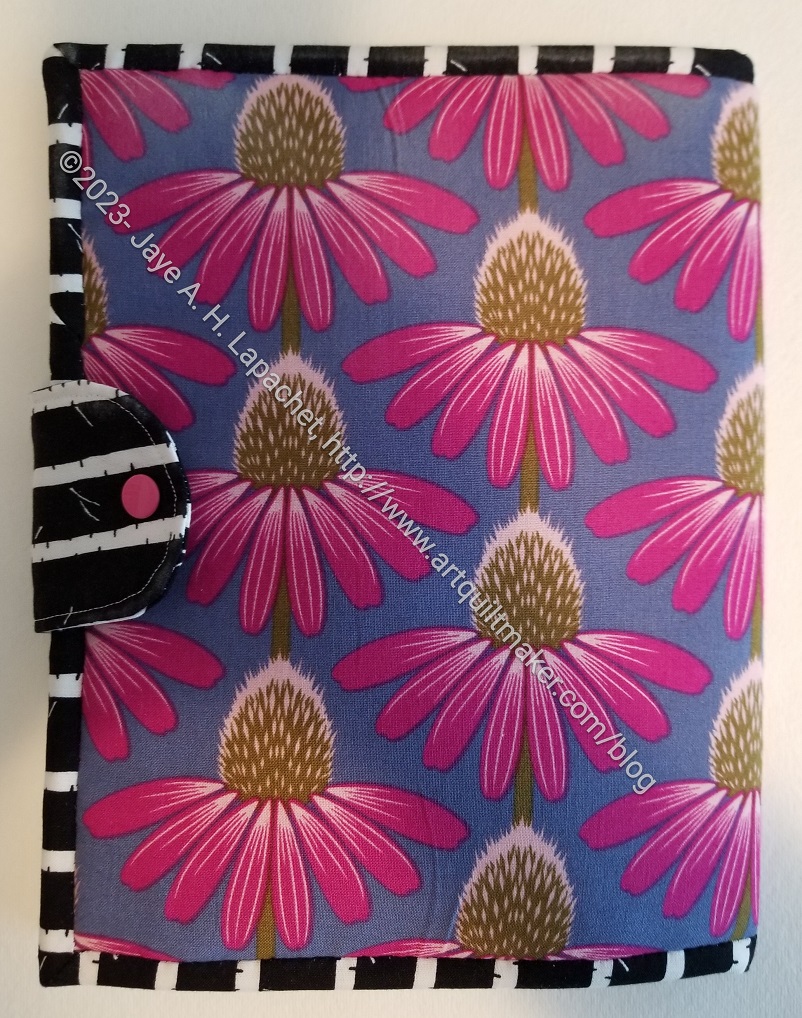
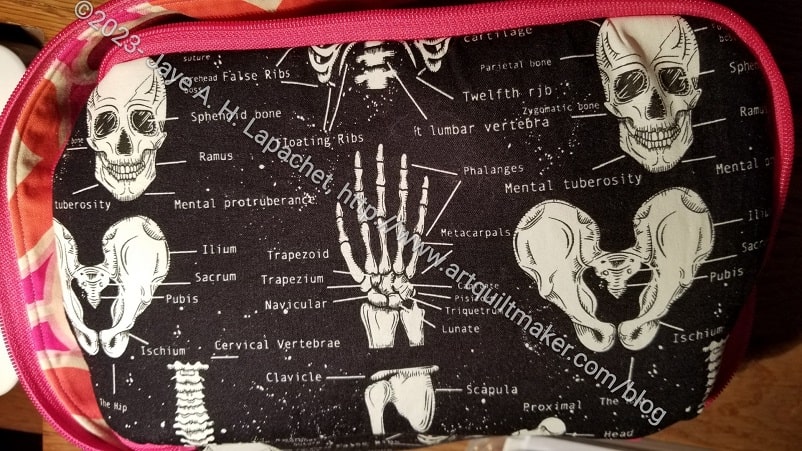
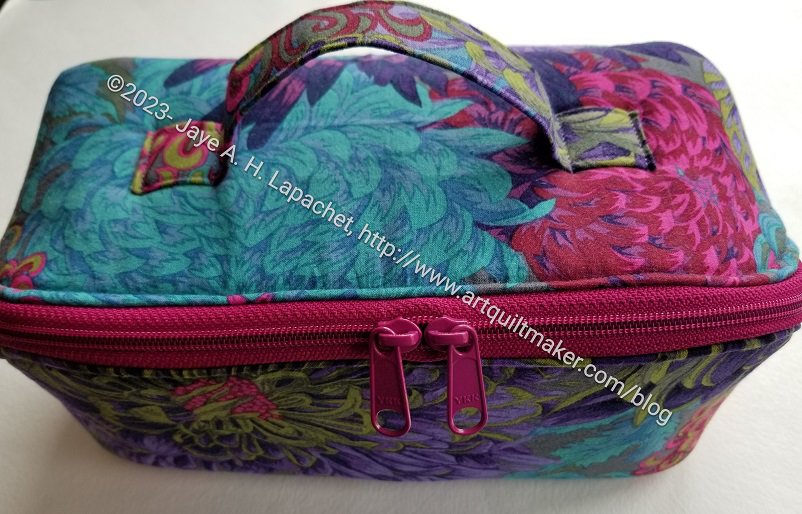
I like this pouch. It’s interesting, yet normal, so surprising. It packs a punch and isn’t difficult to sew. There are some tricky bits, but it would be a boring sew, if the whole thing was easy.

As I said before, this bag reminds me of the Sew Together Bags. I think I would use it in the way I use the Sew Together Bags, if it had more pockets. I do use most of the pockets in my hand sewing dedicated Sew Together Bags. It is possible that I can put a few things in this bag and use it for a dedicated travel hand sewing kit.
We’ll have to see. I have some scissors and a pincushion I was gifted that I could put inside as a start.
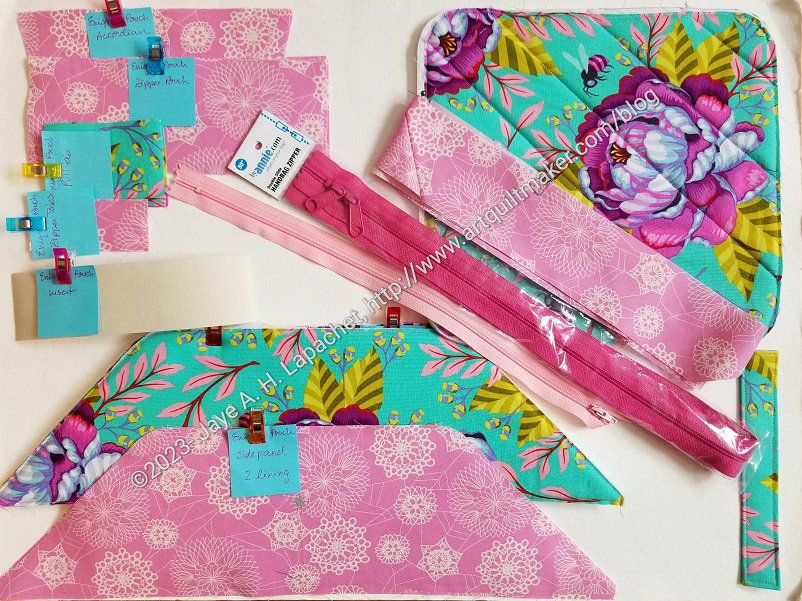
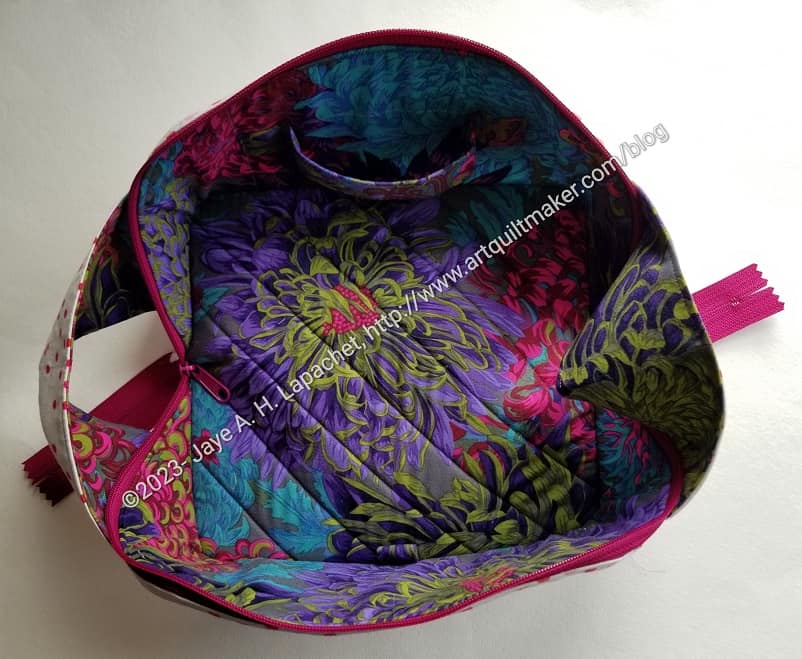
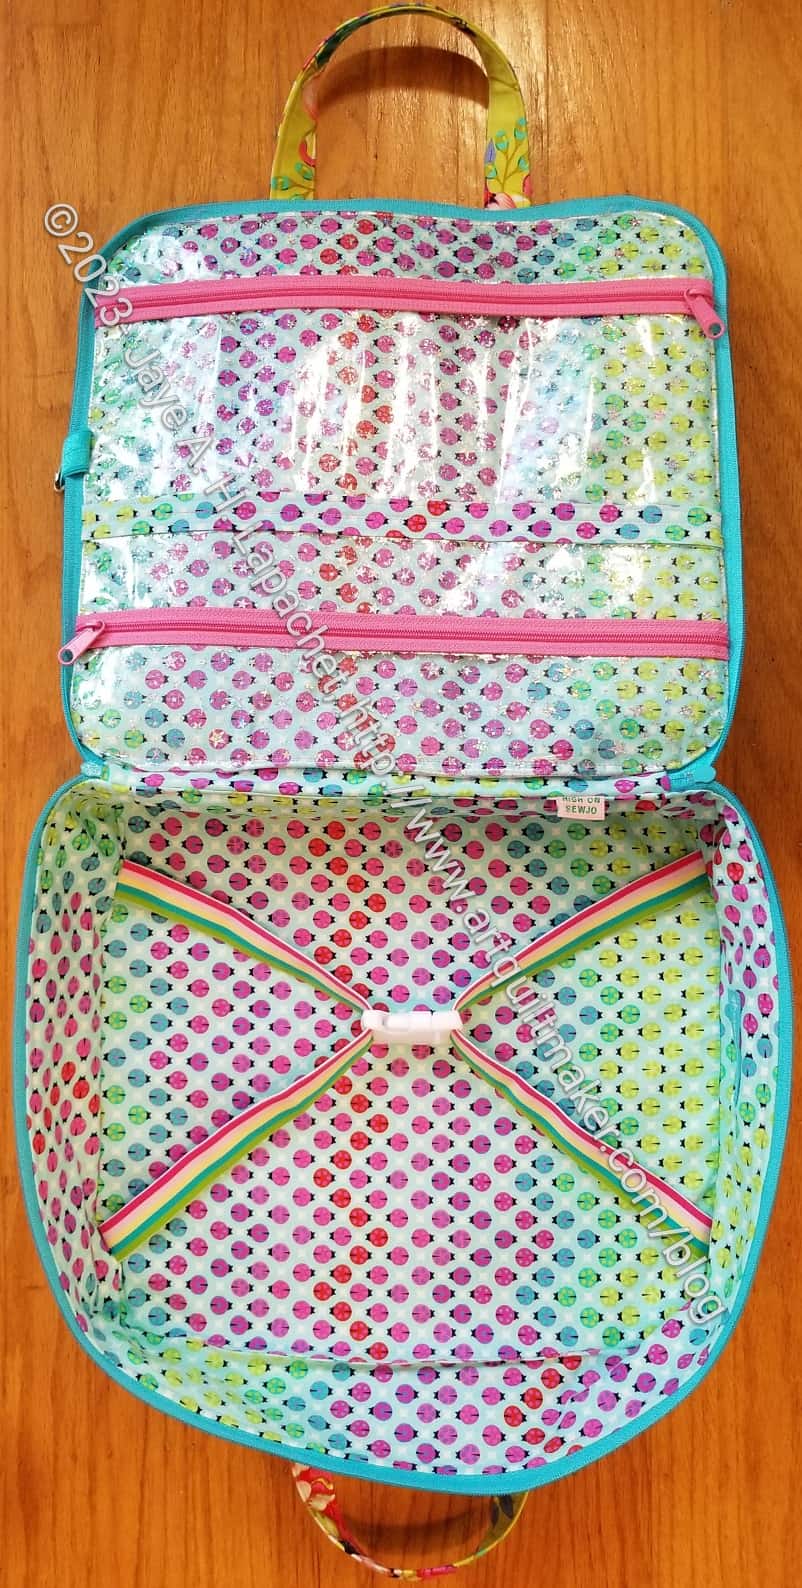
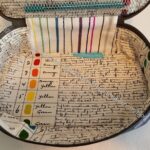
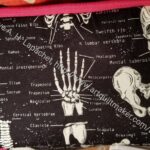
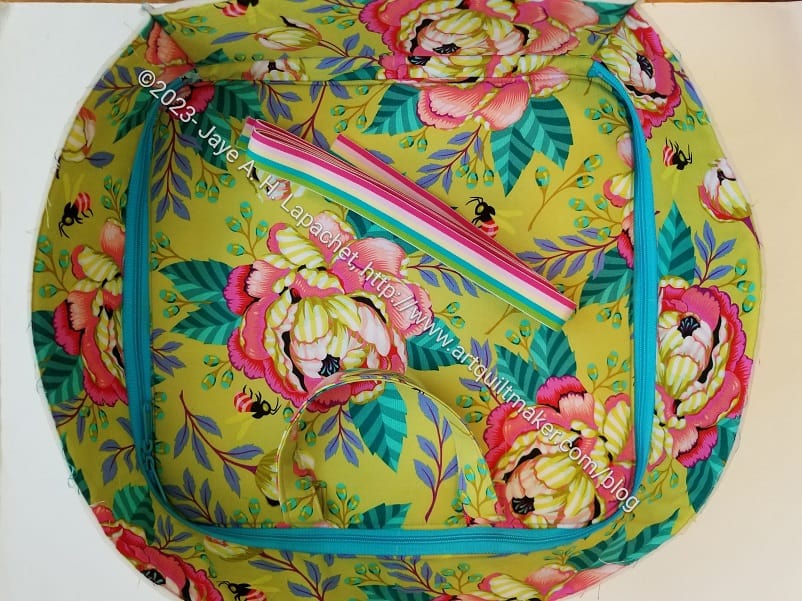
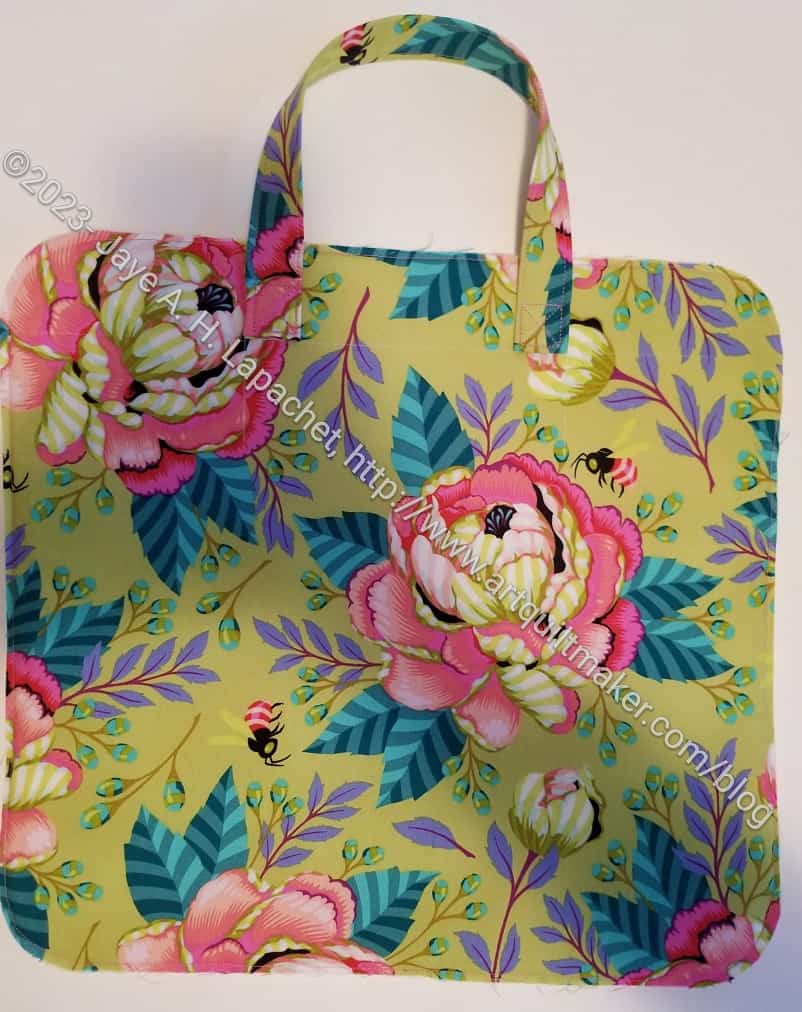
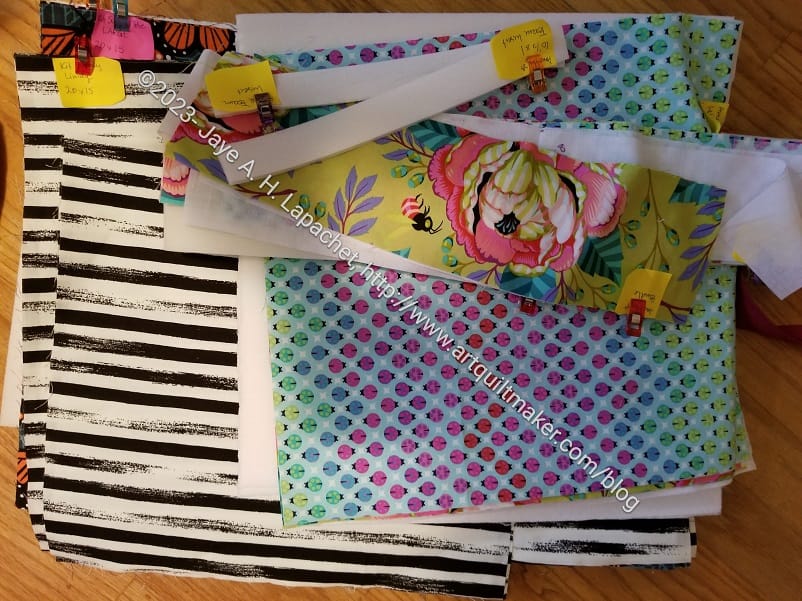
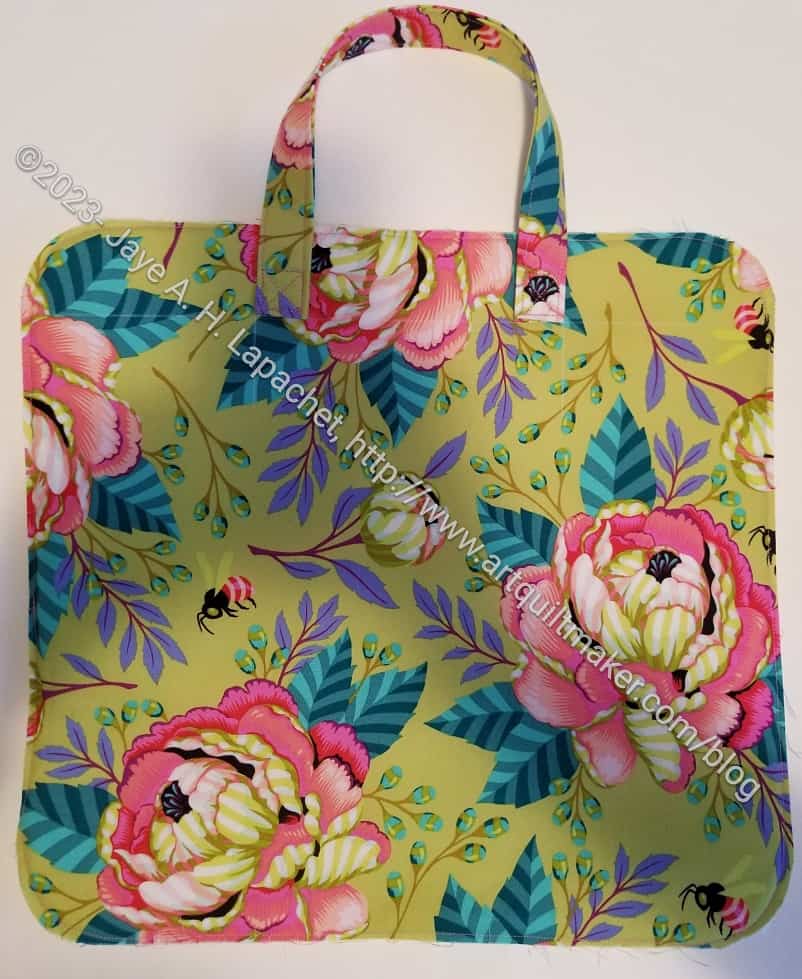
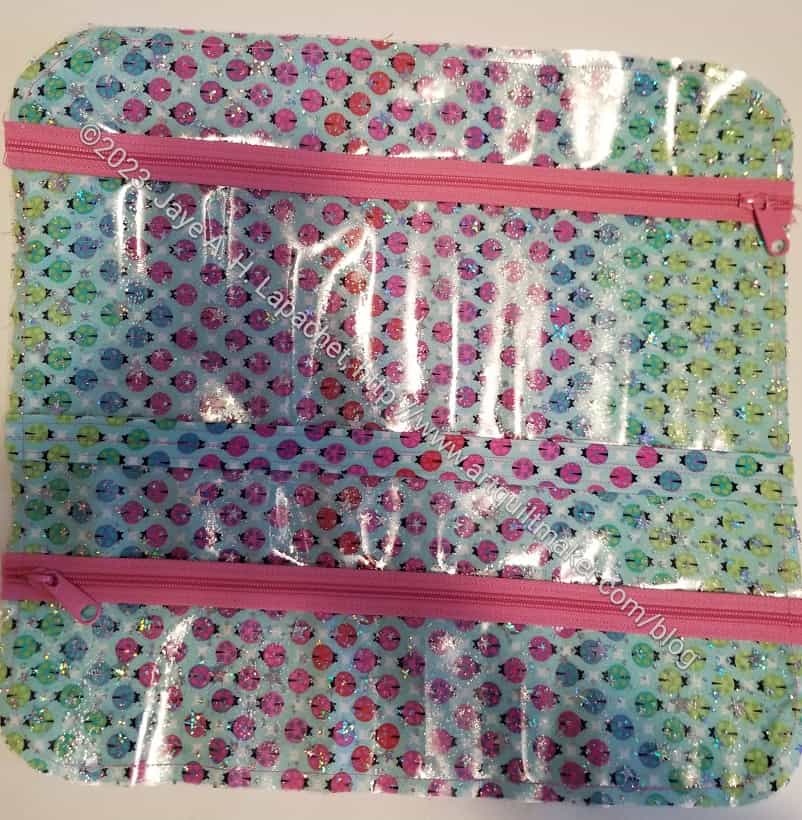
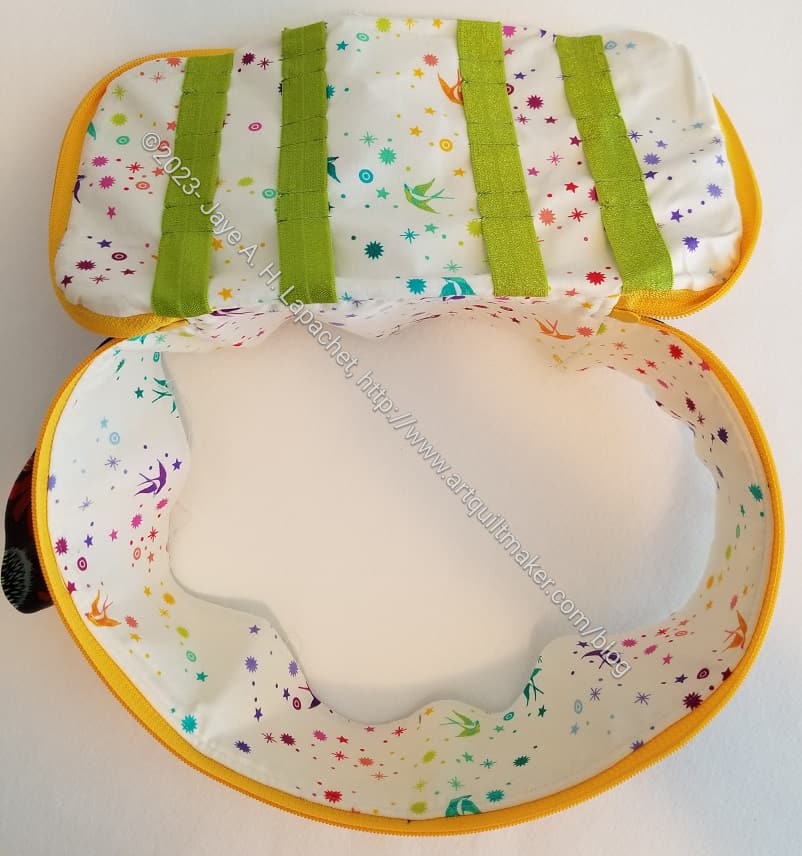
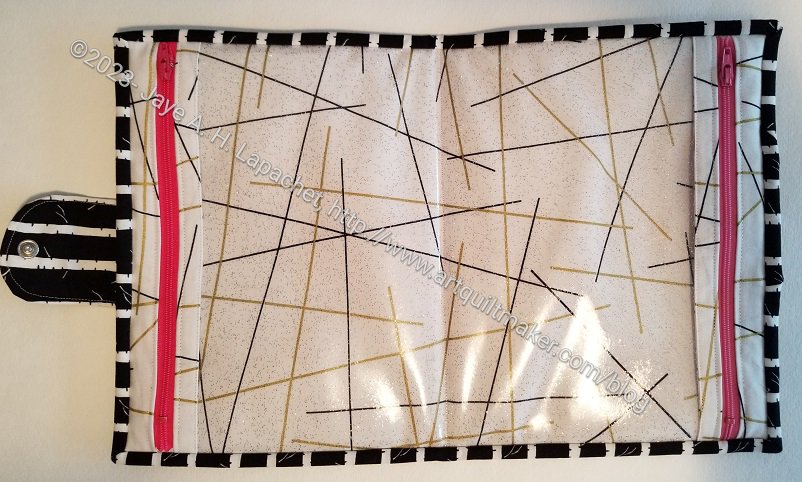
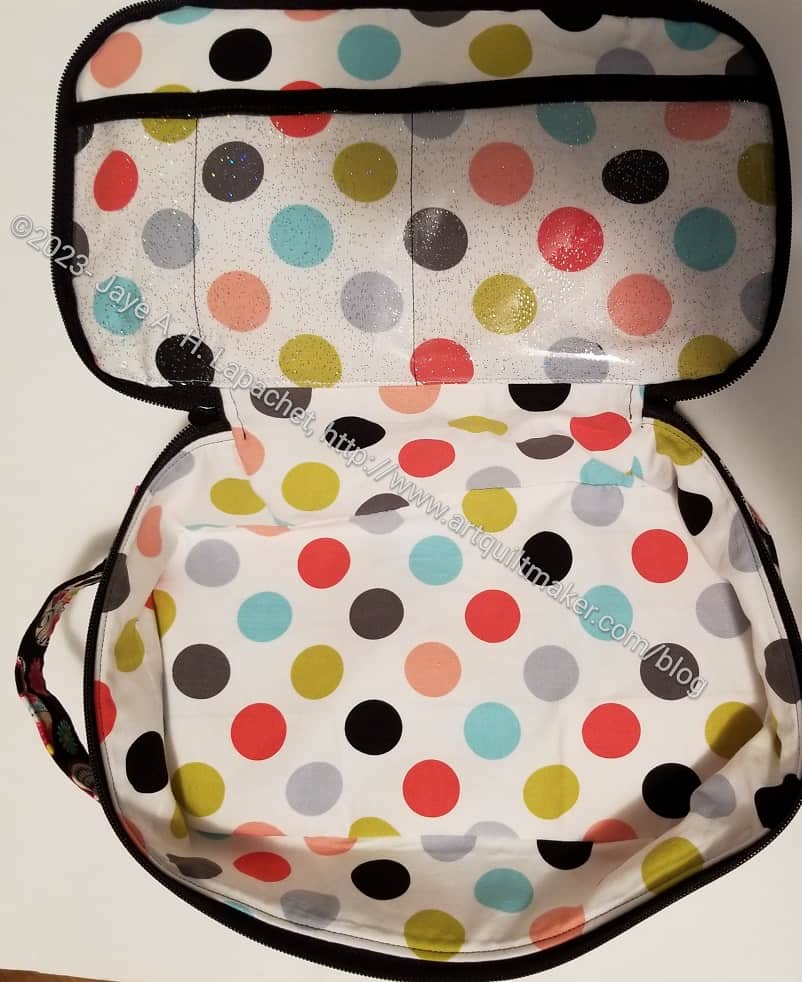
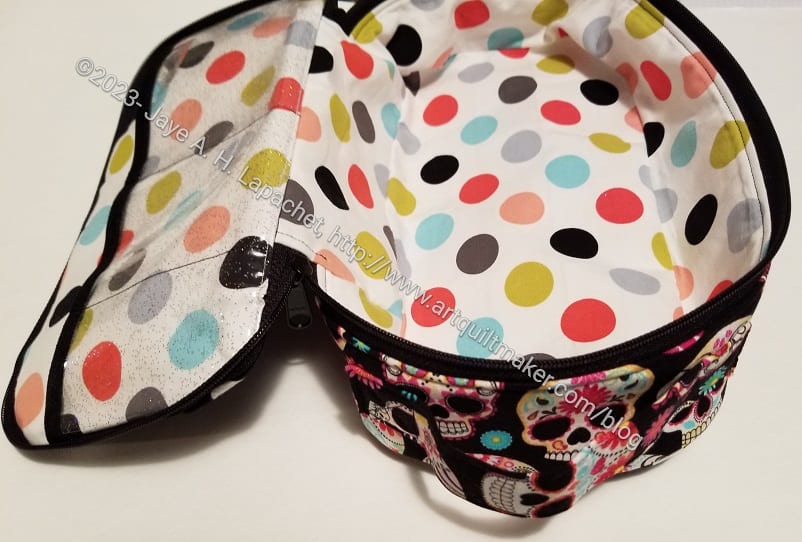
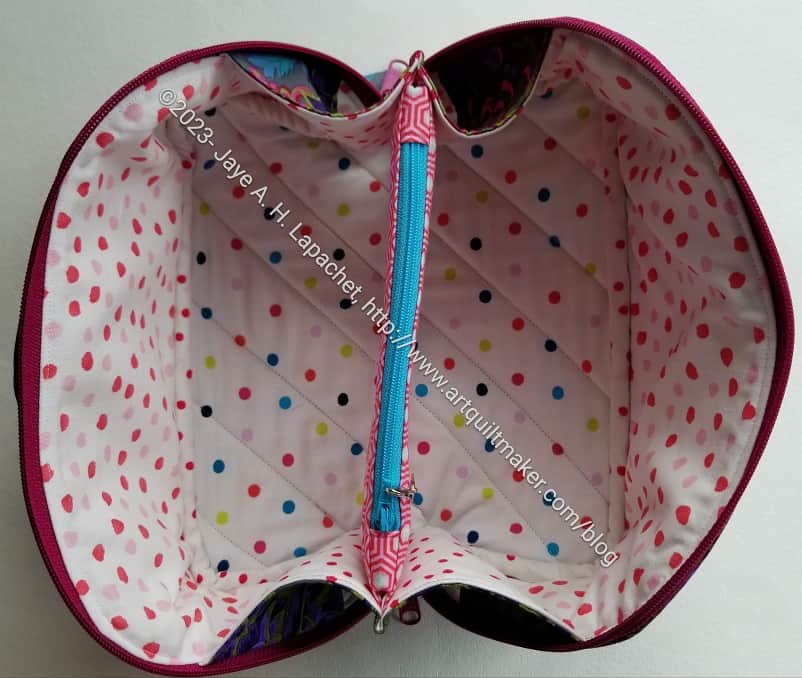
The bag opens flat, which makes for a nice tray that keeps items confined in the car. You can see the bottom piece in the picture I took after I cut all the pieces. This will give you and idea of why it is flat.
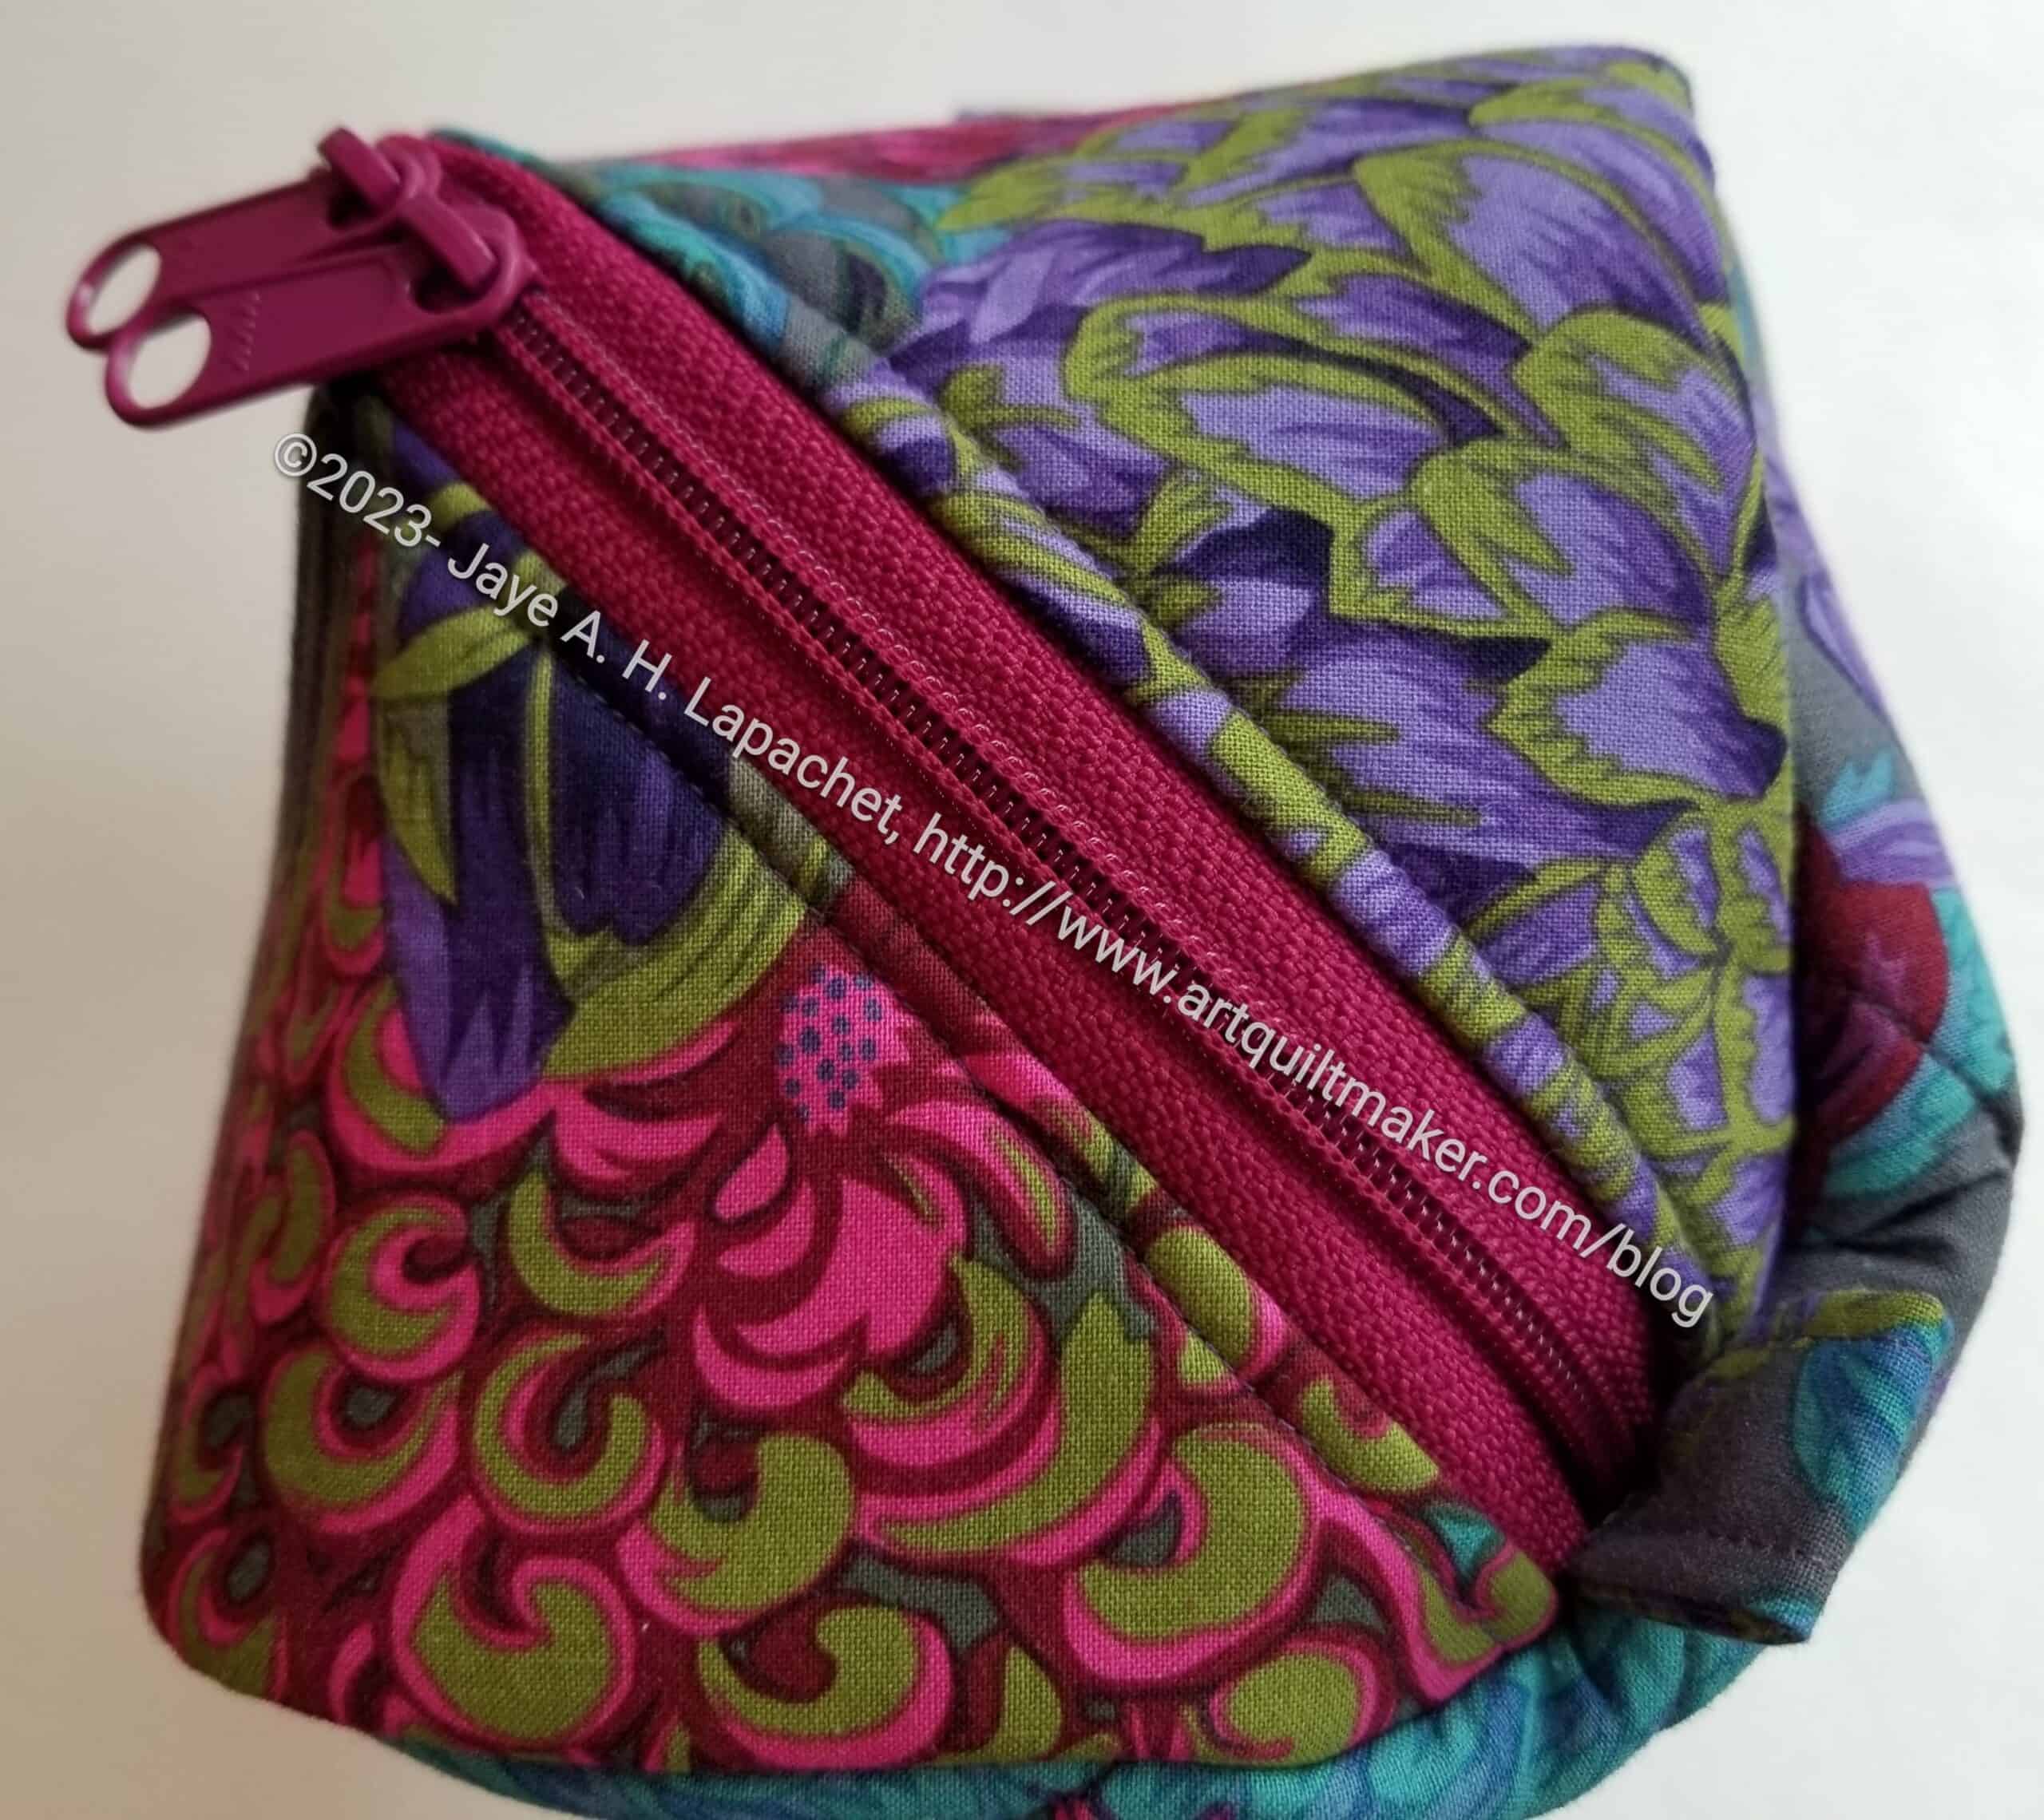
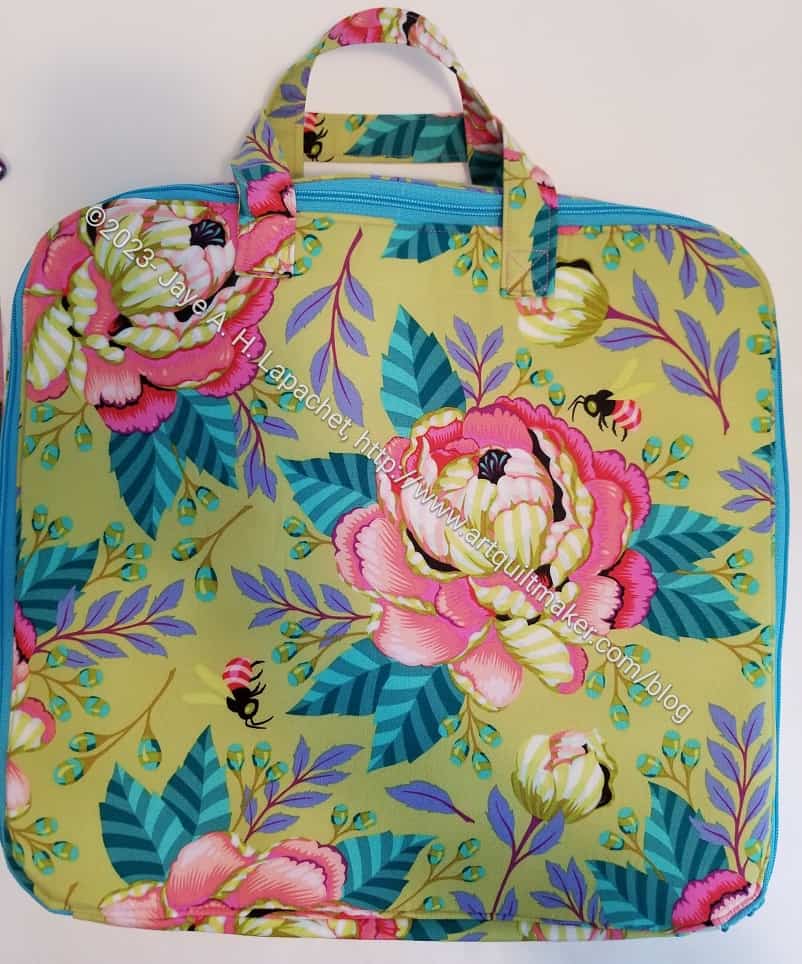
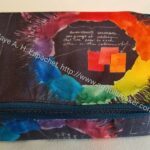
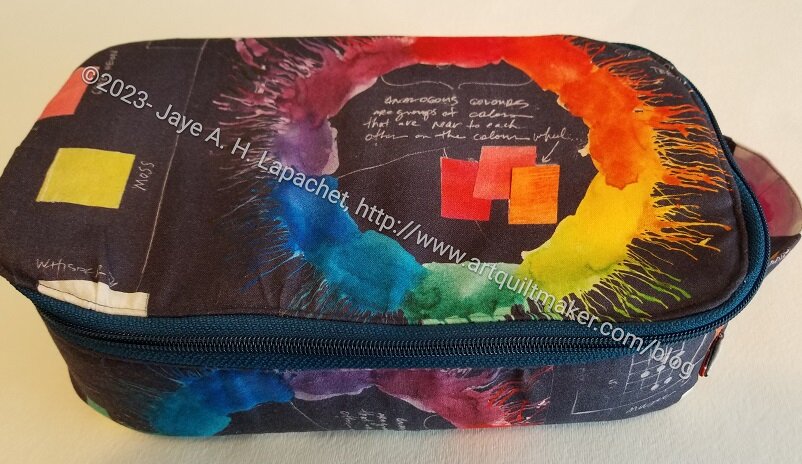
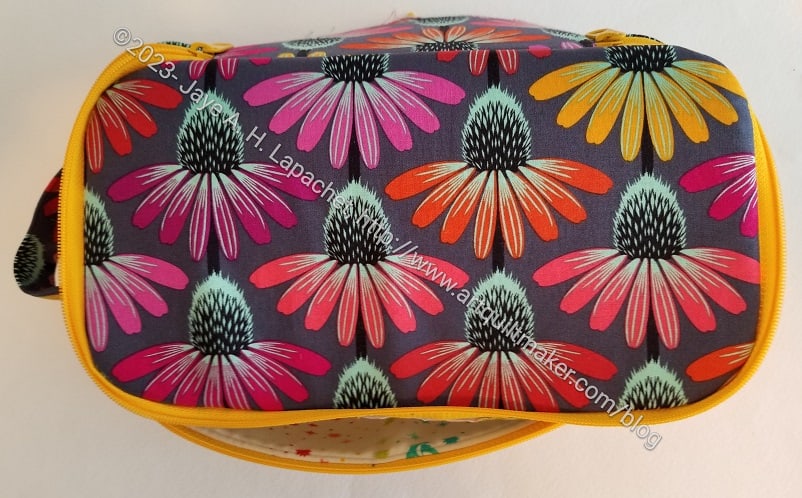
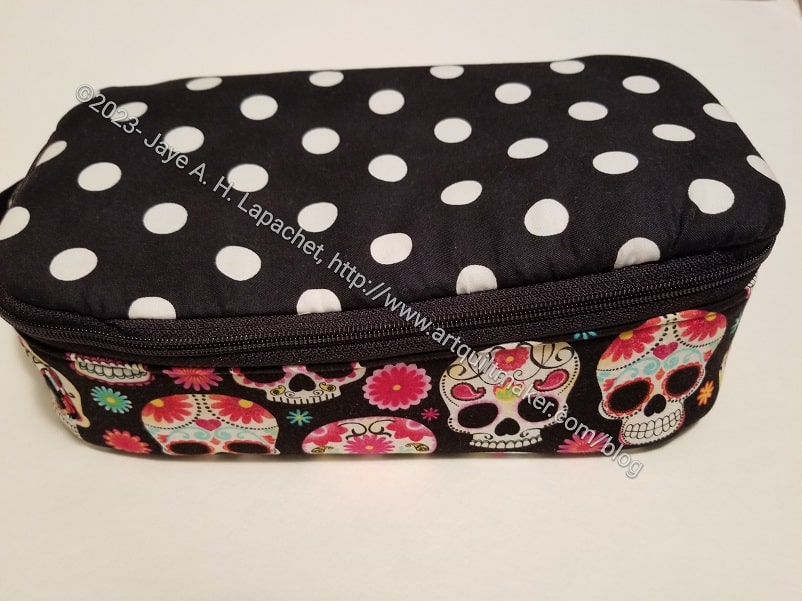
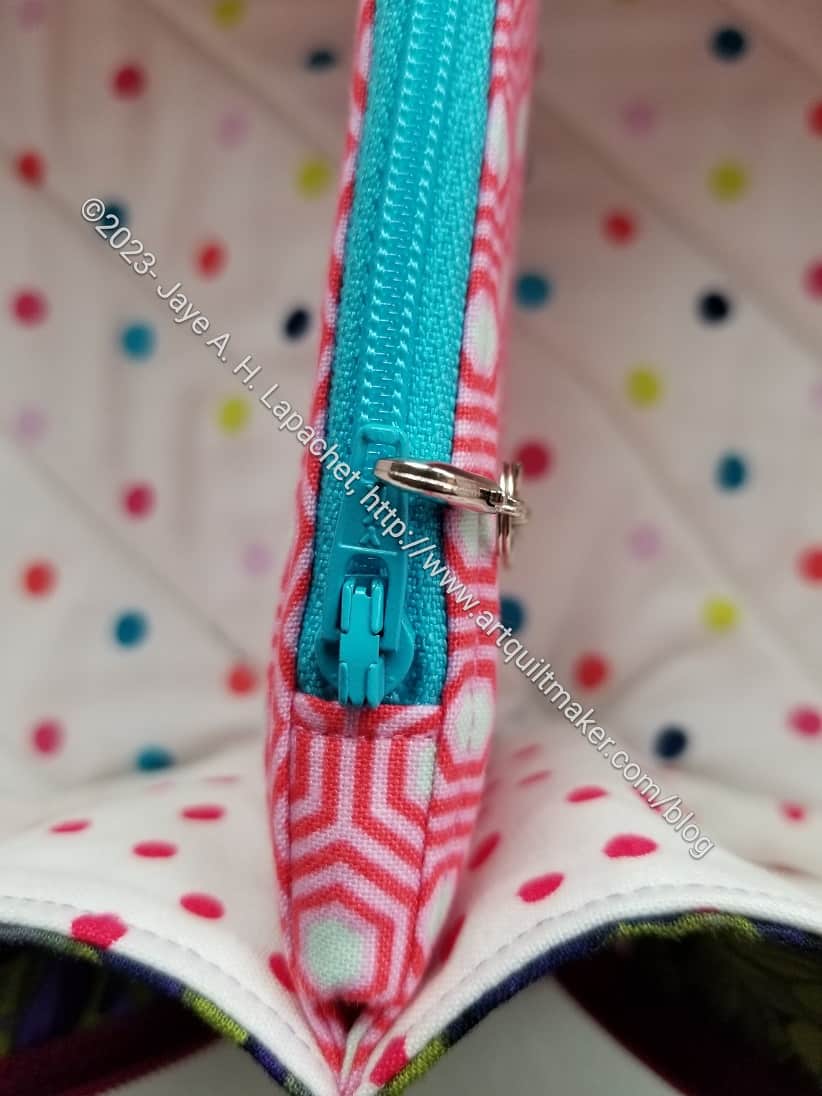
The zipper, though, zips at a diagonal, which I think is part of the interesting bit of this bag. It also allows the bag to zip up small, be completely contained and then open out flat. Clever, isn’t it?
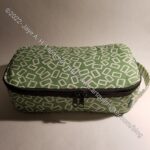
I was concerned that there would be a hole where the zipper meets the bottom of the bag, but there isn’t. WHEW!
I always wonder how Sara thinks up some of these bags. I am always curious about the designs, but then I wonder how she figures out the construction. I know enough to modify some bags, but I am not sure how I would figure out how to make a bag like this.
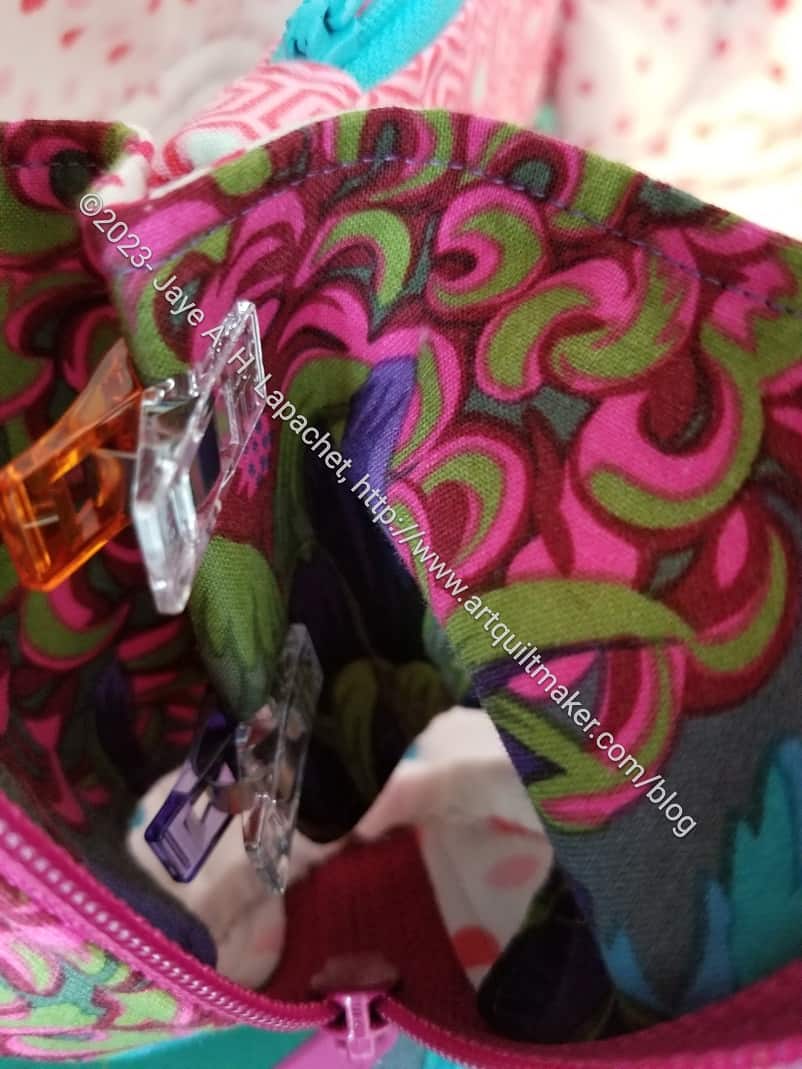
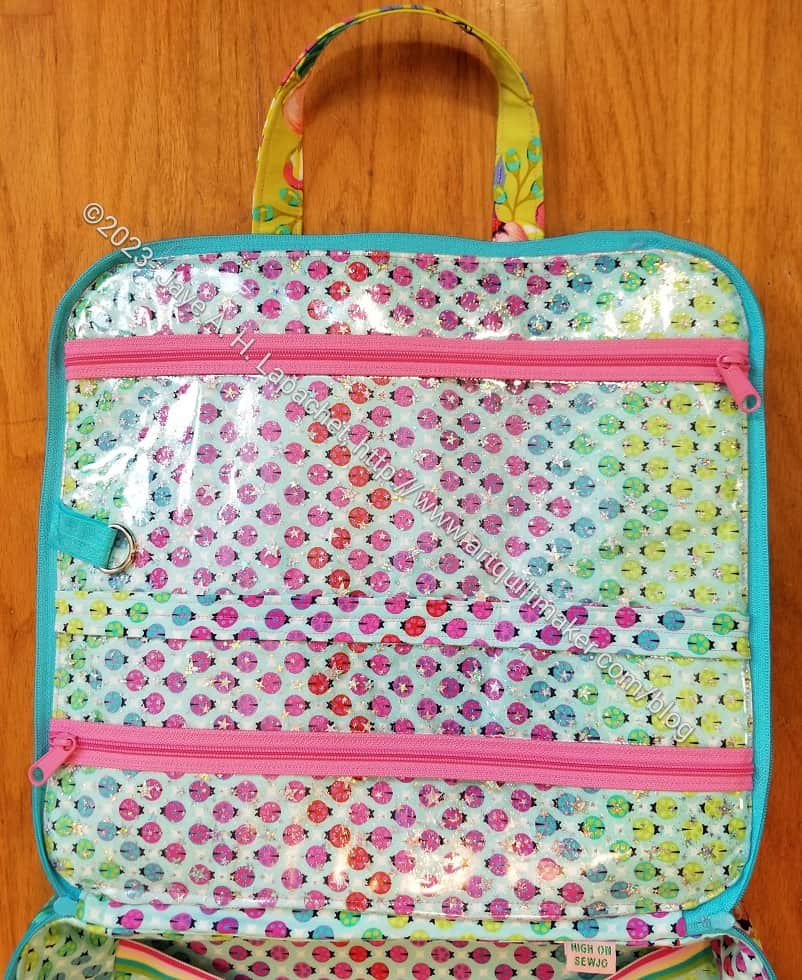
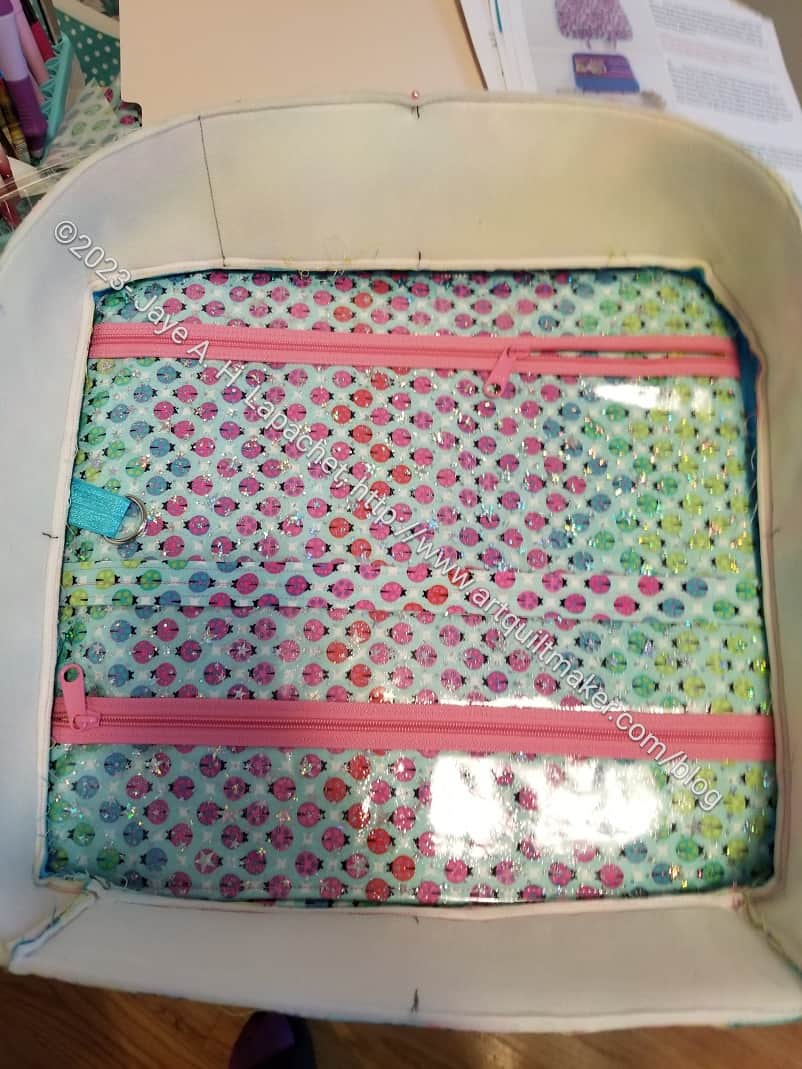
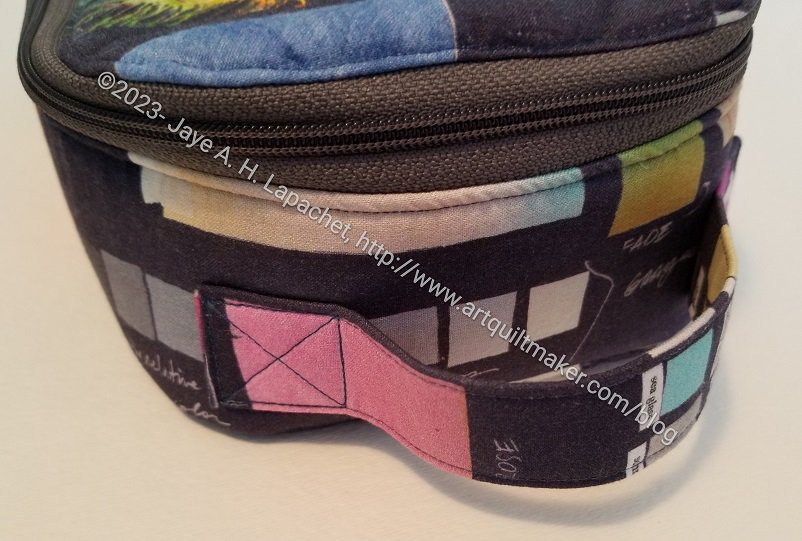
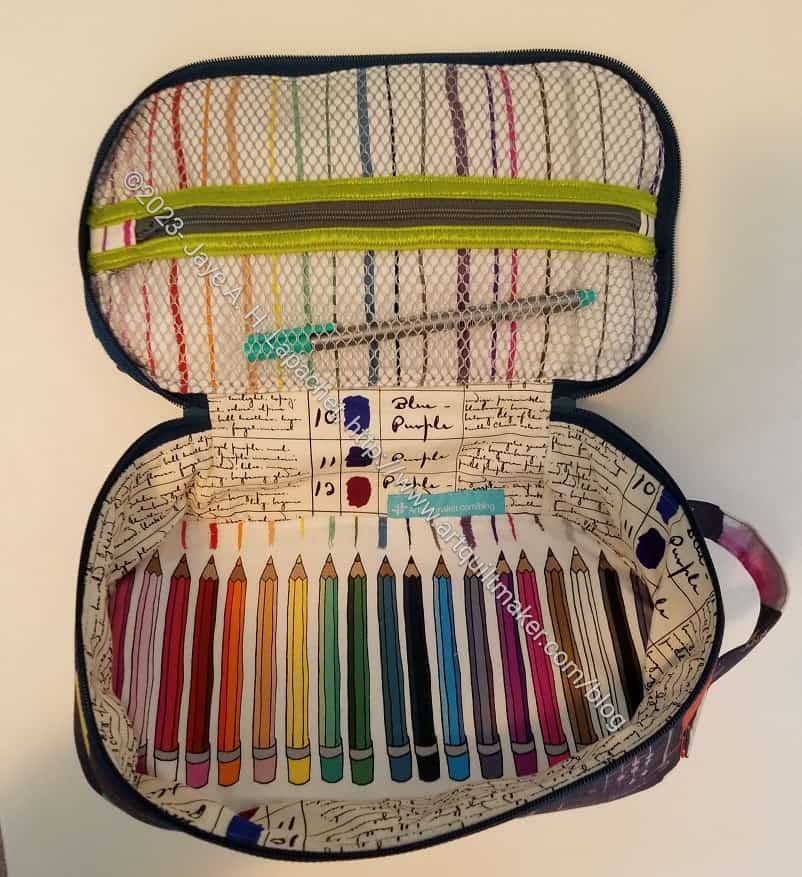
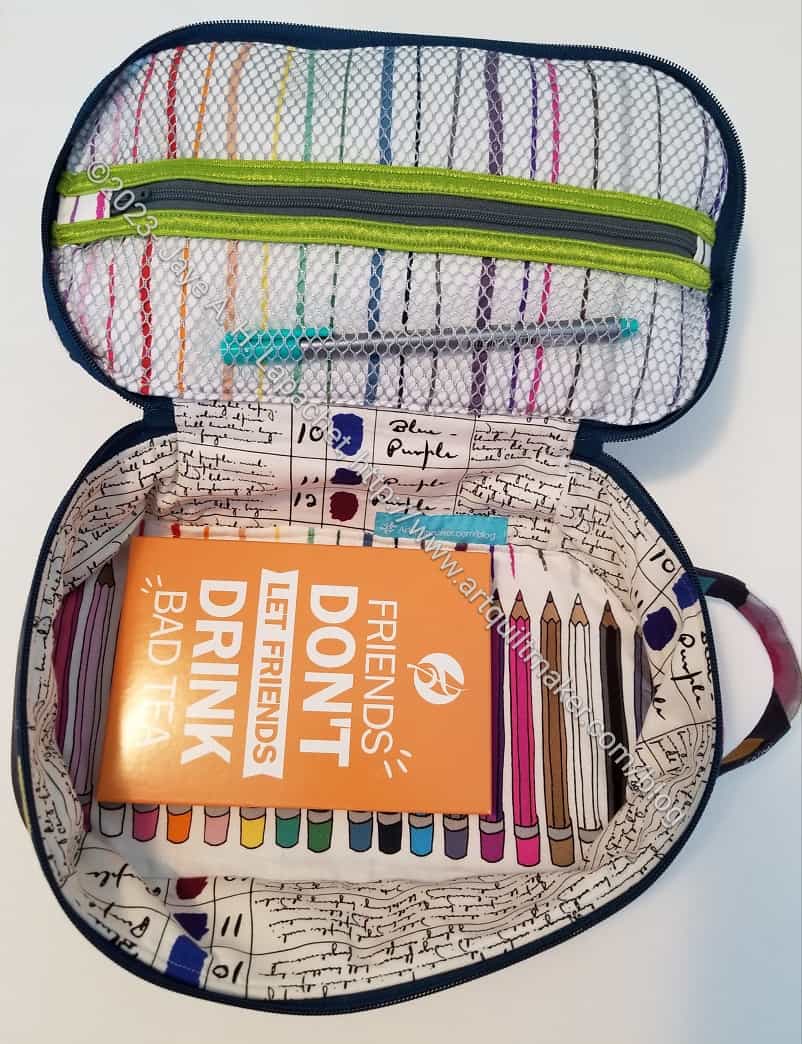
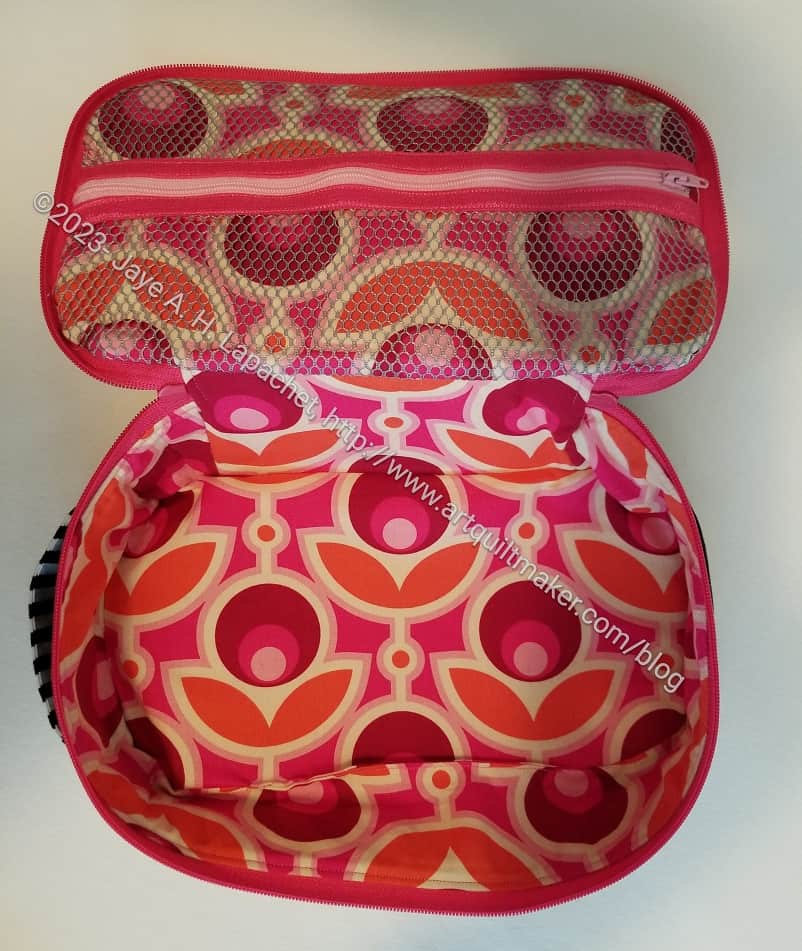
As mentioned, there is one accordion pocket. It is fully contained like the Sew Together Bag and the Ultimate Carry All Bag. This type of pocket allows the user to put something under the pocket like a ruler or quilt block (hand piecing?).
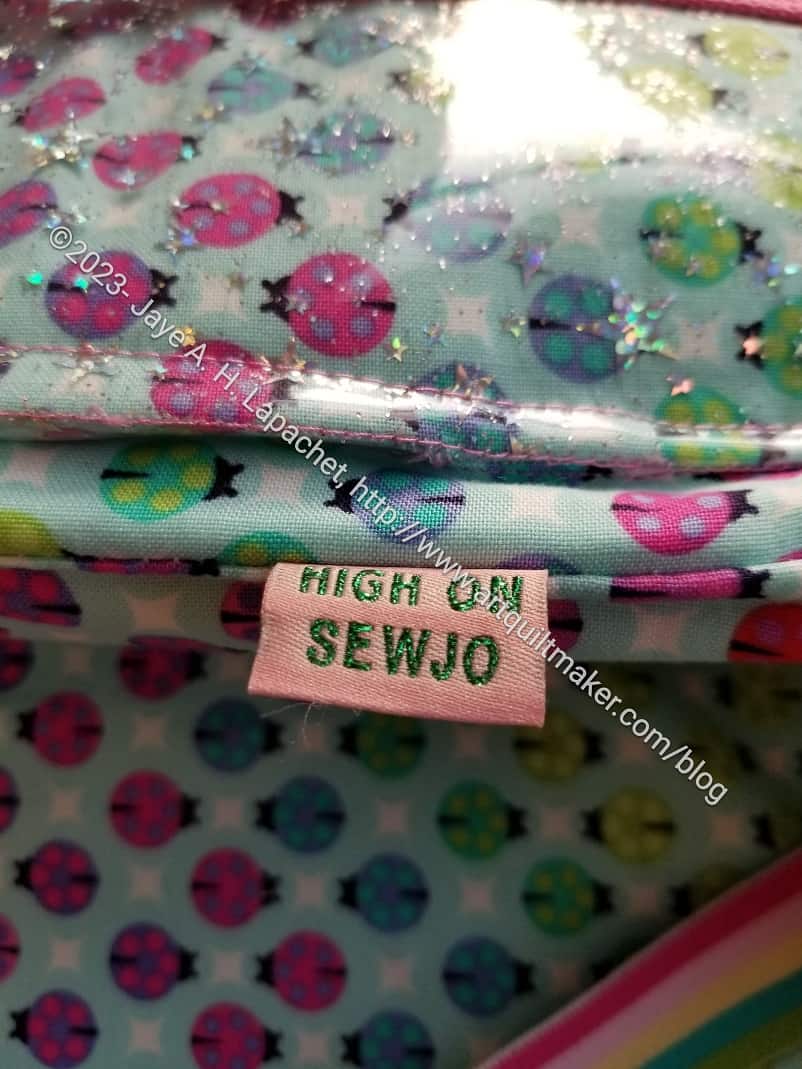
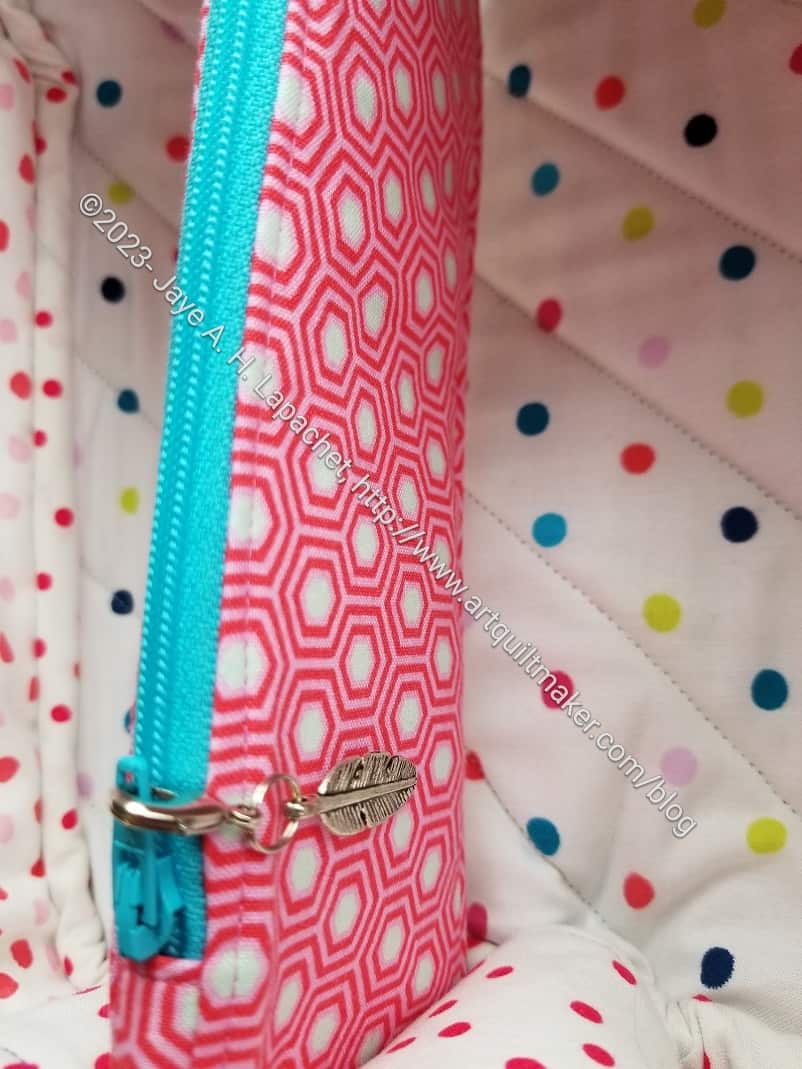
This pocket went together really well and even though the zipper contrasts with the pocket, I think it looks nice. Yes, I added one of the charms I bought when we went shopping for the Retreat. I bought a tool afterwards that makes it really easy to open the jump rings and connect the charms to the lobster clips. The tool is called Split Ring Tweezers**. Total game changer!
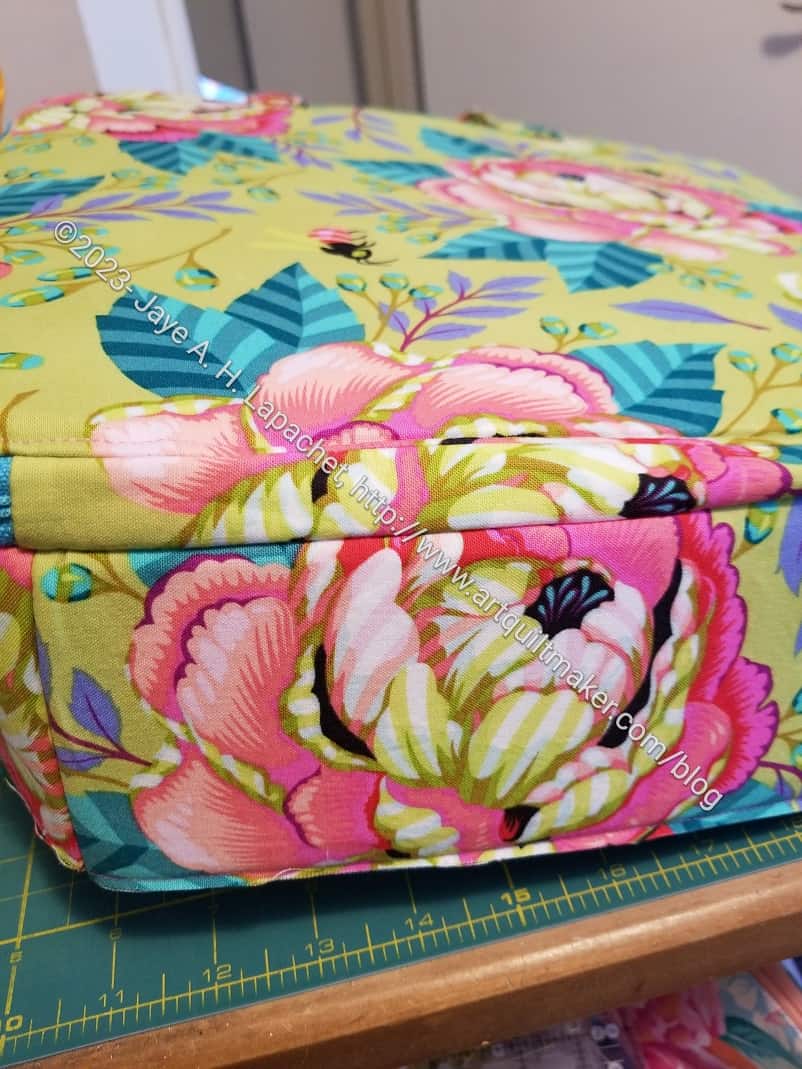
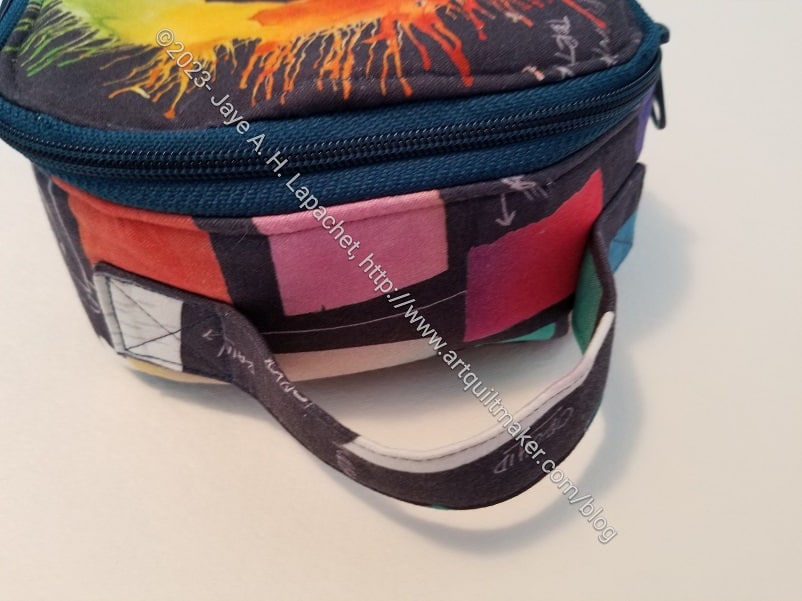
I love the directions for the zipper tabs in this pattern. I really think my zipper tabs came out better than they ever have. In turn, this made my zipper look really good.
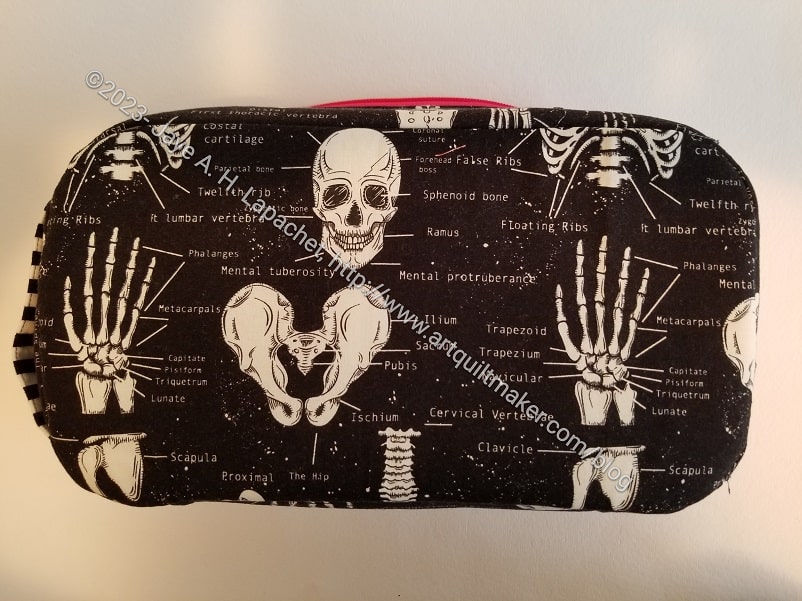
As mentioned, this bag is part of Minikins Season 4. Minikins patterns are only sold in bundles. This bundle has 12. There are at least two other projects I plan to make really soon.
Now I am worried that I won’t want to finish the Hackney pouches from Minikins Season 3 I have cut out. 😉
You can see the other finished Enigma Bags on the blog post.
**Obviously, you should shop at local quilt shops and small businesses. However, if you are too busy or can’t find what you need there, I use Amazon affiliate links and may be paid for your purchase of an item when you click on an item’s link in my post. There is no additional cost to you for clicking or purchasing items I recommend. I appreciate your clicks and purchases as it helps support this blog.