I talked a little about the random things we did and saw in Portland the other day. There were also several bags that I have made which made the trip with us.

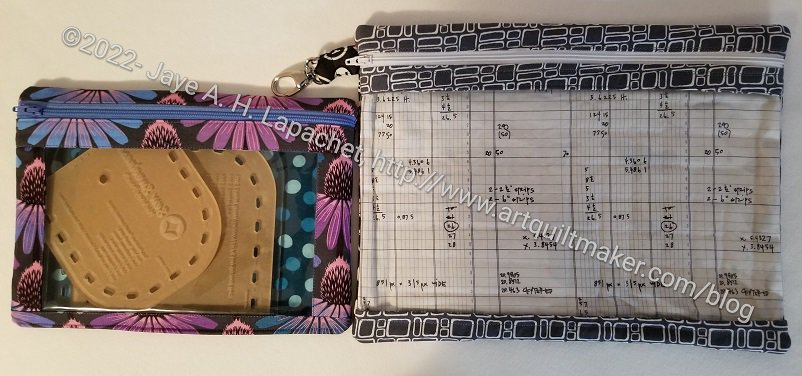
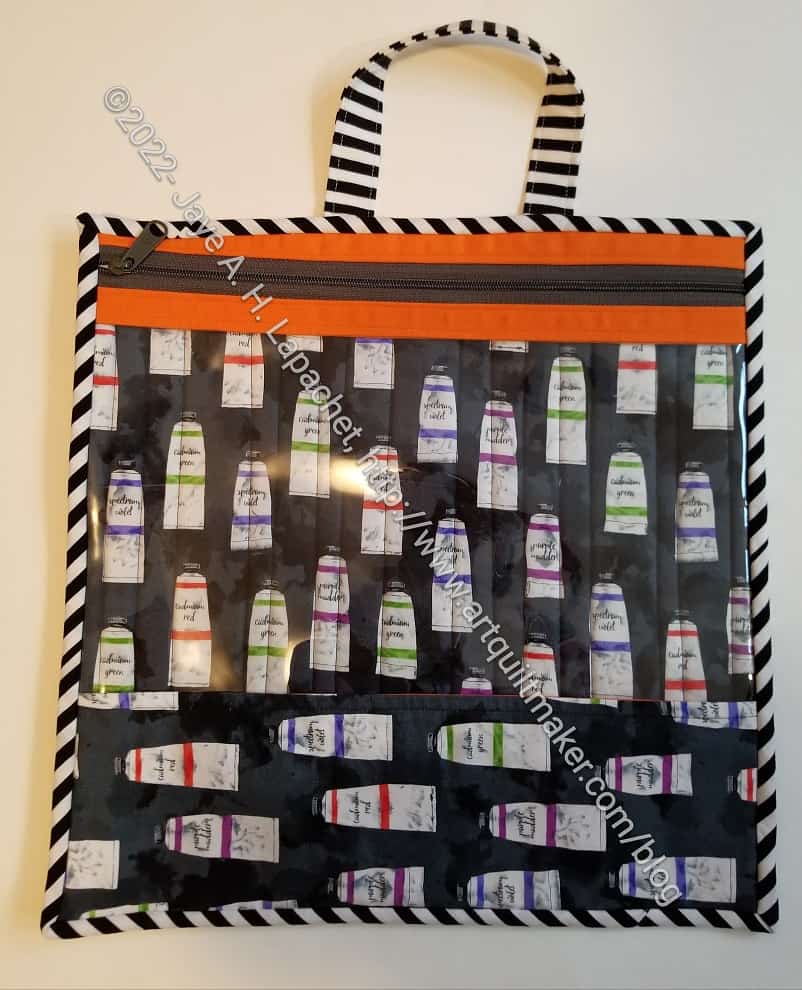
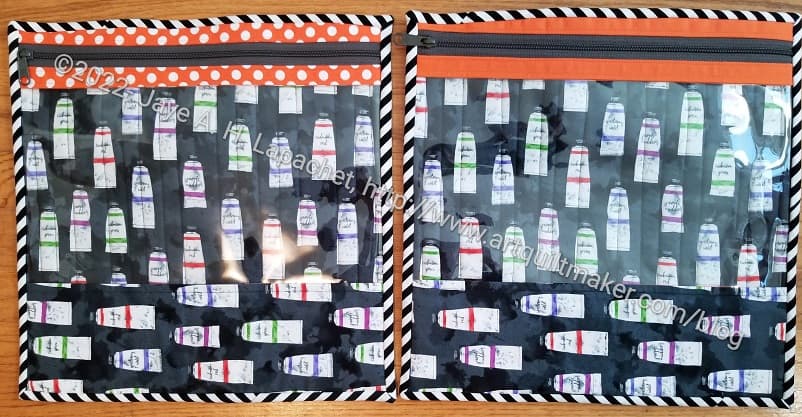
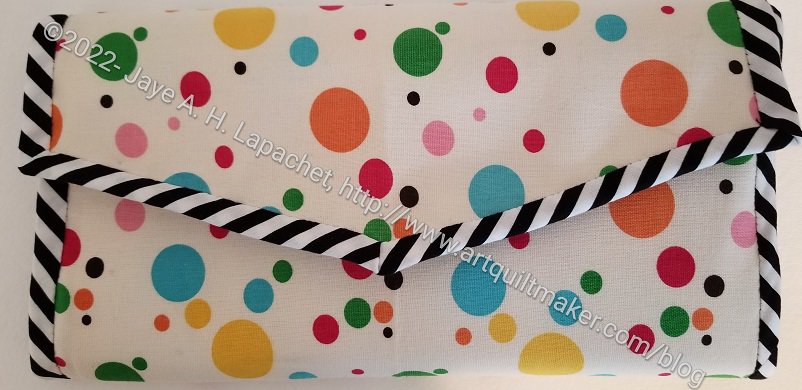
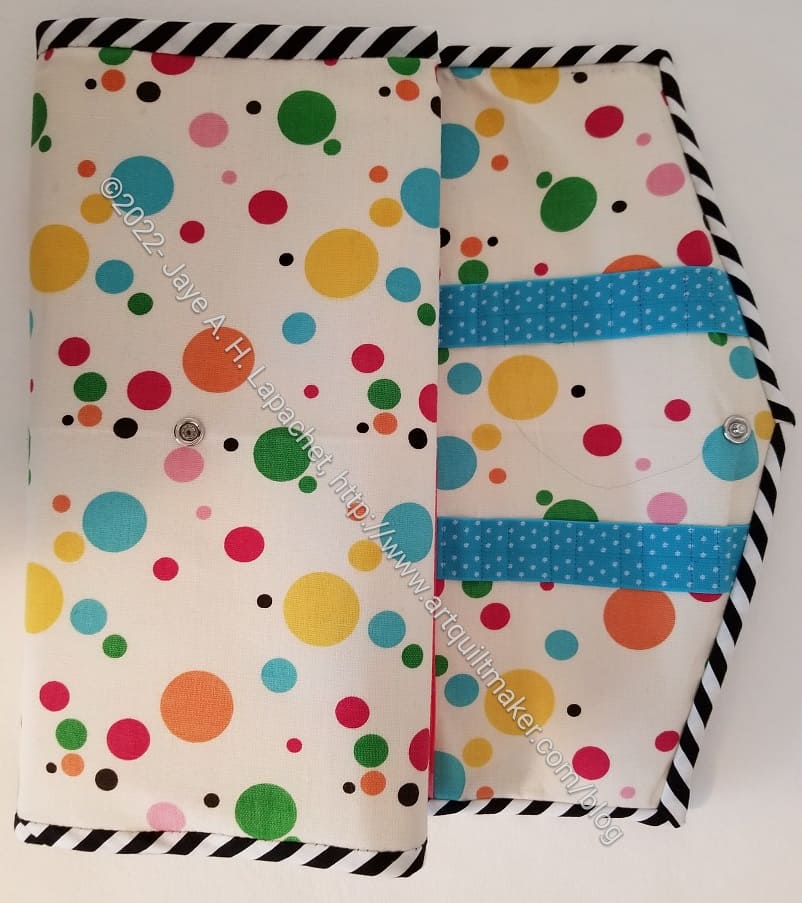
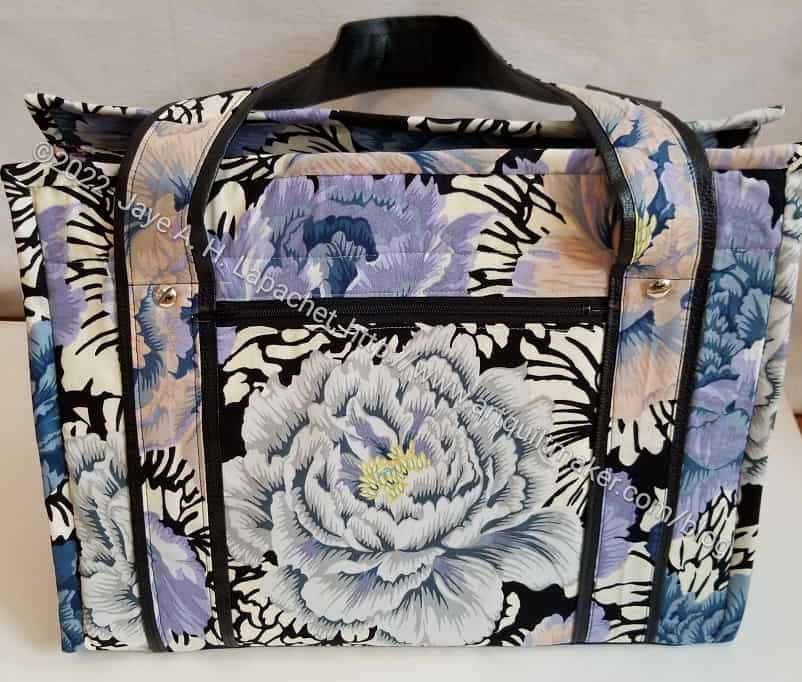
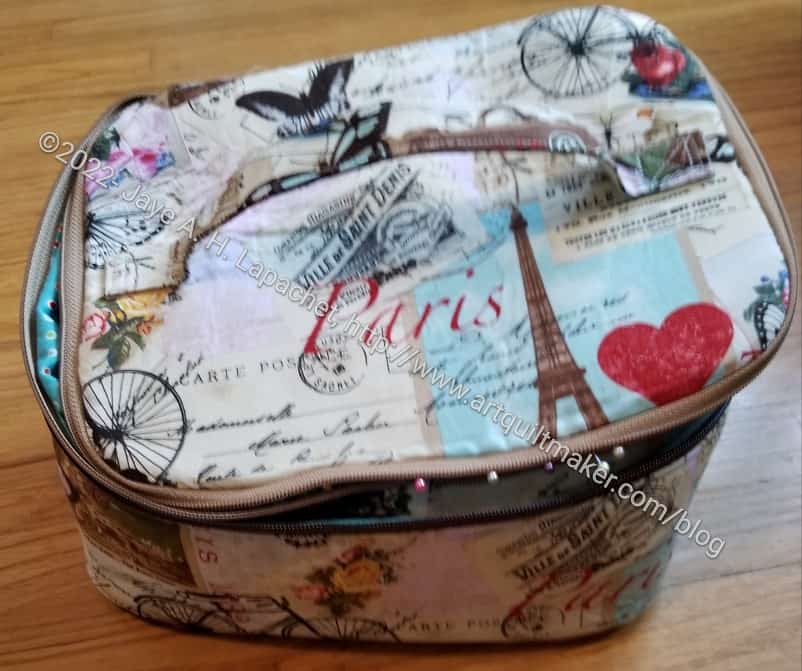
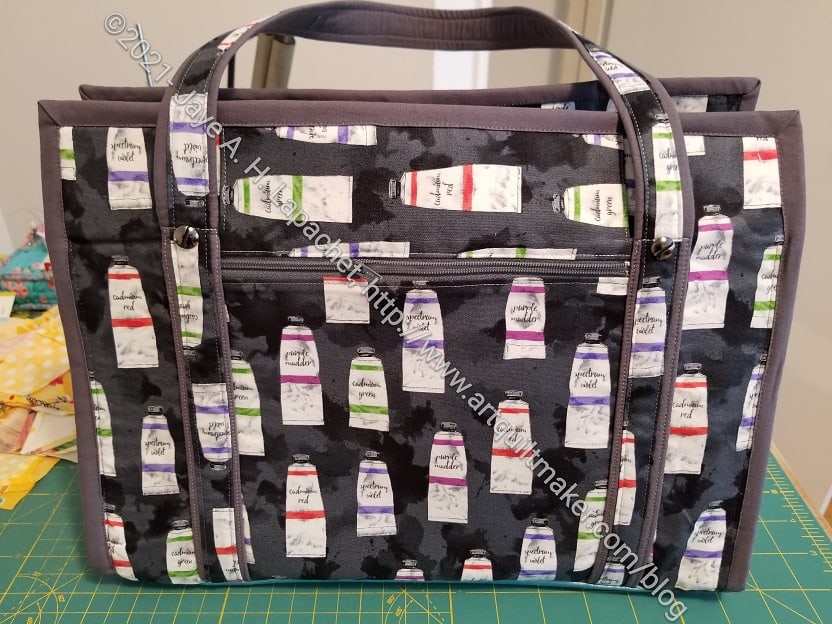
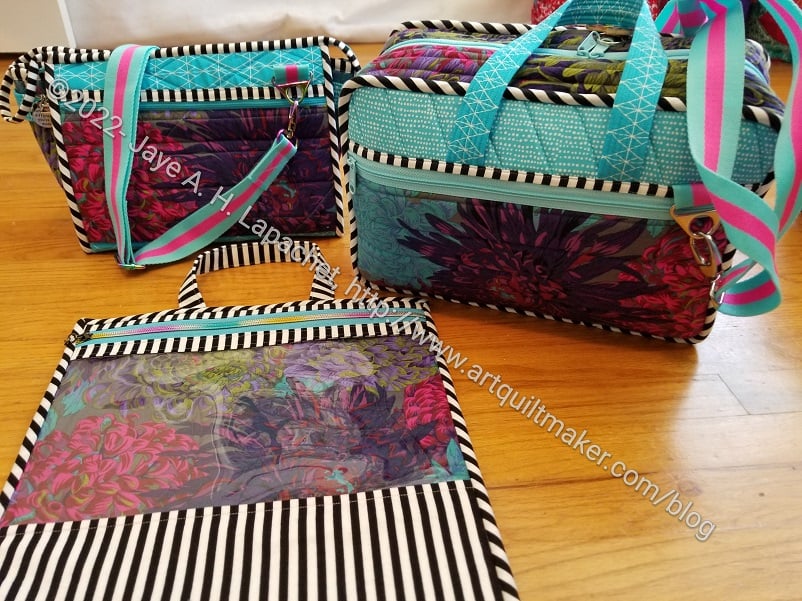
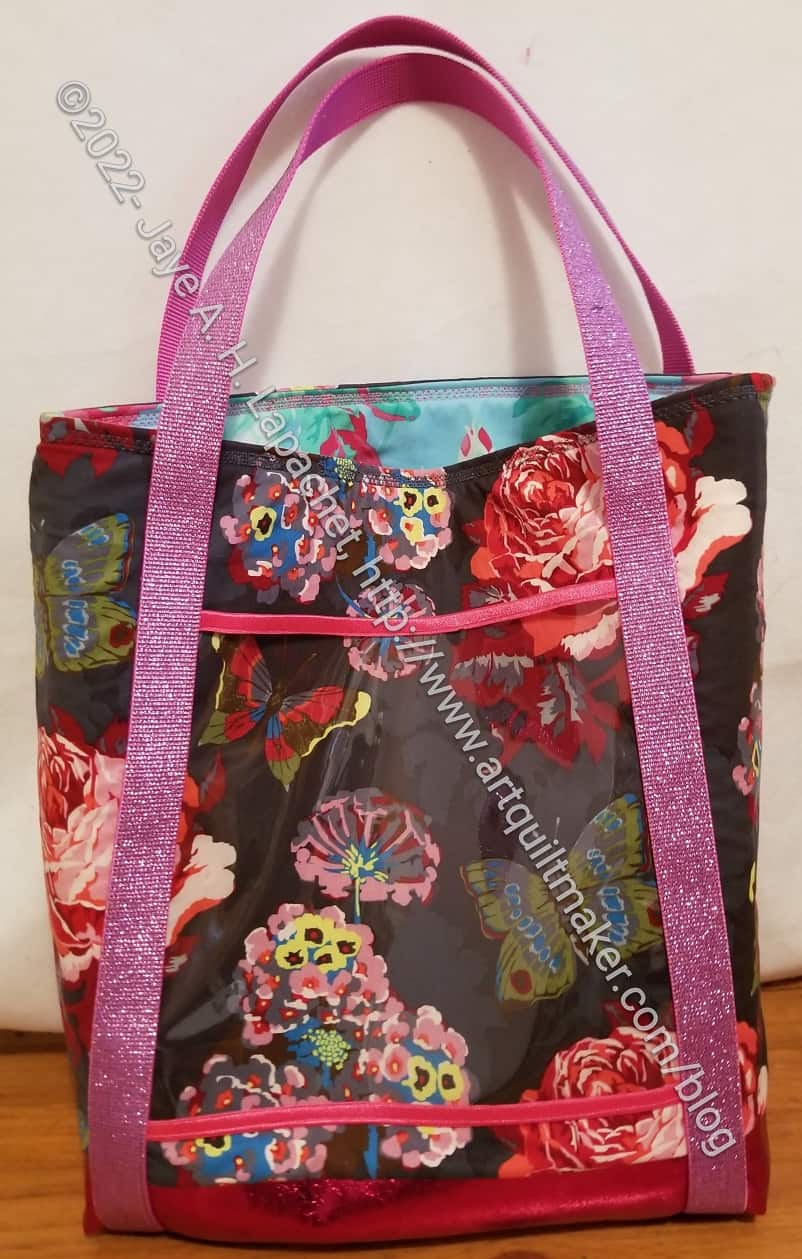
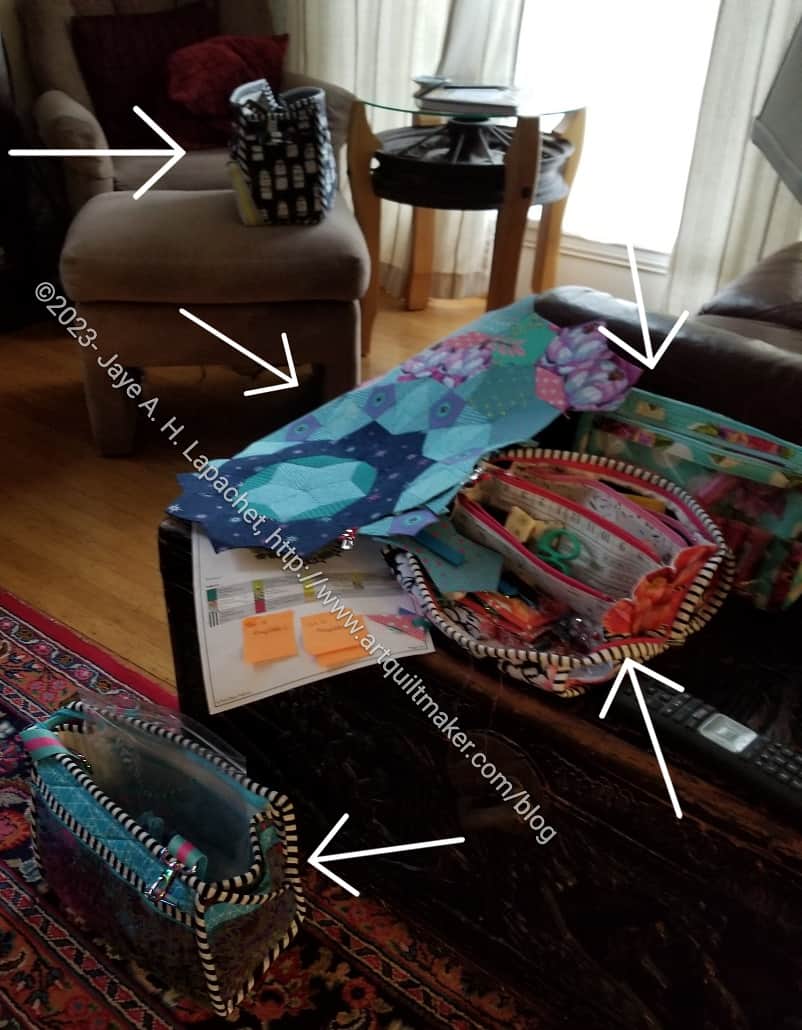
I didn’t want to bring A Place for Everything, which would have carried everything, but it is big. I was trying not to bring my entire workroom, so I brought my Take a Stand/Without a Trace bag. Using the supplies I fit in this bag, I knew I would be able to work on La Pass Month 18. In it I stuffed my La Pass Sew Together Bag. To carry my La Pass thread, I brought the Inside Outside pouch, pattern from Aneela Hoey. Both of these bag fit snugly in the Take a Stand.
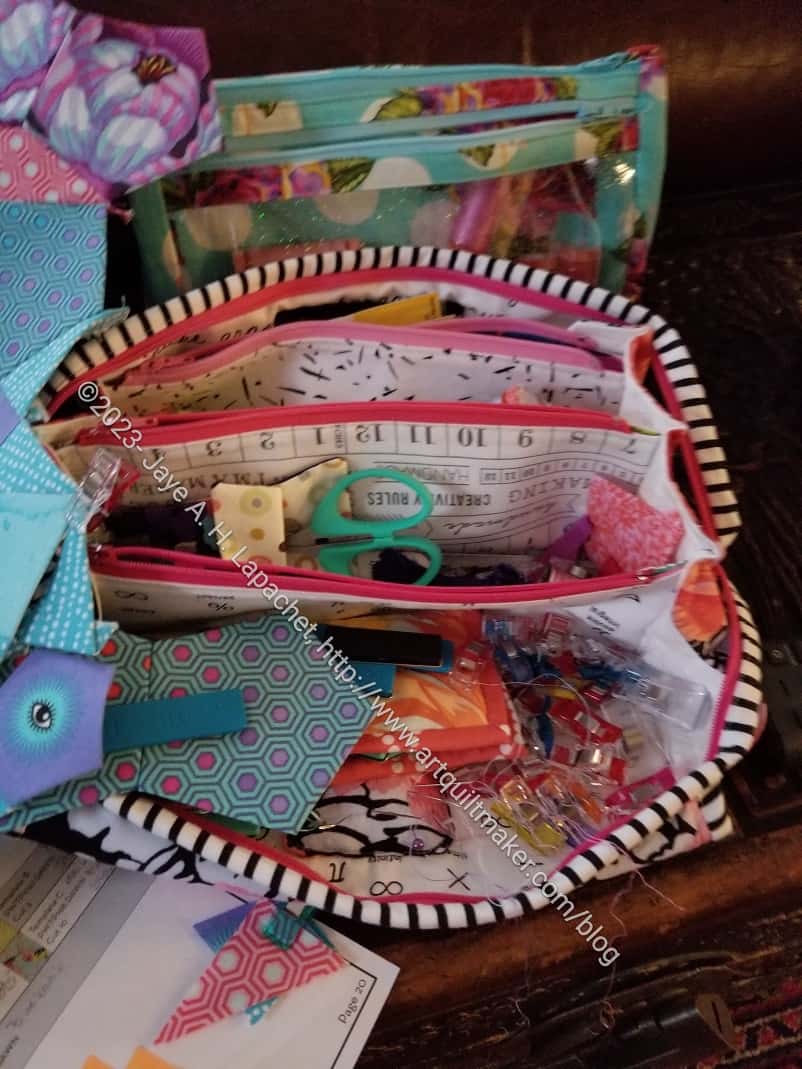
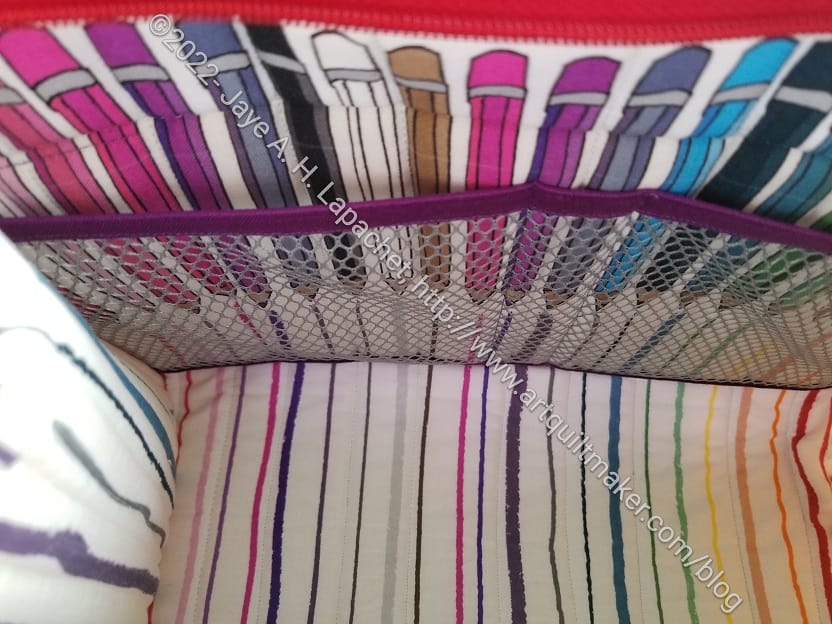
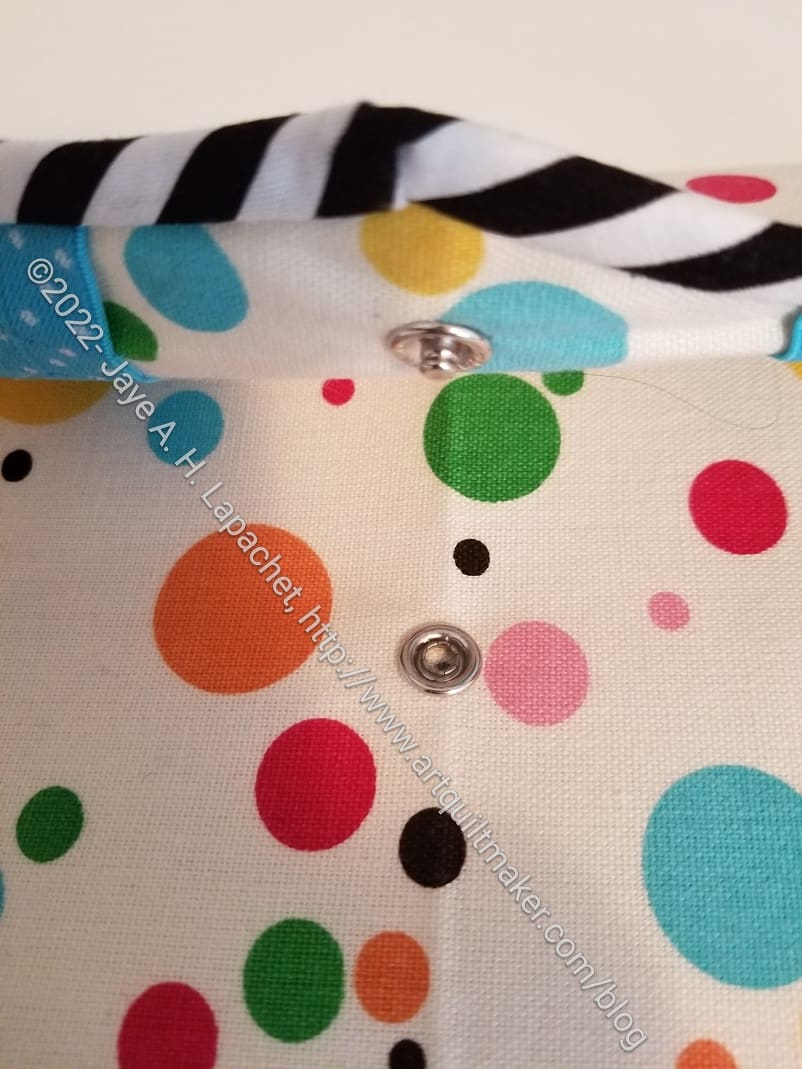
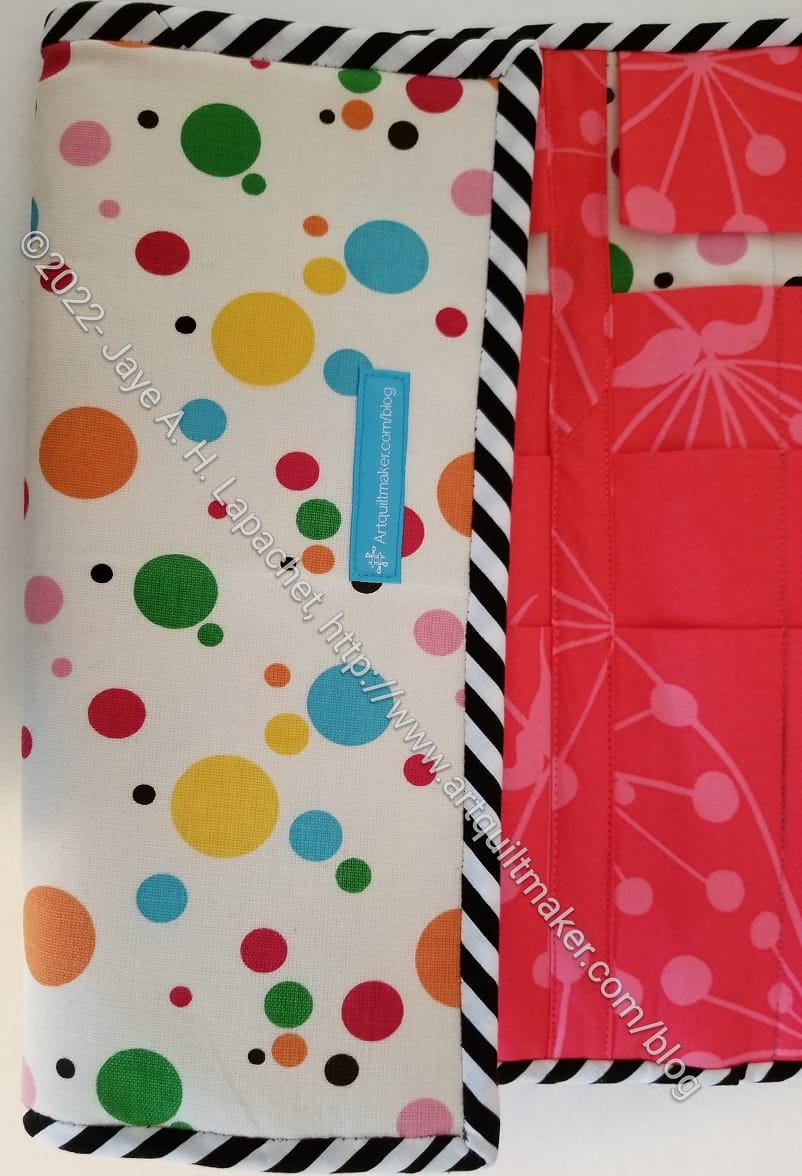
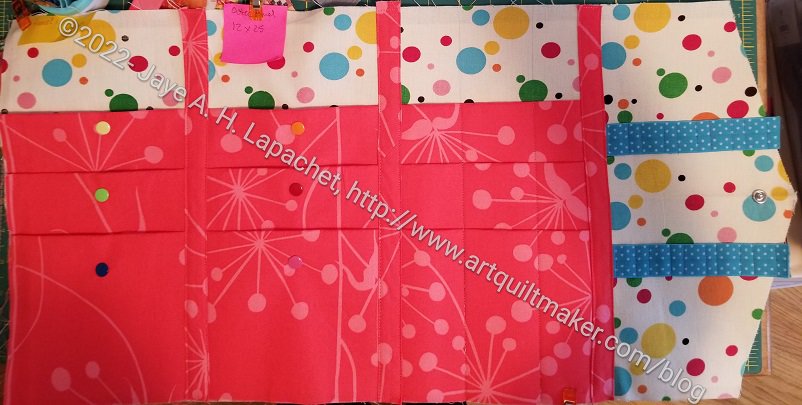
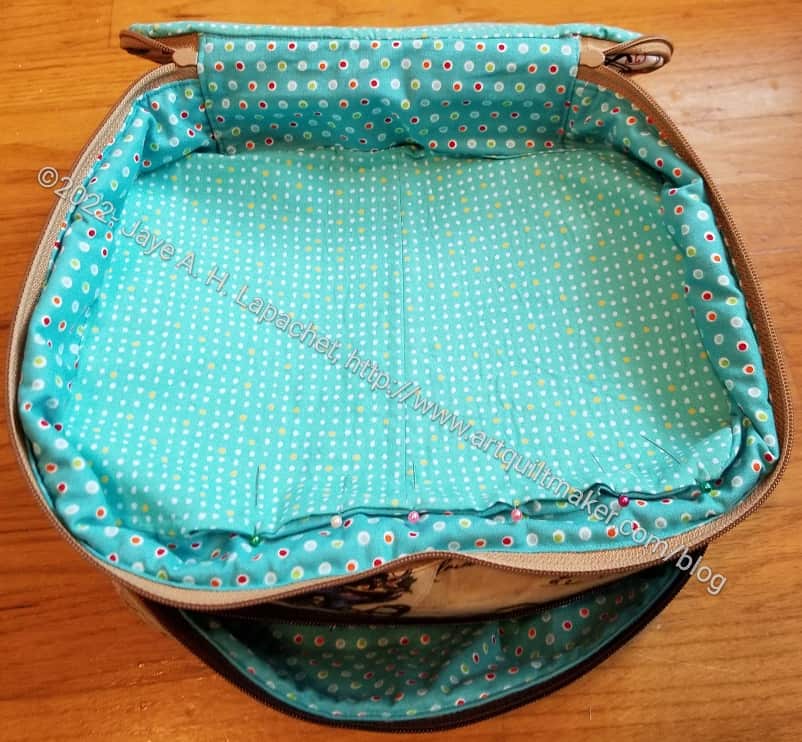
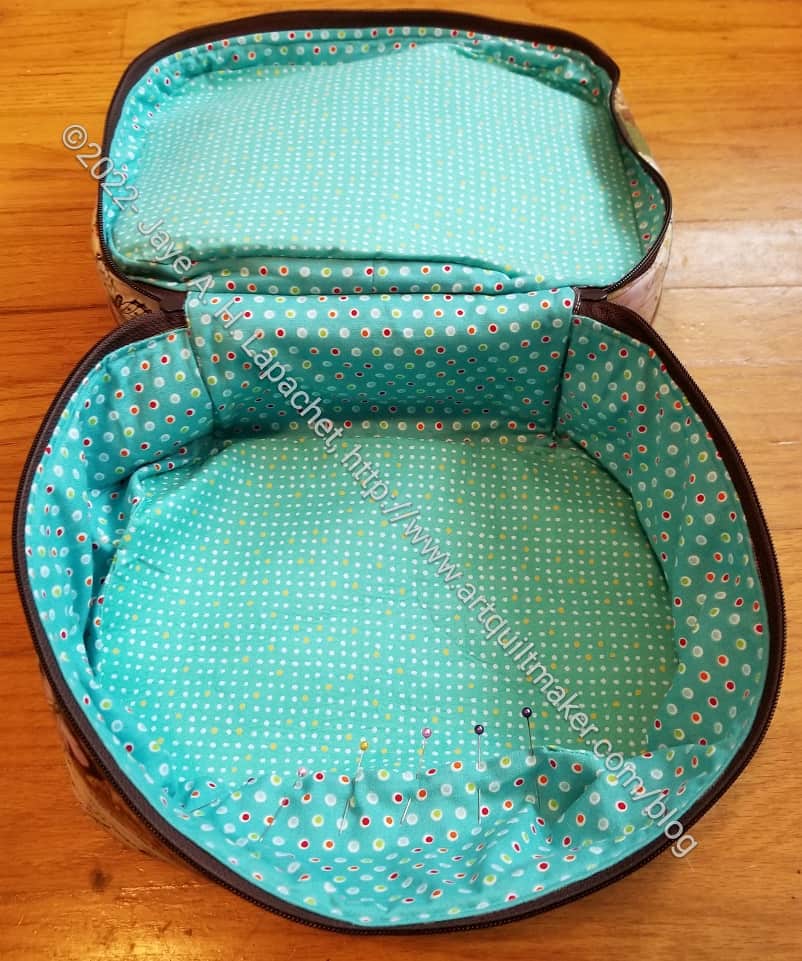
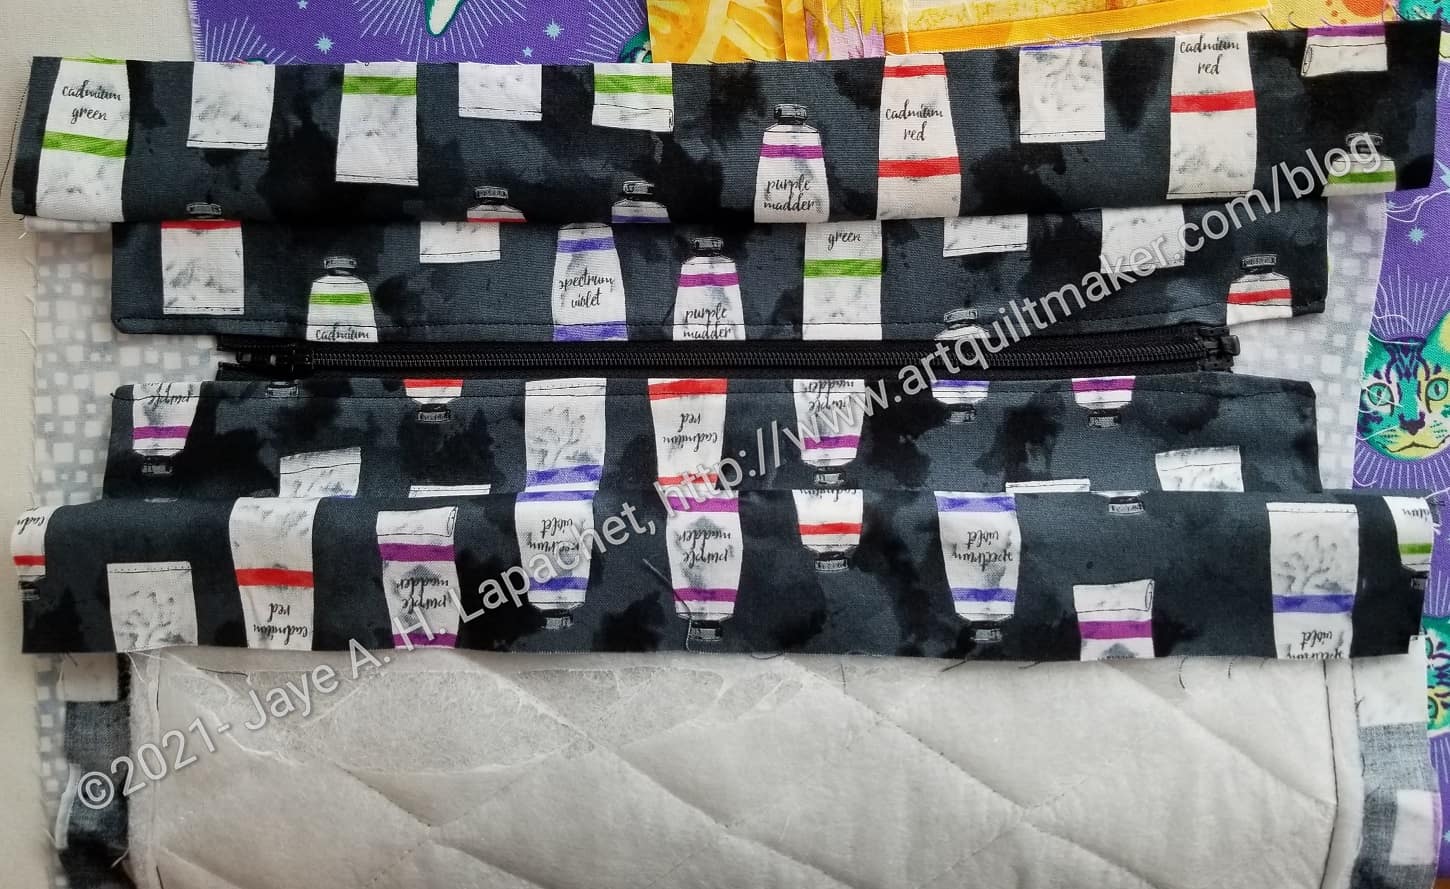
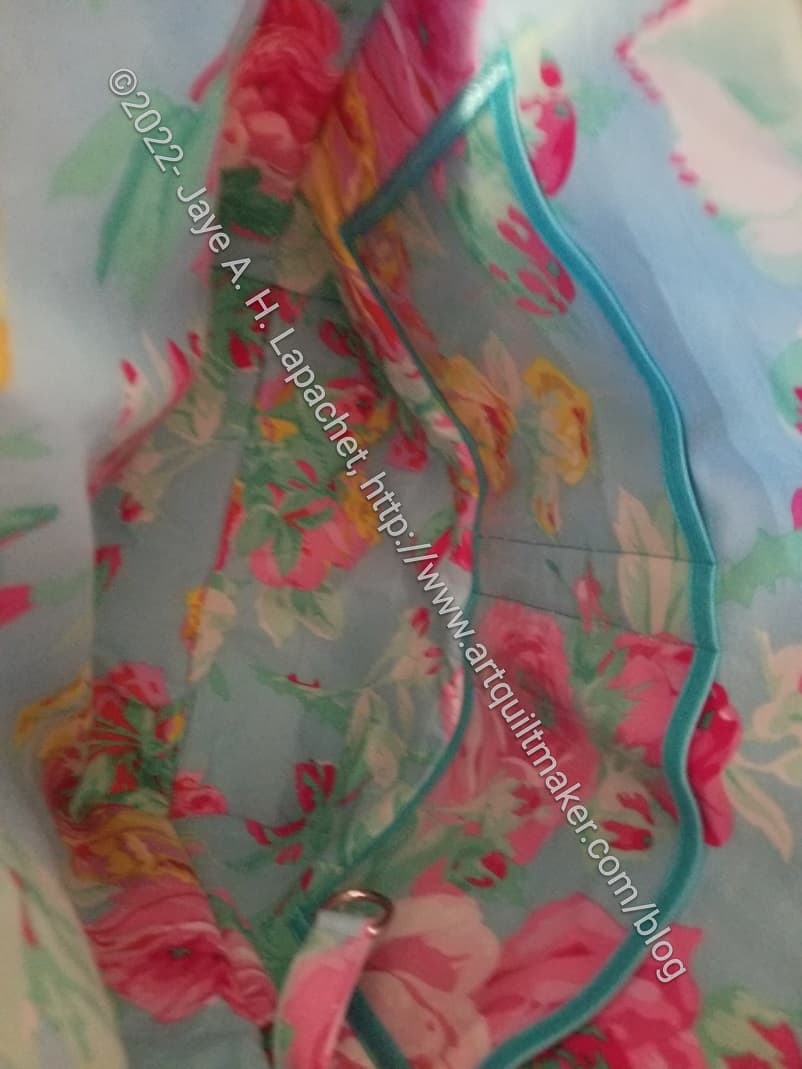
I keep the Sew Together Bag handy when I am working on La Pass, because it has everything I need. I know it is hard to see what is going on, but trust me, it is super useful.
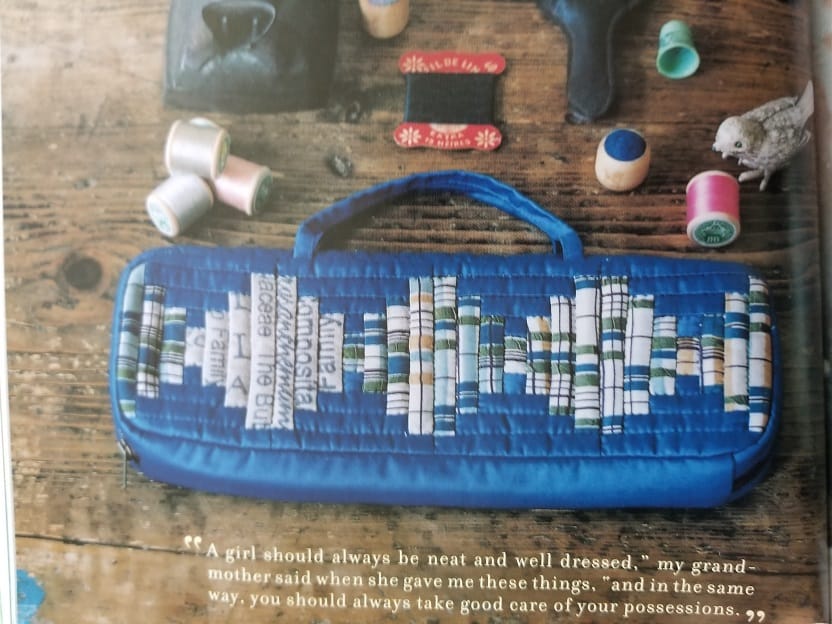
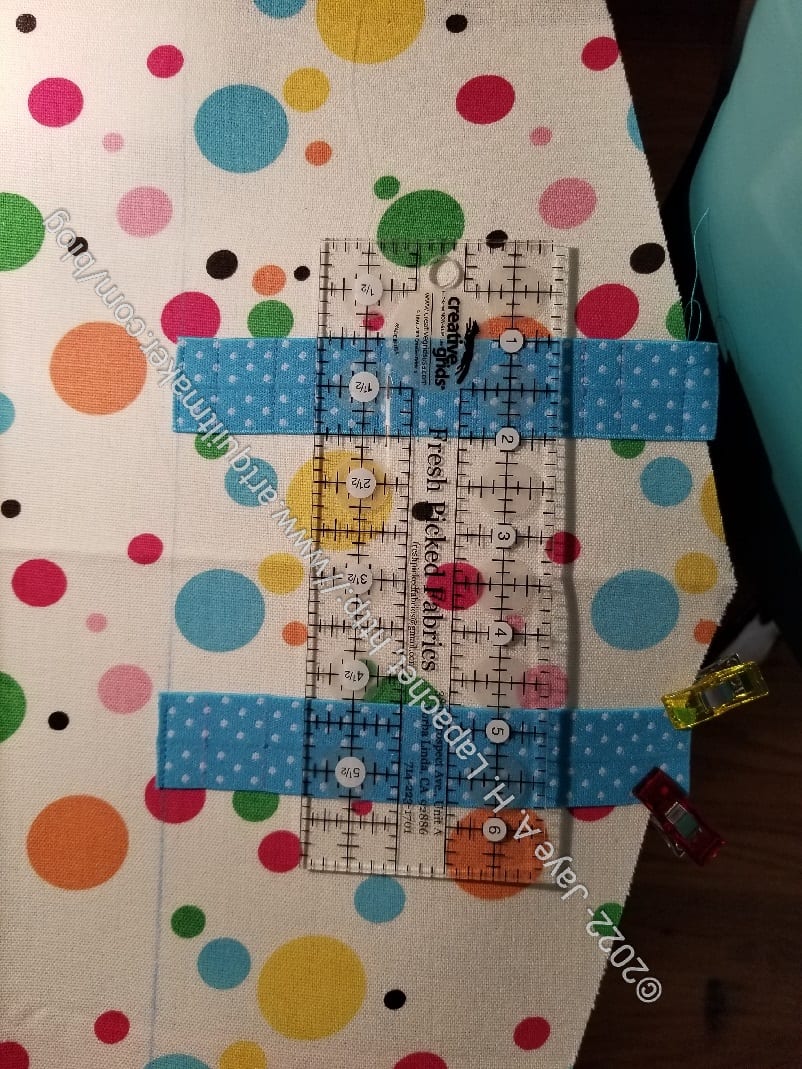
We stopped to stay with Mary and Michel on our way home. Mary wants to make this bag and we spent a lot of time talking about the construction.
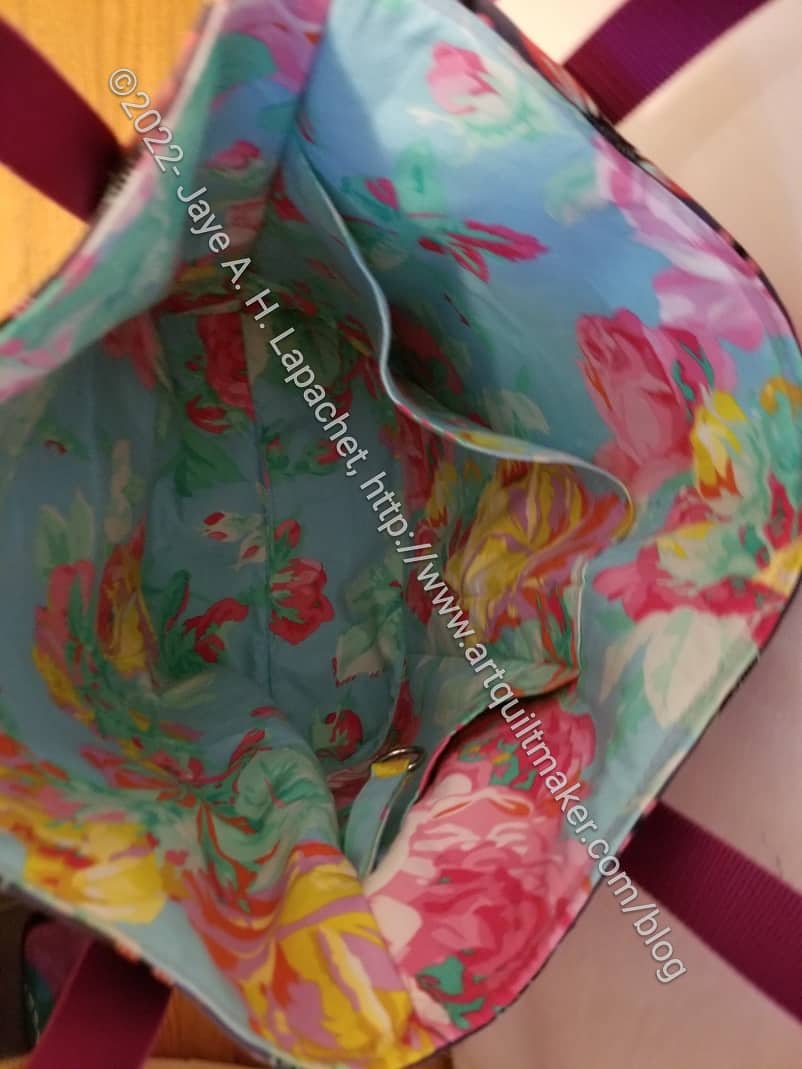
It was useful to have everything I needed fitted into the Take a Stand. I knew nothing would fall out, so I didn’t have to worry. I also didn’t have to change bags in order to make everything fit.

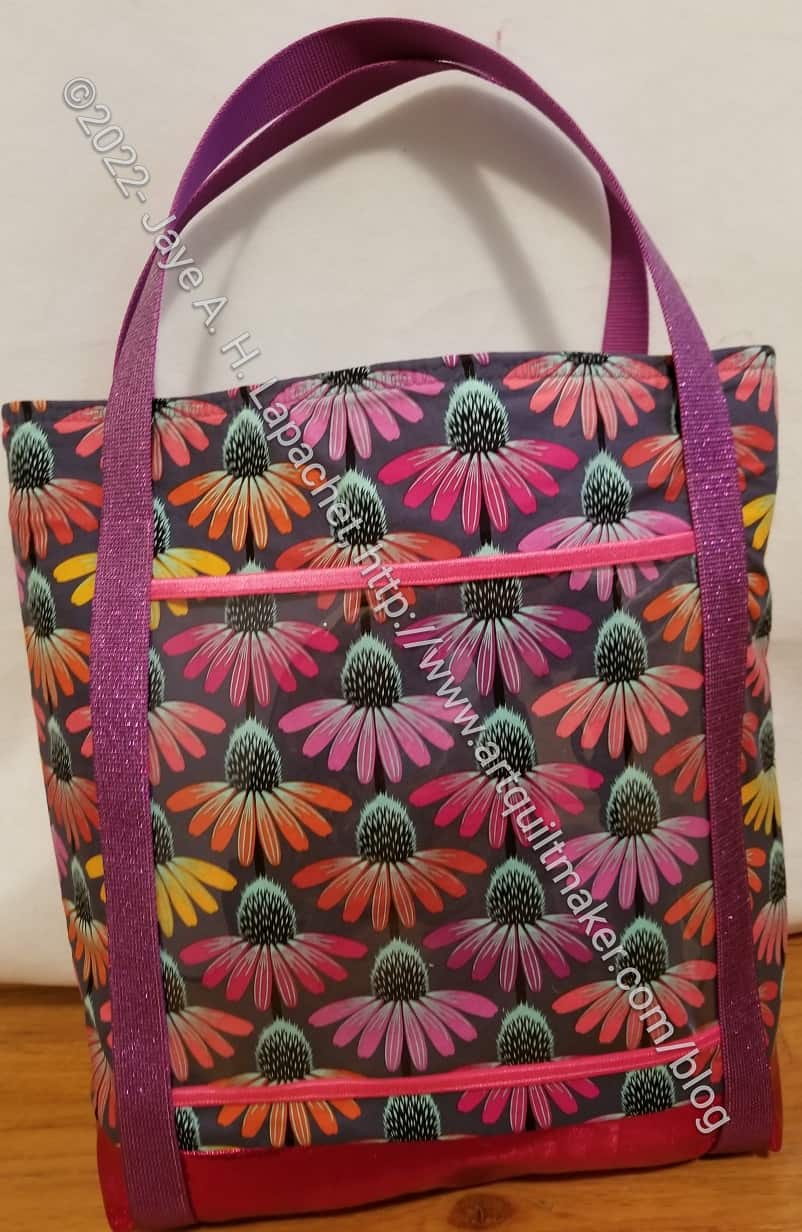
Mom also brought her Take a Stand. I am not 100% sure what was in there, but it was hanging around the house.
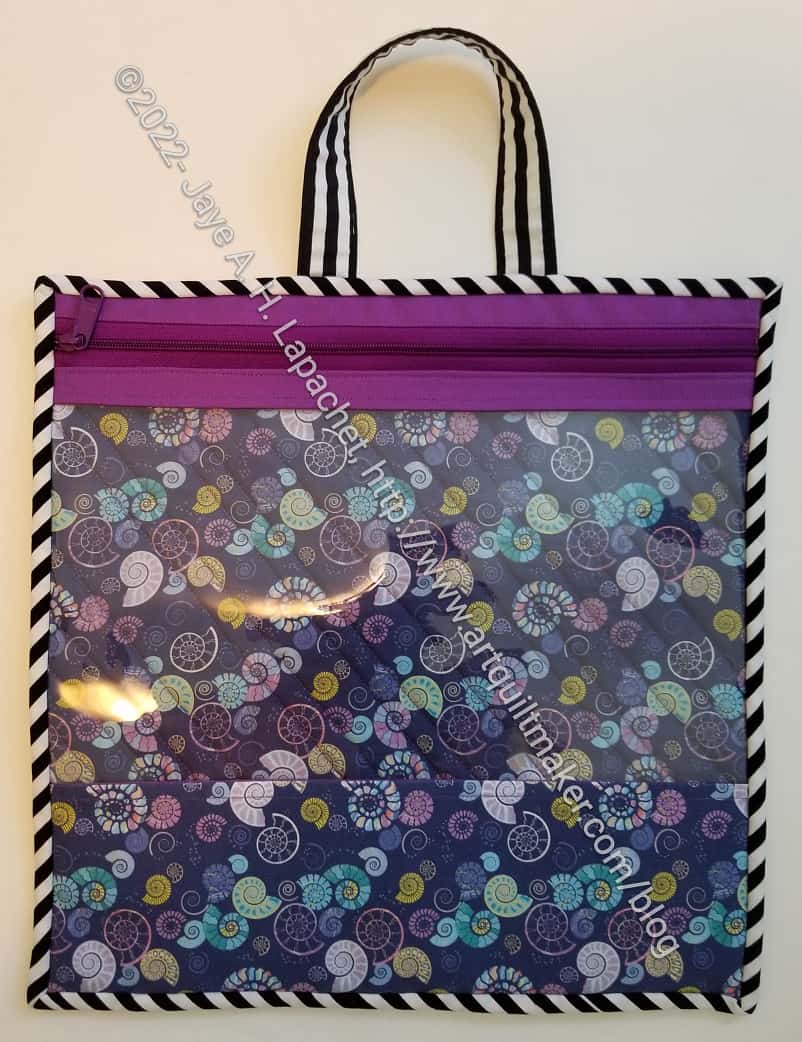
She also brought her Percheron Pouch with her, which I didn’t photograph in situ. She used it a lot. It houses a crochet project I bought for her that she has been working on for quite awhile. She had a big space she could use to lay the piece out so she could see what she was doing. If I remembered the pattern, I would share, but I don’t.
i really enjoy seeing my gifts in use.