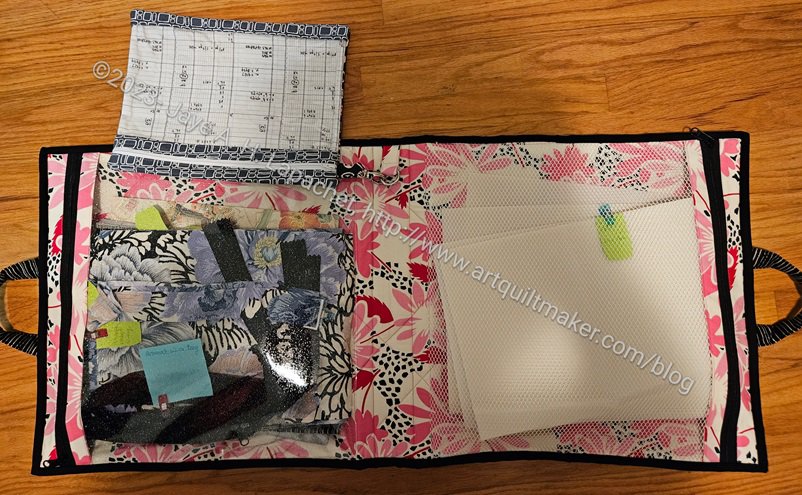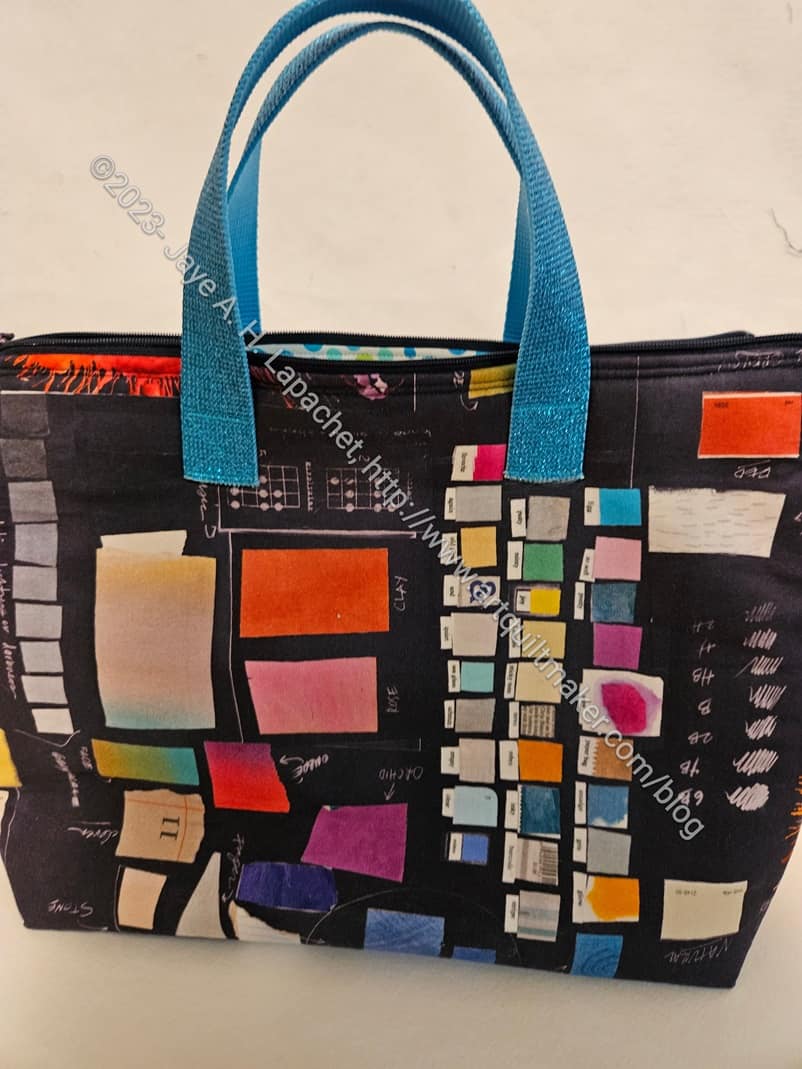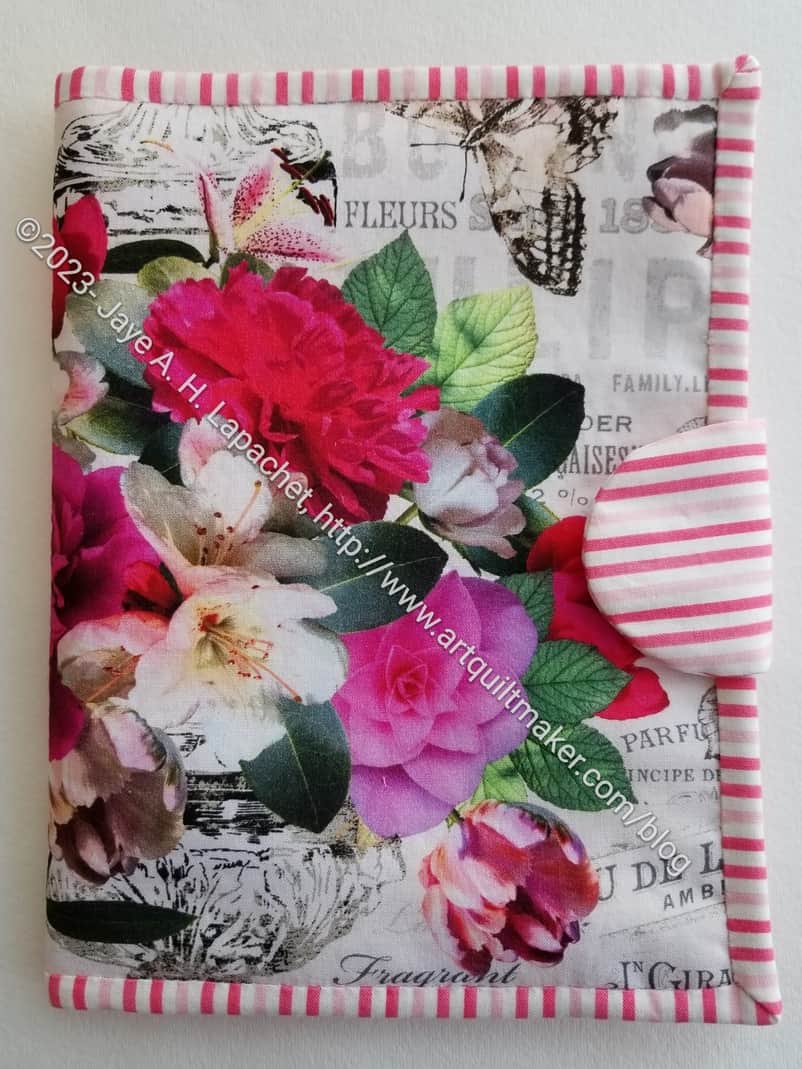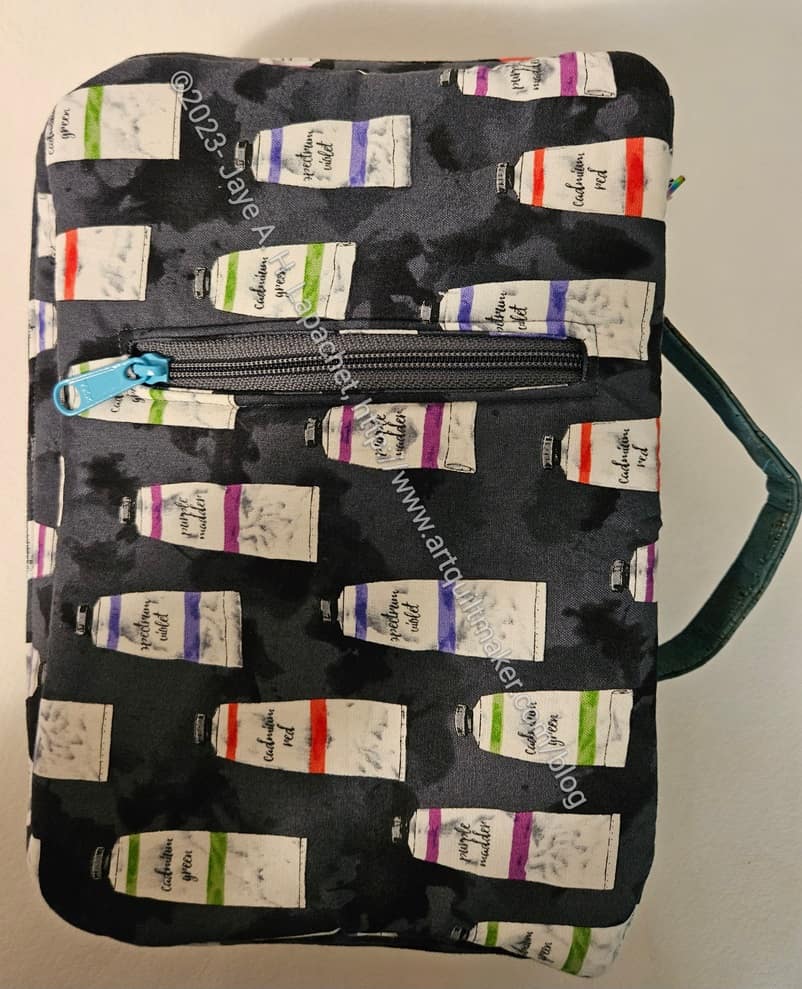
I made this book cover for my mom for Christmas. I wanted to enter the Sew Sweetness challenge for the month, which used this pattern. I didn’t think I would ever make it as I don’t normally carry books around. Then I talked to my Mom about her book club and all the pieces came together in my mind. It seemed like a good opportunity to make sure she can take her Bible to book club (Bible study??) in a chic and personalized manner.
The Goldenrod Book Cover is one of the patterns that make up Minikins Season 4.
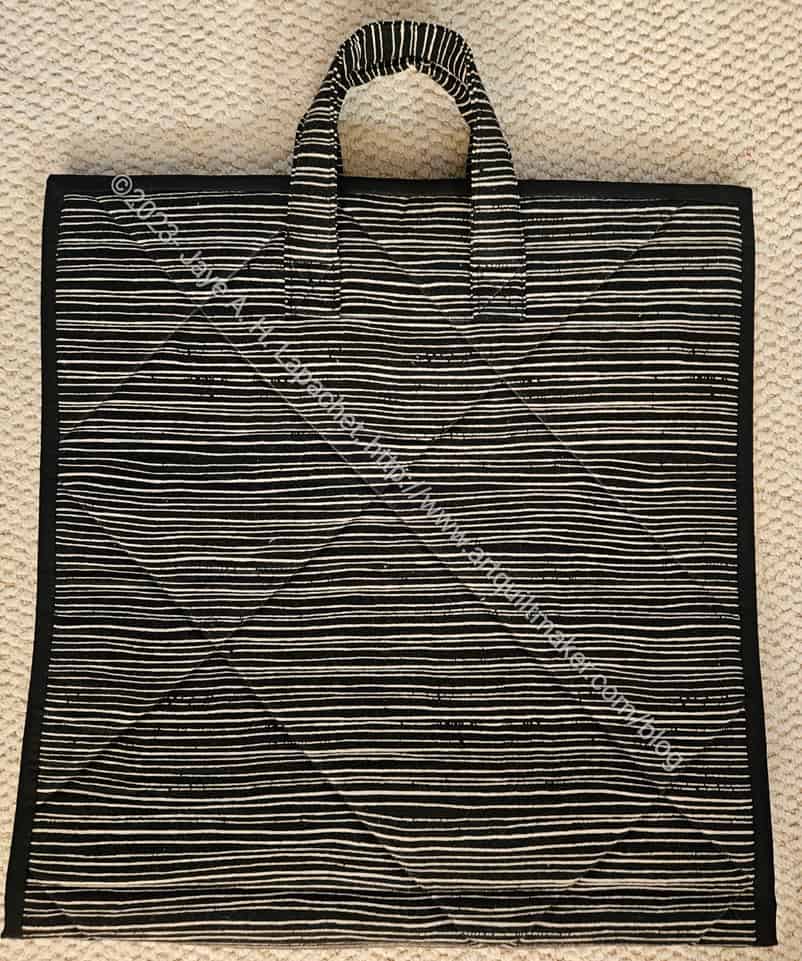
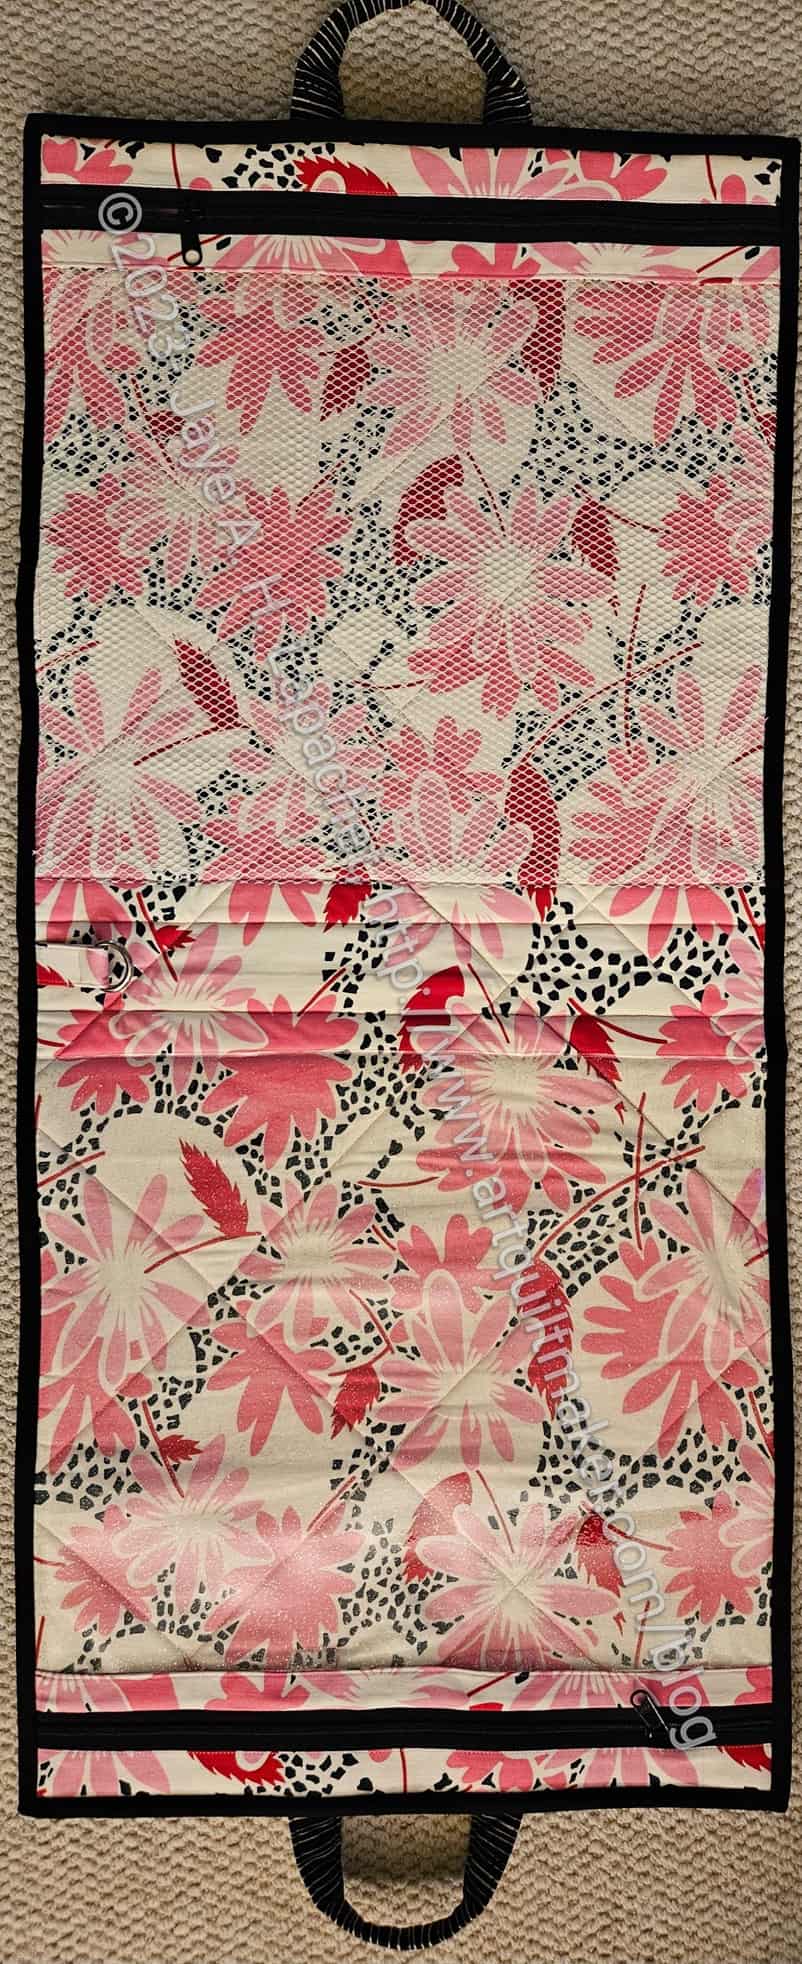
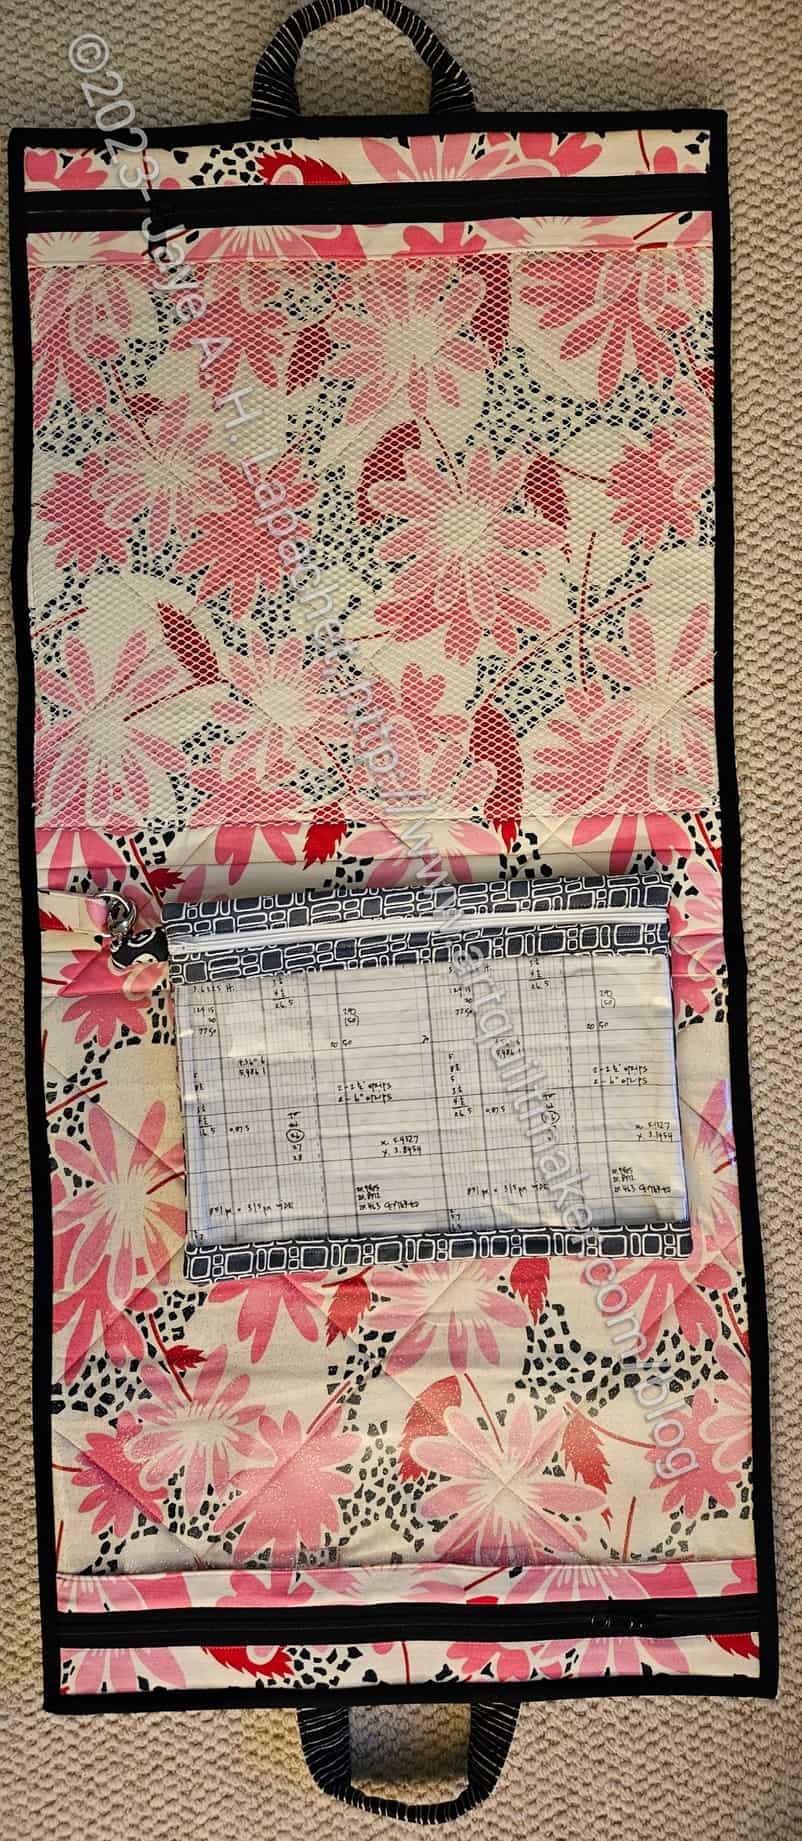
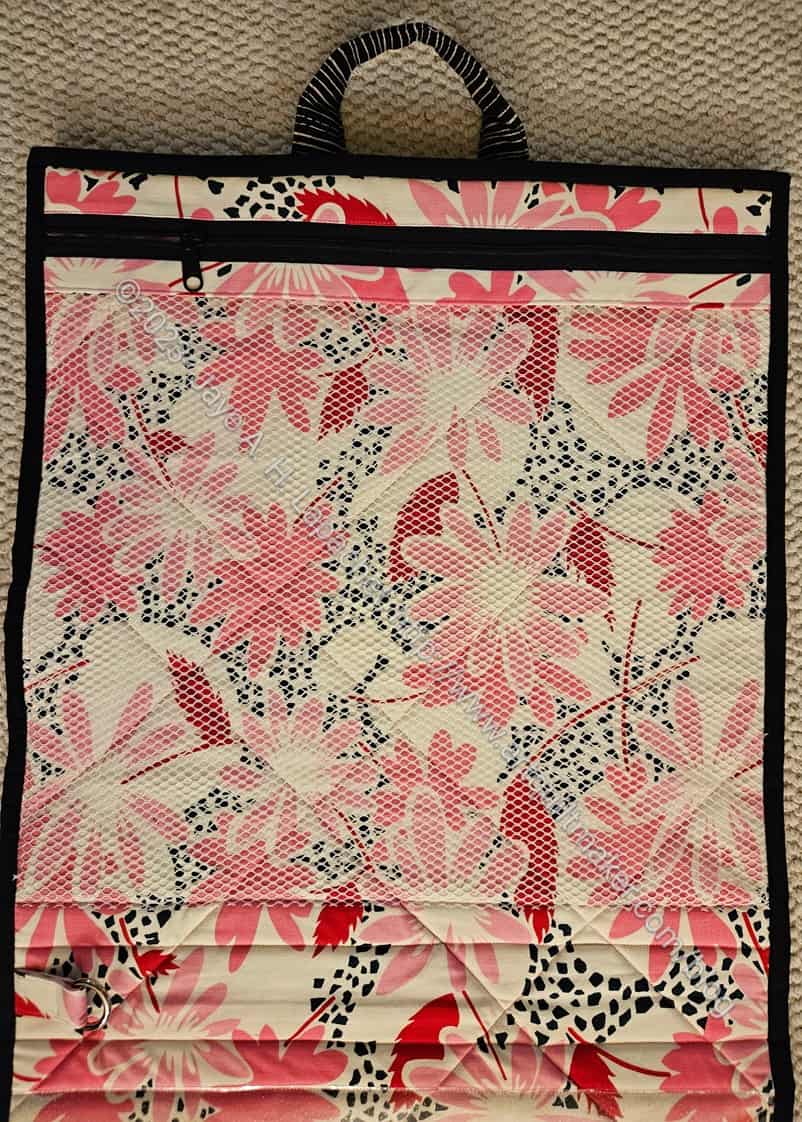
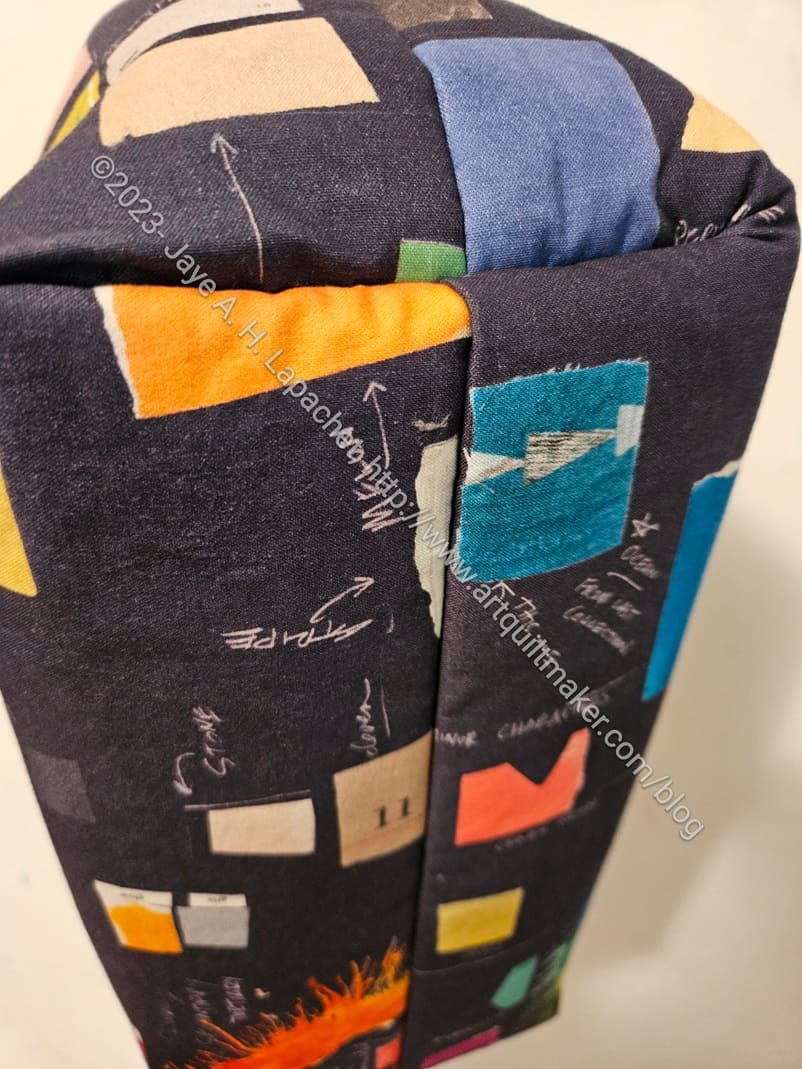
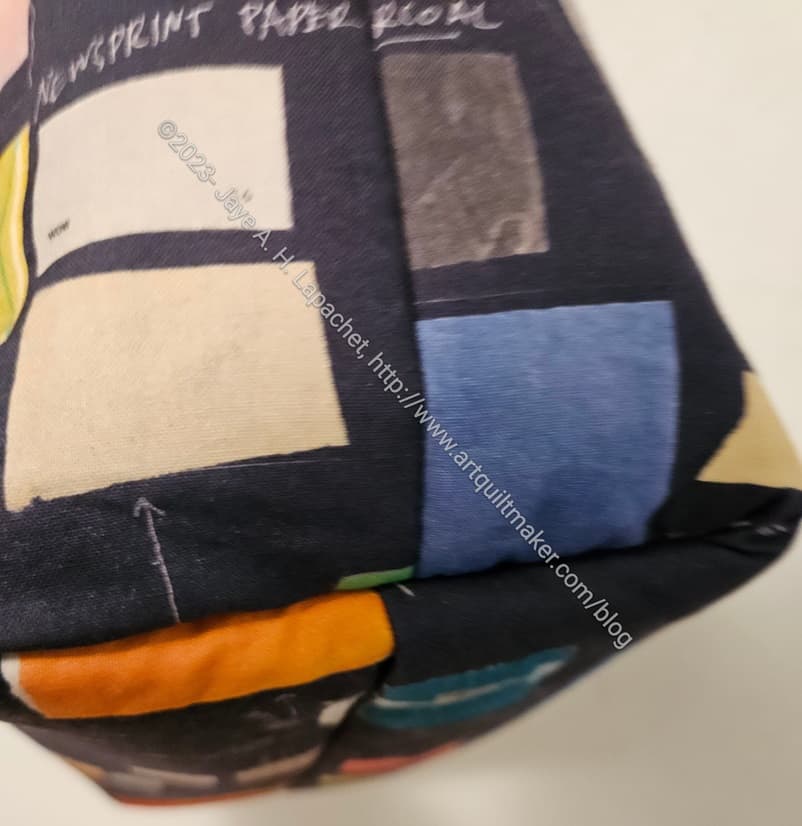
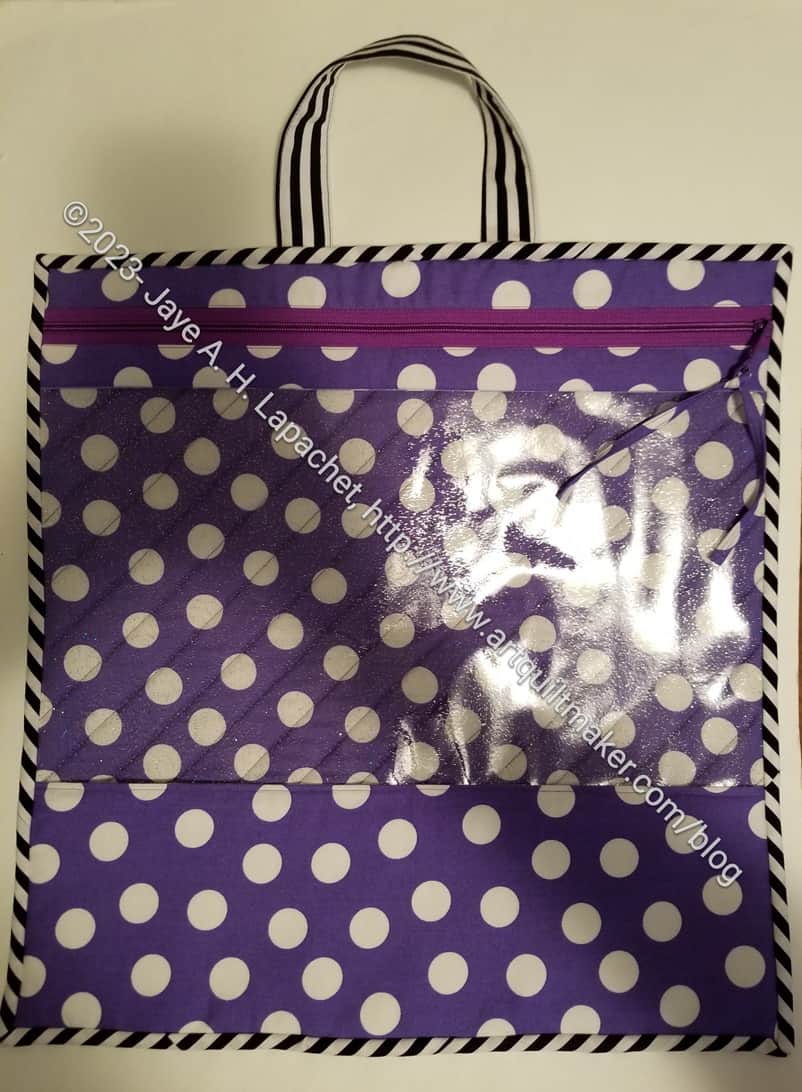
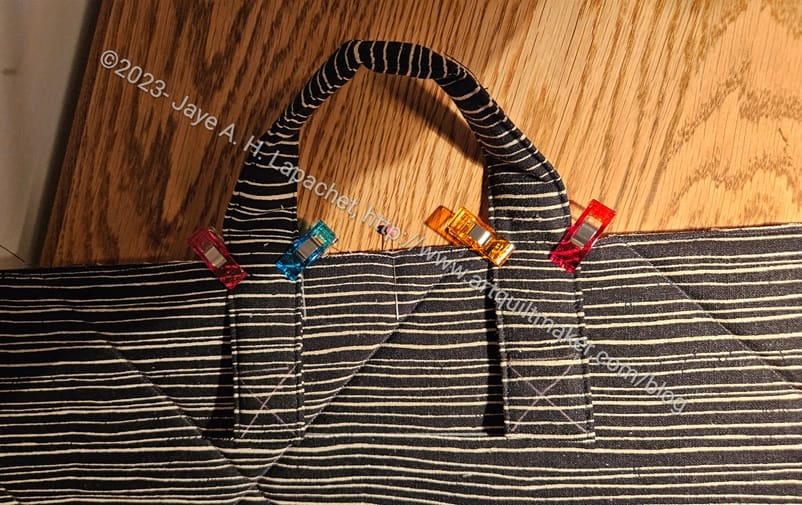
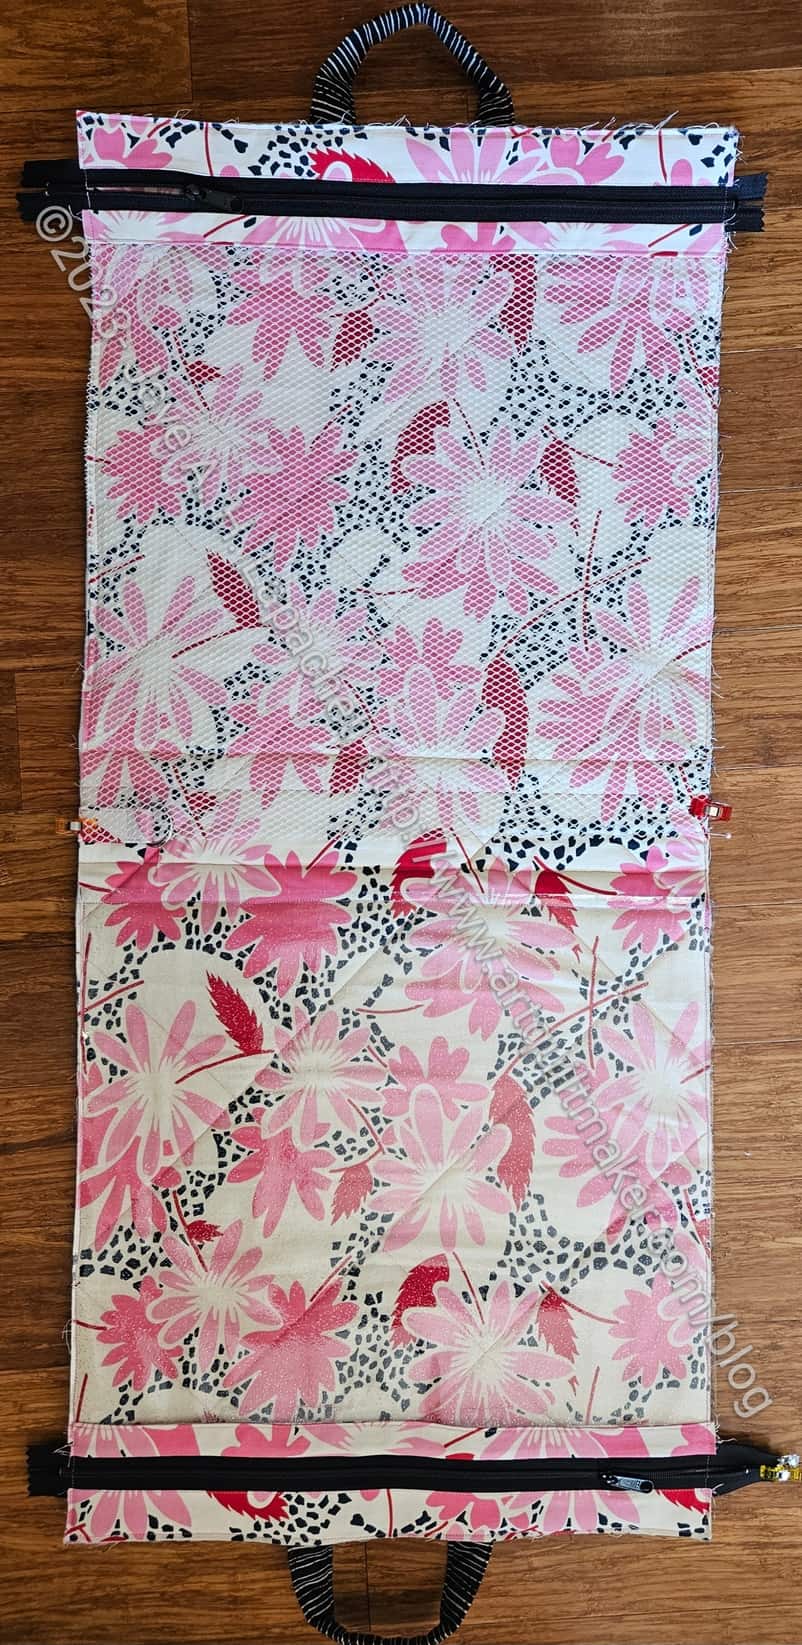
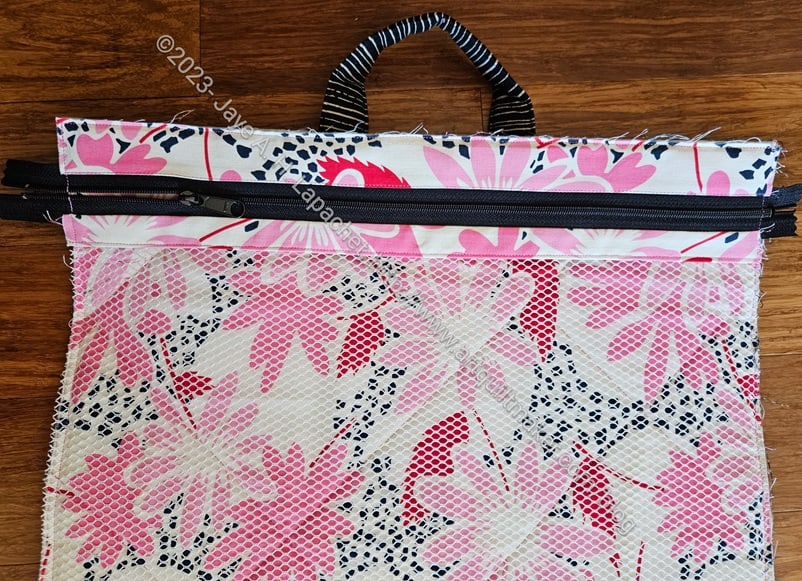
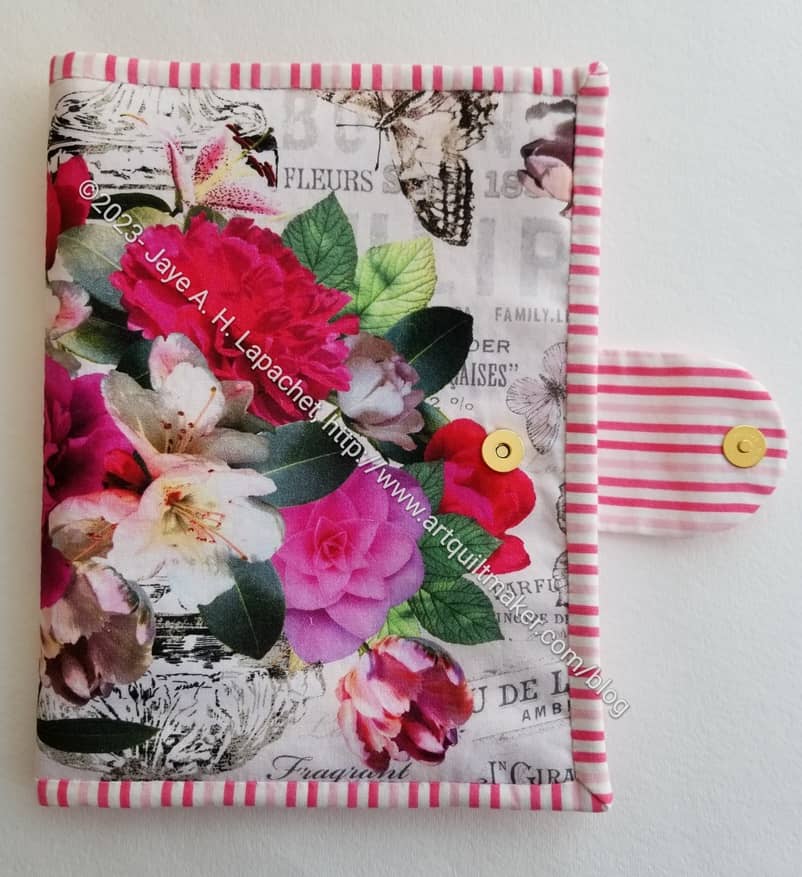
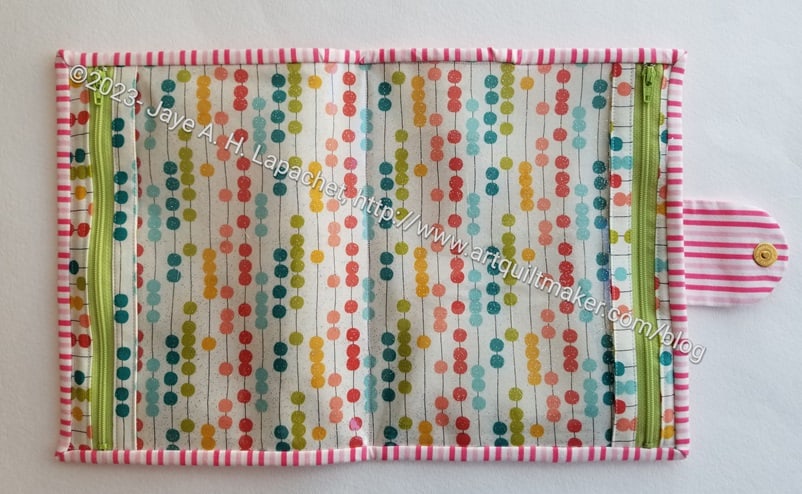
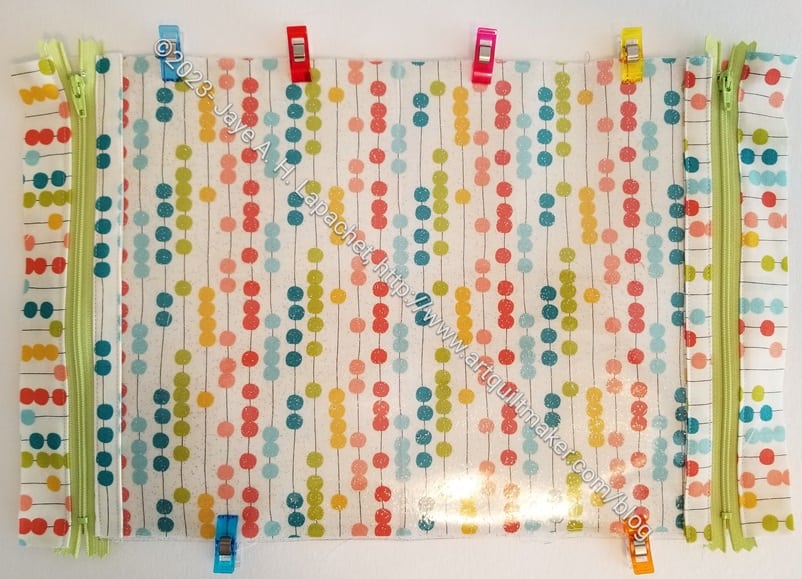
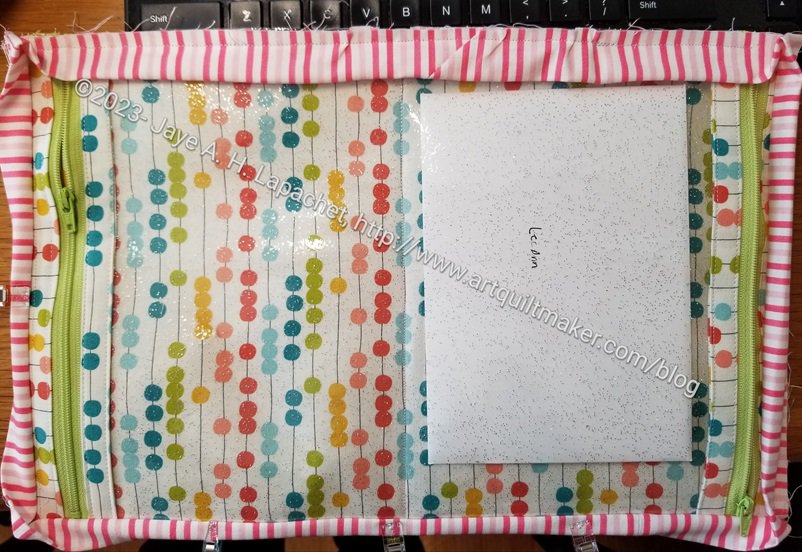
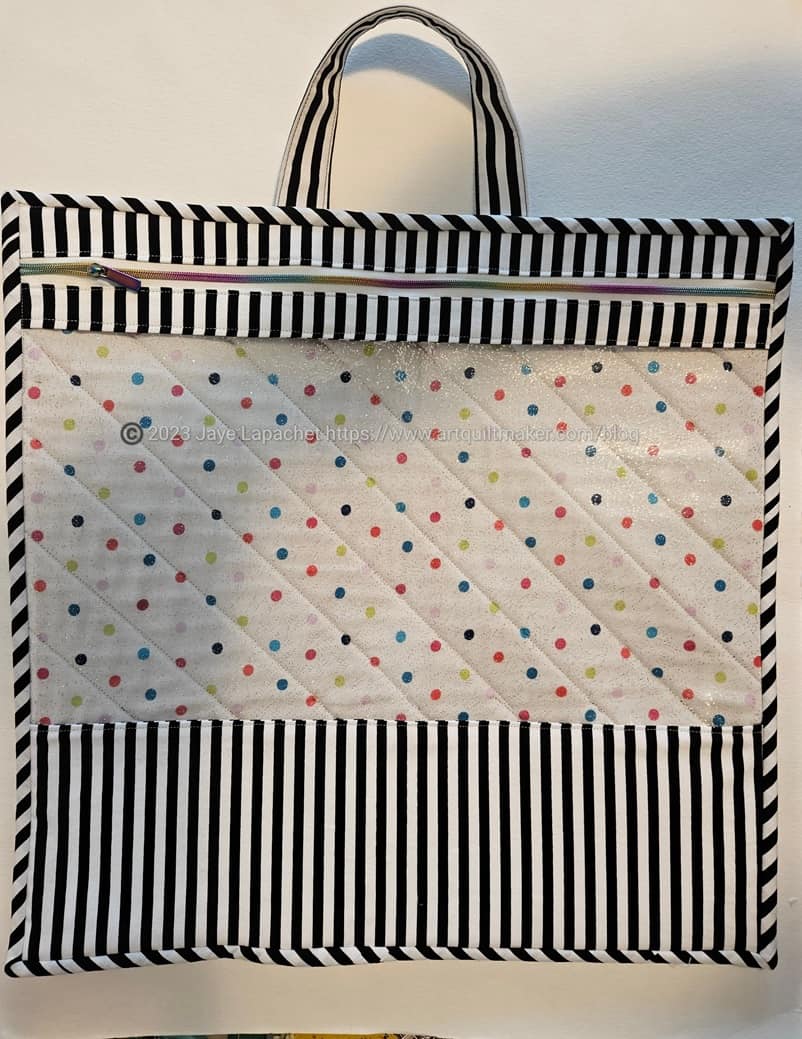
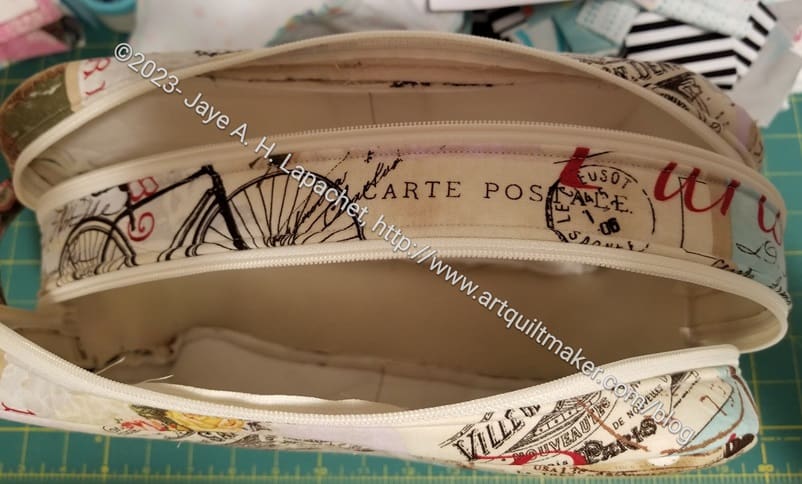
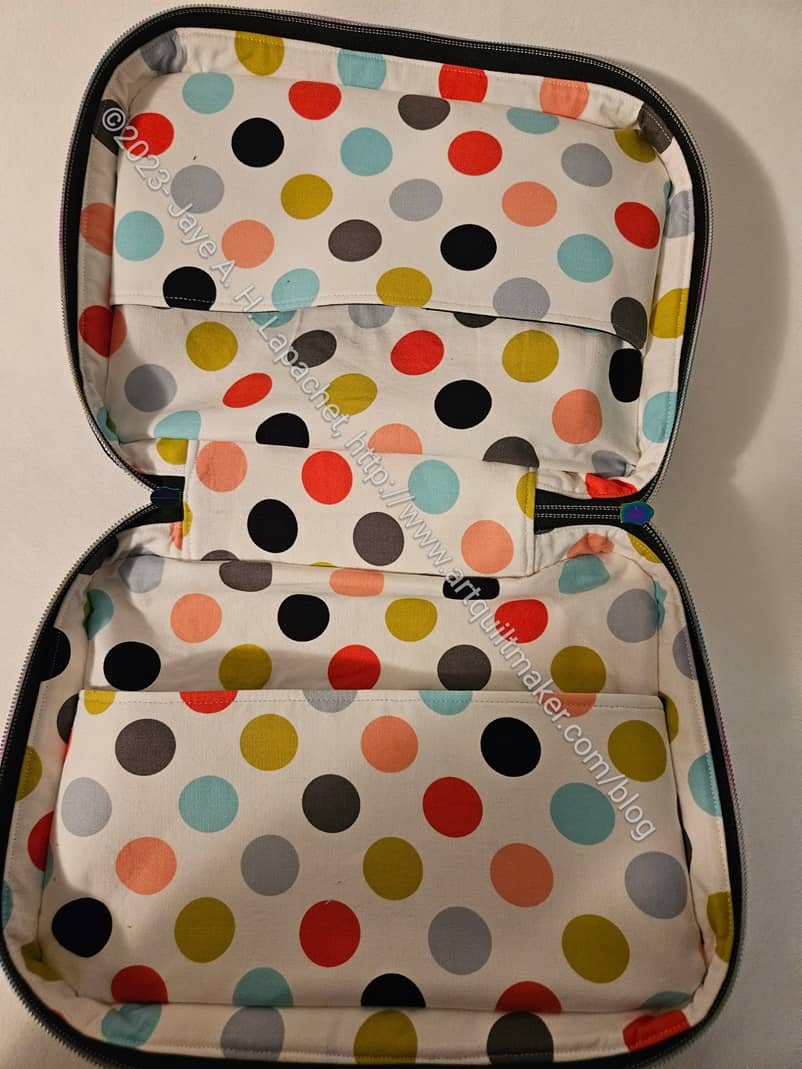
The idea is that you slip the cover of the book into each of the slip pockets and then zip the cover up. The handle is on the top (see above), which allows the owner to carry it. I thought it would be good to put a shoulder strap on it, but didn’t have the time to work out that change, so left it for another day.
Some of the construction is similar to the Hackney pattern– the gusset and the piece under the handle that connects the ends of the gusset. I am sure it makes sense in terms of pattern writing, but I appreciate it as I feel like I am gathering a bunch of skills that can be interchanged between patterns.
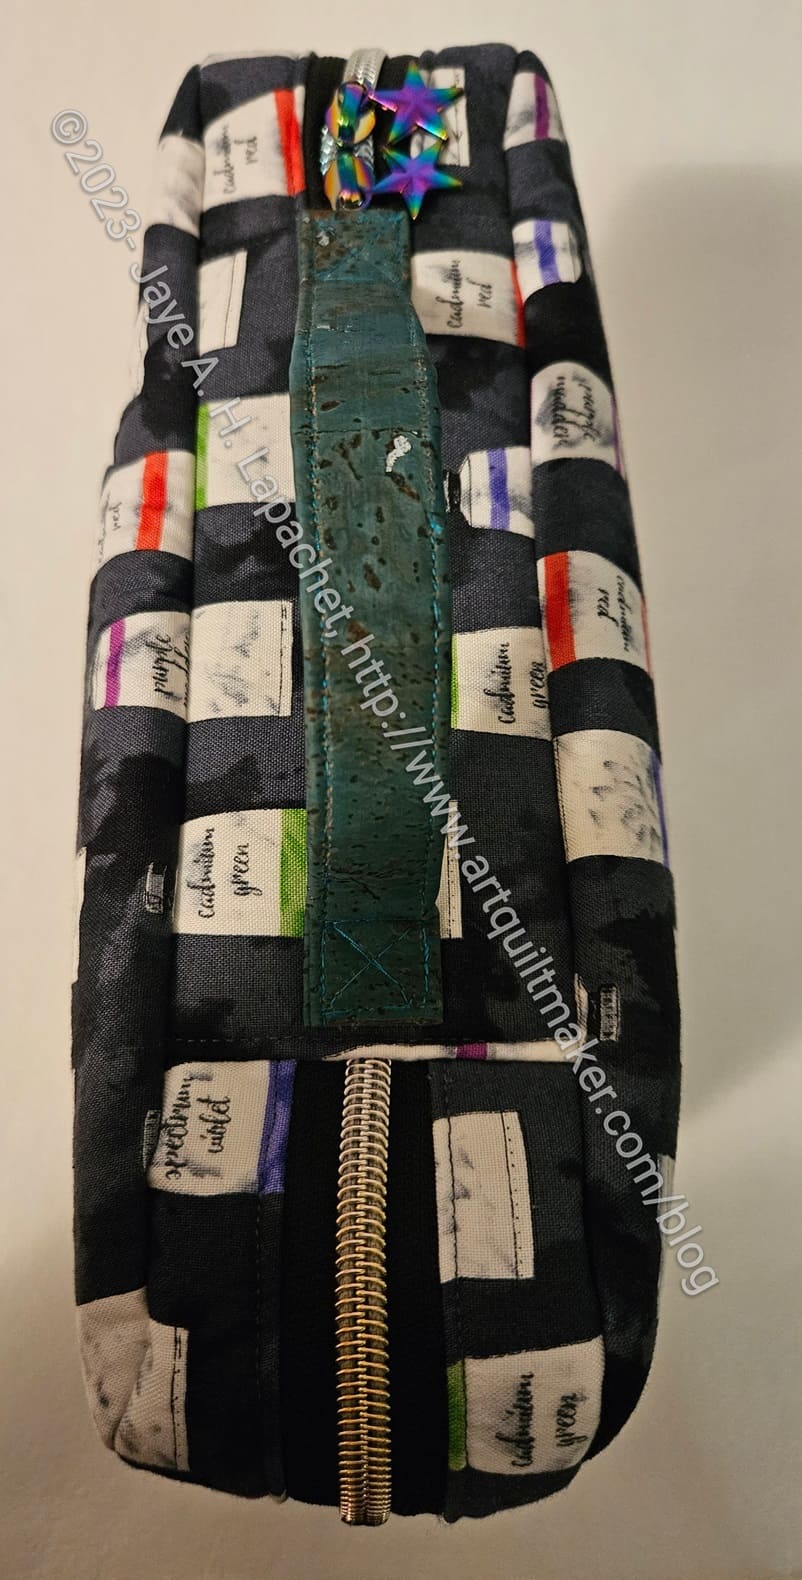
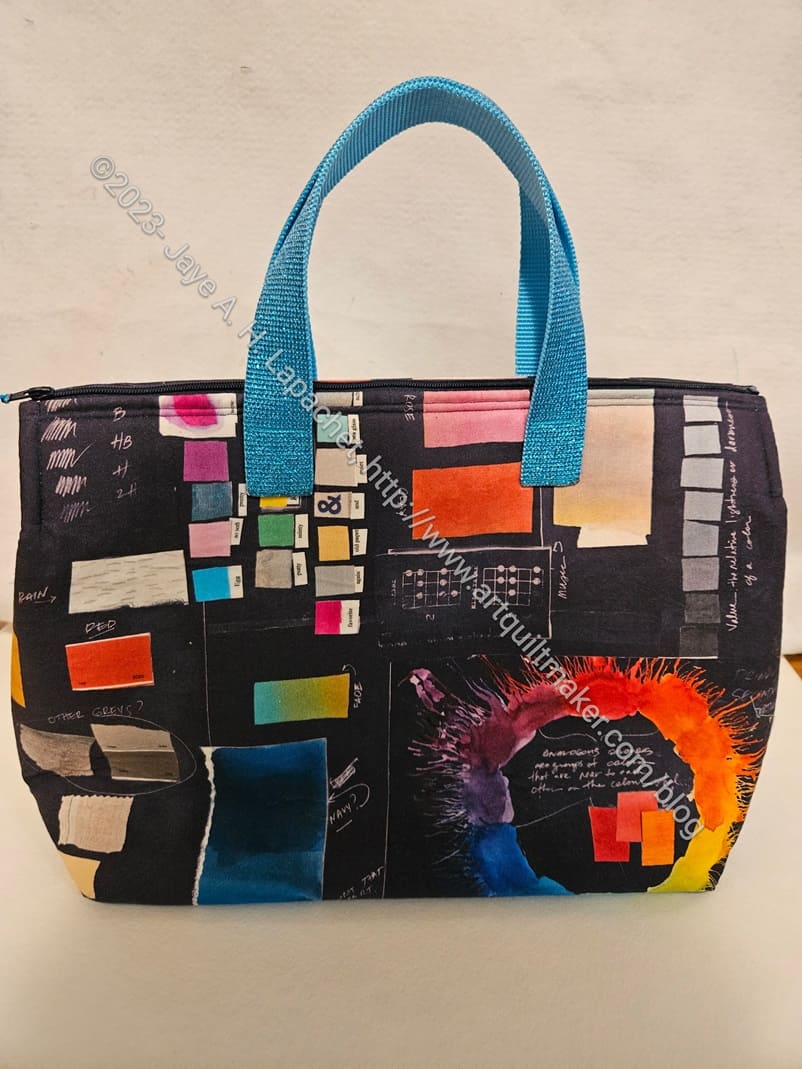
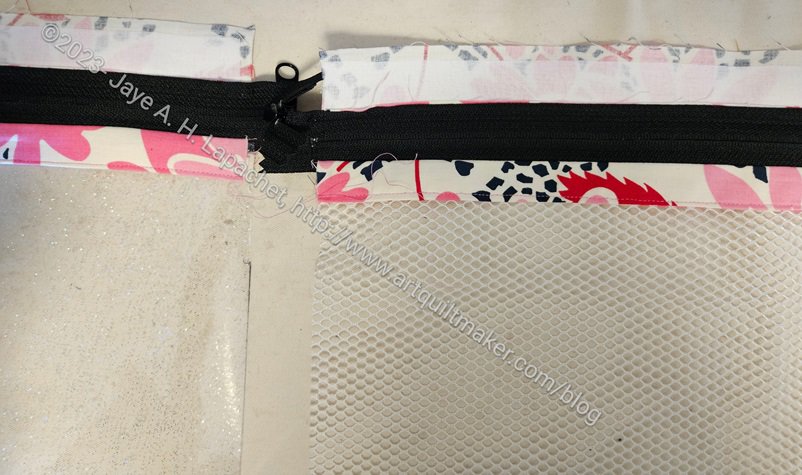
I used a piece of cork (?) I bought from Sew Hungry Hippie. They don’t have the exact color any more, so I am not linking to the product. It is called cork microfiber backing. I had some trouble with skipped stitches while sewing it. I tried different needles and rethreading. Nothing worked so I have reached out to the team at Sew Hungry Hippie to see if they have any suggestions. Writing to them made me think that I had not tried different thread. As you know, I mostly use Aurifil and have a lot of colors. Of course, I have other thread, but not in the array of colors.
It is important that I figure out how to use this material since I want to use it for the Rockstar bag. I’ll need more of it for that pattern and don’t want to fight with it the entire time.
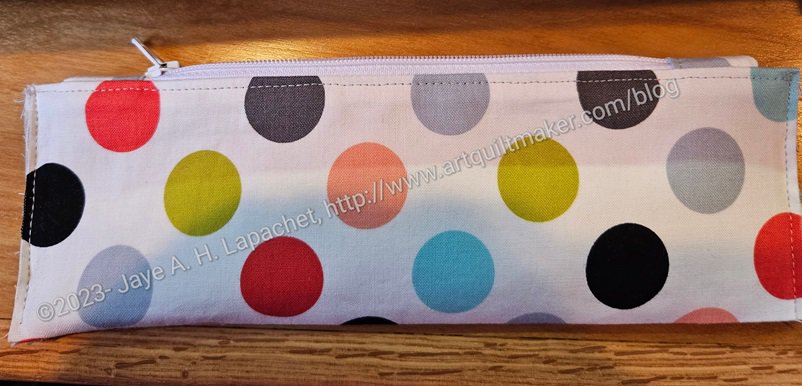
Mom seemed to like it and I hope she will be able to use it. She really liked the rainbow zipper.