I still have UFOs. Who doesn’t, after all? A project in the ‘UFO’ category means I am stalled, it hasn’t been worked on in awhile or it is waiting its turn to be worked on. The list is a lot shorter and the projects are newer, for the most part.
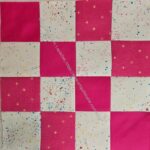
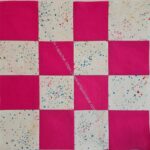
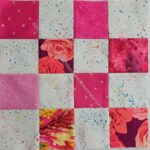
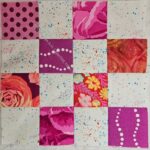
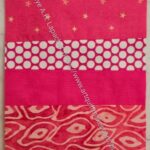
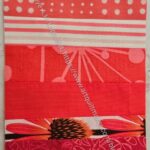
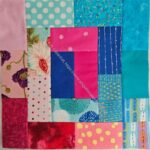
I am thinking of making something with the pink 16 Patch blocks, but I haven’t decided what yet. Also I don’t have enough and have moved on to Color Strip blocks.
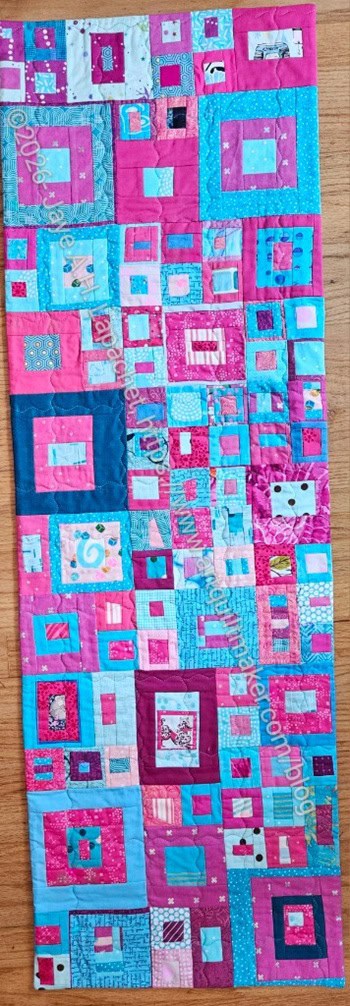
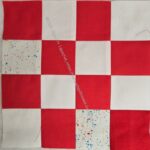
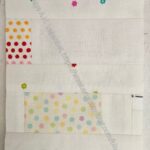
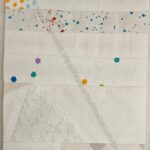
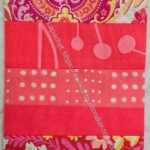
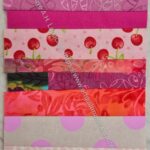
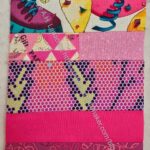
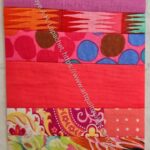
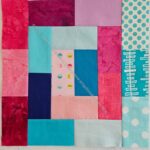
Yes, I am back to making Color Strip blocks in white and pink. I finished the white set I started awhile ago. I want to make another Sidewalk quilt. I wasn’t up for starting it, so I began making pink Color Strip blocks. I chose pink, because the pink scrap drawer is too full.
I saw this line in the Ehrman Tapestry email and thought it applied to quiltmaking as well as needlepoint: “We have long known that stitching acts as a natural anchor for a busy mind. It is a form of “active meditation” that coaxes the nervous system into a state of quiet flow…Psychologists have found that engaging with these organic, natural patterns actively relieves the mental fatigue caused by screen glare and daily pressures. In the simple act of pulling pure, heritage wool through printed cotton canvas, you are doing more than creating a beautiful heirloom. You are restoring your mind, stitch by peaceful stitch, and bringing a piece of the untamed world back home.”
I also updated the Minikins page, again, with some new projects. There will be more updates as I have ideas for gifts using more of the patterns.
I also updated a page showing other types of projects I make. I am working on a bag page as well, but it isn’t ready for prime time yet.
I have also updated the BSK post to include a glue stick. I find glue sticks to be useful and always have one with me. I added it to the Optional section, so you can choose.
Emmaline has a new Maker Series. By making and entering you have a chance to win a $50 gift certificate.
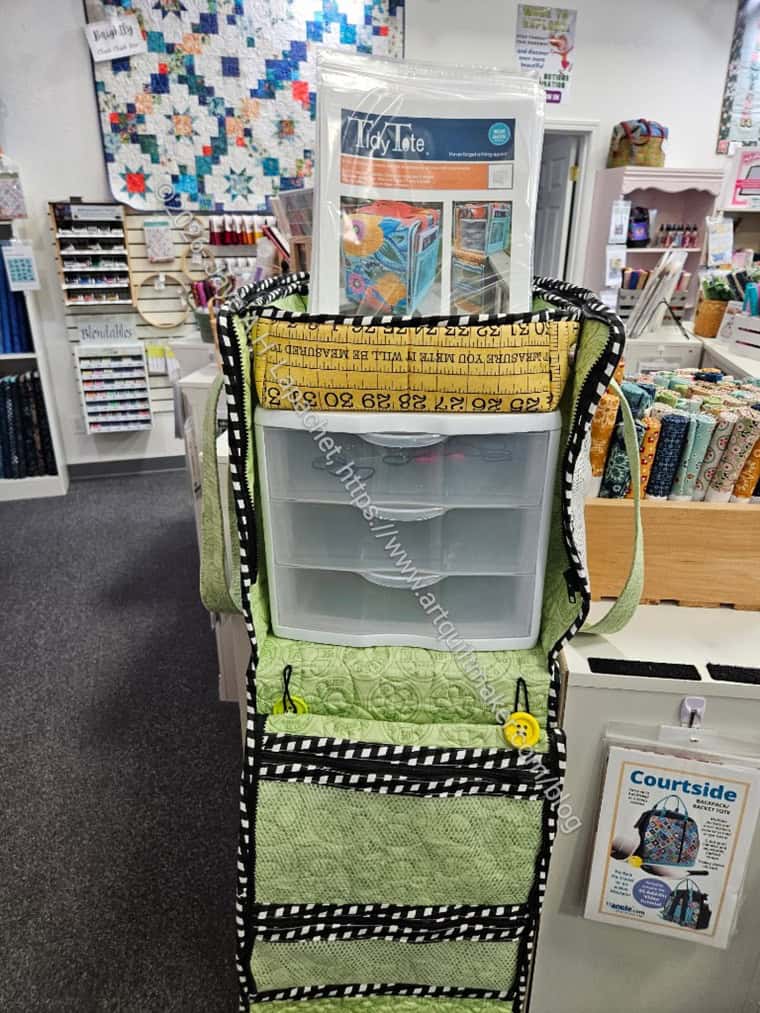
Tidy Tote at Stitched
The guild (mostly me) wants to arrange a bag class. At Sew Day a few people were working on the Everything but the Machine pattern. MaryC made one and she was helping everyone else. I thought this pattern looked familiar when I saw it and I realized I had seen a similar pattern at Stitched with MaryM. The one I saw is called the Tidy Tote and has a lot more going, on as MaryC said. I thought we might think about the Tidy Tote as the pictures on the Everything but the Machine pattern are hard to understand. I looked at the pattern and thought the fabric in the examples was nice, but not to show the steps in the pattern. If MaryC is demoing, then everyone should be able to make it.
Bay Area Modern will be hosting a workshop on August 22 to make the Everything But the Machine Bag. Sign-up on the BAM site.
In looking for something else, I also saw the Quilted Sewing Organizer Bag. This one also has a lot going on, but is more professional and polished looking. Definitely not as easy.
I saw a boxy bag by Ma and Me Designs on IG. I went and looked at her site. The colors, of course, drew me in. The patterns are versions of other patterns I have seen, but the presentation is very appealing.
At the July guild meeting, we talked about making quilts for outdoor use, such as picnic quilts or quilts for the beach. MichelleS was kind enough to share some of the resources she uses to make a blanket in a bag. One that looks interesting is the Bernina Blanket Bag. Lindsay from CraftBuds has a tutorial on making a version with a zipper. The FabMo version has a closure, which makes is a little different from the other ones.
I saw an ad for We Like Quilting, a magazine. I went and looked at their site and found some interesting freebies. I haven’t subscribed, because I couldn’t tell if there would be any bags or small projects included. I did notice they have a Gold Membership for $59 per year: “We Like Quilting Charter Gold Membership Special Offer—Just $59 for a Whole Year!
Become a Charter Gold Member today and get the We Like Quilting Magazine and Library, Special Collections, and downloadable and printable projects!”
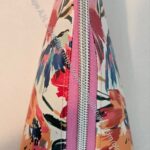
I was inspired to embellish (sort of, you’ll see) a Metro Double Zip Pouch by the front of a coin purse I saw on the Haori Taiwan IG feed. They have a digital pattern shop and some of the patterns are unique and interesting. One I really like is the Zipper Expandable Pencil Case. I might have to buy the pattern just to see how she does the expandable technique. I also like the Triangular Multi-Compartment Sewing Storage Box. Both are interesting bags with features that I haven’t seen before. Not all of their patterns are in English.
“This all-in-one ruler can be used for projects from simple to complex in a variety of unique applications.
Standard measuring lines in increments as small as 1/8”
Fine lines for better accuracy
Specially marked ¼” line along one long edge
Exclusive diagonal lines in 30°, 45°, and 60° radiating from both sides
Marking lines – use them for marking Shaded Four Patch units, Flock of Birds units and so much more
Cutting lines – use them for cutting accurate diamonds for Lemoyne Star and Wedge Star and so much more”
Let me know if you try them.
Alison Glass has some pre-sales of new Color Camp fabrics. I love the tone-on-tone colors and designs of her fabrics. She still has a few of the Guicy Guice fabrics I used in Triumphant. Tempting as they all are, I am trying not to be tempted.
If you want to buy kits for the new Sew Sweetness patterns, she has posted the supply lists. The new patterns will be available in the next day or so. I really like all of these and will be making the Natalma sharpish as a gift.
I keep seeing ads for AccuCut. I finally went and looked at their website. Bottomline: they do not have quiltmaking dies. They seem to have dies that cut shapes for classroom use, scrapbooking and cardmaking. On thier website is a page that shows compatibility with other systems. They also say “Machines Not Compatible With AccuCut Dies: AccuQuilt GO! Fabric, Cutter™, Sizzix Big Shot™, Tim Holtz Vagabond Die-Cut Machine by Sizzix™, Sizzix Big Shot Express™, Sizzix Big Shot Plus™, Sizzix Texture Boutique™, Provo Craft Cuttlebug Machine™, Fiskars Fuse Creativity System™, Spellbinders Grand Calibur™.” I didn’t even know that many die cutting machines existed.
Events, Exhibits and Organizations
Judy Martin was inducted into the Quilters Hall of Fame (TQHF) in Marion, Indiana on July 23–25! She is on of my favorite quiltmakers. See a recent review of one of her books.
Lorraine Woodruff-Long will be teaching at the San Francisco Quilters Guild, an In-person workshop called “Finishing & Binding”, Saturday, September 19, 10am-4pm.
Bay Area Modern will be hosting our next workshop on October 24: Improv Curves, with Claudia Shearer. The workshop will be at Grace Lutheran Church; set up at 9am; workshop begins at 10am.
Fee is $75 for BAM members; $95 for non-members (bring a friend!). Sign-up on the BAM site.
Media & Articles
Julie posted an article about why we don’t finish projects on her blog last month. I thought there were some excellent points and some techniques to use to move projects along.
Judy Martin was inducted into the Quilter’s Hall of Fame on July 24. The Electric Quilt Company took the opportunity to offer a discount on her Star Power add-on to the Electric Quilt software. With that they included some fun facts about Judy:
Judy Martin made her very first quilt in 1969 and went on to become one of quilting’s most prolific creators!
She’s published 28 books and more than 1,200 original quilt and block patterns over her career!
Her work has been showcased in museums, major quilt shows, and quilting publications around the world!
Judy has inspired thousands of quilters through her teaching, lectures, and writing!
She’s especially known for her beautiful star quilts, Log Cabin designs, and love of colorful scrap quilts (keep reading to see some examples)!
Inspiration
Apparently, I am not inspired this month…or too lazy to ask for permission to post things.
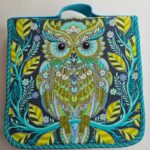
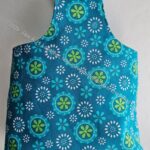
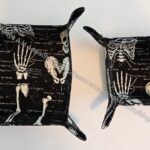
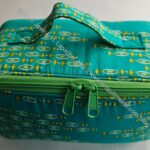
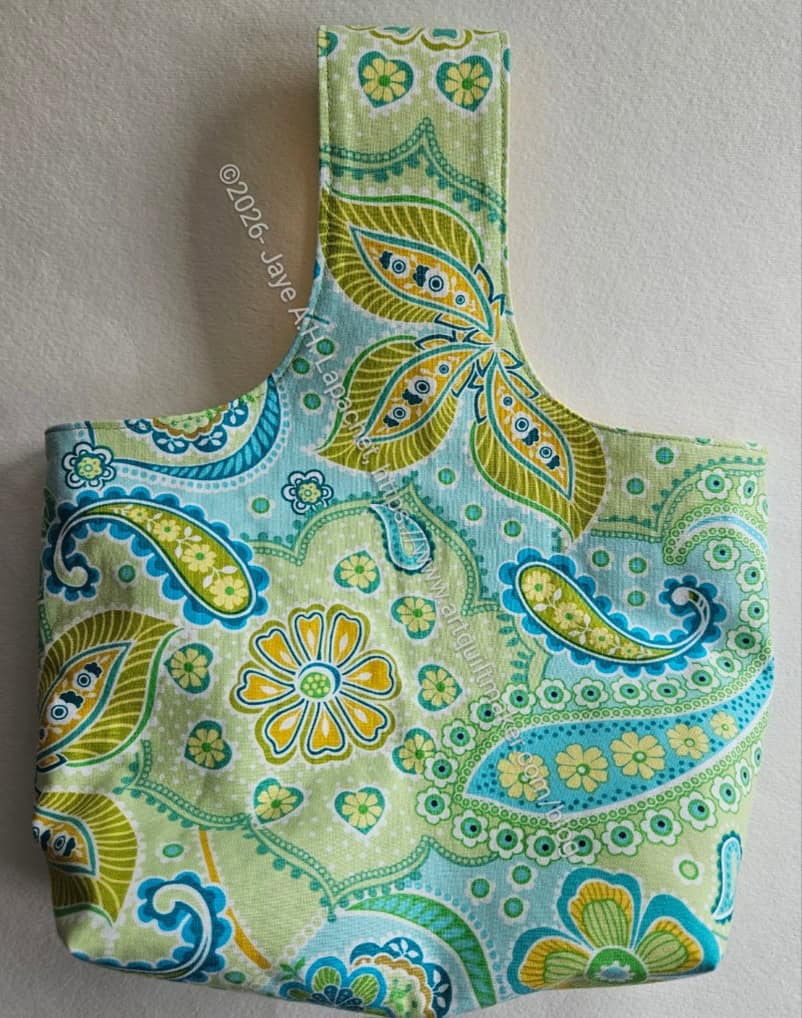
Shockingly I thought I had made more bags/gifts for Tim. This doesn’t seem like that many. He loves green, so it is a good opportunity for me to use my green fabrics. More importantly, Tim is a good friend and this is a small token of my appreciation for his friendship.
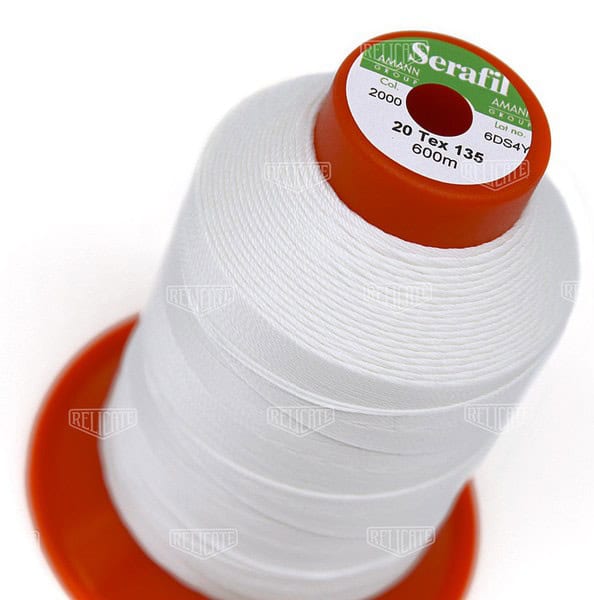
When testing sewing machines earlier this year, I bought some Serafil thread for bagmaking on the advice of the good people at The Sewing Machine Shop where I bought the new machine. They didn’t have the grey I like, or any grey, so I bought white.
Serafil is described on the Amann Group website “Industrial polyester sewing thread for leather.” They are based in Bönnigheim, Germany. The company’s website says
“The AMANN Group is one of the world’s leading manufacturers of high-quality sewing and embroidery threads. Since 1854, AMANN has combined innovation and tradition to produce premium products.
We supply customers worldwide in the textile and fashion industry, footwear and leather sector, automotive industry, home interior, as well as the technical textiles and workwear sectors.
As a technology leader, we believe in individual solutions and intelligent products created by innovative people.”
I find this so interesting as I had never heard of Serafil or this company before. They show some colors on their website, but I wasn’t able to see a full list of the colors they offer.
The biggest problem with Serafil is the limited colors. I happened to see that Wawak has Serafil in white and blue, but I would like to have a larger selection. I would like to have it, NOT buy it!
I have been using it on and off for various bags and have noticed a few things. I don’t want this to be a list of things I dislike about the thread, as I do find Serafil useful.
In general, the thread flows through my machine smoothly. It doesn’t cause problems with threading or tangles, barring operator error.
One is that it so thick it doesn’t work well with the lock stitch I have been using instead of a backstitch for bags. The lockstitch creates a big messy knot when used with the Serafil. This isn’t a problem as I just use a backstitch.
However, it is great when I have to sink threads. I don’t have to tie 3 knots like I do with Auriful. One knot works and the thread goes through the fabric easily.
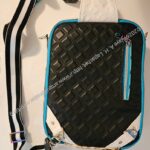
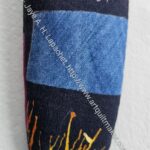
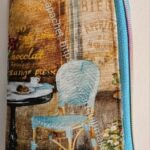
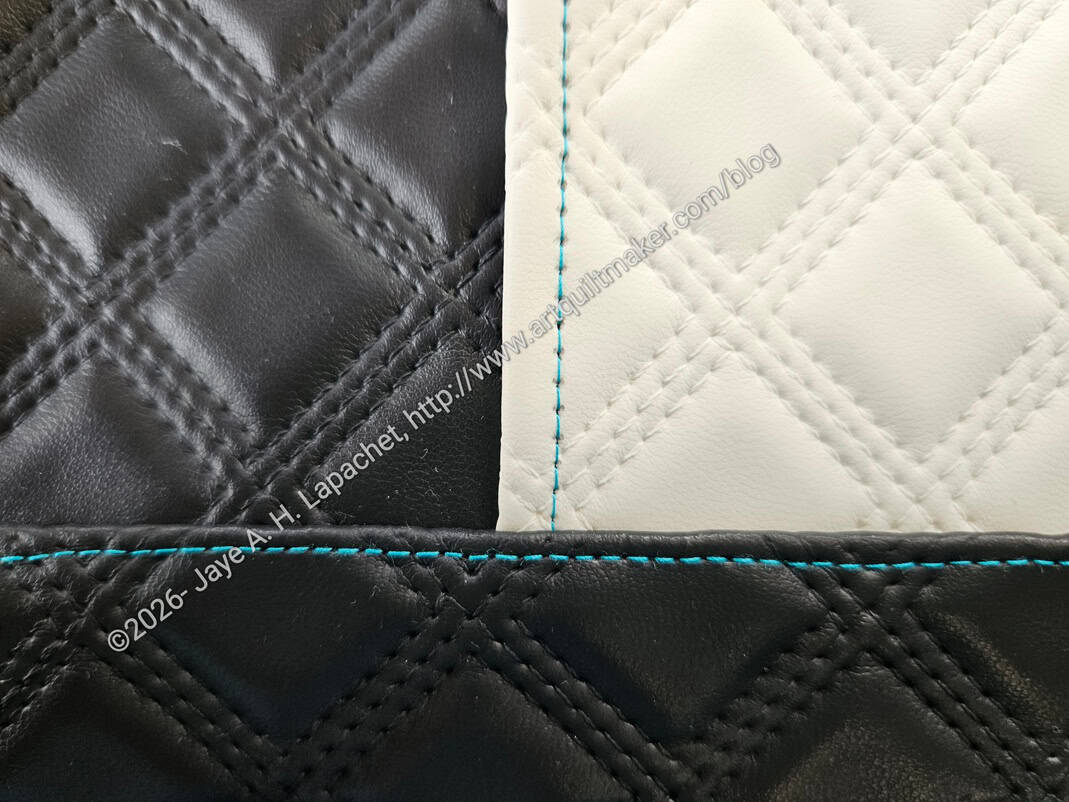
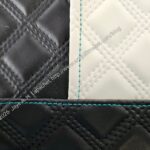
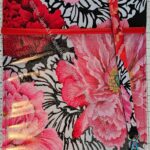
Pandora Charisma #2 front panel detail
Since it doesn’t come in as many colors as Aurifil, I do use Aurifil when I am topstitching as I did for the front panel of the Pandora Charisma #2. I also want to match topstitching thread to the fabric color so wobbly stitching doesn’t scream out at someone looking at it.
The Serafil doesn’t work well with piecing. It isn’t terrible, but thinner Auriful works better. This means that leaders and enders when I am sewing bags with Serafil isn’t possible. It is possible, but doesn’t promote the good outcome I want for my quilts.
I can’t really tell if it will improve the longevity of my bags. I’ll have to wait and see. I feel like it is better to use it for bags as they get more wear. At this time I don’t have other data.
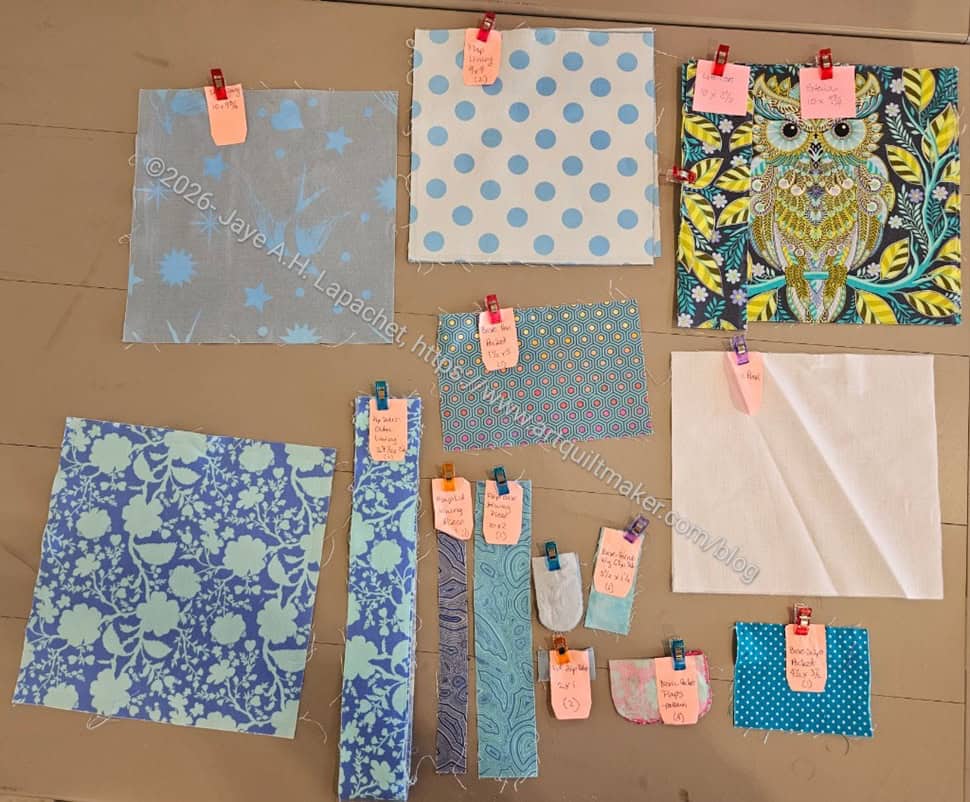
This month #3 was pulled so the EPPic it is. I brought the project bag with all of the pieces to Sew Day and looked at them. I didn’t make any progress beyond the photo as I had other things to do. Still, it was a start and it got me going.
I worked on the bag on and off all month and was able to finish it, as you read the other day. One thing I found with thisproject was I didn’t really know where I was when I pulled it out. There are pieces I needed that I didn’t cut out before. I didn’t remember why. I didn’t make any notes like I usually do. I made new decisions as I worked on the project and that worked out fine. I just wonder what I was thinking.
As I mentioned before I groan every month when the number is pulled. I groaned less this time as I thought this project was very doable. Someone asked what the worst part of bagmaking is. Many, many people posted responses and I thought “yes, that is the worst part” to all different answers. Then I stopped myself and asked myself if I really like bagmaking despite, apparently not liking any of the steps. I think this goes back to my old battle of process vs. product. I guess there is more work to be done on that. Still, one of the reasons I thought this was very doable was that 95% of the pieces were already cut out and that is always a not-fun part of the process for me. I’d rather just start sewing, even if some of the parts are difficult.
Also, these are definitely projects that I want to finish. Still why do I groan when it actually comes to working on them? I think it comes down to them being UFOs. Although, I feel a great sense of accomplishment when I finally finish one of them, the excitement of a new project has passed. I think it is better for me to decide to make a project, start it and finish it.
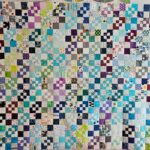
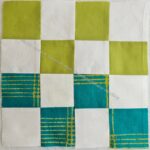
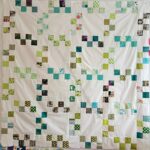
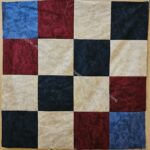
In contemplating UFOs in general, I will never have zero UFOs. I don’t think that is possible. I am happy that I am finishing projects. I cleared up a lot of miscellaneous tasks last month, which made space for other projects. As a result of not putting blocks away and moving on, both the Warm Four Patch Fun and the Cool Four Patch Fun are ready to quilt. The 1-2-3 Mosaic is done.
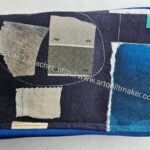
Canvas VibrantVue from Sewfisticated
I am still thinking about making a small start on some of the other projects on my list. The Catalan Storage Cube and the Joni Tote are the top two. I could start cutting the canvas Vibrant Vue fabric I bought from Sewfisticated to make the Joni totes. EPPic first, however, then I’ll think about making some progress on the other projects.
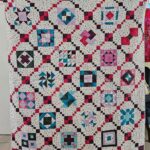
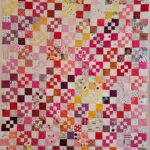
I have slowed my Potato Chip block pace, but am still making them. I think the EPPic got in the way a little bit. However, when I got back to the Potato Chips, I realized, I was at the end of my rectangles!
Great job, me! I achieved my goal of using up those rectangles, though I still have to make quilt(s) from the blocks. They will need sashing and I am thinking I will try to pick a split complementary color rather than just using white. I don’t know, though, as I don’t have a destination for this project. Donation quilts, maybe? We’ll see.
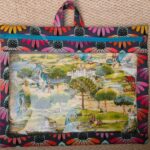
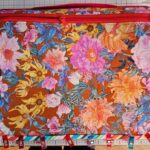
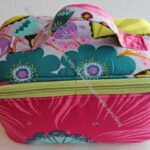
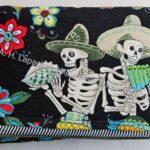
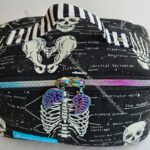
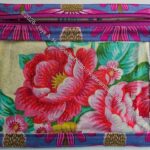
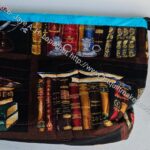
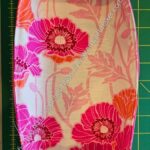
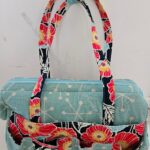
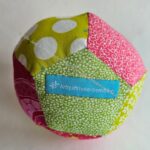
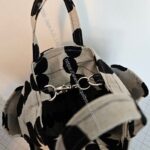
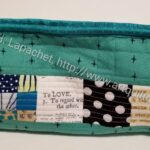
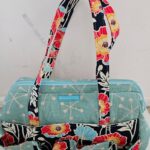
I like this one a lot. I think it is the fabric, which is one I wouldn’t normally choose for piecing, but is perfect for this bag. The print size shows off the motifs of the fabric very well for this size of bag.
I still want to make more of these, possibly for a guild retreat. I have so many other projects to make, however. We’ll see. They are a good palate cleanser project.
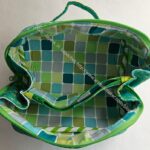
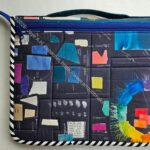
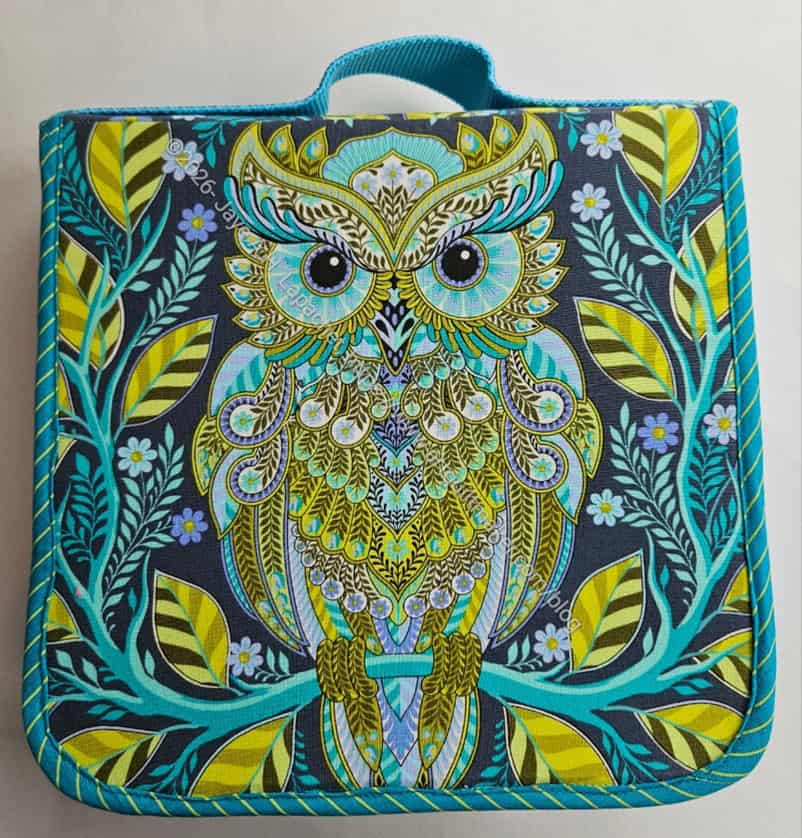
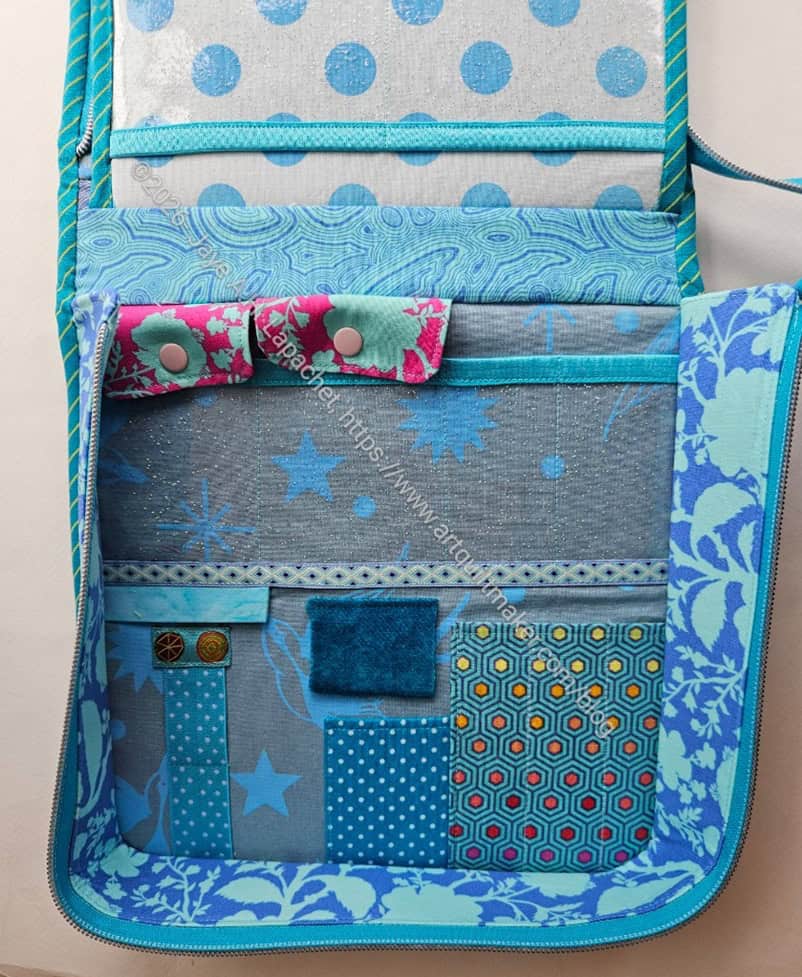
I finally finished the EPPic Bag after 3 years of it being in process.
“In Process” means that it was just cut out, but I hadn’t done any sewing. The guild UFO challenge got me going.
The best part of this whole project is the cover. I am not excited about the rest of it, though I used great fabrics and it looks good. I found the pattern required quite a bit of knowledge of bagmaking. I was very glad I found the videos she made to assist. One thing I learned is that I am allowed to decide to finish a step using a technique I know rather than trying to figure out what someone else is trying to describe.
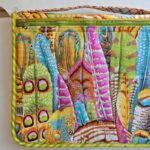
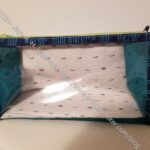
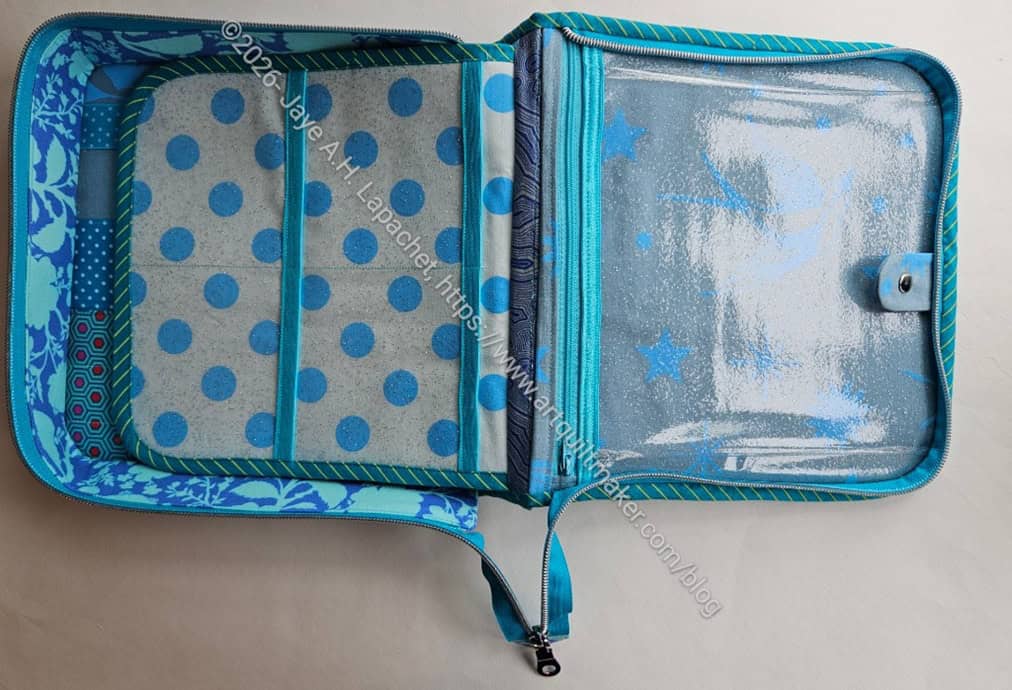
Inside of EPPic with pleated vinyl pocketEPPic pleated vinyl pocket detail
This bag also has a lot of firsts. This is the first time I have ever made a pleated vinyl pocket. Making the pleats was one of the tasks I didn’t understand and didn’t know how to make from other projects. I clipped them rather than sewing them wrong and let my mind process how to accomplish what I wanted to do/was supposed to do. I finally figured out a way – sewing the pleat parallel to the edge of the vinyl – and was able to to move forward. It is possible that the pattern said that exactly and my brain couldn’t take it in.
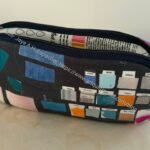
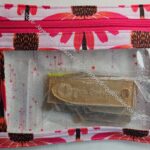
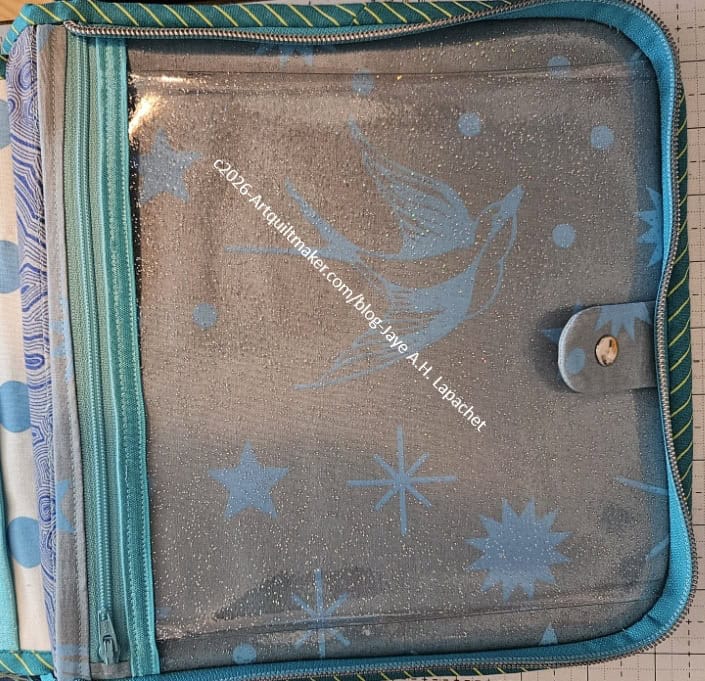
EPPic 2 vinyl pockets
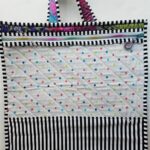
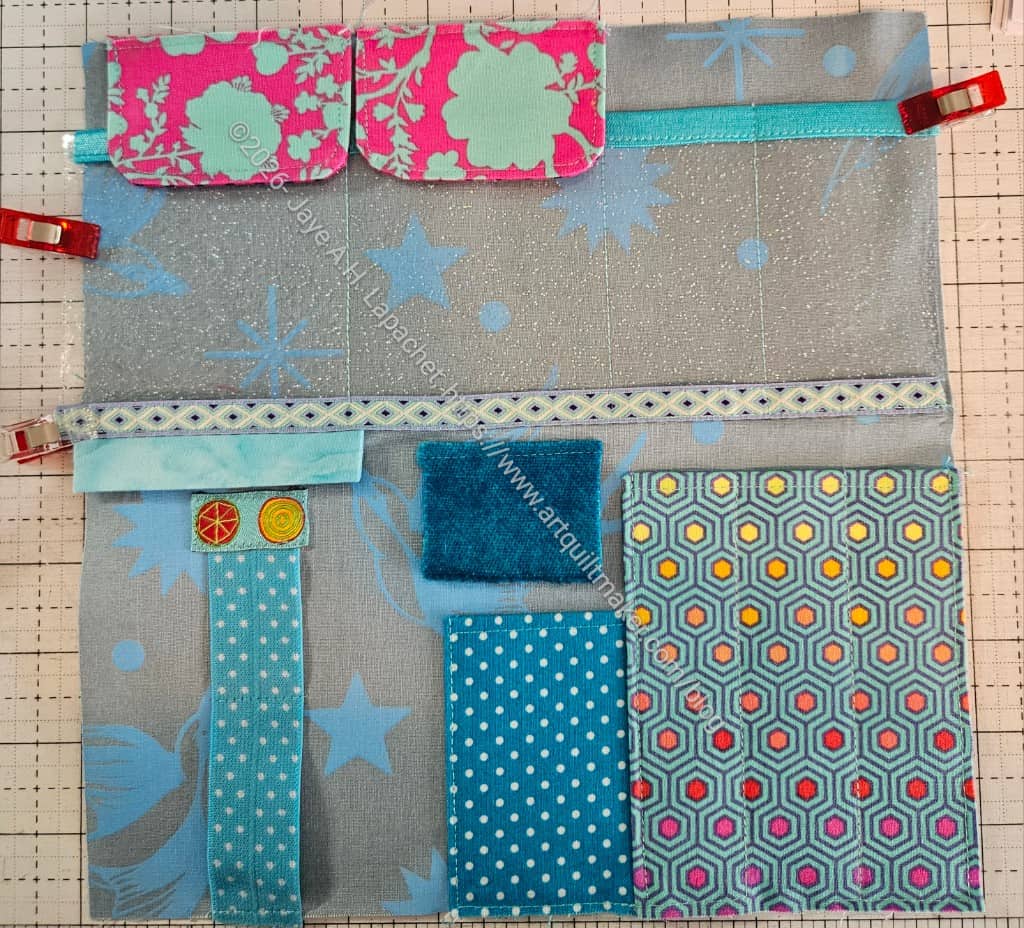
A lot of the pockets were made from fabric in the pattern. I decided to use vinyl for all of them because if I can’t see something, it doesn’t exist. The way this bag opens and closes lends itself to being able to see everything when the bag is opened.
I chose to make two horizontal pockets on one of the ‘pages’ as I thought it would be more useful. Each pocket shown is divided into 2 parts. I am not sure how I would use them, but we will see.
That brings up a point I need to address: Pockets. I need to figure out what I plan to put in pockets so I can plan the layout of pockets in the bags I make. Usually, I make a bag because I want to try it. That was the case with this bag and I am not sure how I will use it, or if I will use it. It is cute, uses good fabrics and is pretty. Not sure if I will use it.
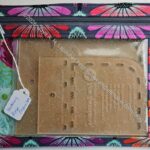
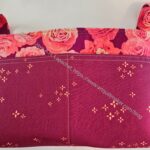
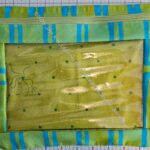
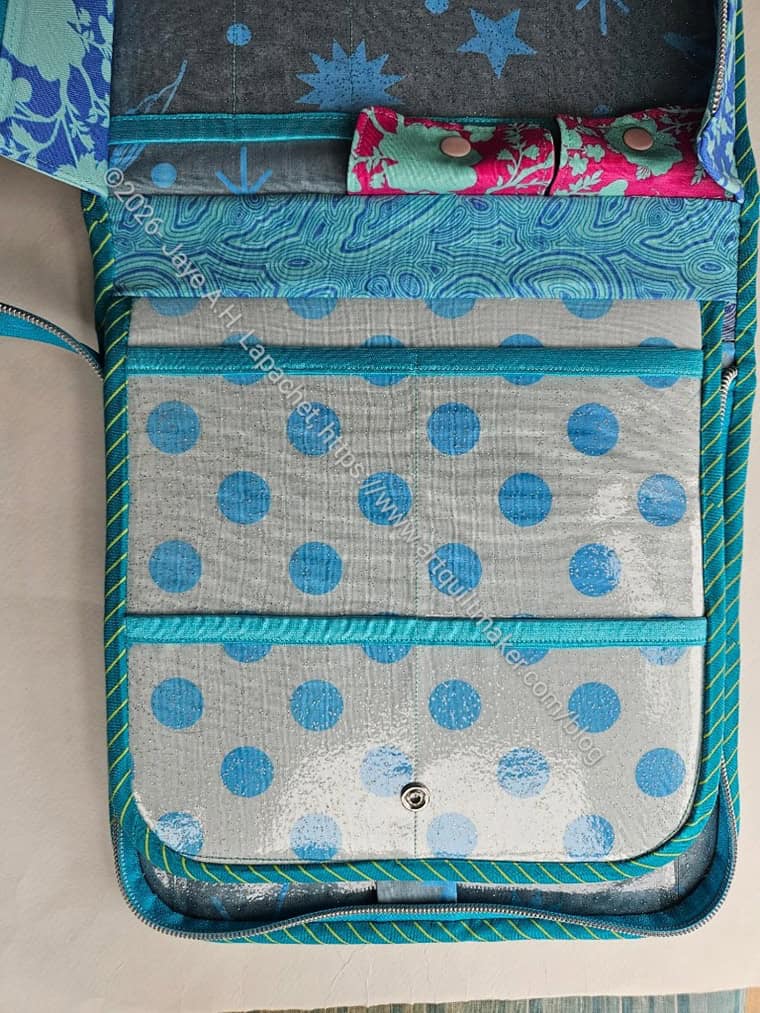
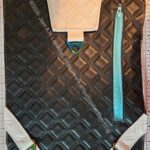
EPPic base
I really customized the base of the bag. I really like what I did. The whole base came out well except the pockets at the top. They shifted or moved or something when I was putting the whole bag together and now look terrible.
I also did the zipper like I have done them on ByAnnie patterns, such as the Zip It Up portfolios. I left it hanging off a bit with a little tail, because I didn’t have a separating zipper long enough in the right color for this project.
Two other patterns were included in the bundle, but I am not sure I will make them. I have a lot of Sew Sweetness patterns and I like them better.
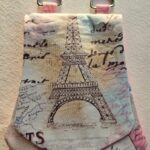
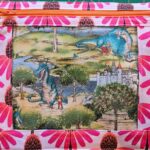
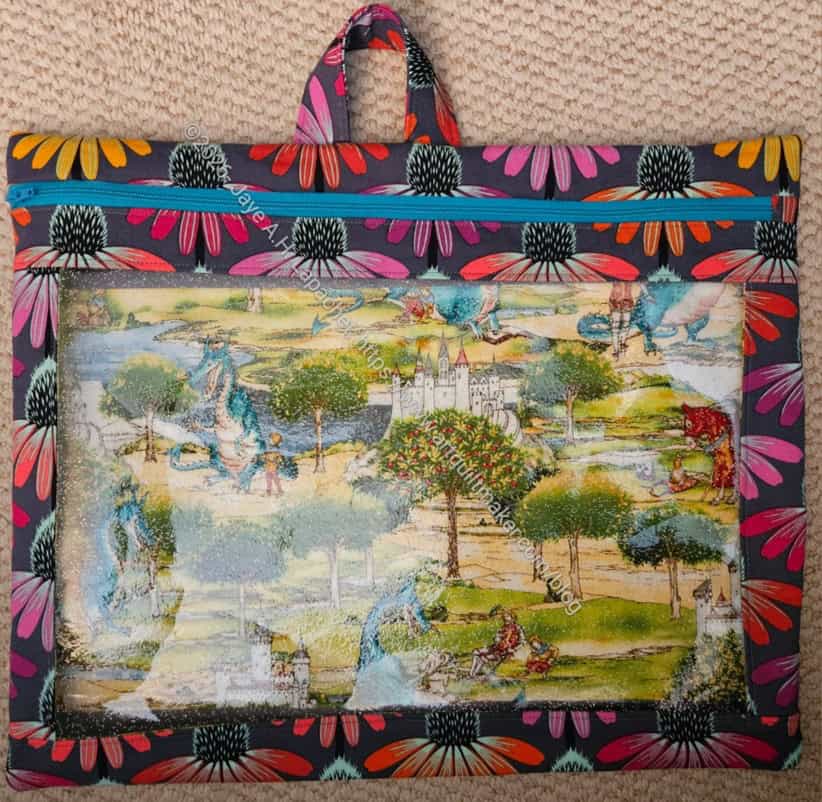
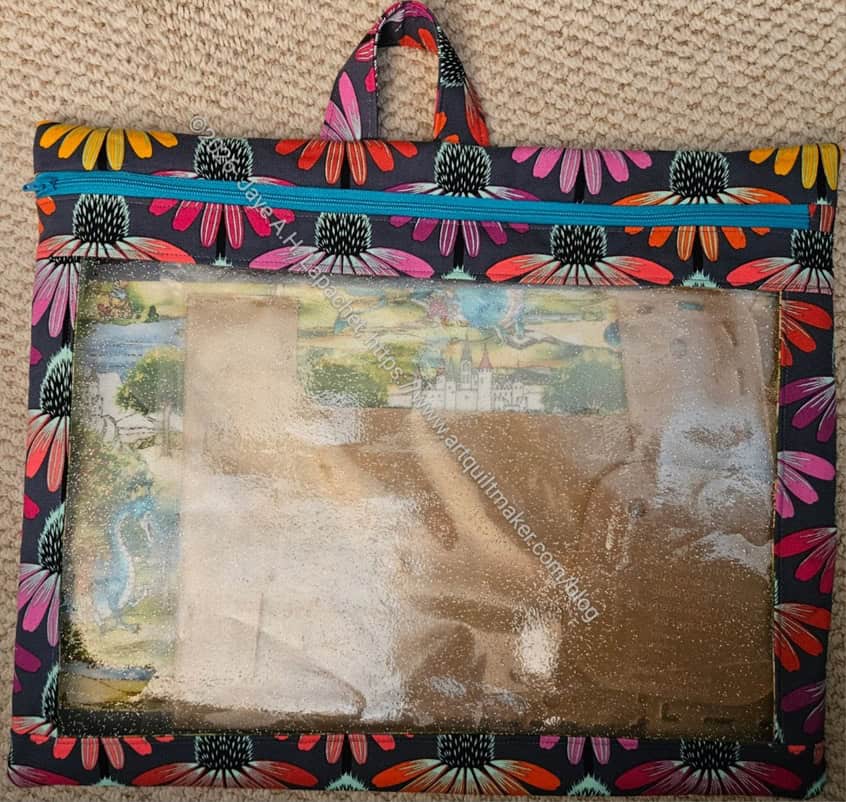
I decided to enlarge the I Spy pattern to accommodate the Joni Tote templates I bought from Sew Hungry Hippie. I know I am mixing pattern companies, but I don’t care.
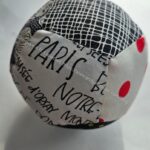
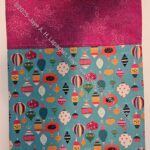
I have only made one other enlarged I Spy. The pouch came out ok, but was just a bit short for holding the Joni templates. 🙁 Part of the reason is that I had already cut the lining for some reason. I think it might have been leftover and I was trying to use it up.
This is part of the reason I buy bag patterns. Still, I have plenty of large templates and will use this pouch for the Mistflower Water bottle carrier (Minikins Season 4) templates.
Large Fairytale I Spy with templates
After realizing my error, I wondered if I put the sizes from the pattern into a spreadsheet if I could figure out different sizes by some calculation. I haven’t tried it yet, but am undeterred.
I used some measurements for the handle from another handle and must have forgotten how to measure. It works, but is a little small.
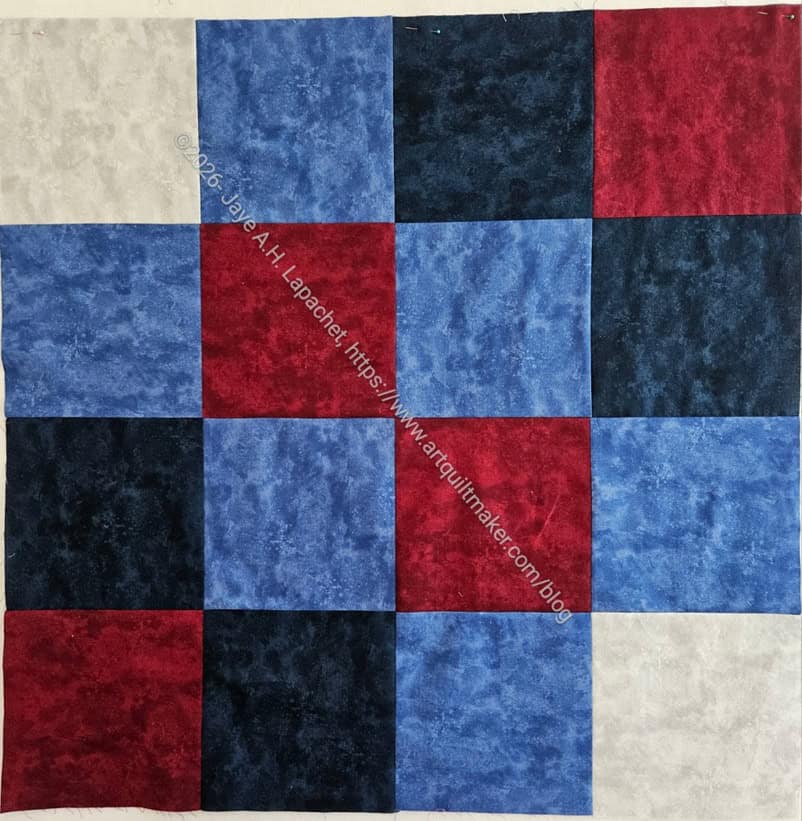
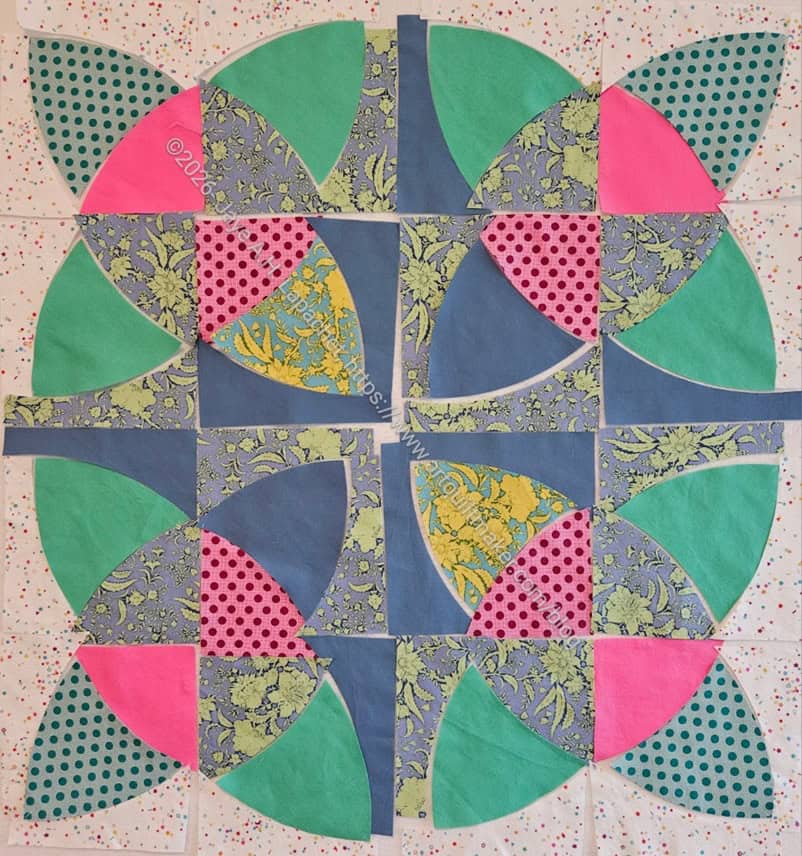
In planning to go over to Cyndi’s house for a Sew Day, I decided to get back to the Sad Quilt / Country Revival. I thought I could sew one block and then I wouldn’t have to haul a ton of stuff over to Cyndi’s It has also been awhile since I worked on it.
Since it has been so long, I had to remind myself how to everything. I made some cutting errors and had to re-cut, but the piece is ready to sew.
I finally finished the EPPic Case Base. I didn’t follow the directions exactly, but made the base my own. Mostly, I changed from the elasticated cord required to foldover elastic. I don’t think I will need more than space for two spools of thread if I am EPPing.
I took a scrap of ribbon and used it to cover the raw edge of the elastic. I would continue the foldover elastic up to the seam with the upper pocket next time, but the ribbon was a good solution for now.
I was able to sew the binding to the outside of the case by machine, but then I had to unsew it. It looked bad. I re-pressed the binding to give myself a little more space and then machine sewed it again. It is better this time. I am now sewing the second side of the binding by hand.
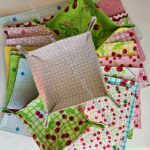
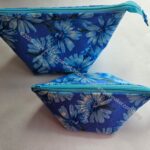
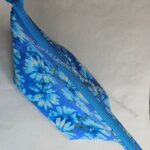
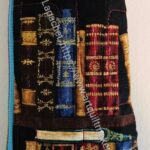
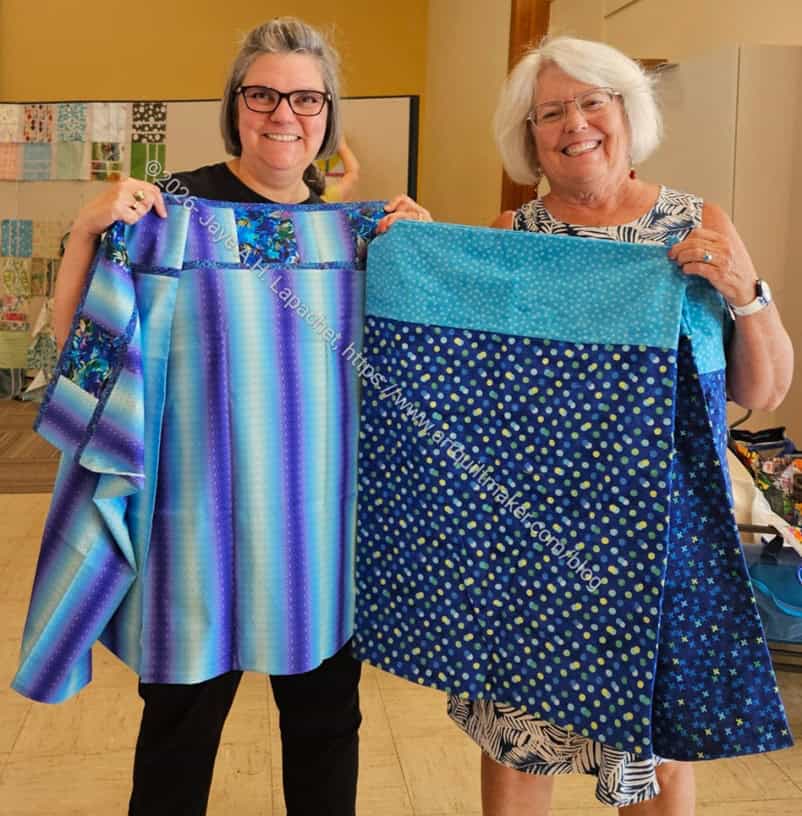
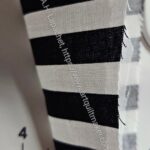
The guild Pillow swap is today. I was assigned to swap with Christine. Since she wouldn’t be at the meeting, we swapped at Sew Day.
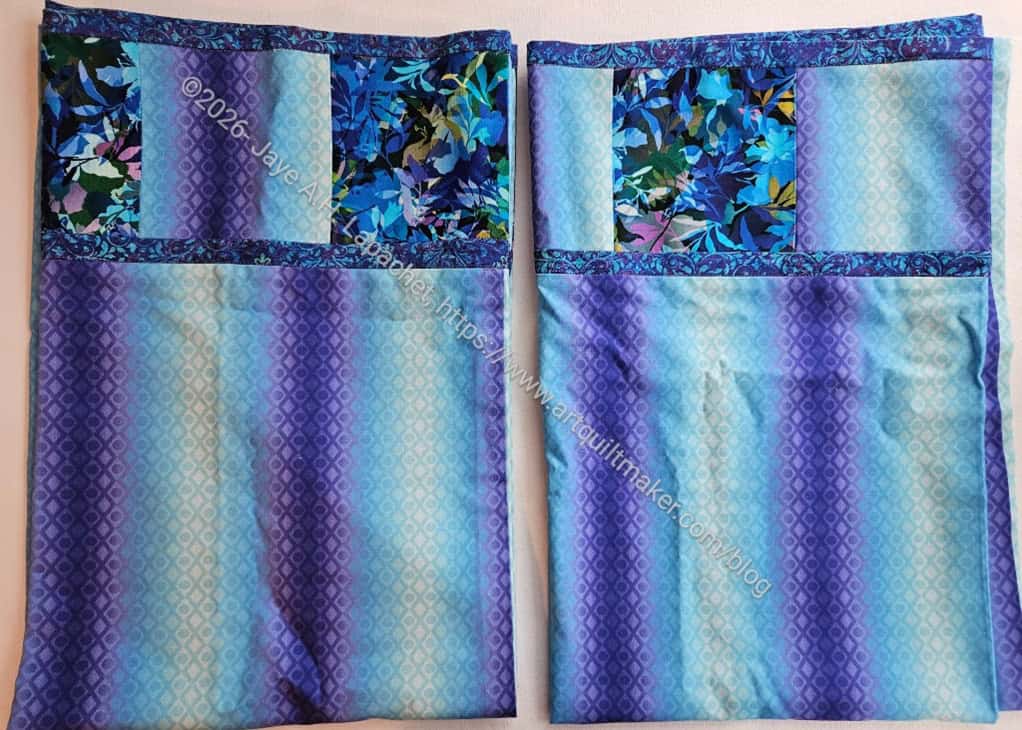
Pillowcases were an option so we swapped pillowcases. I found some flannel fabric while I was with Mary in Ashland. I almost bought some for myself and made more pillowcases for us at home. I resisted.
The cases in the photo above and to the right are the pillowcases I received from Christine. DH will have a fit since he thinks we already have too many pillowcases, but what can I do? As President, I need to be a good guild citizen.
2026 Pillowcase Swap
I like making pillowcases. They are easy to make and useful.
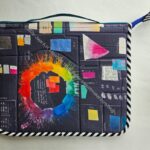
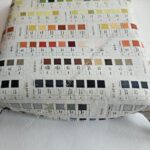
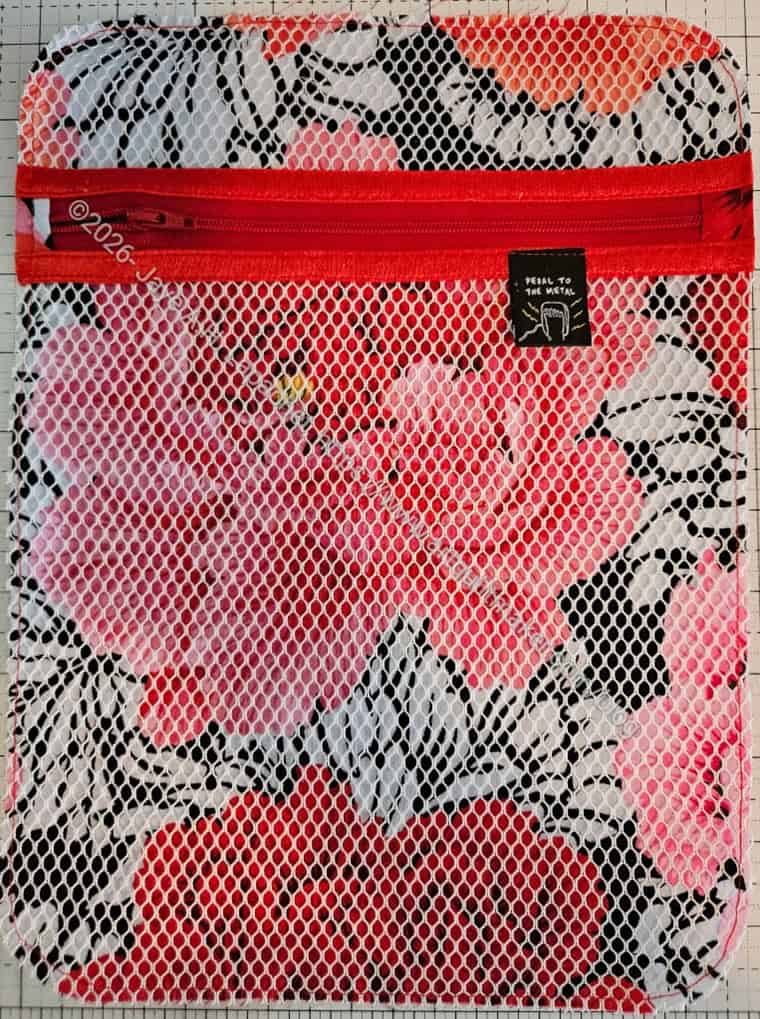
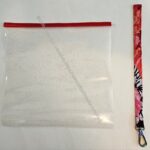
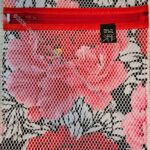
I haven’t worked on the Pandora Charisma for a few days, but I did make some progress.
I finished the mesh pocket, as you can see. I picked the foldover elastic and zipper especially to match the background fabric.
I can’t believe how much easier this bag is to make the second time around!
I haven’t made the gusset yet, but that is coming up. So far I have some of the pockets made as well as the front and back panels. I have a fair bit to go, but am making progress intermittently between other projects.