In order to sew along, you will need to:
- Purchase the pattern
- Gather your supplies
- Print the tags
- Cut your fabric
You can find more information at the following links:
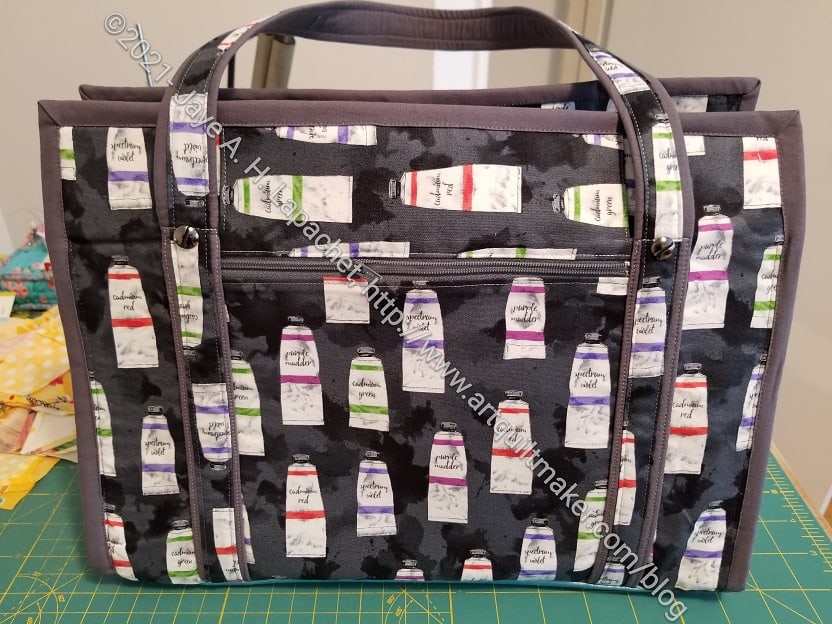
- Tour of the bag -Instagram
- Bag-a-Long project post – 9/27/2019
- Thoughts behind the bag – 8/7/2019
- Sotak Handmade’s video on making a neat and tidy zipper end
- Find all posts about this bag, including posts on my progress,
- by using the hashtag, Ultimate Carry All Bag
Additional Supplies**
- Separating zipper
Notes:
I was not able to find a 12″ separating zipper so I used a 10″ and it worked fine. you might be able to find one the right size at Wawak.
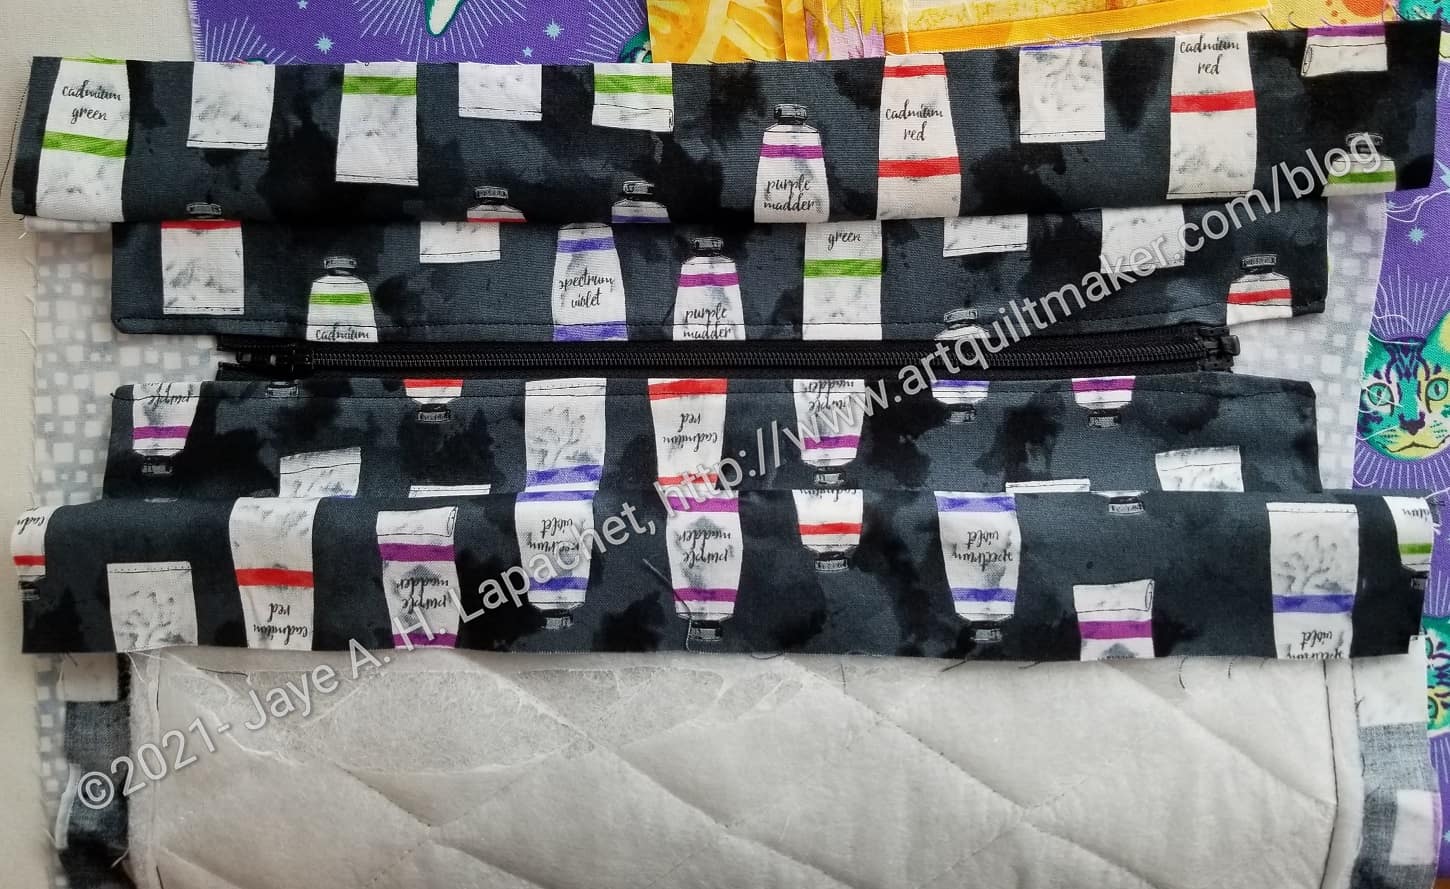
Use E8 pieces for this step. The zipper flanges (fabrics surrounding the zipper) should be exterior fabrics ifyou want them to match the outside of the bag.
Tutorial:
Use a 3/8″ seam allowance for this step.
You will be using the pattern starting on page 20. Use the exterior fabrics for the fabrics surrounding the zipper (E8-zipperr flanges). Match thread to those fabrics.
Take the zipper apart. Keep all the pieces oriented as if you are going to zip them back together.

Make a zipper sandwich
-
- Lay 1 E8 piece right side up
- Position the zipper tape along the center of E8 half an inch from the end (see photo above where clips are)
- Clip fabric to zipper tape
- Put another E8 piece face down to make the sandwich
- Reposition the clips on the E8 pieces to encompass the entire zipper sandwich
- Clip the top of the zipper (side where the stop will be when the bag is closed) so you can veer it and the top of the tape will be hidden. Sew Sweetness has a tutorial on veering a zipper.
- Follow these directions for the second piece. You want to continuously check that the two pieces of the zipper are lined up so the zipper will work properly.
Look at the images on pg.20 of the pattern as they will help.
Install the zipper. Stitch to the end of the fabric.

Stitch both short ends closed. You have, basically, sewn around the zipper lining/edges in a U shape so that the ends are closed and three sides are finished.
Make sure the end of the zipper is OUTSIDE of the seam allowance. You want to stitch as close as you can to the stop, then match the seam allowance on the second side of the zipper.
Turn the piece right sides out and press. Top stitch the U after you have finished the second side.
Throughout this step:
- Remember that this zipper comes apart.
- Make sure the two sides of the zipper are in the correct orientation and the ends are even the whole time.
Keep checking.
N.B.: Quiltessa Natalie calls these zipper tabs, but I have never heard of zipper tabs being applied to the sides of the zipper. I call them zipper flangesI have also never used a separating zipper, so who knows?)
Previous Tutorials:
- Large Pocket #1 pt.1 tutorial
- Large Pocket #1 pt.2 tutorial
- Large Pocket #2 Clippy Pocket tutorial (type 2)
- Large Pocket #2 tutorial pt.2
- Small Front Pocket Tutorial pt.1 – center section
- Small Front Pocket Tutorial pt.2 – Clippy pockets (instead of badge holders)
- Pocket information – post showing additional mesh pockets (not a tutorial)
**Obviously, you should shop at local fabric, knitting shops or quilt shops. However, if you can’t, please know that I use affiliate links. I may be paid for your purchase of an item when you click on an item’s link in my post. There is no additional cost to you for clicking or purchasing items I recommend. I do not recommend items I don’t like. I appreciate your clicks and purchases as it helps support this blog.