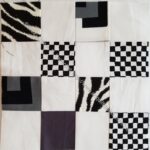
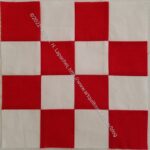
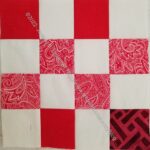
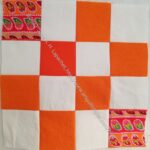
I made a few more blocks for the guild in addition to finishing the Rainbow Strip donation quilt and starting then finishing the Creamsicle donation quilt.
Commentary about works in progress, design & creativity
I made a few more blocks for the guild in addition to finishing the Rainbow Strip donation quilt and starting then finishing the Creamsicle donation quilt.
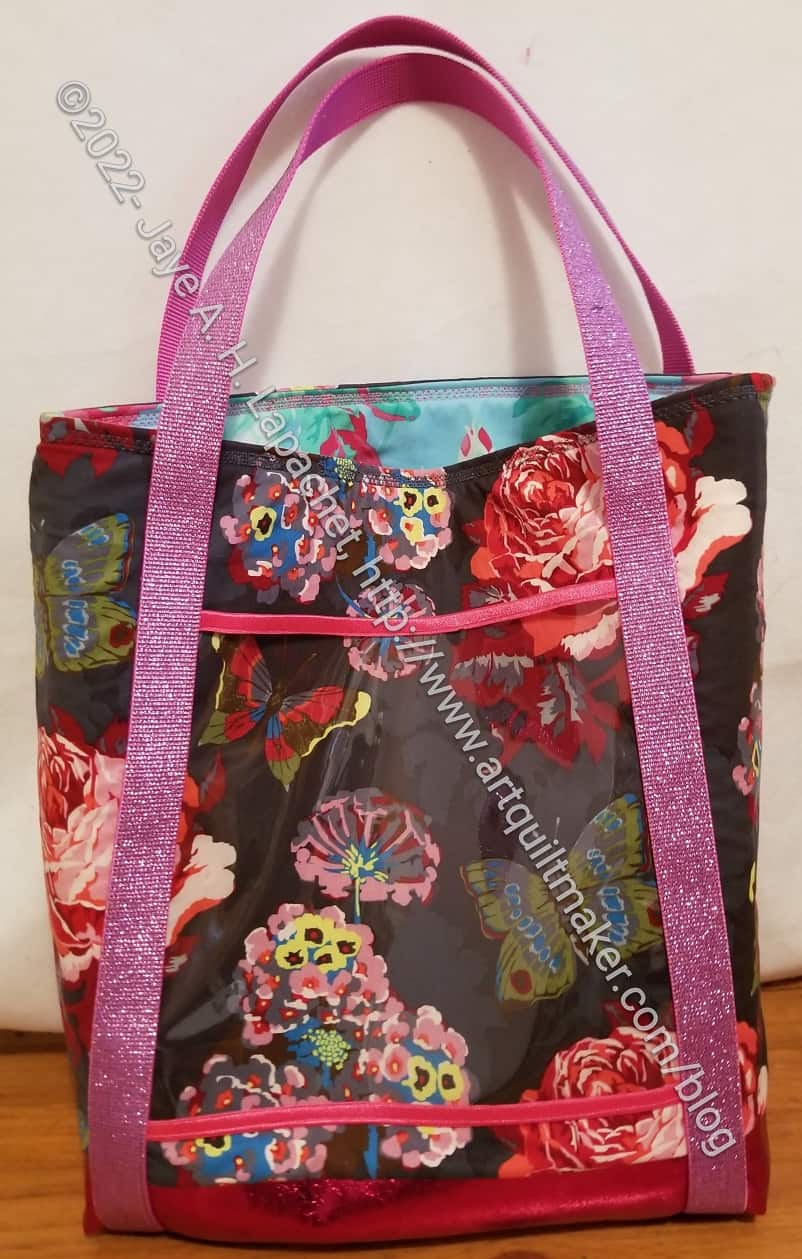
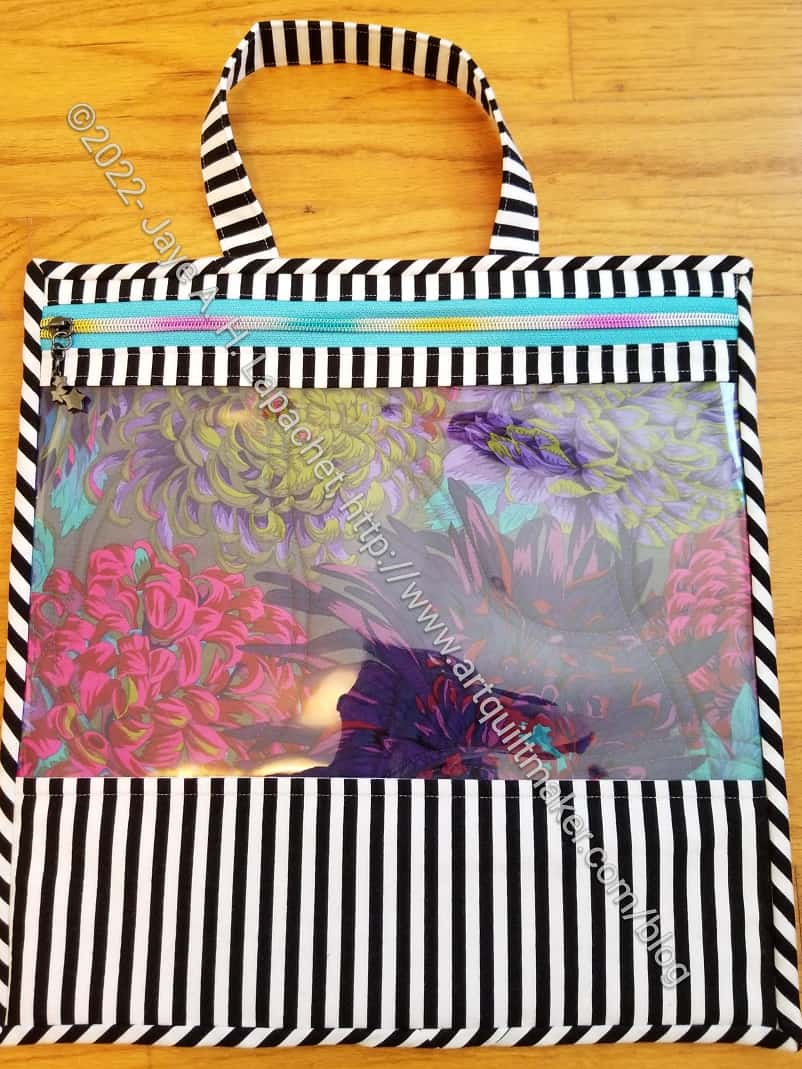
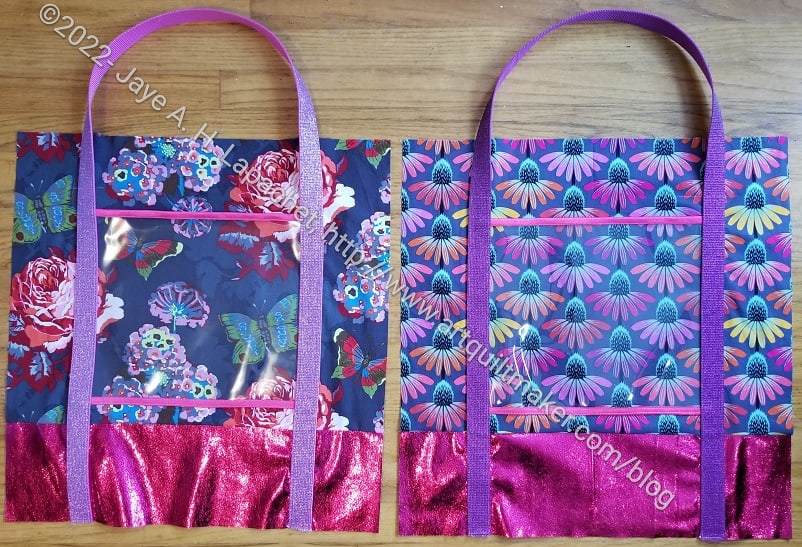
I finished the Essential Totes last week. I am really pleased with how they came out and am plotting when to make more.
Both totes are way more glittery than anything I normally make. I am kind of liking a little more glitter than normal in my life.
I have to give most of the credit to Natalie of SewHungryHippie. The pattern, Essential Tote, is designed by Natalie. It is my first experience with her patterns and I found it to be a really good pattern: clear, easy to follow, no stupid overly complicated steps, well written. I resisted buying it for awhile, but ended up purchasing it in the end. She had some Spanish Crimson soft vinyl and some glitter webbing in her newsletter and I couldn’t resist. Buying the pattern enabled me to make something right away with both unusual (unusual purchase for me) products.
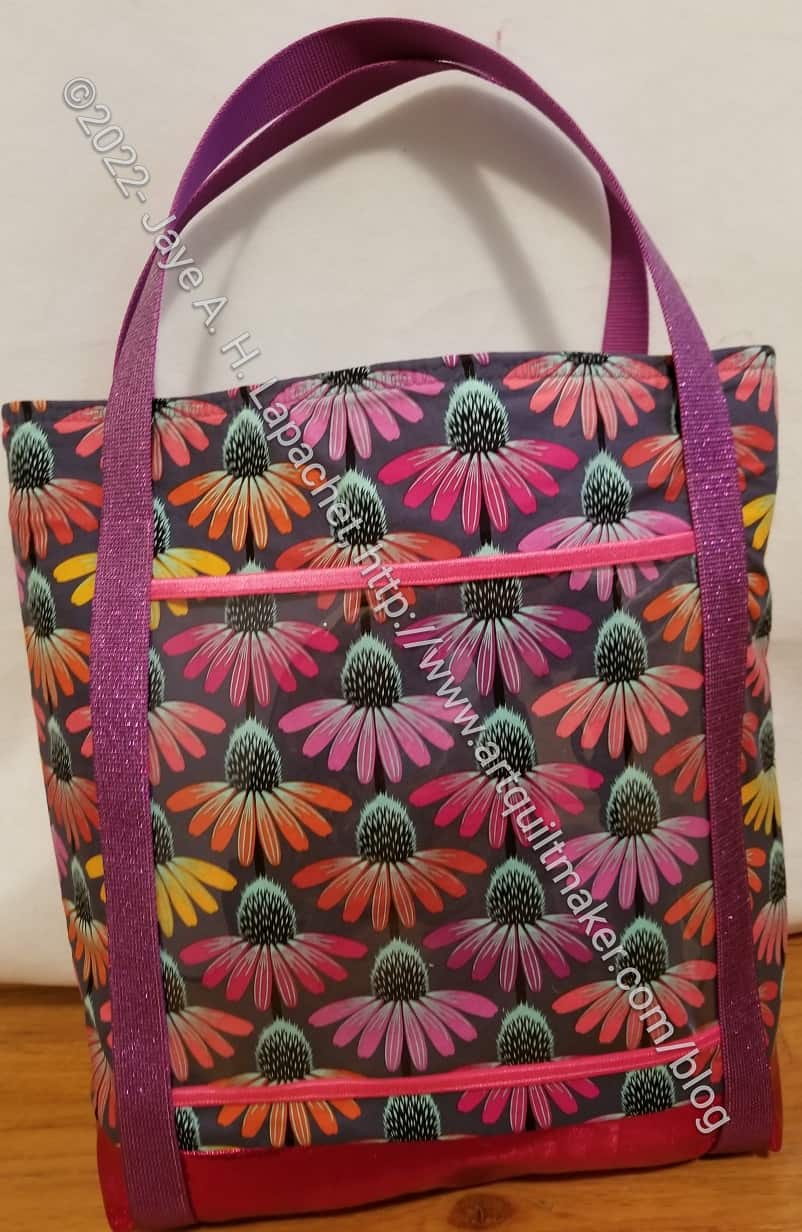
The exterior fabric I used on both is from Anna Maria Horner. One is Echinacea Glow and the other is Clippings. These are sturdy totes, as well, since both have foam lining.
The bag supplies call for exterior fabrics such as canvas. I used regular quilting weight fabric and it worked fine.
I did make some changes to the pattern. I used the Spanish Crimson soft vinyl for the bottom. This meant I had to change some of the cutting directions. I cut the exterior fabric 20 x 15.5 and the spanish Crimson soft vinyl for the bottom at 20 x 5.5. Then sewed the two pieces together to make one exterior piece 20×20, which I, then treated as one piece. 20×20 was the original size I was required to cut for the exterior. You could make the bottom larger by adjusting the cut sizes if you wanted. Make sure your final piece ends up 20 x 20 and everything will be fine.
I only put one vinyl pocket on the outside of each tote. Next time, I’ll put one on each side next time. I was just lazy about my cutting.
I think next time, if I use the same idea of a different bottom, I’ll make the vinyl pocket a little larger and have it sewn into the seam with the bottom fabric.
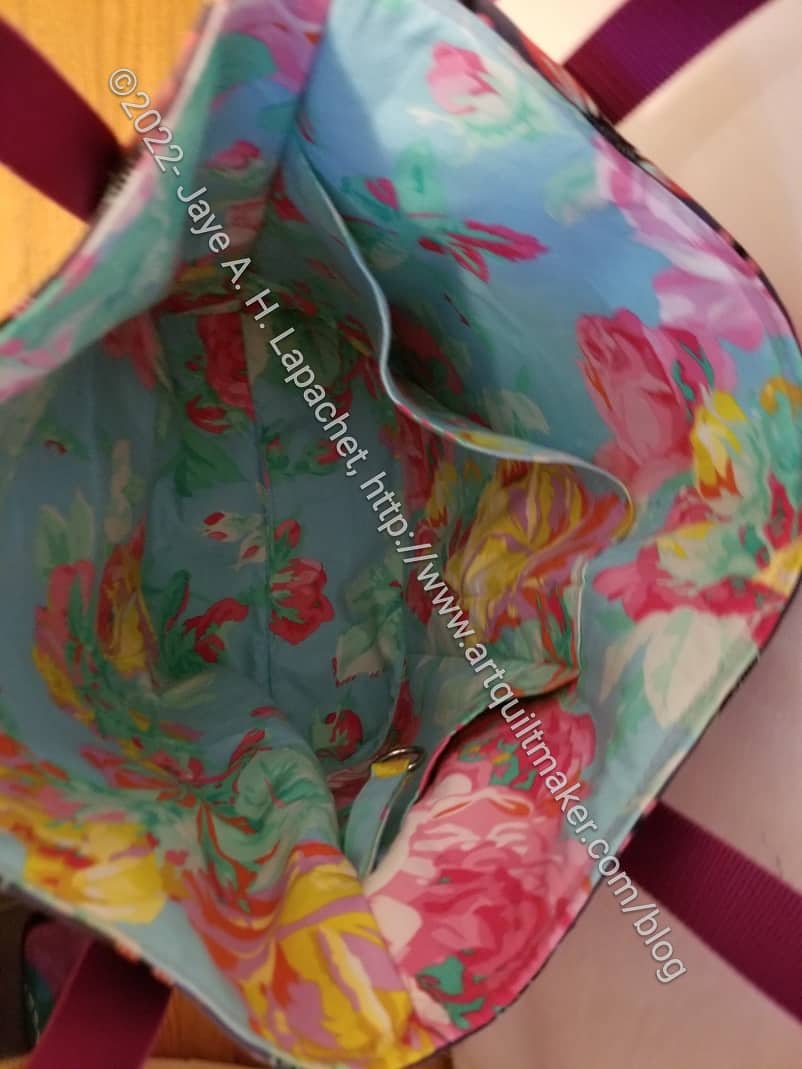
As usual, I added a leash to the inside of both totes. You can see in the bottom of the photo, left. I never know when I’ll want to lash my keys or a pouch to my tote.
The pocket fit very well with the bottom boxed corners of the tote. I was impressed! I also used the measurements in the pattern, so mostly I was impressed that following directions actually worked. LOL!
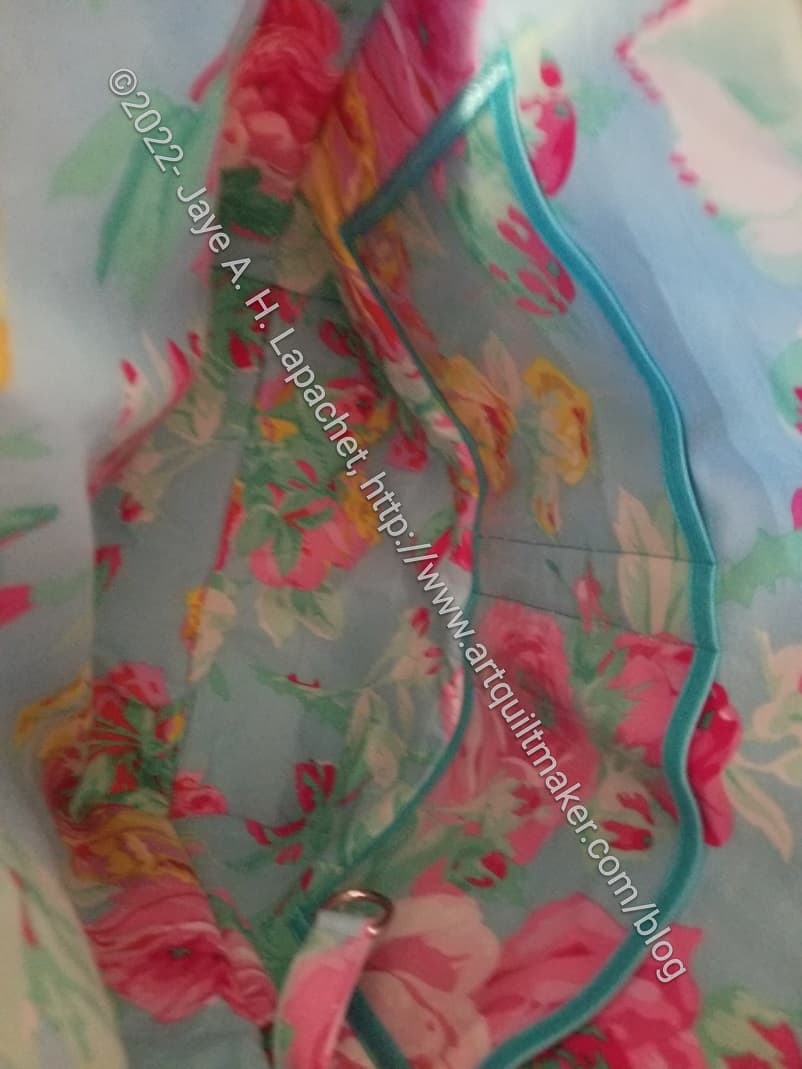
The pattern calls for vinyl interior pockets, but I was running out of vinyl (shocking! I bought a lot back a million years ago and I thought I still had a lot. Apparently not.), so I made a fabric pocket for one bag, which will be fine. I had enough vinyl to make a slightly smaller, vinyl pocket (photo, right) for one of the bags. The vinyl required that I cover all of the edges. It was a hassle, but the results are good.
I used that Philip Jacobs rose lining, because it makes me super happy.

I am pleased with the great sewing job I did. It isn’t perfect, but everything came together really well.
I showed Tim and he liked the bag. I also showed it at Sew and Tell. People liked it.
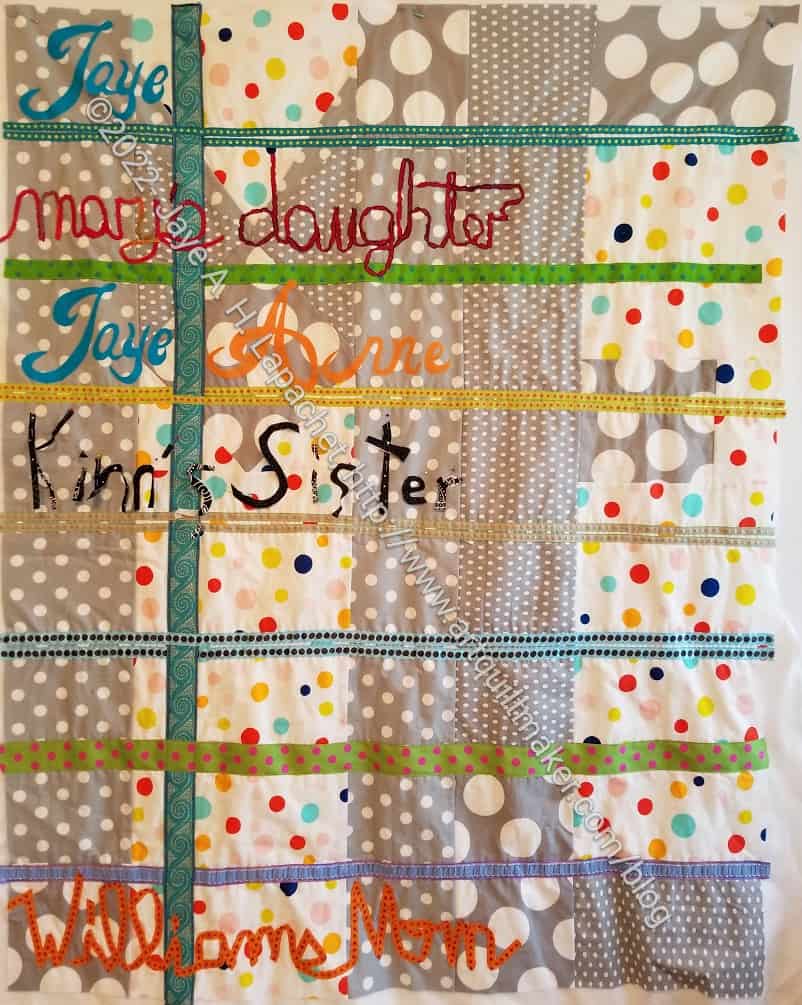
I talked about the parameters of the Pantone Project in July, then again in early August and mid-August as my attempts to select fabric started. I didn’t feel confident after these attempts and the postcards started to stack up. As the postcards stacked up, the project started to weigh on my mind. As Friend Julie made progress, the project started to weigh on my mind.
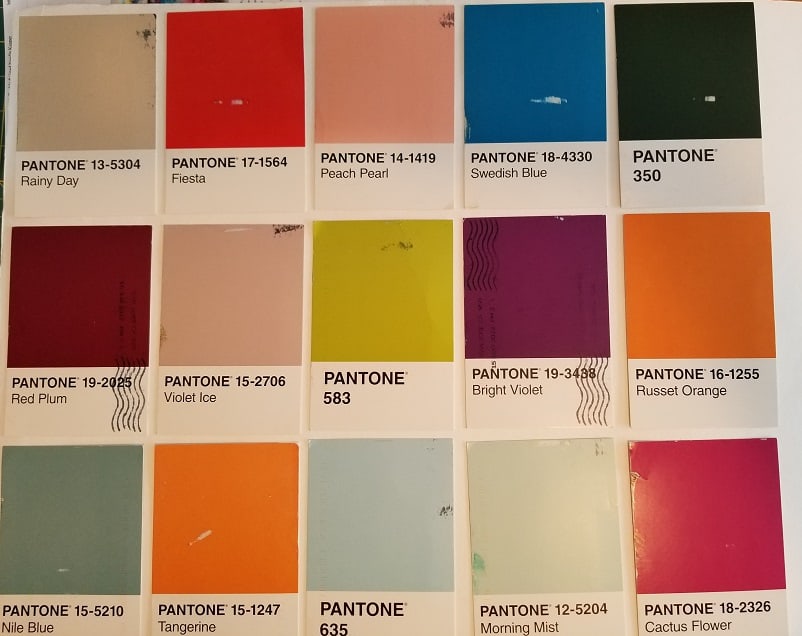
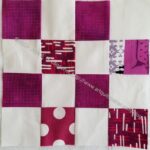
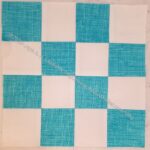
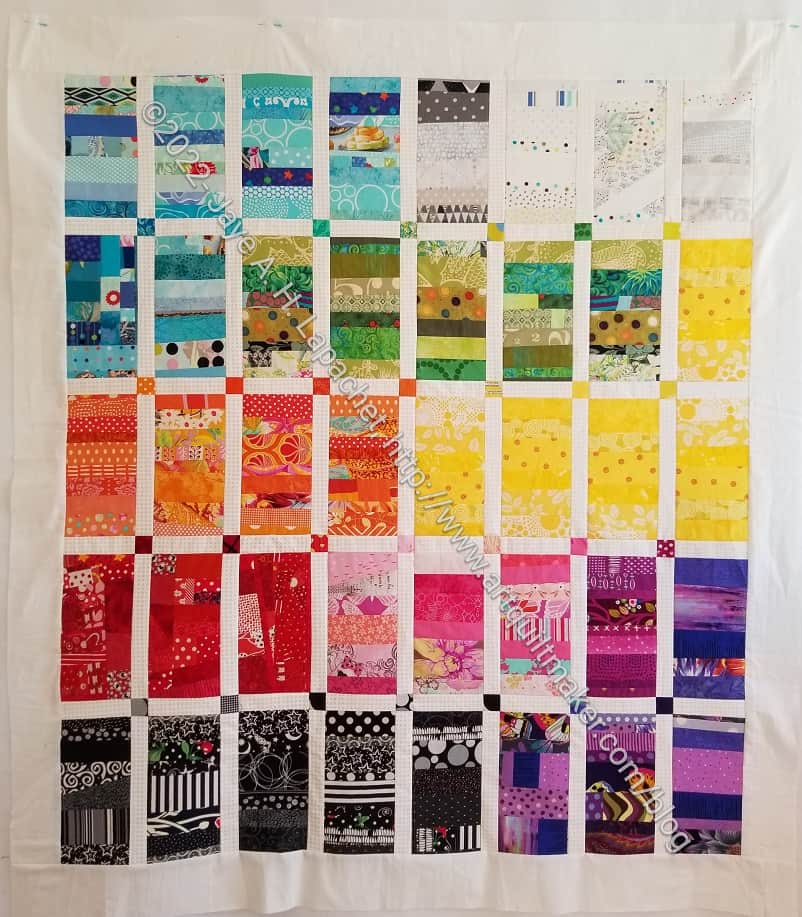
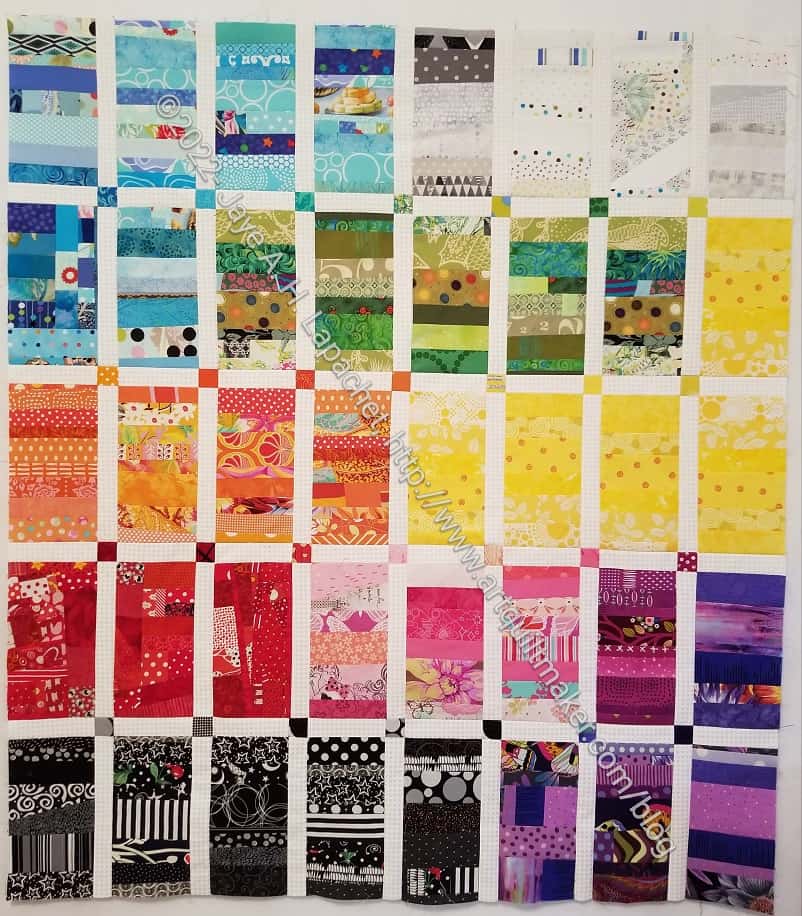
I finished a big project on Saturday night and needed something different to work on. I was spurred on by wanting some basic piecing. The blocks for the Pantone Project will be basic piecing, but I had to choose fabric first. I was not excited, because I am getting a little annoyed with Pantone. Piecing starts with fabric, however. I decided that I had the time to pull fabrics for this project. First, I laid out all the cards I had received, so I knew what I had to work with.
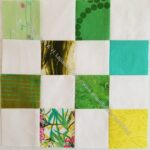
Yes, Pantone 350, in the upper right hand corner is that green with which I started. It was still in the mix. I had the greens I had chosen separated out, but kept it in the mix since I thought I might find something better. I have to say that I made major progress on the Pantone Project on Sunday.

I started with the easy colors such as the reds and pinks. Fiesta and Cactus Flower were pretty easy, but I quickly realized that I had to pull out much more fabric to get more choices.
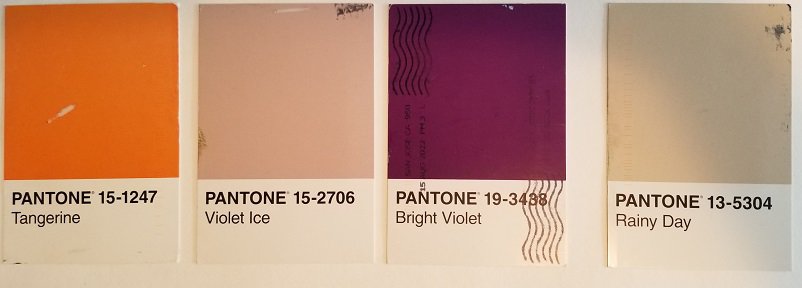
I even dragged out a bin that includes solid neutrals and found a beige that matches Rainy Day pretty well.
Surprisingly, or maybe not, a lot of my older fabrics are much more aligned to these colors than the newer fabrics. This could be my buying habits as well. I stick to pretty clear colors when I buy fabrics now. After awhile, I had only a few left. I had to not only pull out old fabrics, but I used several hand-dyed fabrics. I haven’t dyed and printed fabric in years so lots of old fabrics are getting an airing.

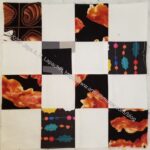
Eventually, I found fabrics that were good matches to the postcards I have received. Some cards span 2 or more fabrics as I am still deciding. Some fabrics were a great match. I was really pleased with the fabric I found for the Swedish blue (2d row, 2d from right). It is a perfect match. The Nile Blue (bottom left corner) is a problem. The three fabrics I chose look better in person than they do in the photos, but are still not perfect. There is also a peachy pink, Peach Pearl, (2d row, 3rd from left) where I found a good match, but only have a little of the fabric. I’ll have to be very careful when I cut it.
I have to say that I have a lot of questions for Pantone, most importantly: why so many beiges? I need to read up a bit on Pantone and get a better sense of their business.
Now, I can get to piecing. I do feel a bit of a sigh of relief that I have made a start and nothing awful has happened when the fabrics weren’t perfect matches.
If you want to play along, you will need:
Decisions to Make:
**Obviously, you should shop at local fabric, knitting shops or quilt shops. However, if you can’t, please know that I use affiliate links. I may be paid for your purchase of an item when you click on an item’s link in my post. There is no additional cost to you for clicking or purchasing items I recommend. I do not recommend items I don’t like. I appreciate your clicks and purchases as it helps support this blog.
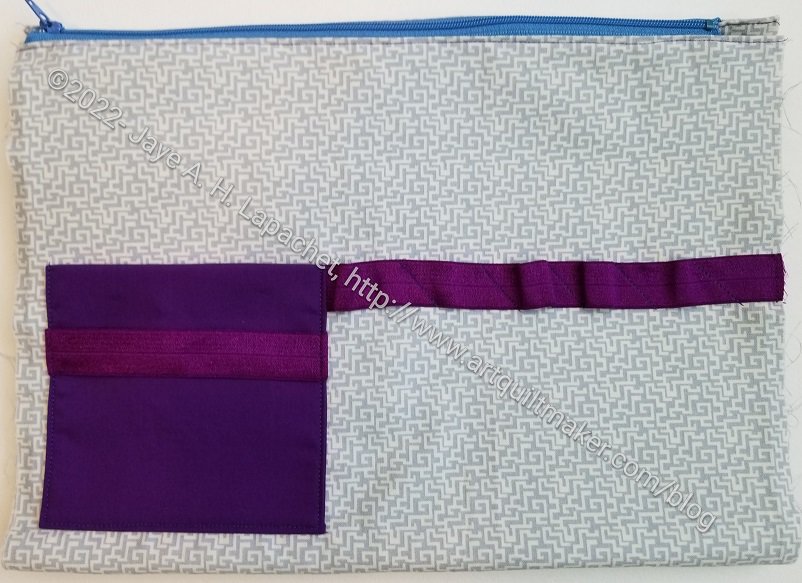
I have been wanting to try this pattern. I was thinking that a project bag might be a good gift for my bag recipients, but I wanted to try it before committing to another ByAnnie pattern. I think, in general, ByAnnie patterns seem overly complicated, but the projects usually turn out well.
I cut out the pieces at Super Sew Day, then finally sewed it together. I used one of the pieces of zipper I got for my birthday. I love it. It is so pretty. I also used more of the Philip Jacobs Chrysanthemum fabric like in the Without a Trace/Take a Stand bag and the APfE v.2.0. I am pleased with the binding, too.

I finally finished the combined Month 13 and 14. This is a large Rosette, like Month 1/2. I did not finish Month 13 before Month 14 arrived, but since they ended up as one rosette, it was ok.
I started out putting Month 13 together using the Hearts & Cones method, as mentioned, that I learned early on in the process. I wasn’t able to sustain that technique with the Month 14 pieces, but having any straight lines is a good thing.


I really like the center, which is cut from the main Parisville Deja Vu print. I did not use the faces as Pink Door suggested. I used the bows, because I love that motif. I wanted the bows to be the stars. The curls and some of the ship hairdo came along for the ride, creating a really pleasing, fussy cut center.
I have a few days before Month 15 arrives, so I am catching up on some binding and may be able to finish the foot part of my sock.
While this quilt has been on my mind, I only thought about it. I didn’t actually take it out and look at it until I finished Creamsicle.Now it is on the design wall and I am thinking harder about specifics.
I need to find the notes so I can be reminded of my ideas. It has also been 4 years since I even looked at this project.
I may have worked on it since the Rosalie Dace class, but I have no notes or blog posts unless they are well hidden and unindexed.

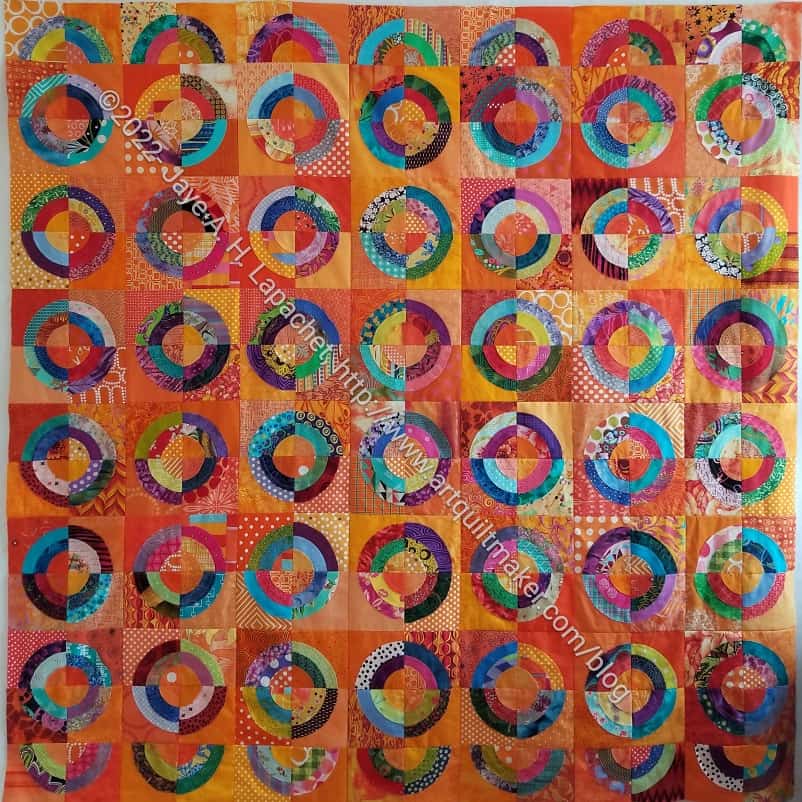
I finished the vertical orange donation blocks into a quilt. I did it on a day when I was really annoyed and needed some straight piecing – no pockets or zippers – that could soothed my jangled nerves.
These blocks were made from the strips I cut off of the Orange You Glad backgrounds. Waste not want not.
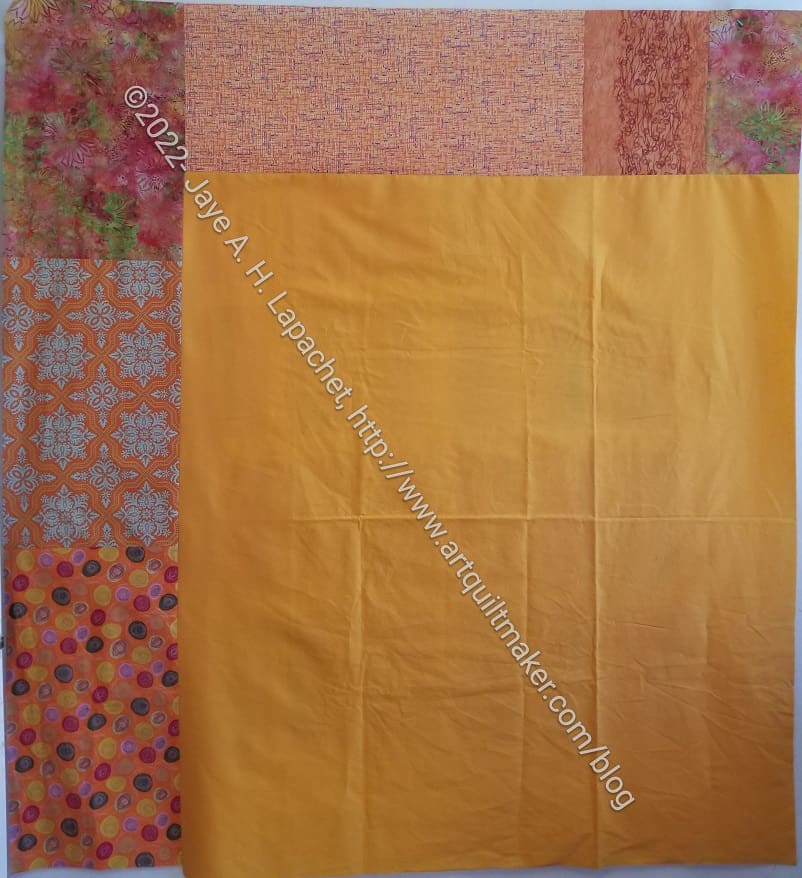
I am pleased with the way this top turned out and also glad it is done.
I put the back together quickly so I could give Peggy a whole package. Nothing special. There certainly has been a lot of orange in my life lately.
I am back on the UCAB bandwagon! I worked on the pockets for the Brocade Peony UCAB over the weekend and made some good progress. This is part of my effort to clear off my to do list. I know I have gifts to make, so there is a push-me-pull-you going on in my brain. Fortunately, this ticks off both areas.
I started the work on the two large pockets at Tim’s on Saturday. We got together for the meeting and to sew and catch up. I started in carefully on the large pocket #1 and made good progress until I realized I had screwed up. I had the wrong piece noted in the pattern and sewed the extra pockets to the wrong piece of fabric. I didn’t have the extra fabric with me, so I stopped and worked on binding some other bags.
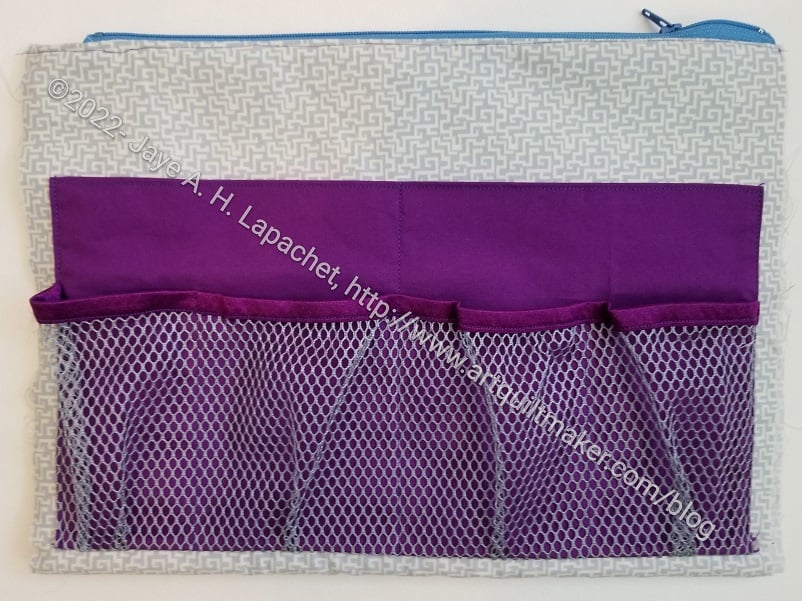
By the next day, I had figured out the problem and was ready to go. I thought I would abandon my efforts and start over. Unfortunately, I couldn’t find the extra fabric I thought I had, so I unpicked everything and redid it. It worked out. It took time, but unpicking is rather meditative.
Despite this inauspicious start, I was able to complete the two large pockets and make the center section of the small front pocket. I also started making the sides of the small front packet, including the Clippy section. There is a lot of fiddly sewing and cutting, so I didn’t make much progress yet.
Previous Tutorials:
I spent one day over the weekend working on the Essential Totes. I had only cut them out and the two stacks of pieces had been languishing for a few days. First, I had to cut the exterior fabric. Yes, I finally got the Echinacea Glow fabric!
Cutting was no big deal and quickly accomplished. Then I started working my way through the pattern. It was very soothing to just work on a bag that was straightforward.
As I started to work I found that the pattern is really well written and easy to follow. It has images in the right places and enough explanation. I found the part on what to cut required that I get oriented to how it was written. I made a few annotations that will be helpful when I make this project again.
One thing I did differently was use foldover elastic** instead of binding to cover the edges of the vinyl. After so many ByAnnie patterns and all of their binding requirements, I had no interest in making more binding. One good thing about the ByAnnie patterns is that I now have a good system for making binding that isn’t as arduous as either of the techniques I have used in the past. Here I am talking about actual fabric and sewing technique not the math part. The math part is tried and true and I use that because it works every time.
The handles cover the edges of the vinyl pocket so the maker only has to cover the top and bottom of the vinyl.
I used the glitter webbing I bought from SewHungry Hippie. Total impulse buy, so I thought I would go with lots of glitter in these bags. The background of the exterior tones everything down a bit. The webbing is much stiffer than fabric handles, so I’ll have to make sure not to load them down too much. I sewed slowly and with a sharp needle and didn’t have any problem sewing through them.
I got interrupted before I could finish them and need to get back int he swing. Part of what I need to do is make more pockets. Somehow that step is holding me up.
**Obviously, you should shop at local fabric, knitting shops or quilt shops. However, if you can’t, please know that I use affiliate links. I may be paid for your purchase of an item when you click on an item’s link in my post. There is no additional cost to you for clicking or purchasing items I recommend. I do not recommend items I don’t like. I appreciate your clicks and purchases as it helps support this blog.
Some time ago I wrote a post about the Flatback Stitch. I read it over the other day and I think everything is still true. My techniques have evolved since then, however.
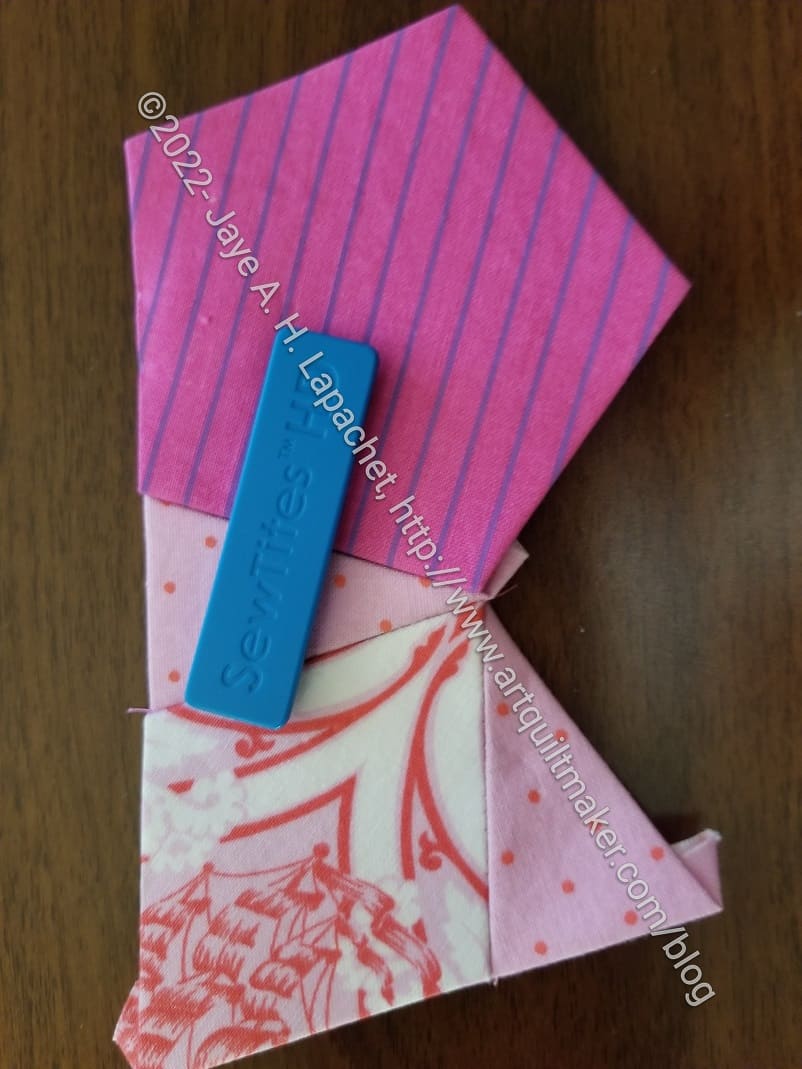
One thing I do now is anchor the joins before I stitch the whole seam. This lines up the corners so patterns match and corners are smooth.
I still hold the pieces together with either Sew Tites** or WonderClips**. My favorite SewTites at the moment are Sew Tites HD**. They are stronger and easier to use with multiple layers. The magnets are strong so I have to be careful not to catch my fingers in between the two magnets. Otherwise they work really well.
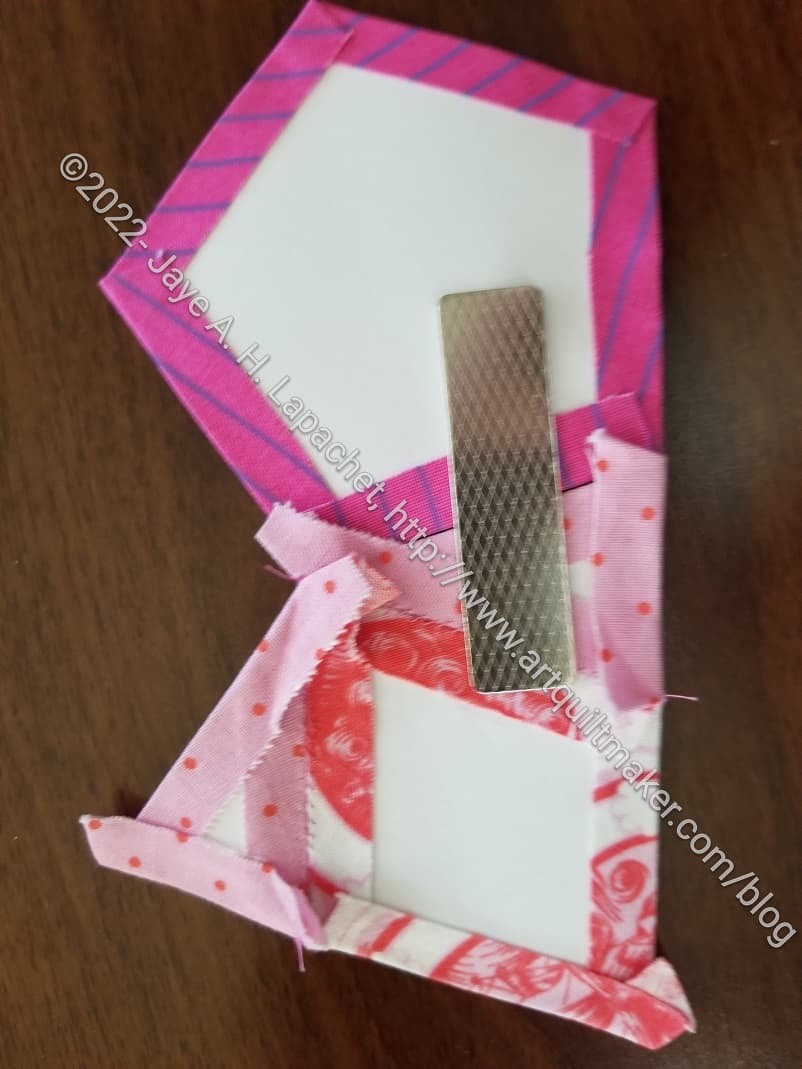
Next, I take a few stitches where the corners of two different pieces line up. As I do this, I keep turning the piece over so I can make sure the corners are still in place. Then I go back and stitch the seams between the two pieces together.
This can be a bit challenging when sewing a giant rosette together! Still securing the joins helps keep long seams in place until the whole thing can be sewn together.
My seams are lining up really well using this method. I feel like my pieces are lined up more precisely.
**Obviously, you should shop at a local quilt shop. However, I use affiliate links and may be paid for your purchase of an item when you click on an item’s link in my post. There is no additional cost to you for clicking or purchasing items I recommend. I appreciate your clicks and purchases as it helps support this blog.
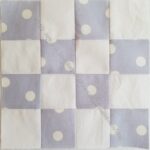
I finally FINALLY finished this quilt!
I am pretty pleased with the way it turned out and will be really glad to see it finished.
This piece seemed like it was on my design wall for years, but when I went back and looked, it wasn’t. I seemed to have started the layout in March 2022. In the grand scheme of things, it is only 5ish months ago. Why does it feel like this quilt took so long?
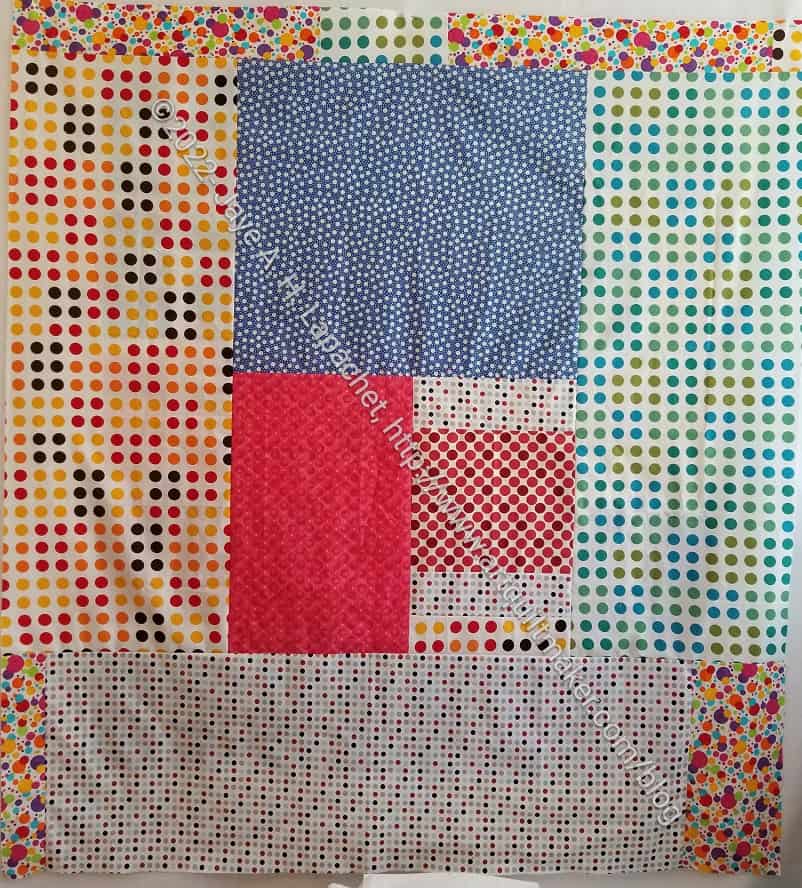
I dipped into my stash of dots for fabrics for the back. These are mostly dots I bought before I refined what I like in dots. I do like the prints, but probably wouldn’t use them in the foreground of a quilt and they are too large or too diffuse for the background. I think they make a really cheerful back.
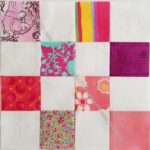
I have more scraps, which is probably a super obvious staement. I have a lot of pink scraps, so that will probably be my next quilt in the series, after the orange vertical strip donation top.
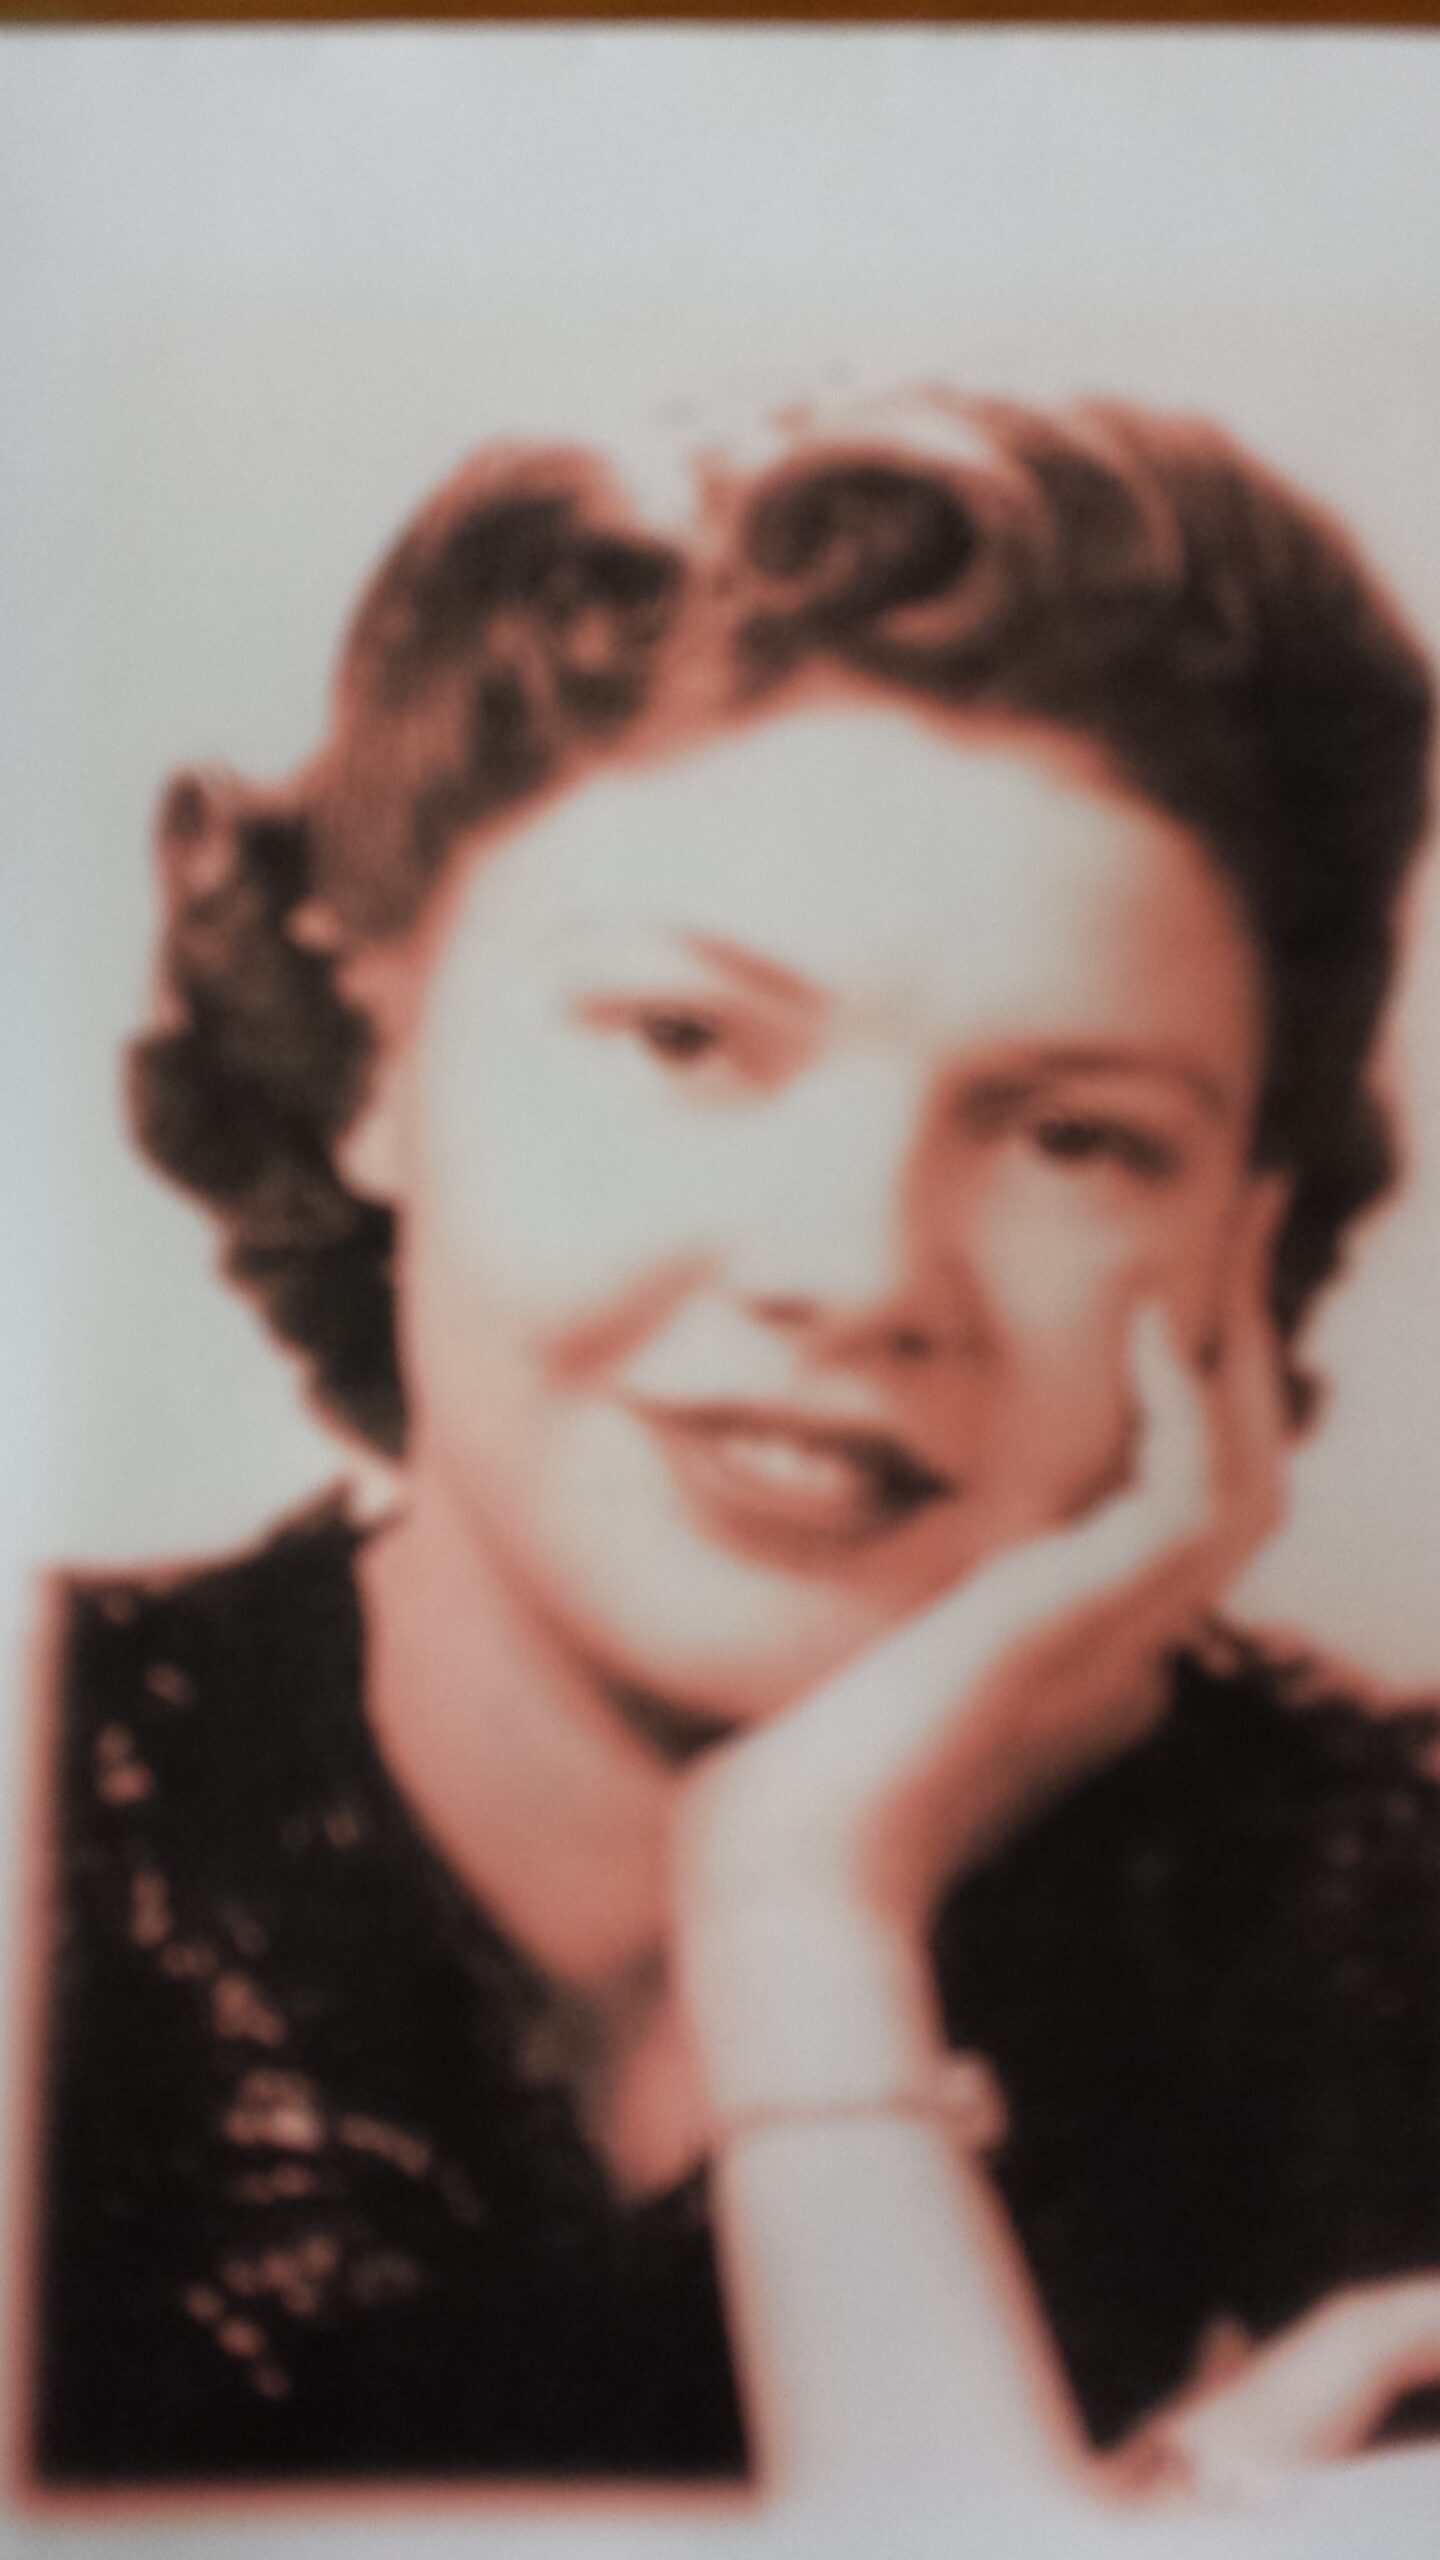 My Grama has been on my mind lately. Today would have been her 98th birthday and I just wanted to celebrate her. She is one of the people I always saw doing needlework, so she influenced me greatly.
She mostly did crochet when I knew her. I have a small afghan in a chevron pattern that she made for me. It is super warm. She ran out of yarn. Being young, I didn’t understand about dye lots, so couldn’t understand why she didn’t just go get more yarn.

After her second husband died in around 2004, I started spending a lot more time with her. I went down for a surprise party for her and someone snapped this photo. Her face conveys a lot about her personality.
Happy Birthday, Grama!
Kelly Pena, a quiltmaker/sewist also working on La Pass and in the private La Pass FB group, creating a basic and an easy to understand tutorial for making center medallions. She has kindly allowed me to use her photos for this English Paper Piecing technique. This question has come up a few times in our La Pass group. I consulted with Kelly and said that I would write a blog post using her photos so there would be a permanent link to the information. I have added a little bit of additional explanation to Kelly’s already excellent tutorial.
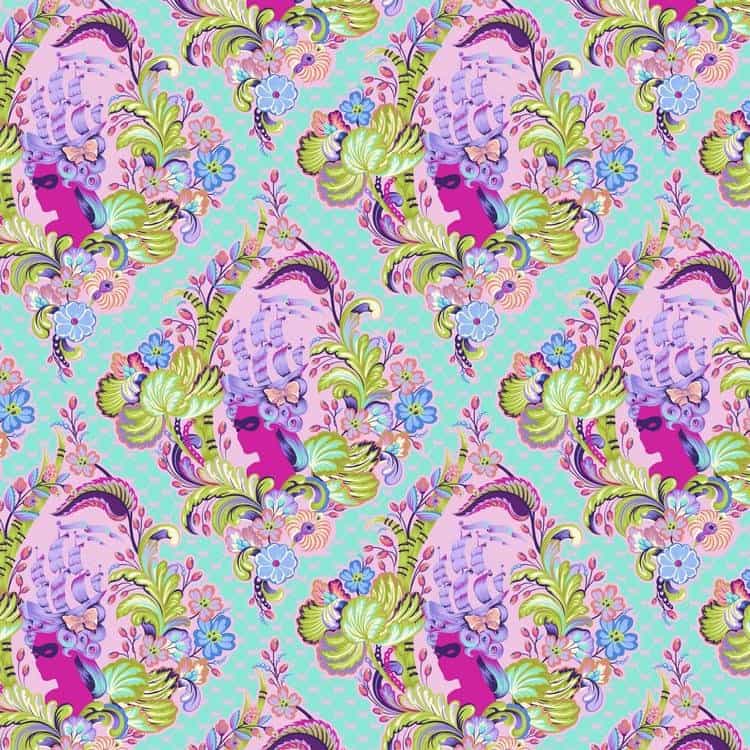
Our La Pass rosettes require certain sized fabric pieces that correspond to the paper we are using to create various rosettes. We fussy cut the fabrics and make cool designs. Sometimes people want to use a larger motif, such as Tula Pink’s Marie Antoinette from Parisville Deja Vu. This motif would be difficult to put together using the various shapes and pieces. Not impossible, but very difficult.
In order to use up, in this case, the entire cameo and not make ourselves completely crazy, we need more ‘paper space’.
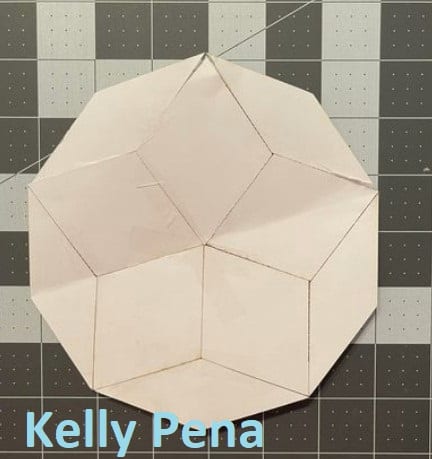
1. Find all of the paper pieces you need (want to use) to make the center medallion. Tape the paper pieces together for the final shape. This can vary depending on the shapes making up the rosette and you can adjust the shape by adding or deleting papers until you are satisfied. You can create quite a large shape.
As far as I know, there is no size limit as the paper will be removed at some point anyway. My gut tells me that you may have some issues with the bias if the pieces are too large. As a result, and, as usual, be careful with the bias.
You can configure the papers into any shape that will work for the fabric you have. I tried this technique on one of the Month 4 rosettes and found it moderately successful. In looking at Kelly’s example above, I should have added the long, thin diamonds to my center in my attempt. I think it would have made the process easier. The concave edges around the center diamonds are difficult and the long, thin diamonds make the edge easier to deal with.
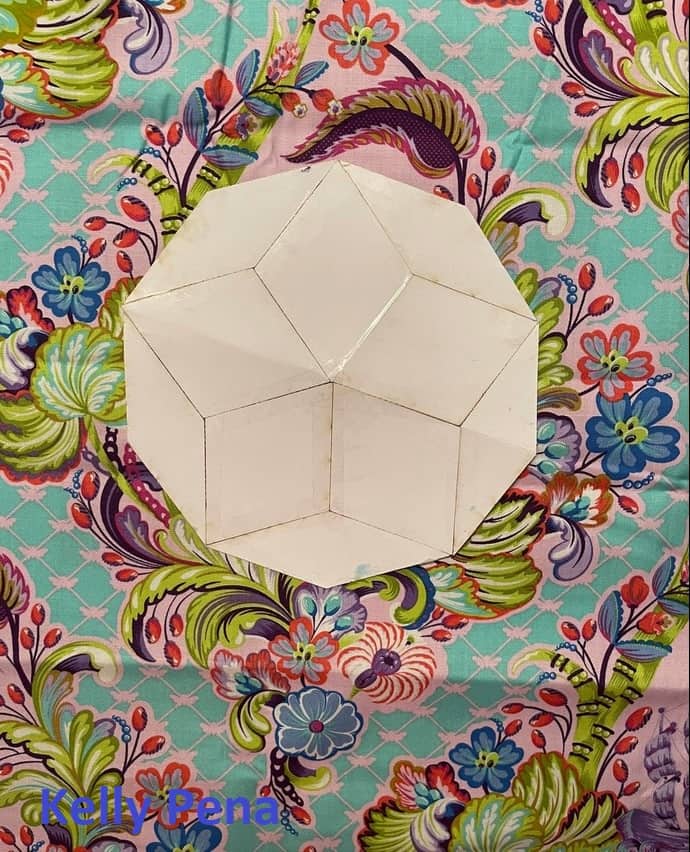
2. Lay the combined and taped papers on the fabric. Adjust the placement until you have the fabric motif you want centered on your papers.
Remember to take seam allowance into account.
You can use a light board or light box** here for more accuracy.
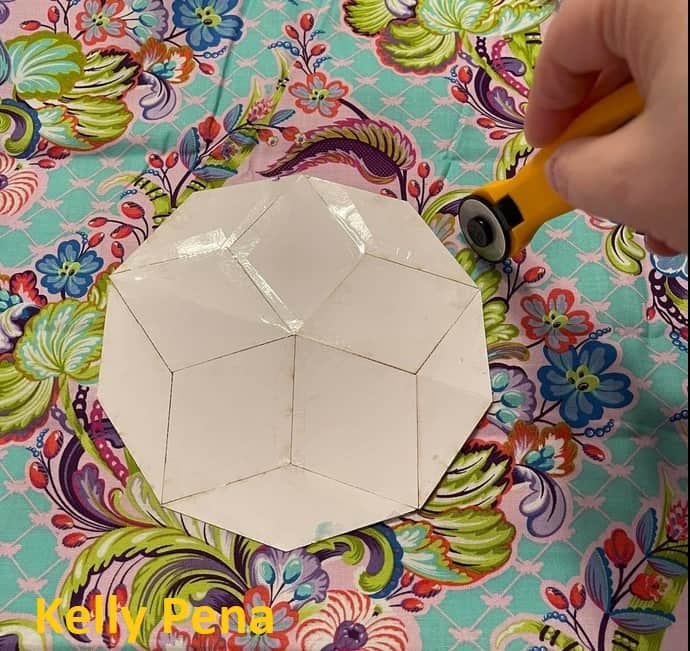
3. Cut around the template allowing for seam allowance.
N.B.: In the image (left), Kelly is cutting freehand. If you are not confident, you can also use a small rotary cutting ruler**. If you use a ruler, you will need to keep moving it around the piece. In this case, a rotating cutting mat** might be helpful.

4. Baste as usual. Kelly and I are both using glue for La Pass. I am using thread basting for my Half Hexie Star project. Either method will work with this center medallion technique.
You may find it helpful for circular shapes to cut notches into the seam allowance when basting.
**Obviously, you should shop at local quilt shops, knitting shops or art stores. However, I use Amazon affiliate links. I may be paid for your purchase of an item when you click on that item’s link in my post. There is no additional cost to you for clicking or purchasing items I recommend. I only link to items I like. I appreciate your clicks and purchases as it helps support the costs related to maintaining this blog.
Yes, I finished the top and back of Orange You Glad. I actually came back from my knitting class and made the back and binding.
I needed this off my design wall, so I just worked like a crazy woman on it.
There is nothing wrong with the quilt. My feelings all have to do with how many projects I have in progress. With this project on the machine, I couldn’t work on the Tarts. I found that project and its urgency fading from my mind the longer I didn’t work on it.

The back uses a large and favorite print from Martha Negley. Since this is a quilt I will keep, I was happy to use it. I know it isn’t the same orange as the front, but I like it.
Next step: off to Colleen.
I finished the center of the Rainbow Strip donation top using the leaders and enders technique as I worked on the Project Bags.
I am pleased with how it looks, though it does need a border. I am thinking white, but that may not finish the quilt enough. It could be if there is a colored binding applied. I don’t have control over the binding unless I make one to go with the top and back. Hhhhmmm.