Finished 2023 Quilt Projects

- BAMaQG IRR
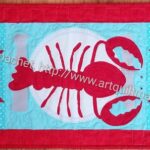
- The Lobster tablerunner
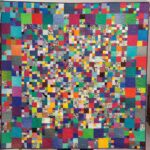
- Orange You Glad
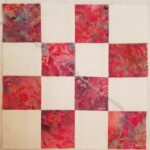
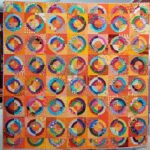
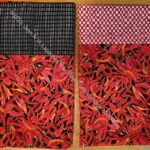
- Pointillist Palette #4
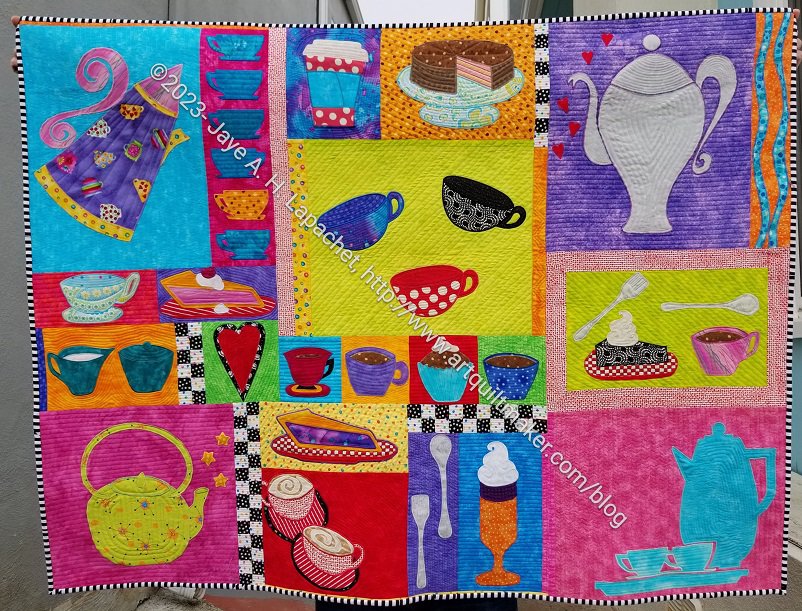
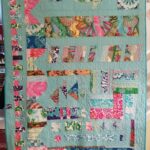
- The Tarts Come to Tea
Finished (for me!) Donation Quilts
I don’t quilt much and I enjoy the collaborative effort of making a top and allowing someone else to quilt it. Thus, the quilts below are mostly tops, but I will include a finished quilt once someone else finishes it for the group.
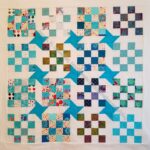
- Friendship Star donation top – January 2023
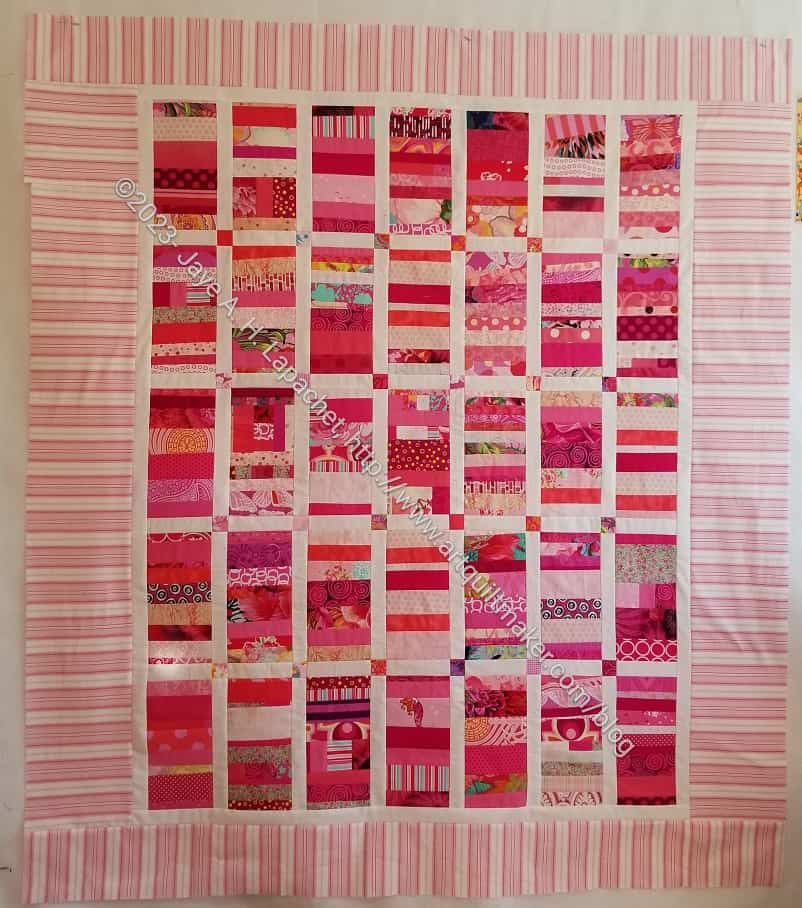
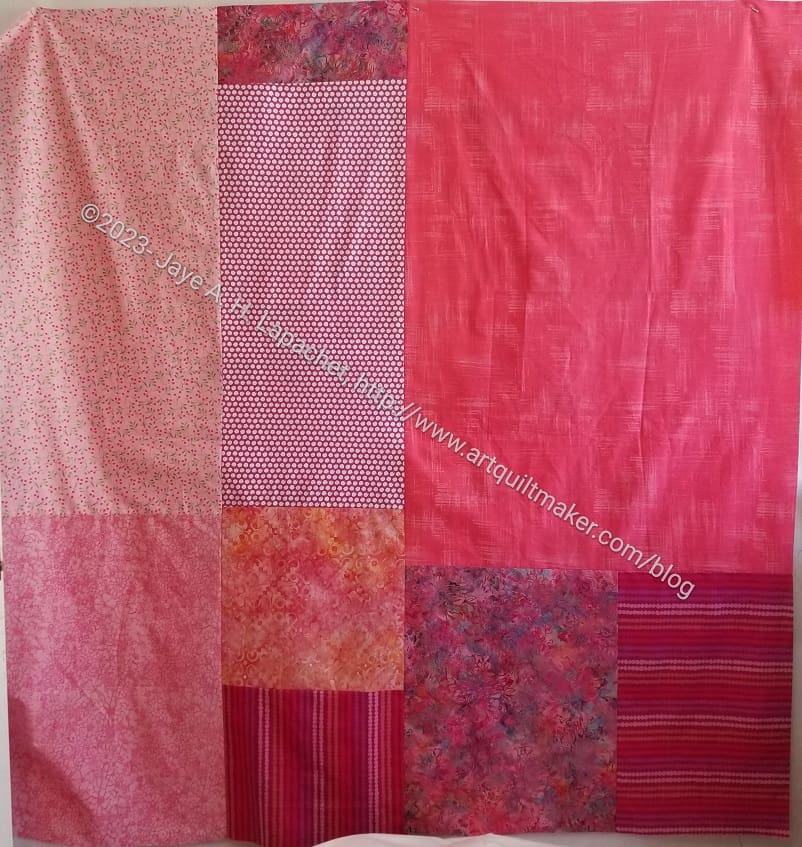
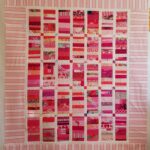
- Pink Strip donation top – March 2023
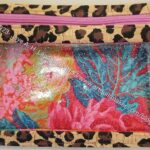
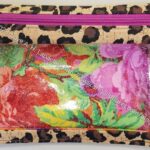
Finished Bags and Small Projects
This category covers bags, toys, aprons and knitting as well as other non-quilt projects.
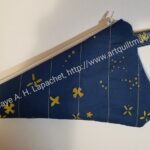
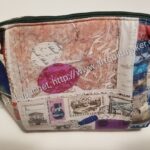
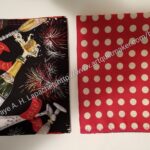

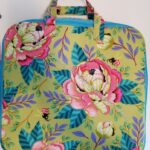

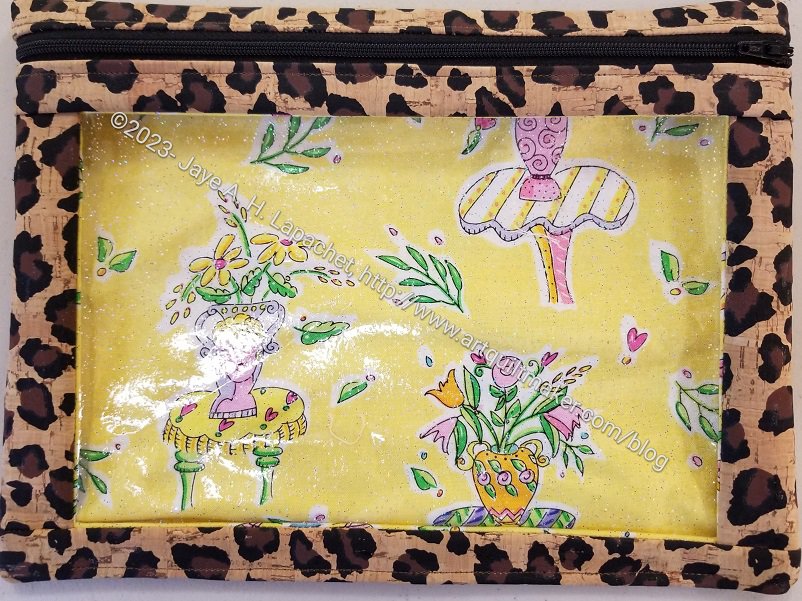
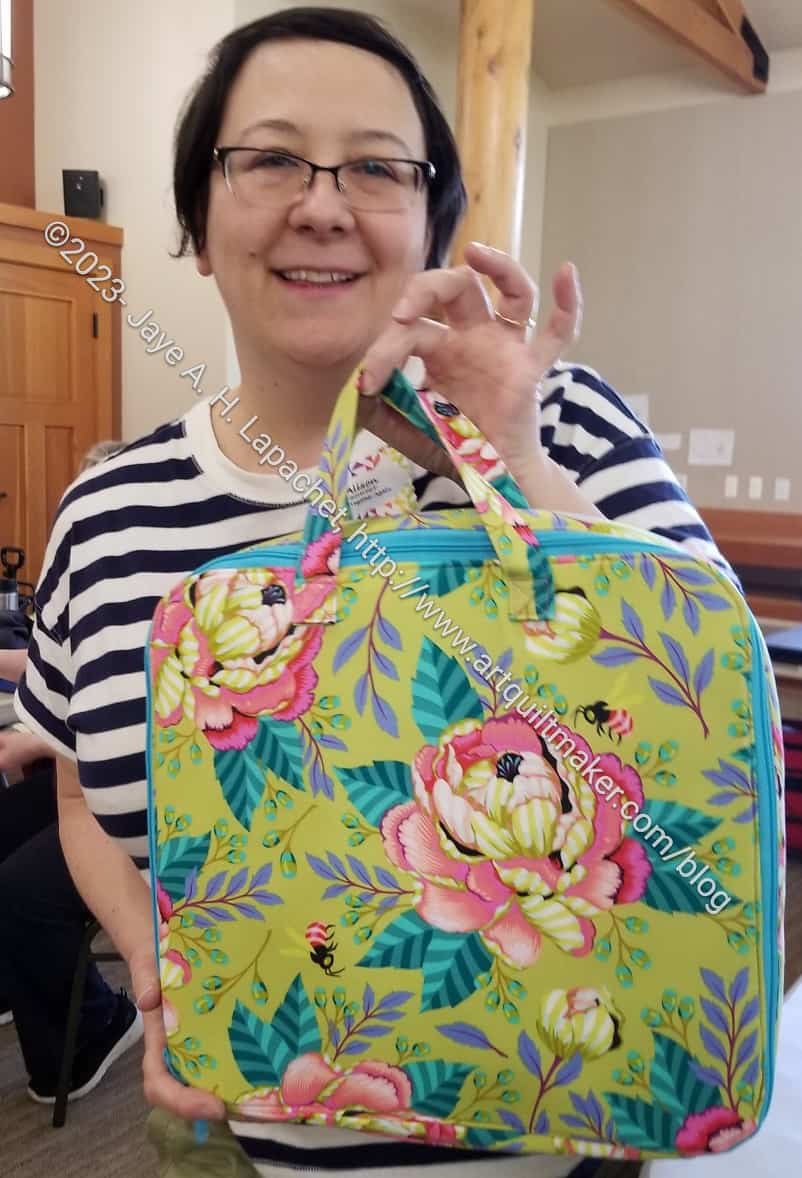
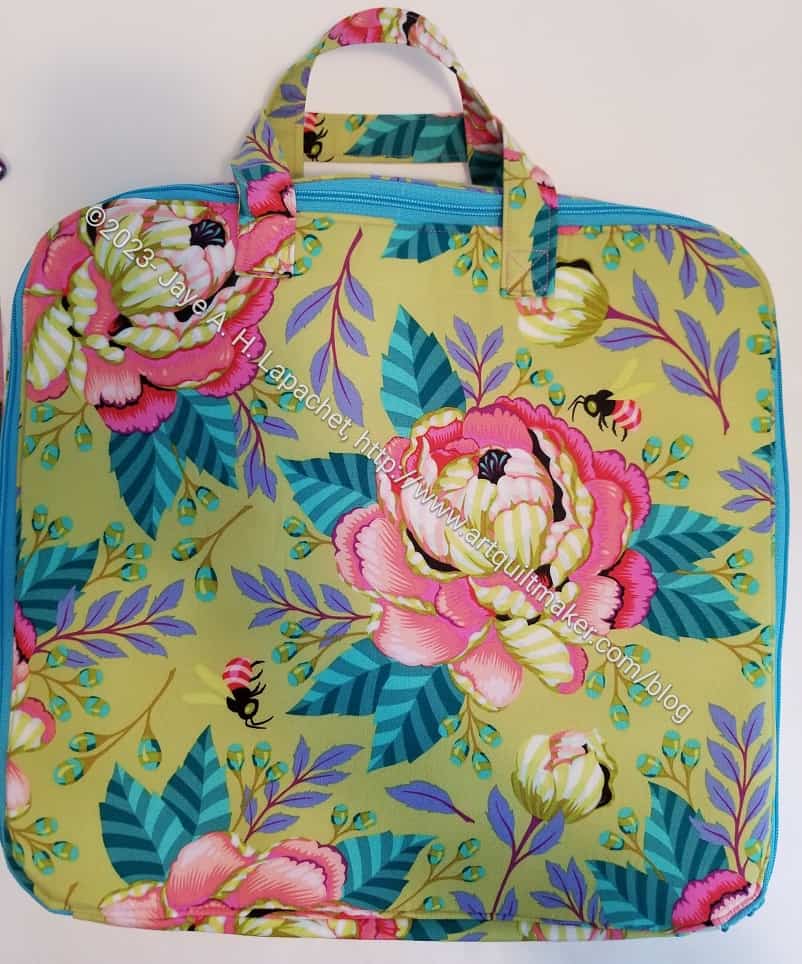
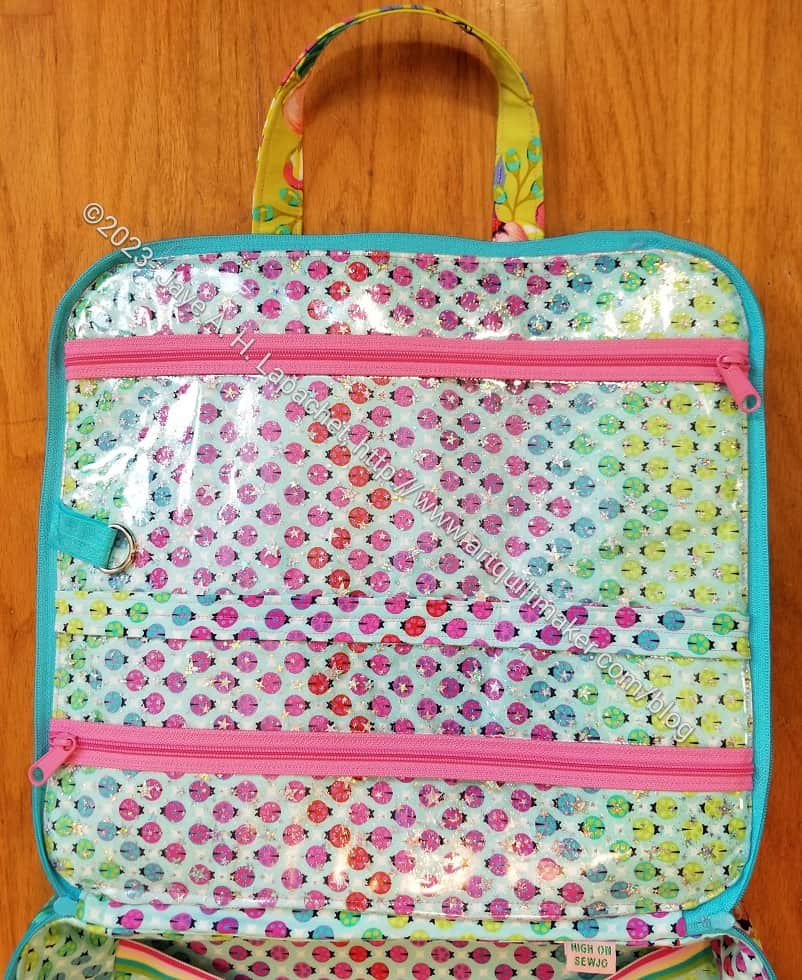
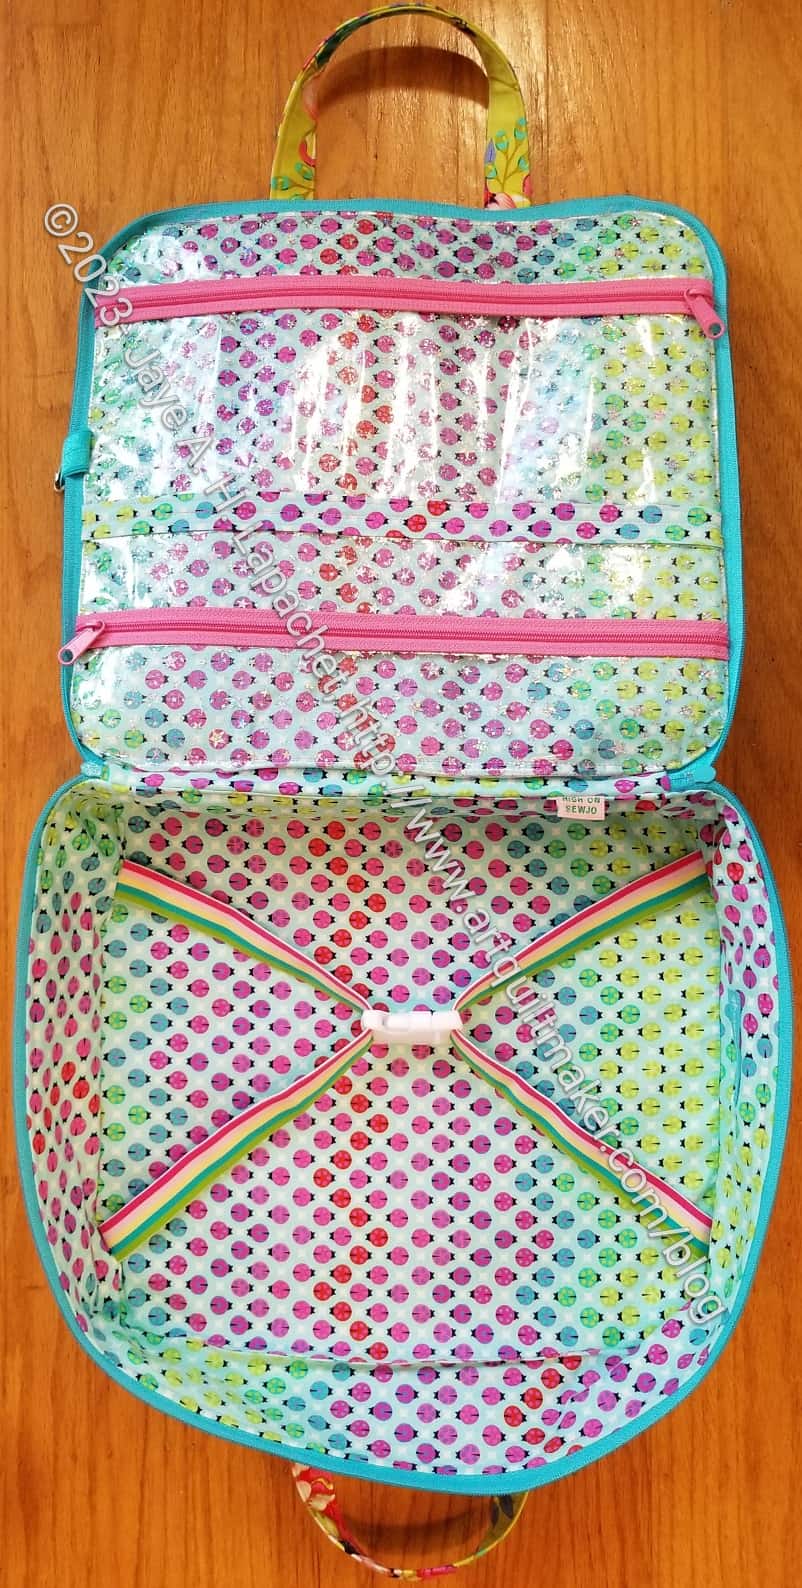
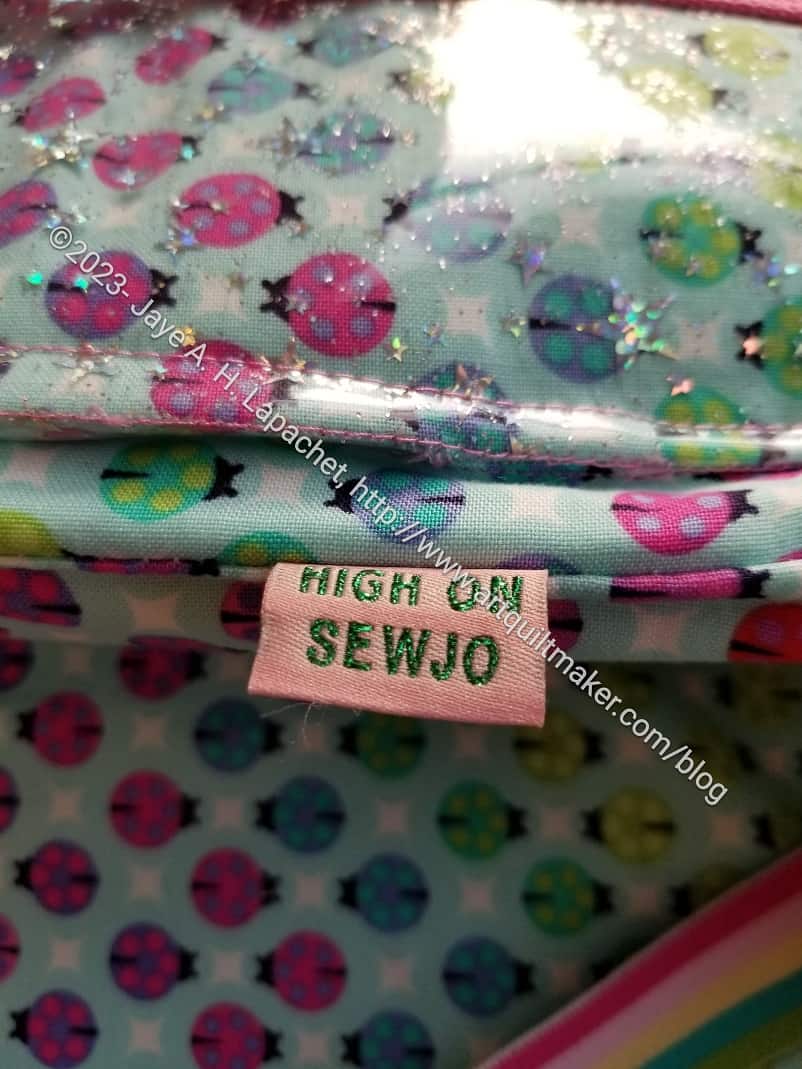
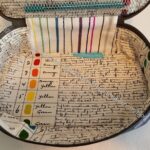
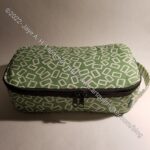
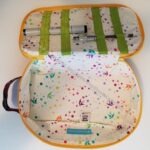
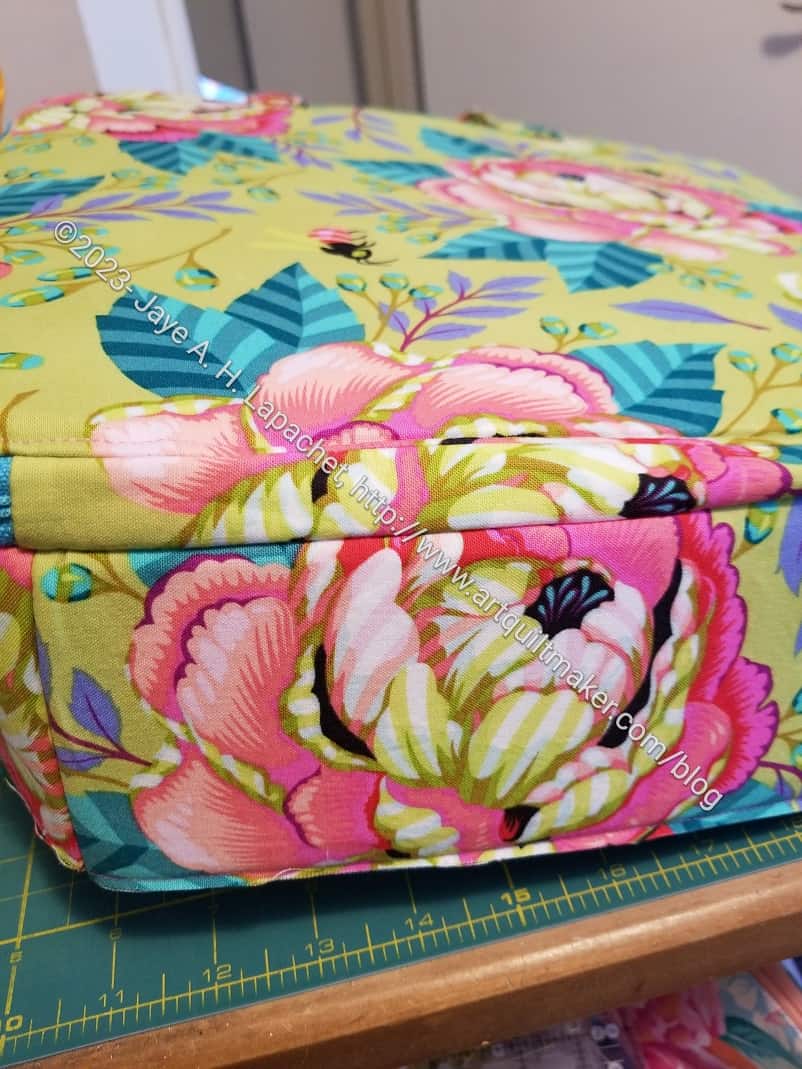
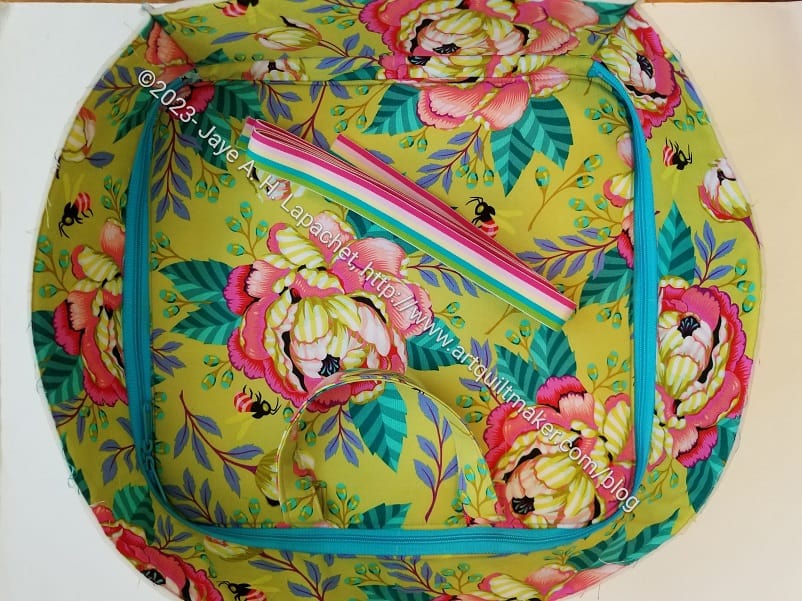
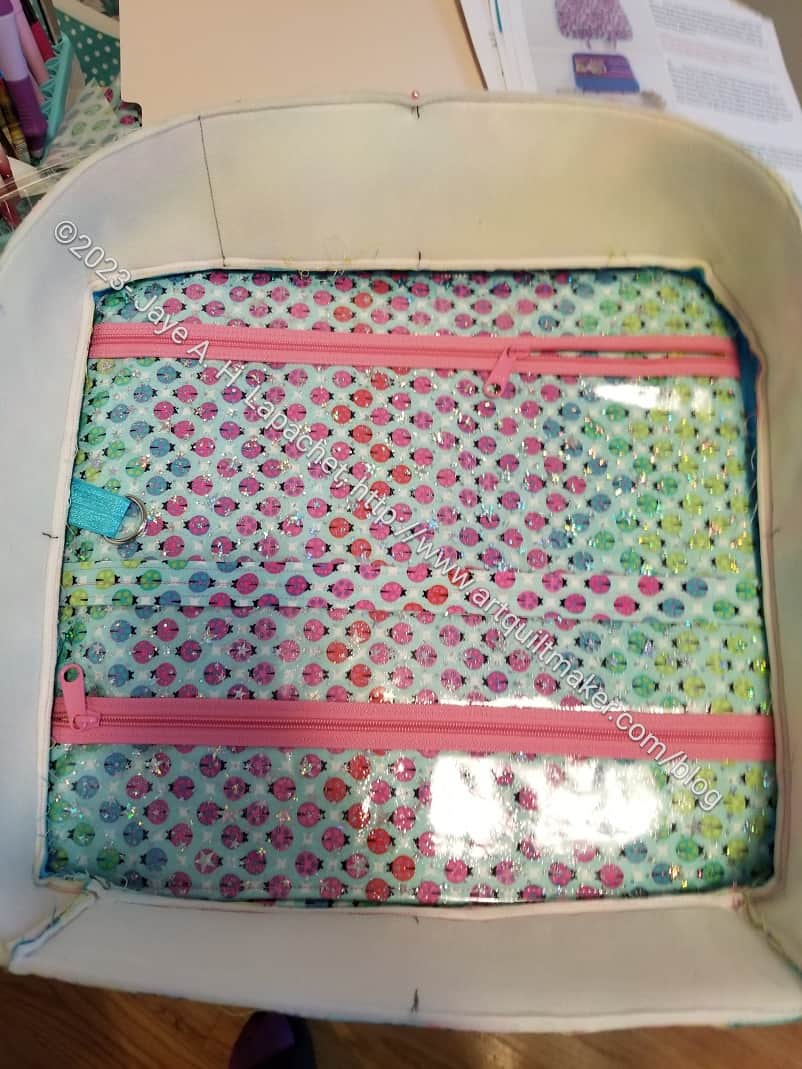
- 2-in-1 Case
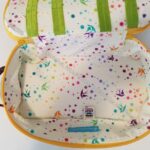
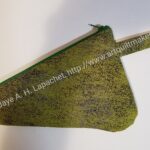
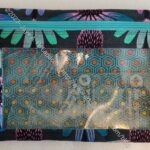
- I Spy pouch
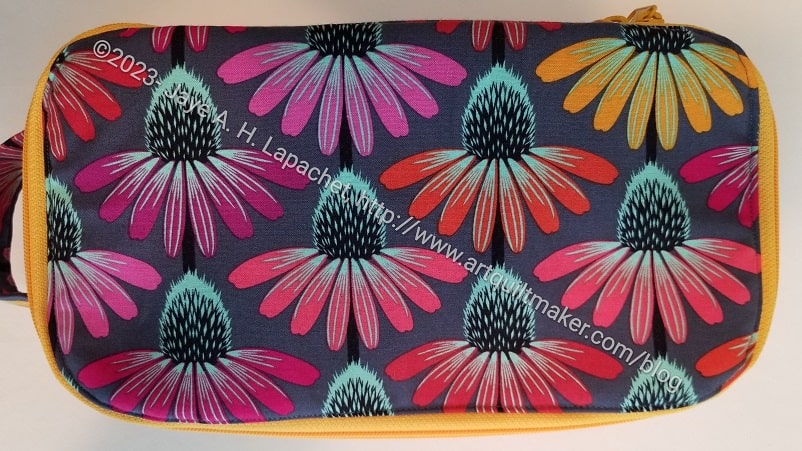
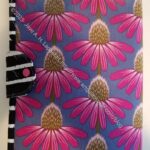
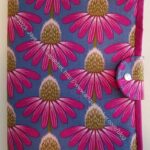
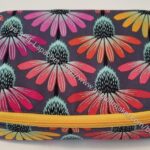
- AMH Coneflowers #7
- Cork I Spy medium #1
- Cork I Spy medium #2
- Cork I Spy large #1
- Grey Cross version
- Pink Batik
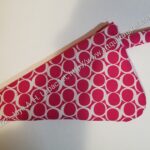
- Hackney pouch
- Amanda’s Hackney
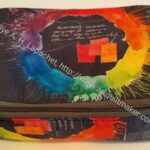
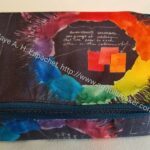
- Color Wheel Hackney
- Color Wheel Hackney #2
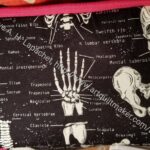
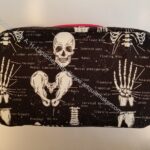
- Hand Bone Hackney
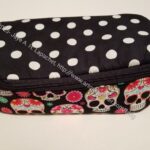
- Sugar Skull Hackney
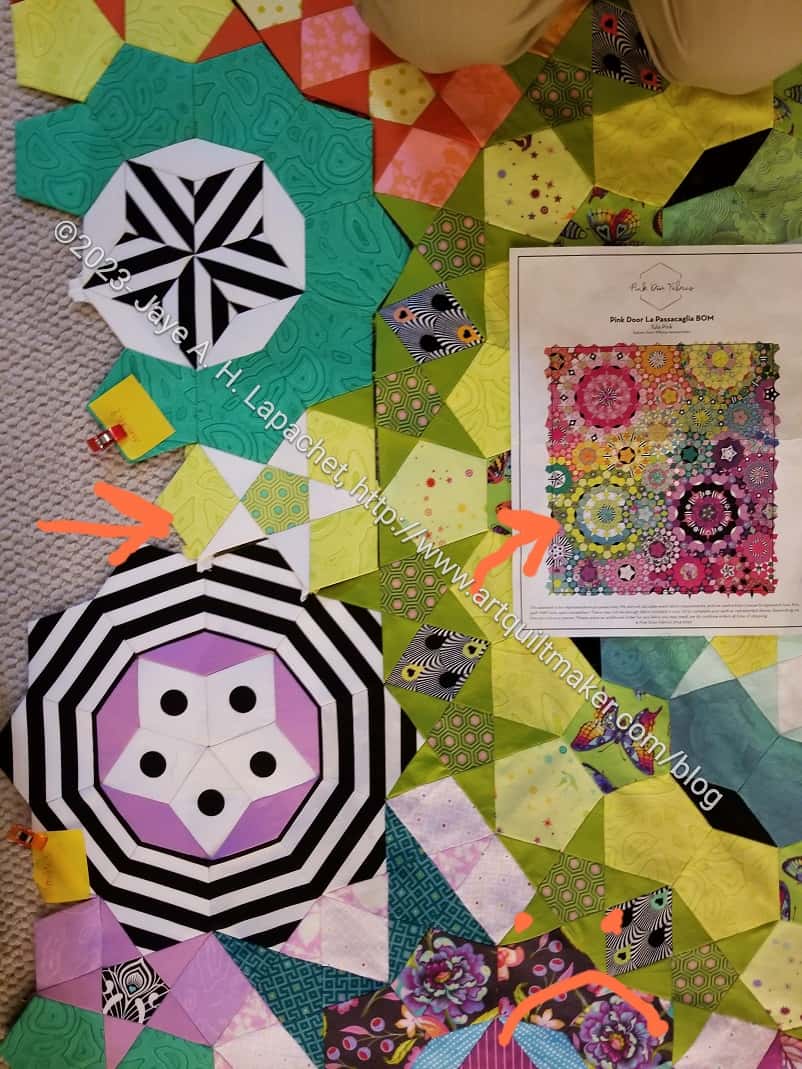
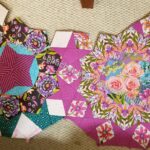
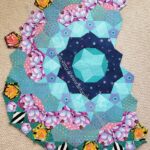
- La Passacaglia
- Napkins
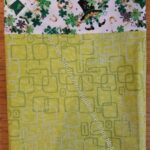
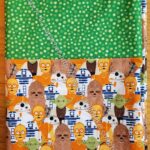
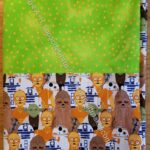
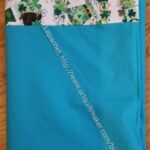
- Pillowcases
- January pillowcases
- Valentine’s Day pillowcases
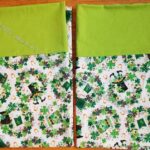
- St. Patrick’s Day
- Easter
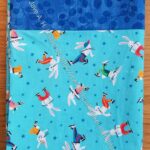
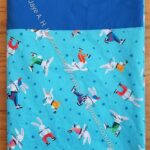
- May the Fourth be with You pillowcases
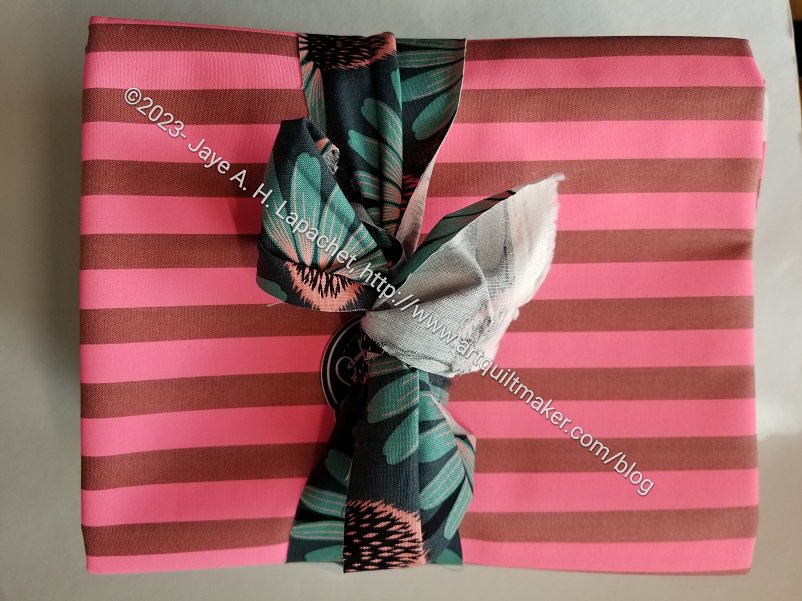
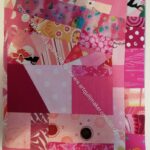
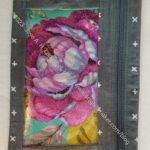
- Pink Journal Cover
- Scissor Cozies
In Process or To Make
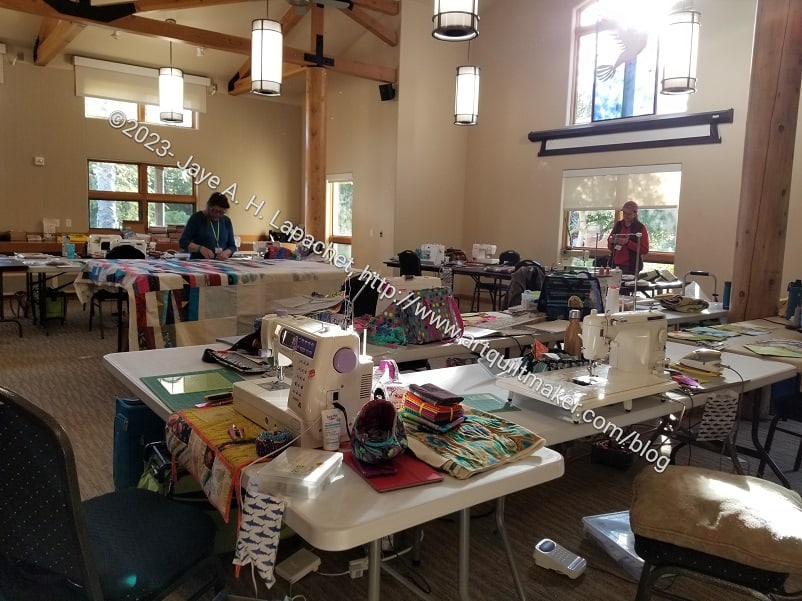
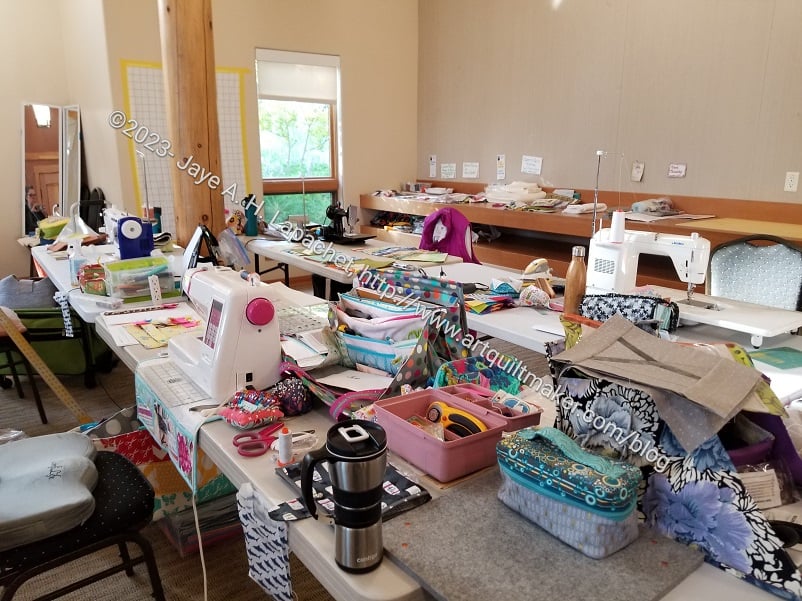
The ‘In Process’ is used to denote projects on which I am actively working or are on the design wall waiting for me to stitch. I am continuing to try not to put away projects. I find putting a project away ensures I never work on them, because I just lose steam.
Quilts (machine work)
Nothing at the moment!
Quilts (Handwork)
I decided that some of my quilts are in a different class because they are hand piecing or embroidery or beading. They take longer. Thus I created a new category and have moved some projects here.
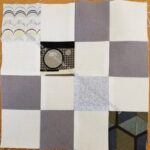
- Half Hexie Stars Project– I am reignited about this project after working on it at the November Sew Day. I have been working away steadily and can see the light at the end of the tunnel
- La Passacaglia – I am now working on assembling all the rosettes into a quilt top.
Ready for Quilting
In the Quilting Process
Nothing at the moment
In the Finishing Process
- Nothing at the moment
Small Projects
Most of my progress involves thinking or just cutting. I don’t have a bag in process at the moment.
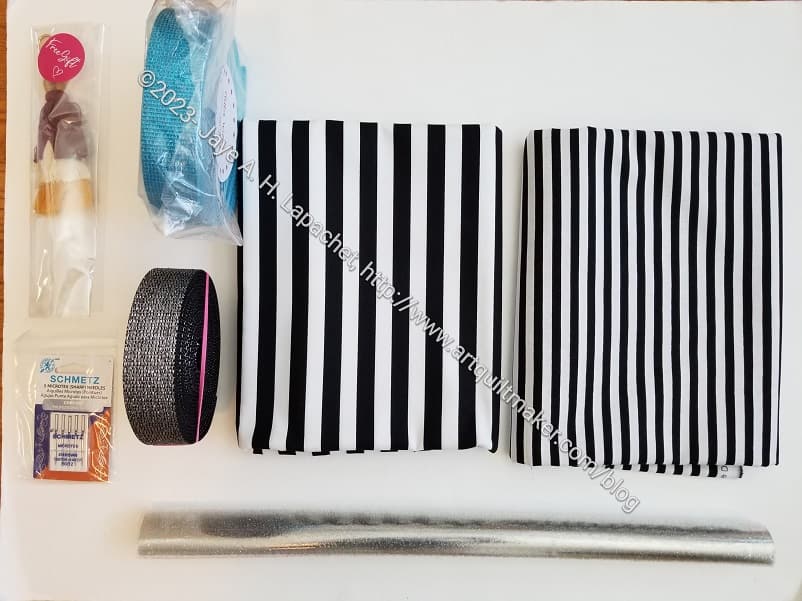
- Ultimate Project Organizer – another project from the Crafty Gemini Organizer Club, also on my list, but not yet started. I did pull the fabric, supplies and reviewed some finished photos that others posted, so I am one step closer.
- Retreat Organizer – another project from the Crafty Gemini Organizer Club, also on my list, but not yet started. Recently, I saw one of these made up and I am not so nervous about it. I did pull the fabric, supplies and reviewed some finished photos that others posted, so I am one step closer.
- Rose Petrillo bag – I found the pieces for this bag cut out, but not sewn.
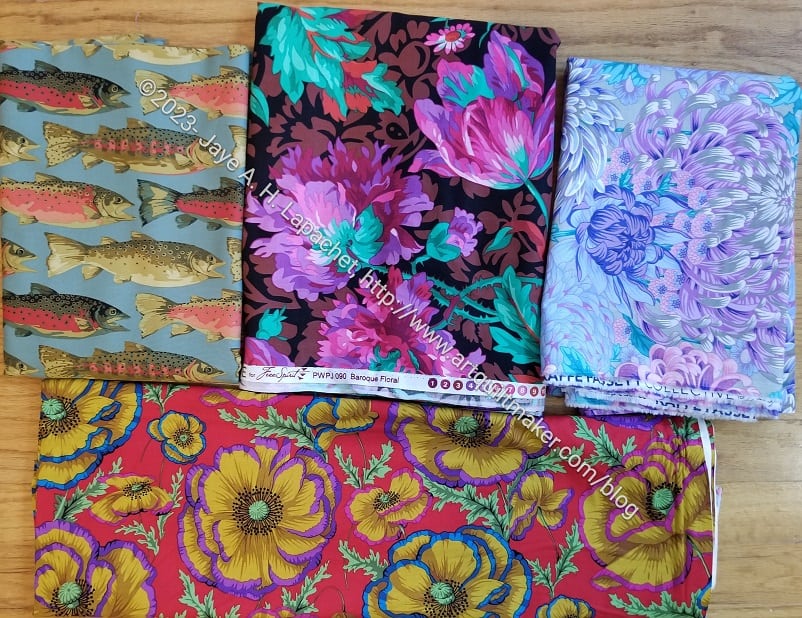
- Superbloom tote using Hindsight fabric – not started. I did pull the fabric, supplies and found a photo I plan to use as inspiration that others posted, so I am one step closer.
Still UFOs
I still have UFOs. Who doesn’t, after all? A project in the ‘UFO’ category means I am stalled, it hasn’t been worked on in awhile or it is waiting its turn to be worked on. The list is a lot shorter and the projects are newer, for the most part.
I am annoyed that some of these are still WIPs. I just need to work on them!
- Handbag Sampler – this is still the forgotten project. It should be on the UFO list. The blocks were teaching samples when I taught a sampler class some time before I started writing the quilt class sampler tutorials. I found one block recently, but otherwise I don’t actually know exactly where the blocks are hiding. I crawled up in the far reaches of my fabric closet to see if I could find them and they weren’t where I thought. I am sort of mystified as to where they could be. I haven’t even found a picture of all the blocks. WTH?
- Self Portrait: started in 2006 at a class at Quilting Adventures in Richmond, Virginia. After a brief burst of inspiration, I am stalled on this again. As one of my oldest (I am pretty sure) UFOs, I put it on my blog and out into the Twitterverse and Diane suggested that I not consider this as a self portrait. I think that strategy is a great idea. I am now trying to think of a new persona for her.
- Serendipity Lady – I am still planning to take this piece to be framed. It might need a bit of quilting first.
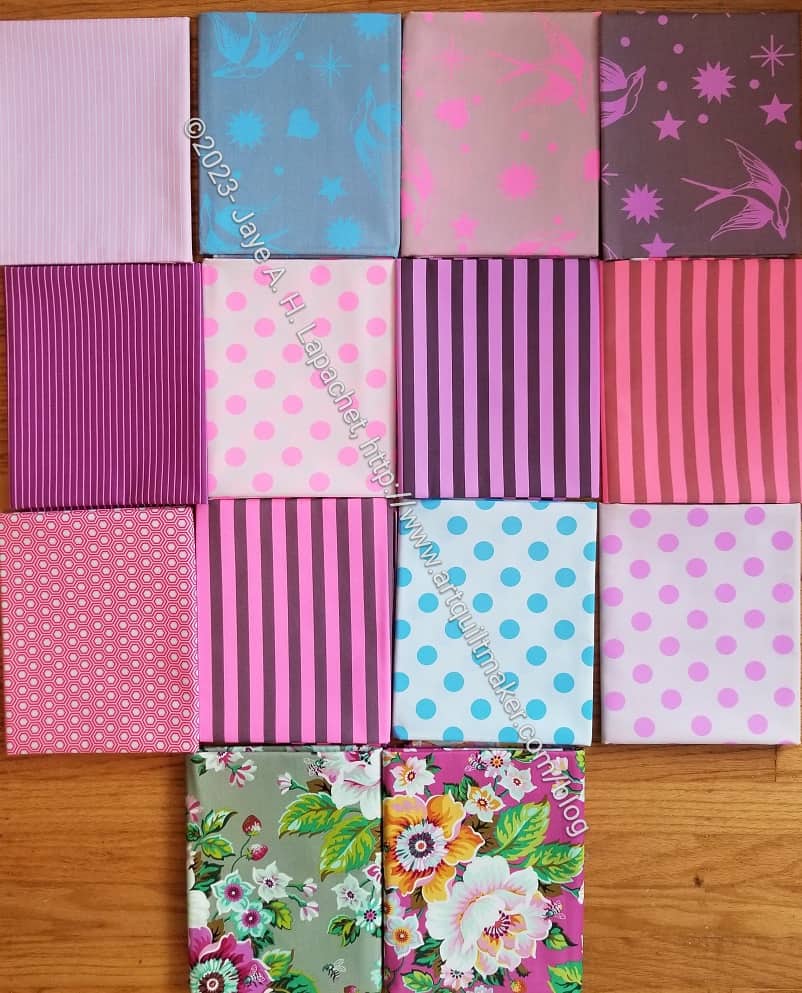
- Fabric of the Year 2020
- Fabric of the Year 2021 – I may combine 2020 and 2021 into a COVID edition.
- Fabric of the Year 2022 – yes, I added this one to the list, but this is the last one I plan to do.