Admin
I am so excited to have some new readers. Regardless of whether you are a new reader or have been reading for awhile, I appreciate your comments and engagement. Thank you!!
I have decided to offer classes on a wider basis. Check out the topics available and let me know if you are interested.
Projects, Classes, Patterns, Techniques & Tutorials
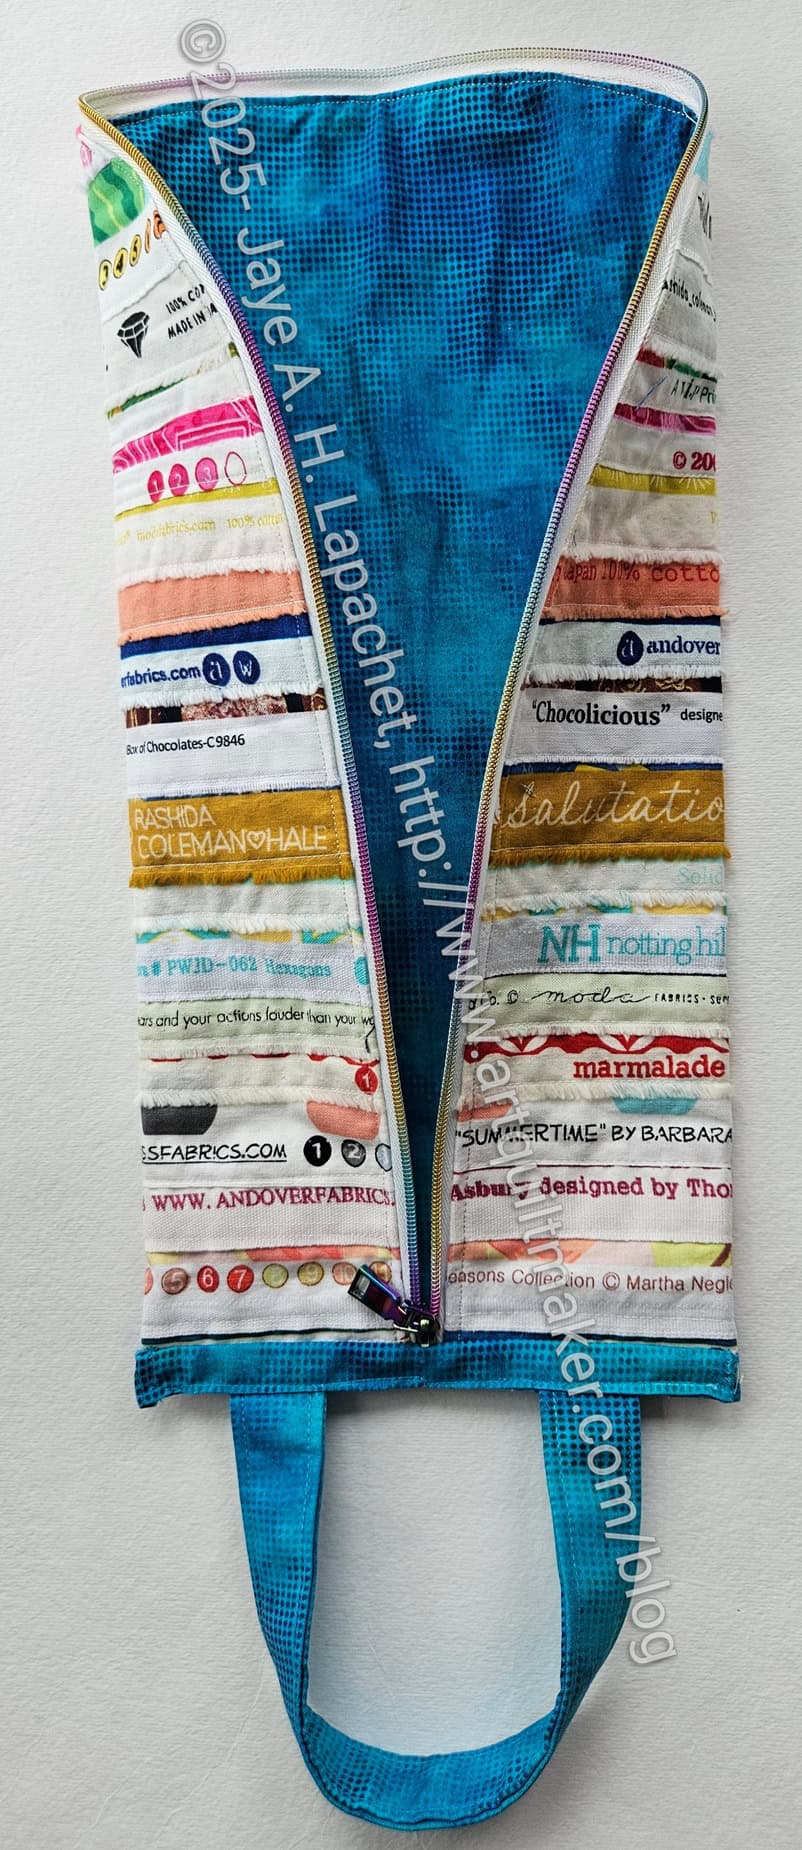
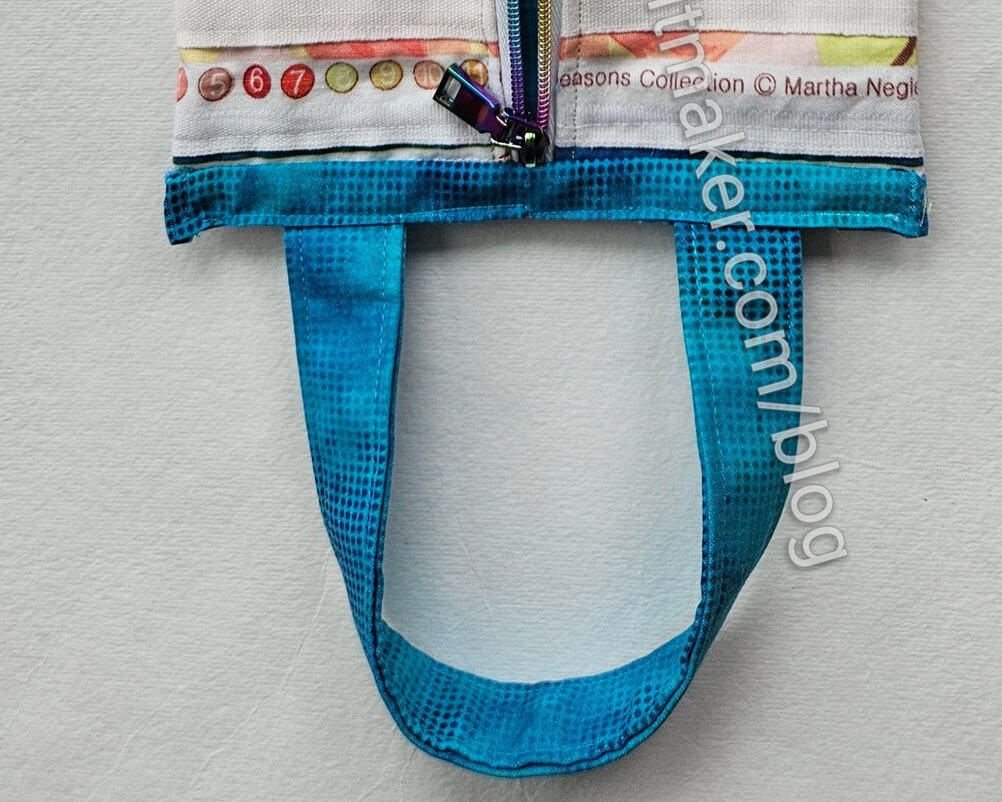
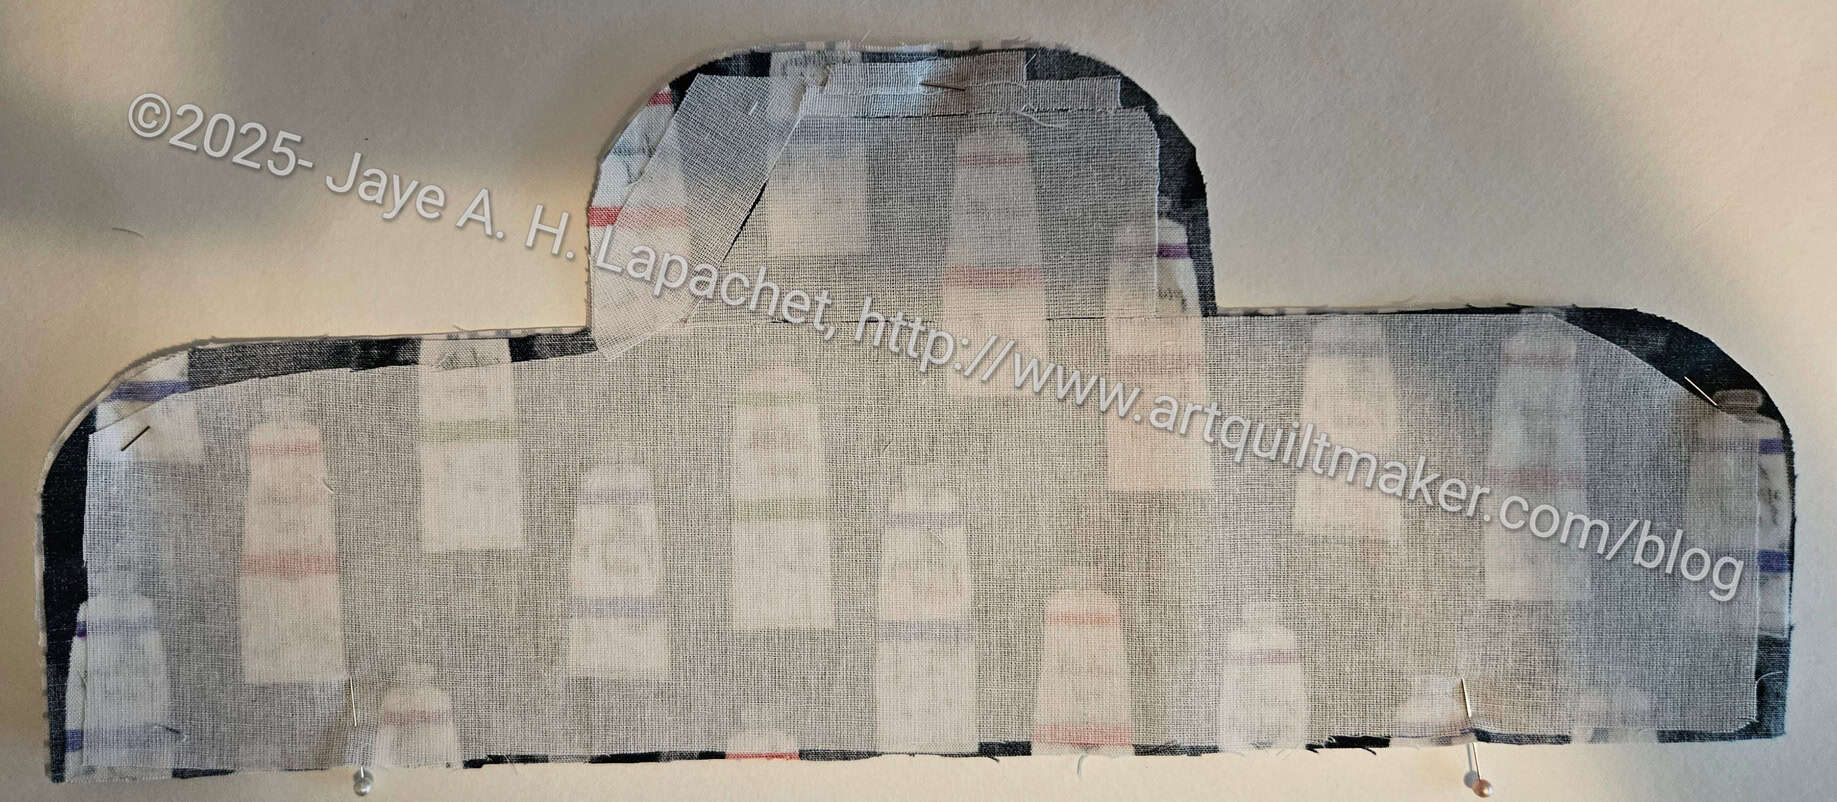
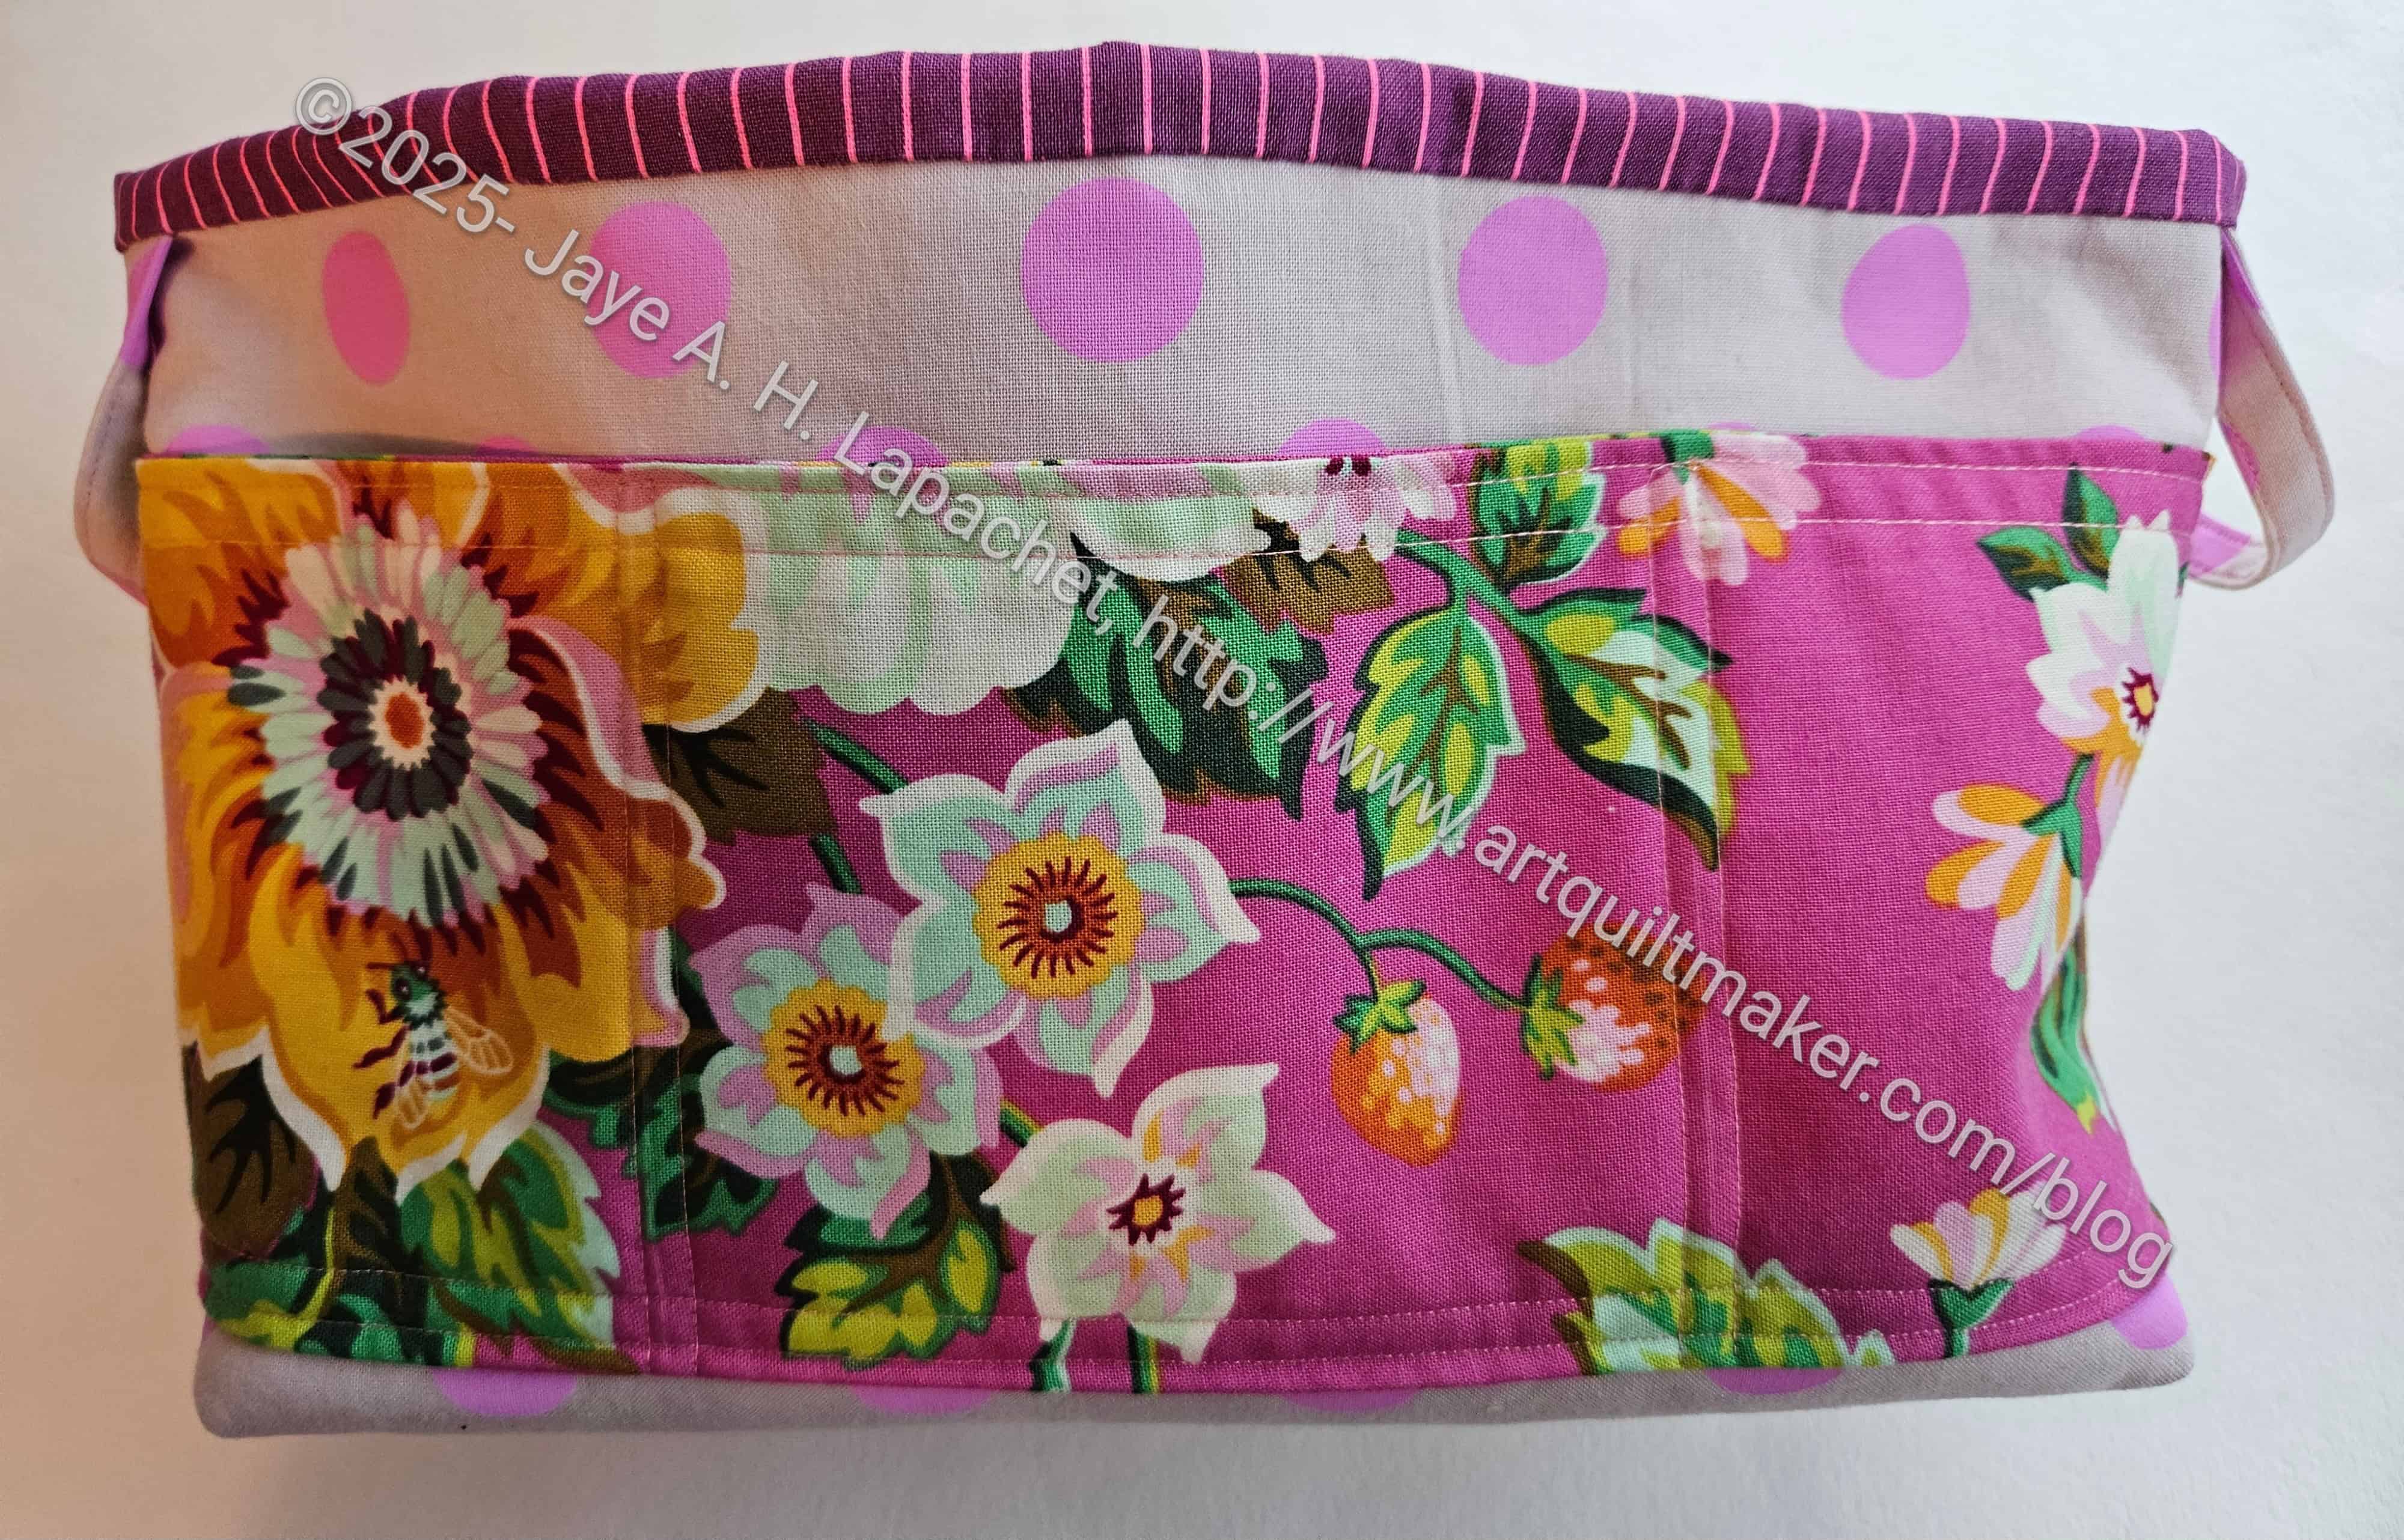
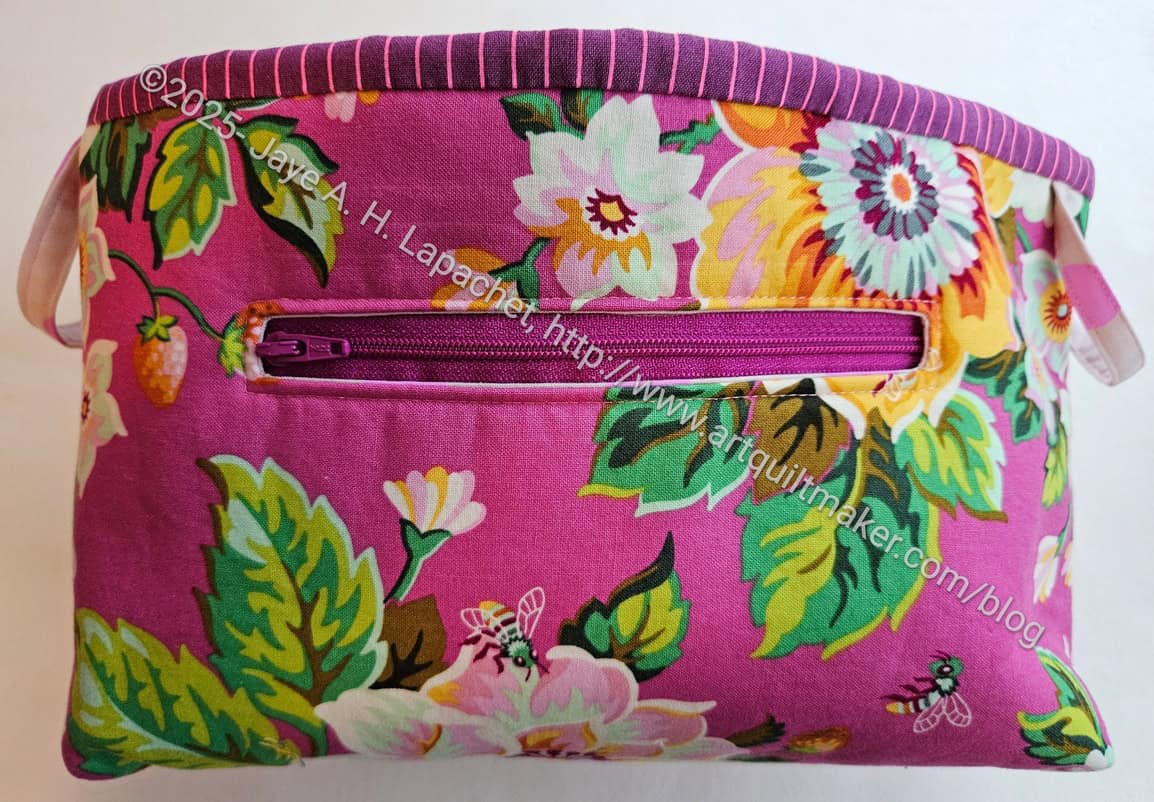
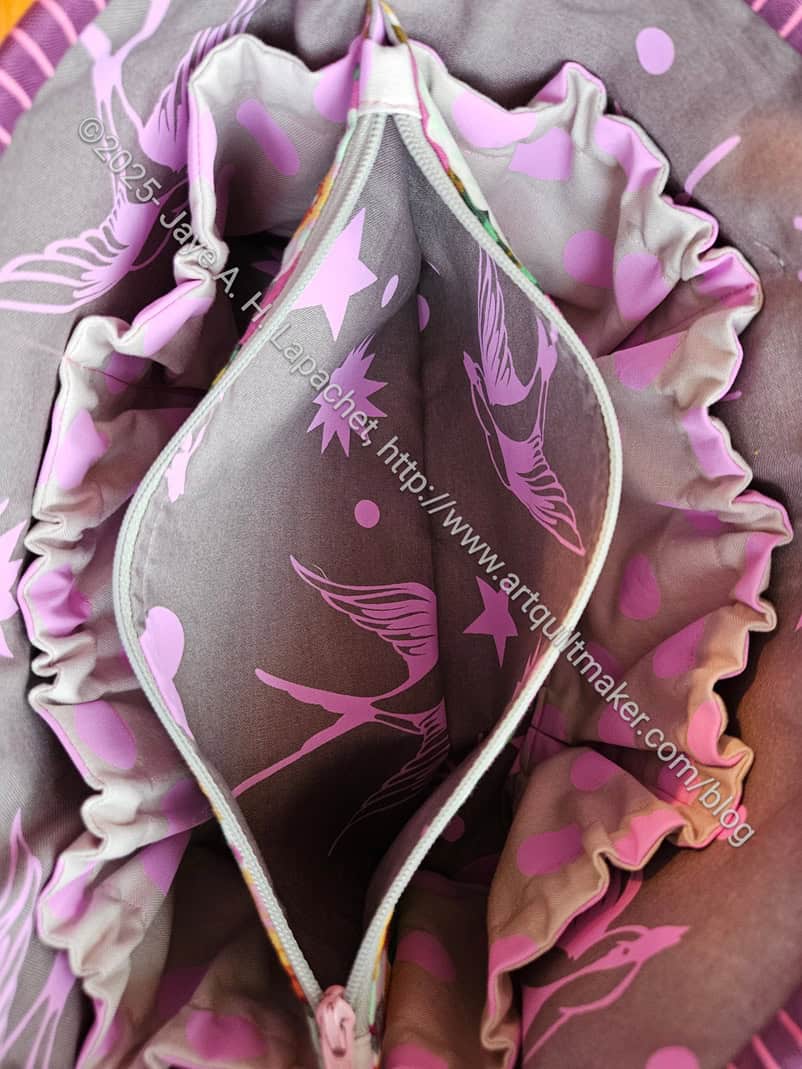
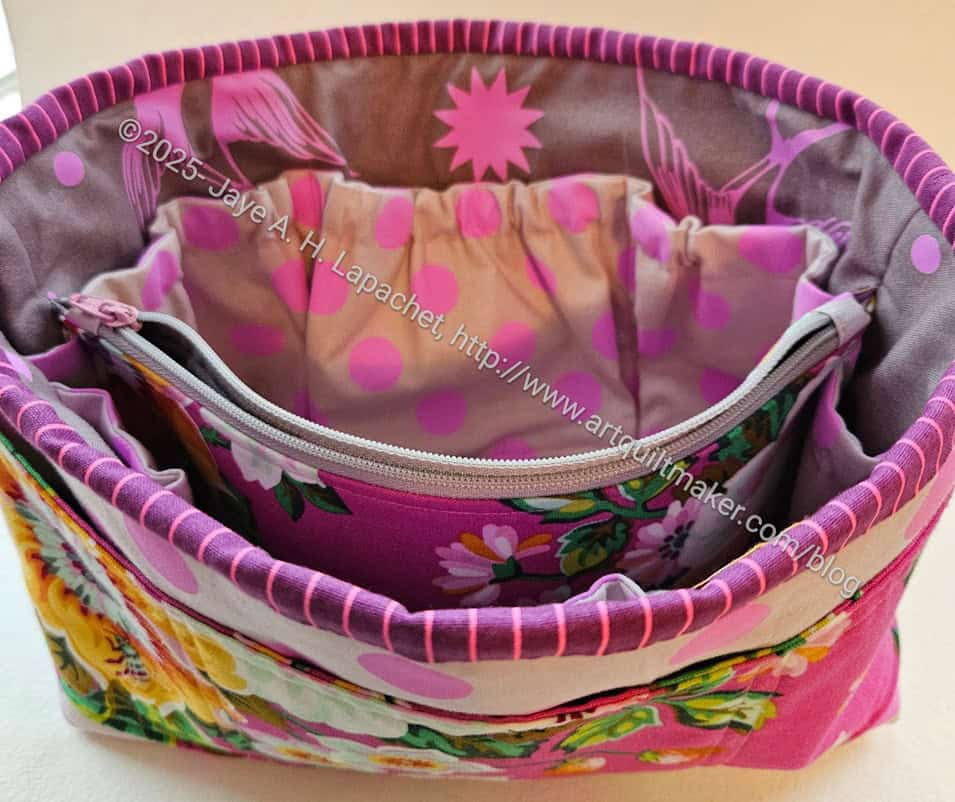
I got a free pattern for a Mini Tote from Olfa on Instagram. That led me to a new website/blog called Flower Sew. WOW! Someone else who updates a blog and provides tutorials. She is marketed as an Olfa expert. I see cool, useful projects like a mat carrier and a car trash bag. It turns out that you don’t have to go through the IG rigamarole to get the Mini Tote pattern. It is available on the Olfa blog.
Tools, Books, Fabric, Notions, Services & Supplies
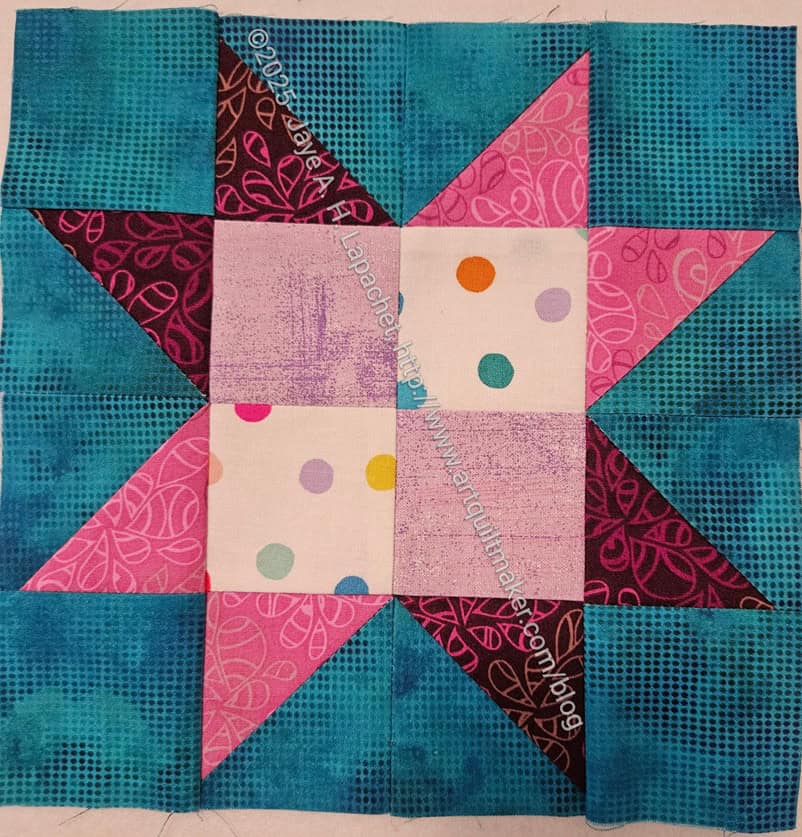
Remember last month I talked about not finding the Whisper color way in the Alison Glass fabrics? Instead of being sensible and moving on with my life, I emailed them. They had forgotten to add the link or something. The assistant gave it to me and I bought the FQ pack. I even found a pattern I am going to use with those fabrics. It is from a recent Today’s Quilter issue (129) and satisfies my desire to make a Basket quilt. It isn’t a complicated Basket quilt or a Sampler basket quilt but I think it will go quite well with these fabrics. The description from the website is “Brilliant Baskets – Use up fabrics scraps to create a striking Basket block quilt” I don’t think I need to follow the pattern exactly. I really like Basket blocks, but I don’t know why. I always put one in my Sampler quilts, or almost always.
Tim and Cyndi went to South Carolina for a retreat. I recently got on the mailing list of the company, Jittery Wings, who puts on the retreat. I was super excited to see how many of the Art Gallery solids they have. The Pineapple color is gorgeous, as is Verve Violet, Cherry Lip Gloss, Raspberry Rose, Sweet Pink, and Maldives. And more. I love these Pure Solids.
Kaffe Fassett has come out with another book, Quilts in London**. When does that man sleep? The quilts and images in this book were photographed at Camden Lock. The quilts look similar to quilts in other books, but the photos, as usual, are colorful and inspiring.
For Canadian readers, though they ship tot he US as well, check out Atelier Fibre Arts. They have a wide range of zipper tape colors.
Dashwood Studios has a tone-on-tone called Twist. Great colors and a small, but fun design.
Stash Fabrics now sells Soft & Stable off the roll and by the yard. The S&S off the roll is 58 inches wide, which is GREAT. I thought at first it was another shop selling rolls of S&S, but I don’t see that as an option. If you get it in the package (36 in. x 58 in.) it is $23.95, so you get a slight discount for getting it off the roll.
Red Thread Studio has a Pure Solids bundle of the month program. I am sorely tempted as I am feeling a bit of a lack of solids lately. My first thought was what if I get brown and burgundy and navy? After thinking about it, however, it might be better for me just to buy a few solids whenever I place an order or see them in the shop.
I used the Snap Setter the other day and was reminded of this video, which shows you how to install the snaps. I like the Snap Setter to install snaps.
Exhibits and Organizations
BAMPFA has the Routed West: Twentieth-Century African American Quilts in California on view through November 30.
Media & Articles
The Pleasure of Patterns in Art: The interplay between repetition and variation is central to how we perceive structure, rhythm, and depth across mediums- this is an interesting article, which talks about repetition and its effect on the brain. It shows you how to look beyond the images in a work at “hidden” repetition.
NQR
For those of you who contributed to my sister’s Recovery Ranch Sanctuary project, your money has not gone to waste. She lost the place where she was going to set it up, but thinks she found a better place. She is also nearly through with the 501(c)(3) paperwork. It is moving forward, if slowly, and it is not too late to contribute.
**N. B. : Obviously, you should shop at local quilt shops and small businesses. However, if you are too busy or can’t find what you need there, I use Amazon affiliate links and may be paid for your purchase of an item when you click on an item’s link in my post. There is no additional cost to you for clicking or purchasing items I recommend. I appreciate your clicks and purchases as it helps support this website.