Finished 2014 Quilt Projects
- Disappearing Pinwheel: Finished 5/30/2014
- Fabric of the Year 2012: Finished 4/24/2014
- Flower Sugar Hexagon: Finished 7/1/2014
- Fresh Fruit: Finished May 3/3/2014
- Infinity Quilt: Finished 3/3/2014
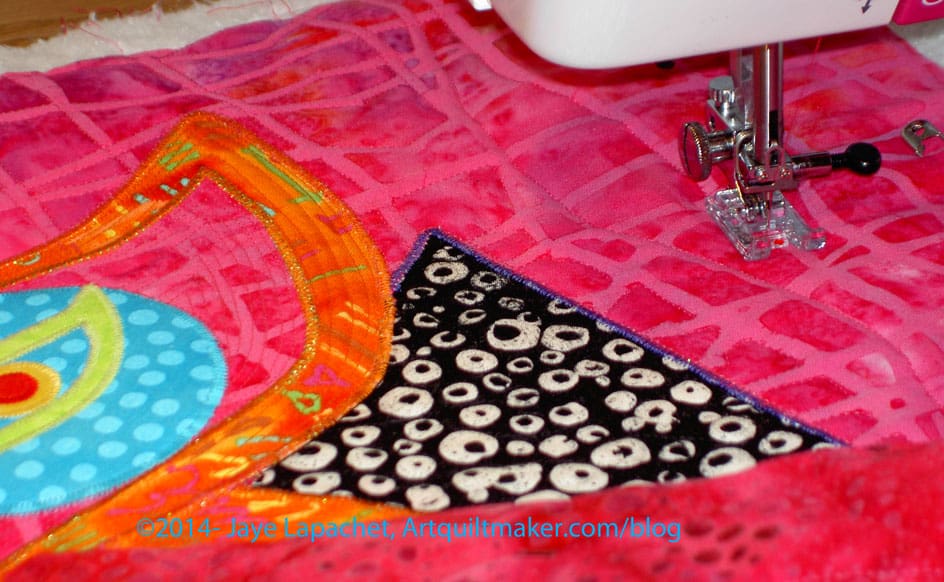
- Scrapitude Carnivale: Finished 6/3/2014
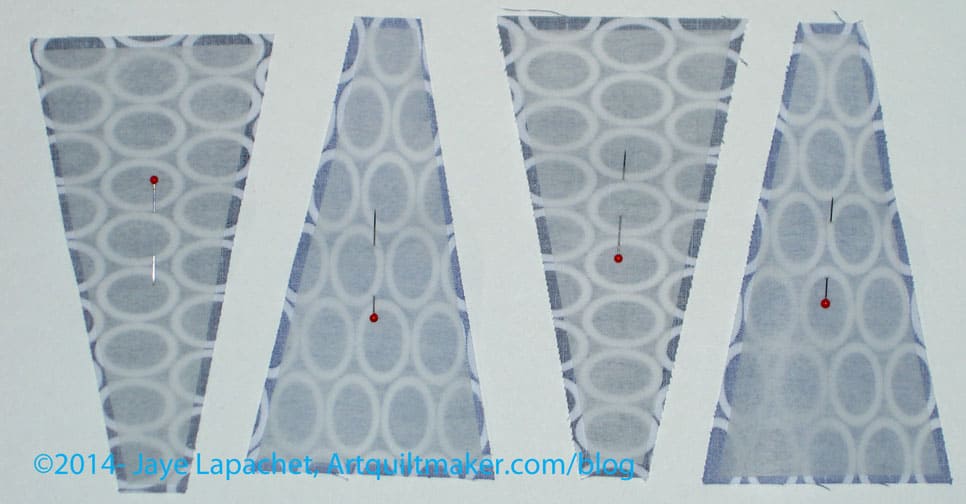
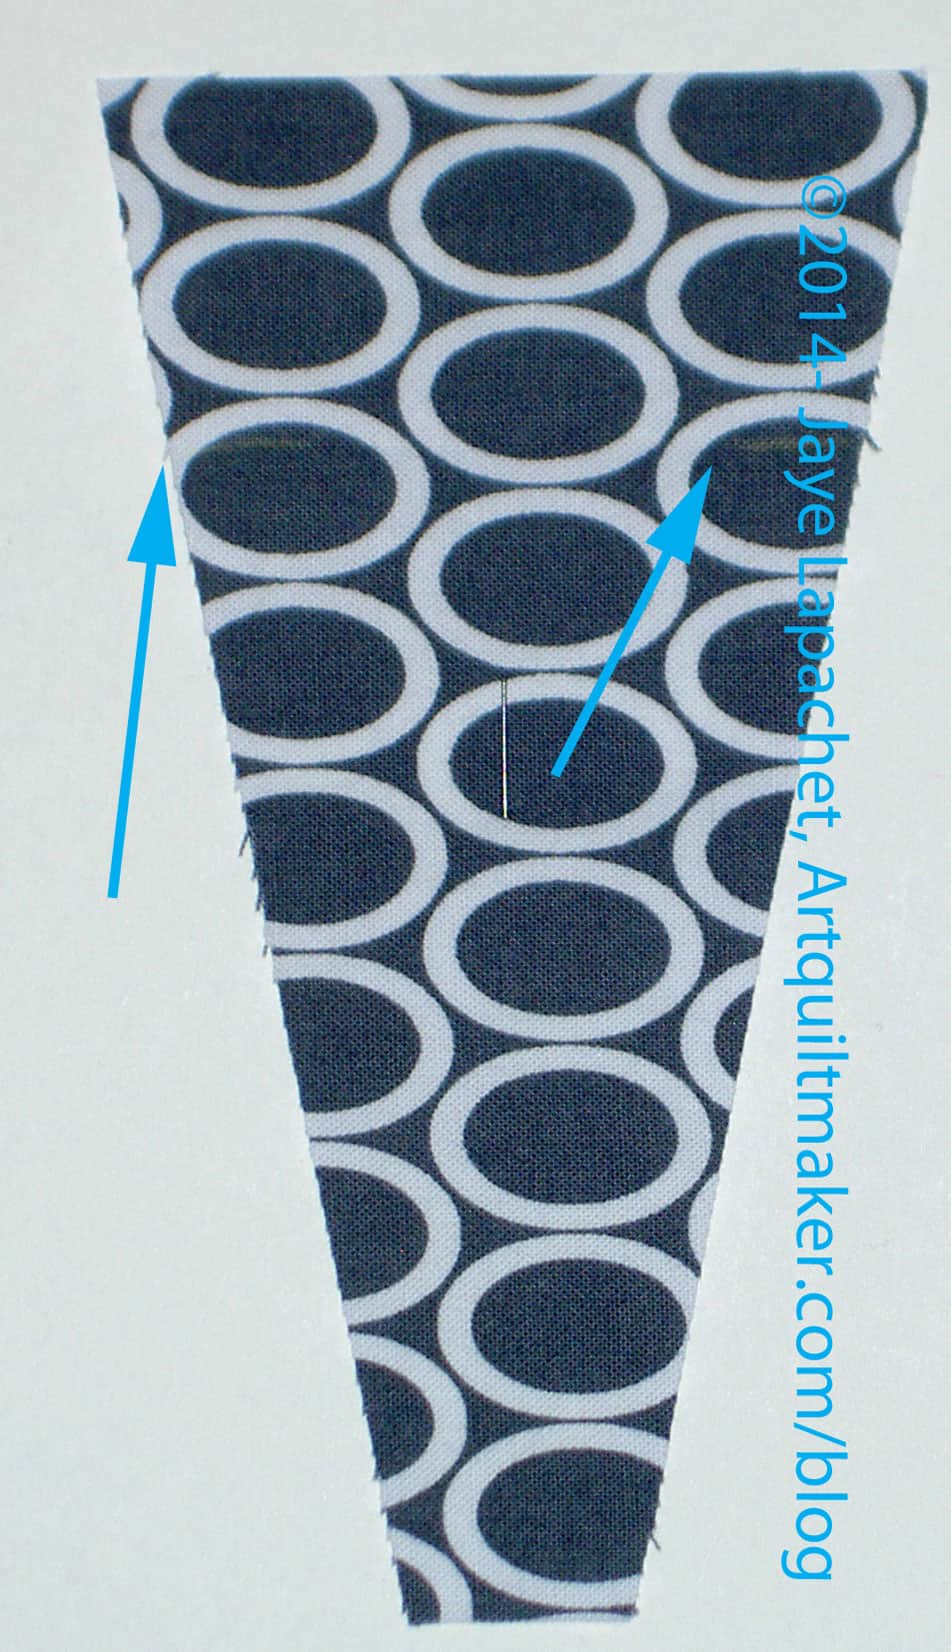
- Spiderweb: Finished 2/22/2014 WHEW!
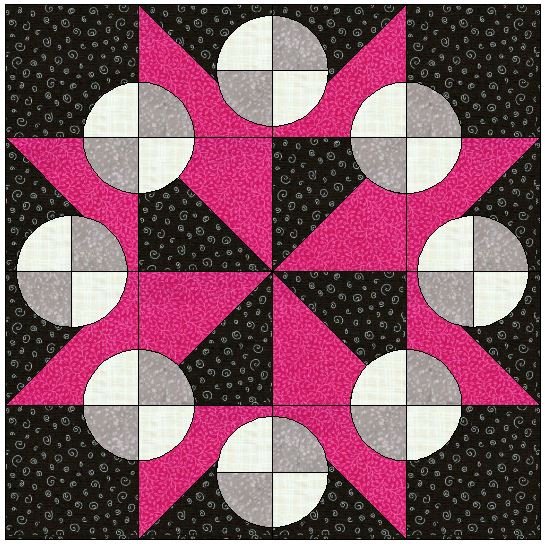
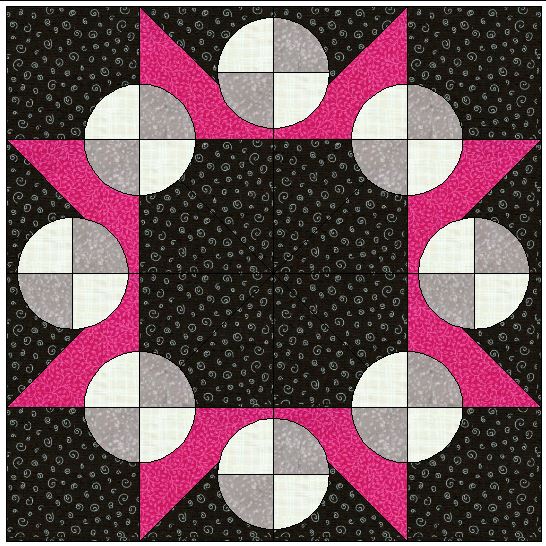
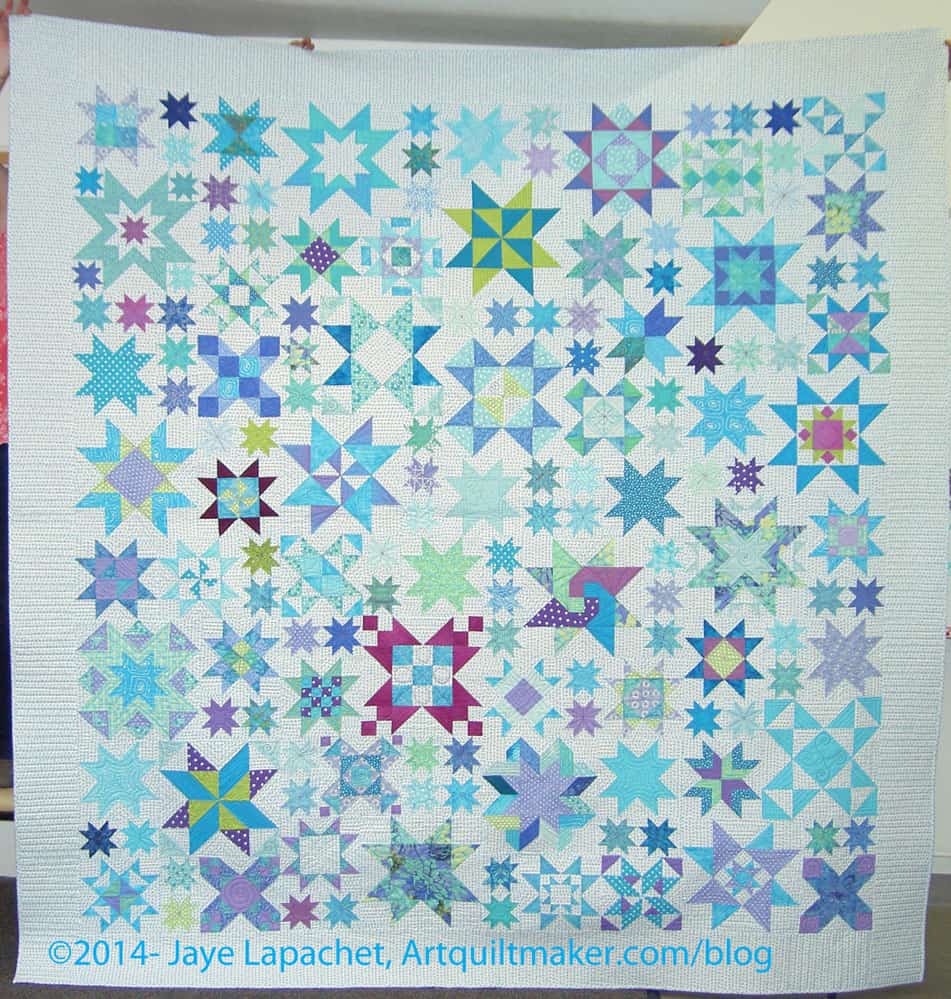
- Star Sampler: Finished 7/3/2014
Finished 2014 non-Quilt Projects
- Amanda Jane Cafe Aprons – finished 6/14-15/2014
- Christmas List Pillowcases – finished week of 6/1/2014
- Henry the Owl – finished 4/13/2014
- Native Sons Pillows (4) – finished 5/17/2014
- Native Sons Pillows (3) – finished 7/3/2014
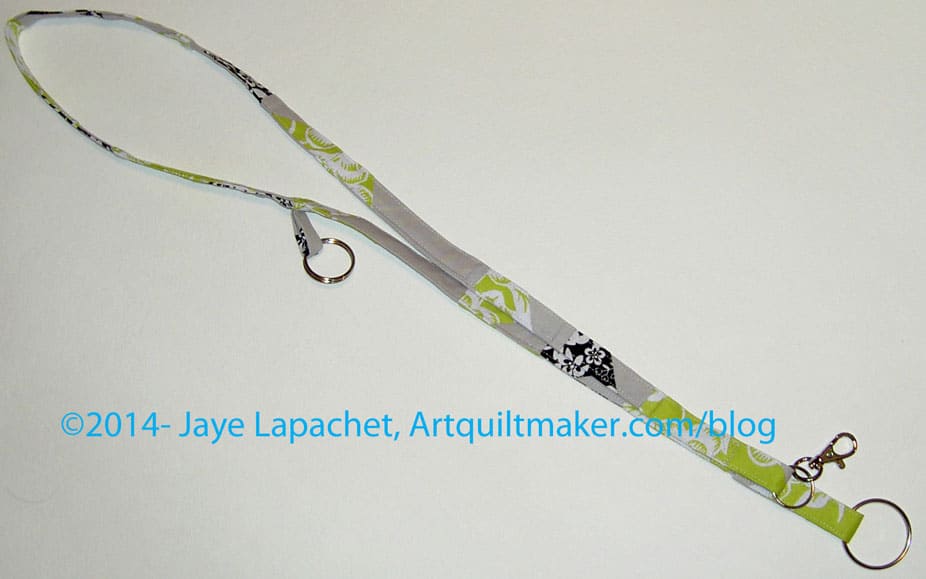
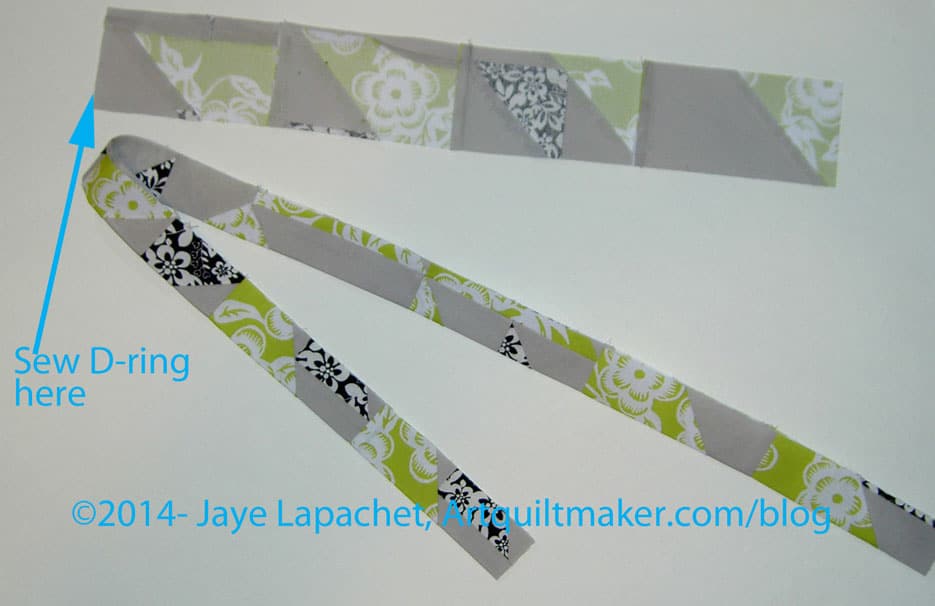
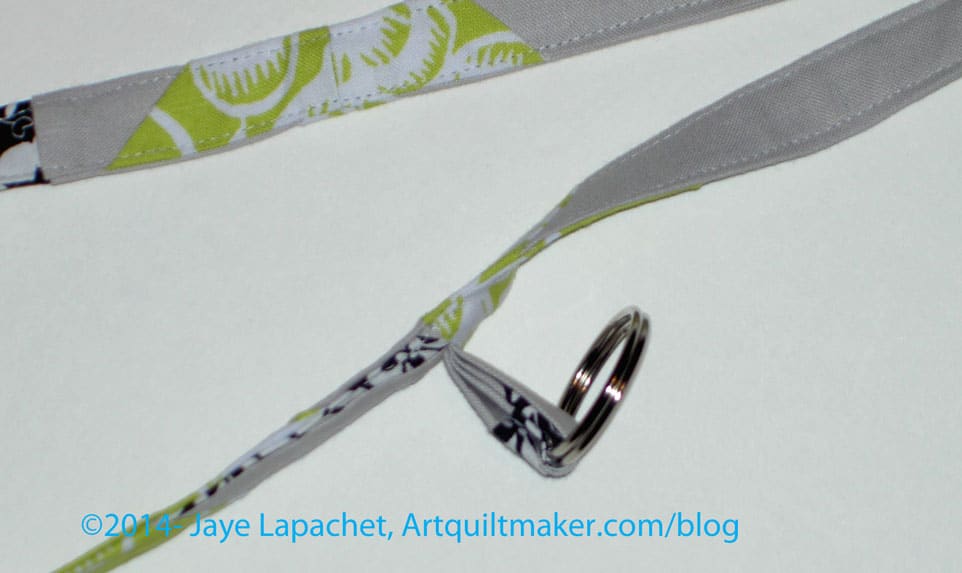
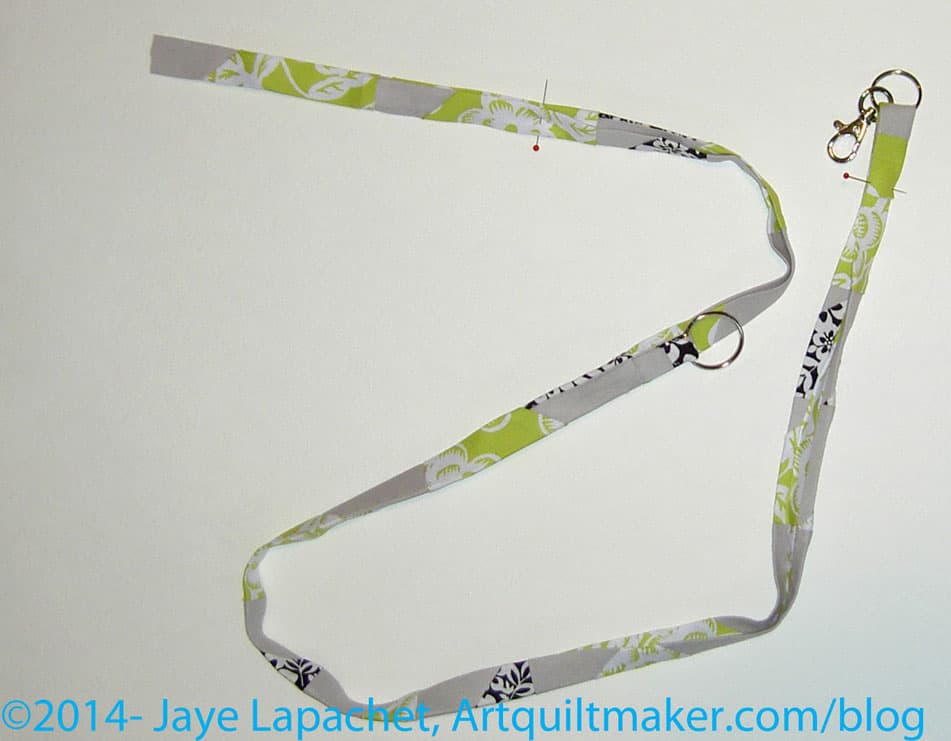
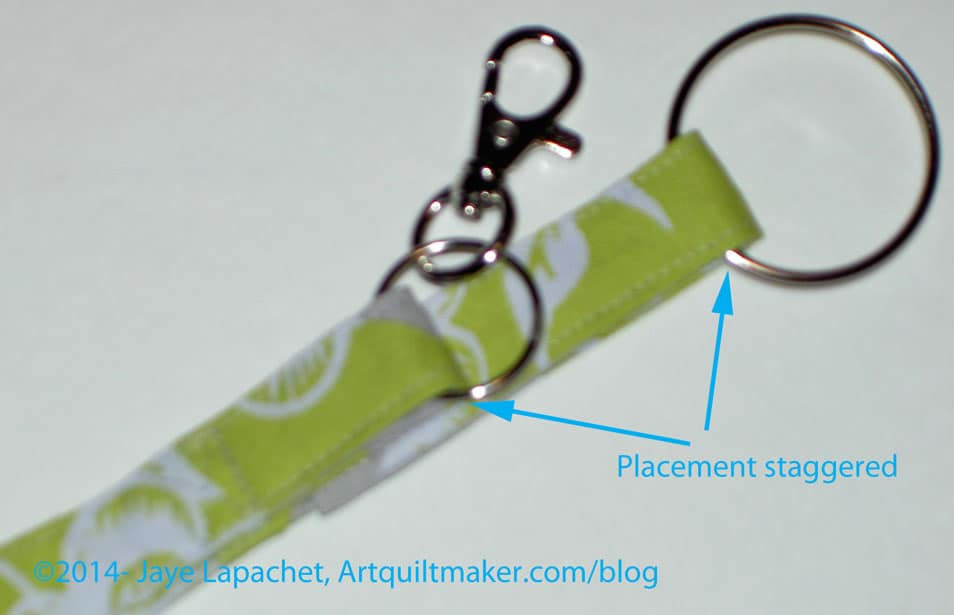
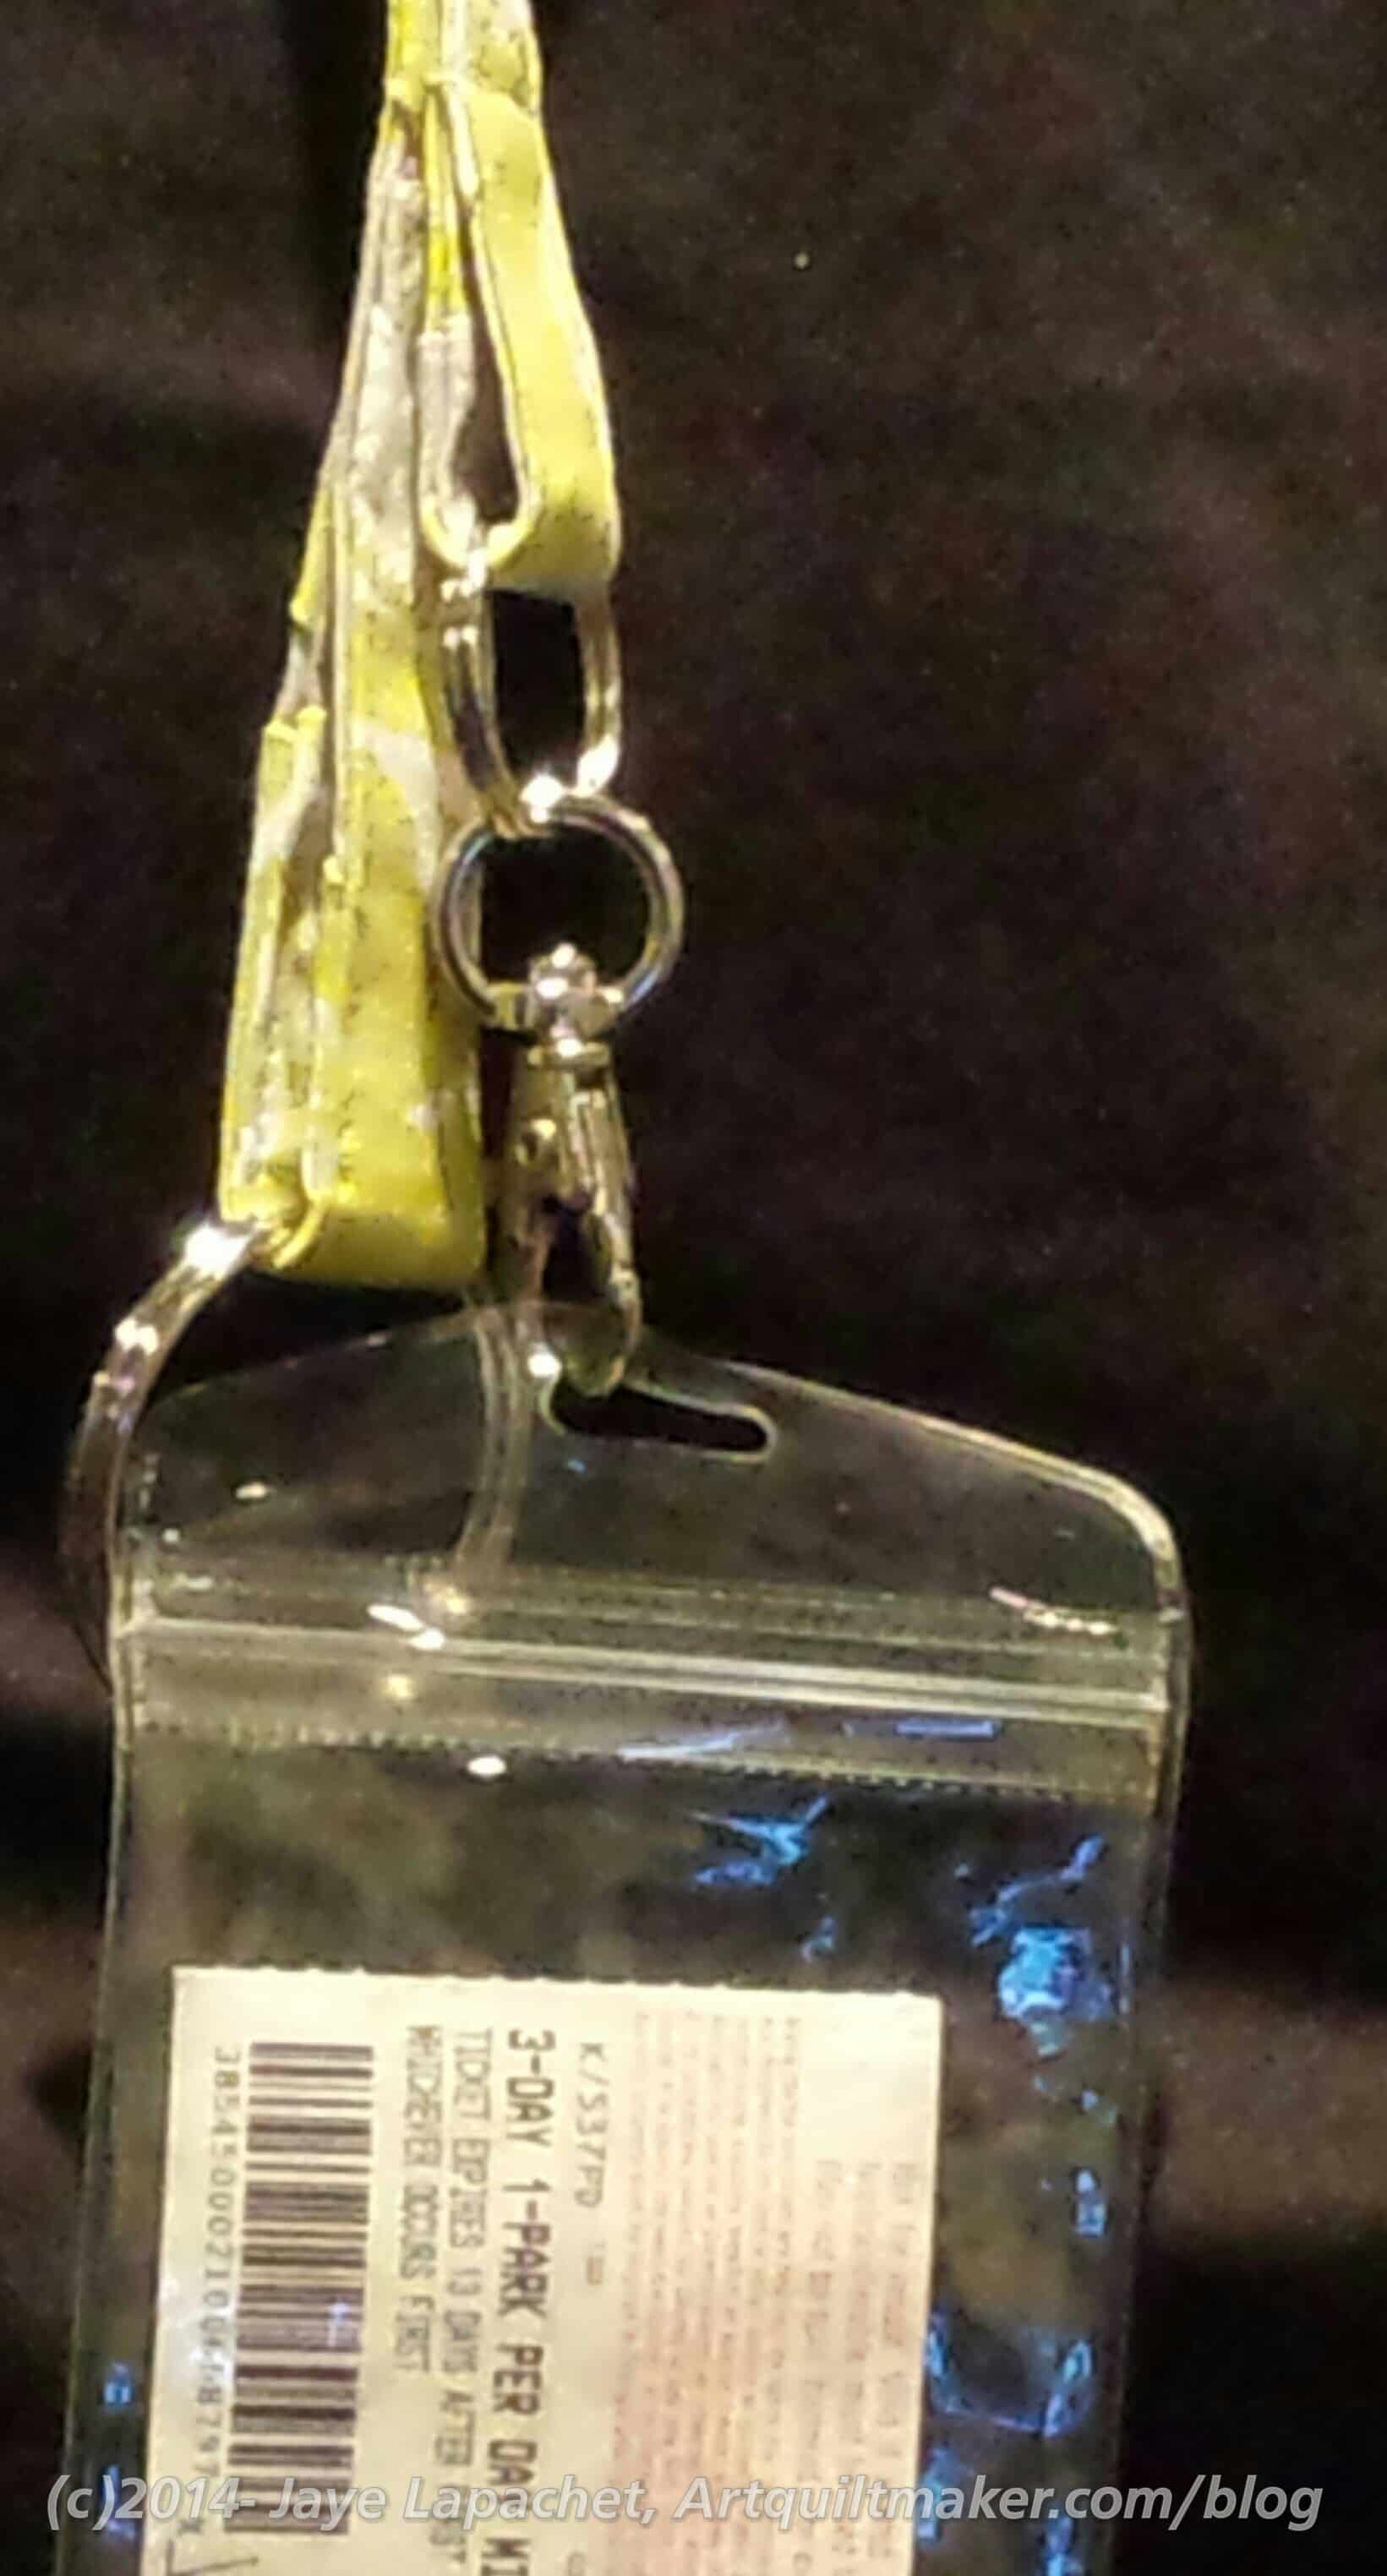
- Orphan Block Lanyard – finished 7/13/2014
- Paris Pillowcases – finished 5/30/2014
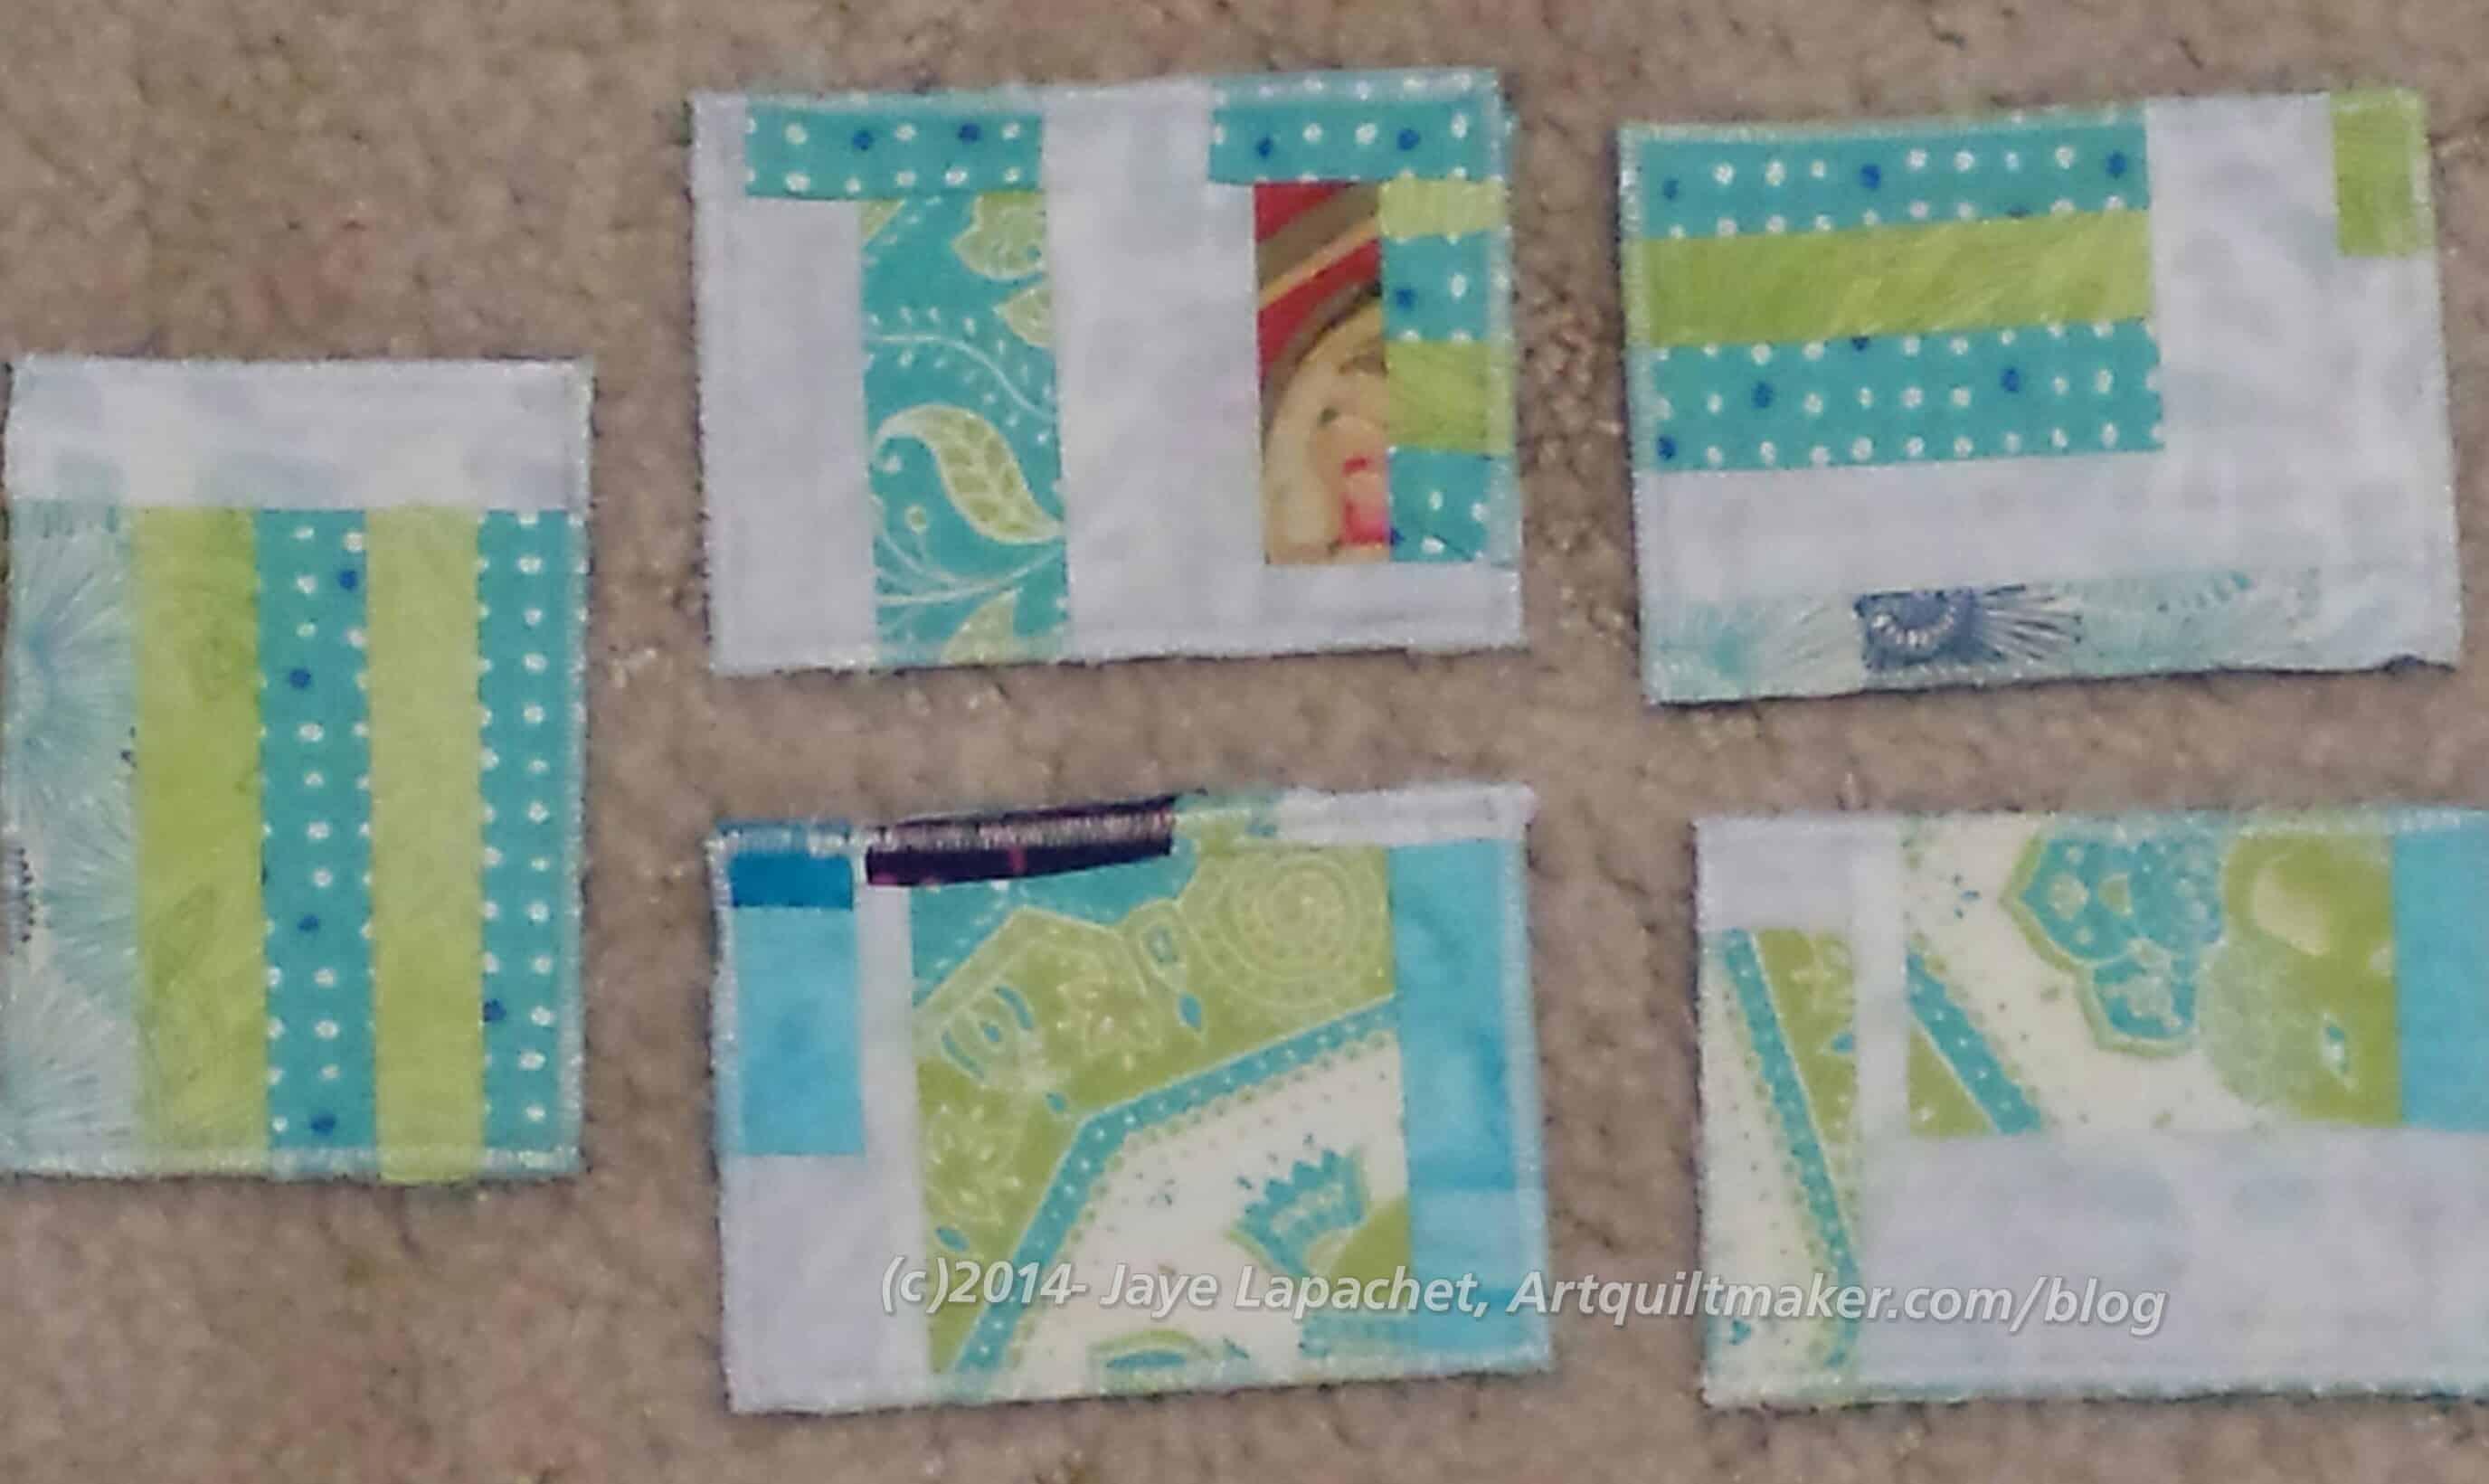
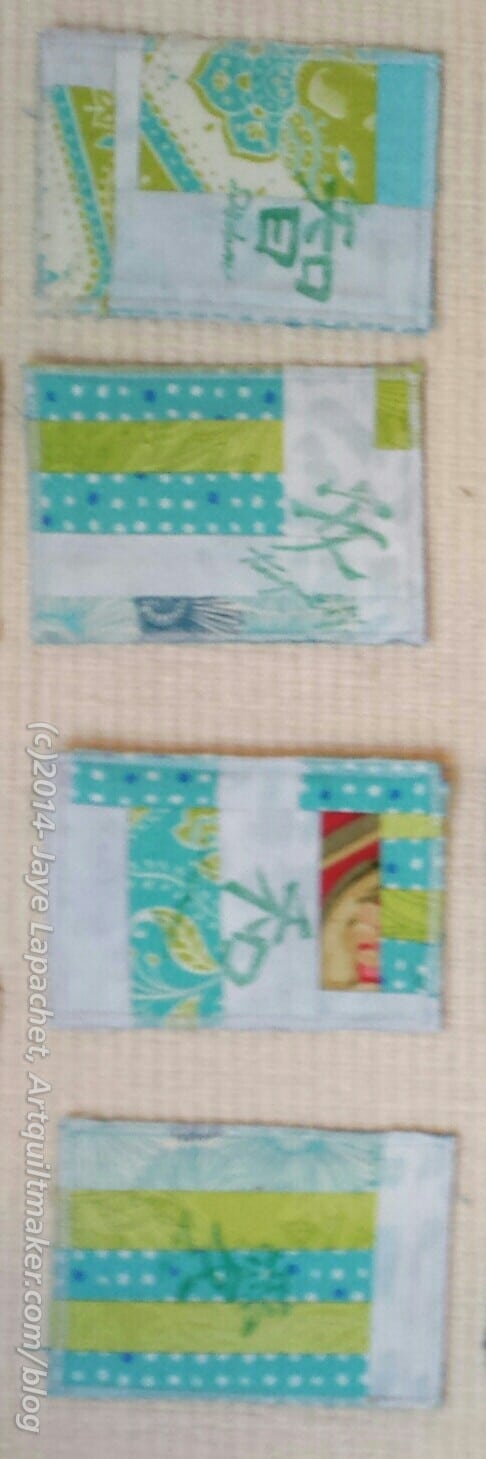
- Scissor Sheath – finished 7/13/2014
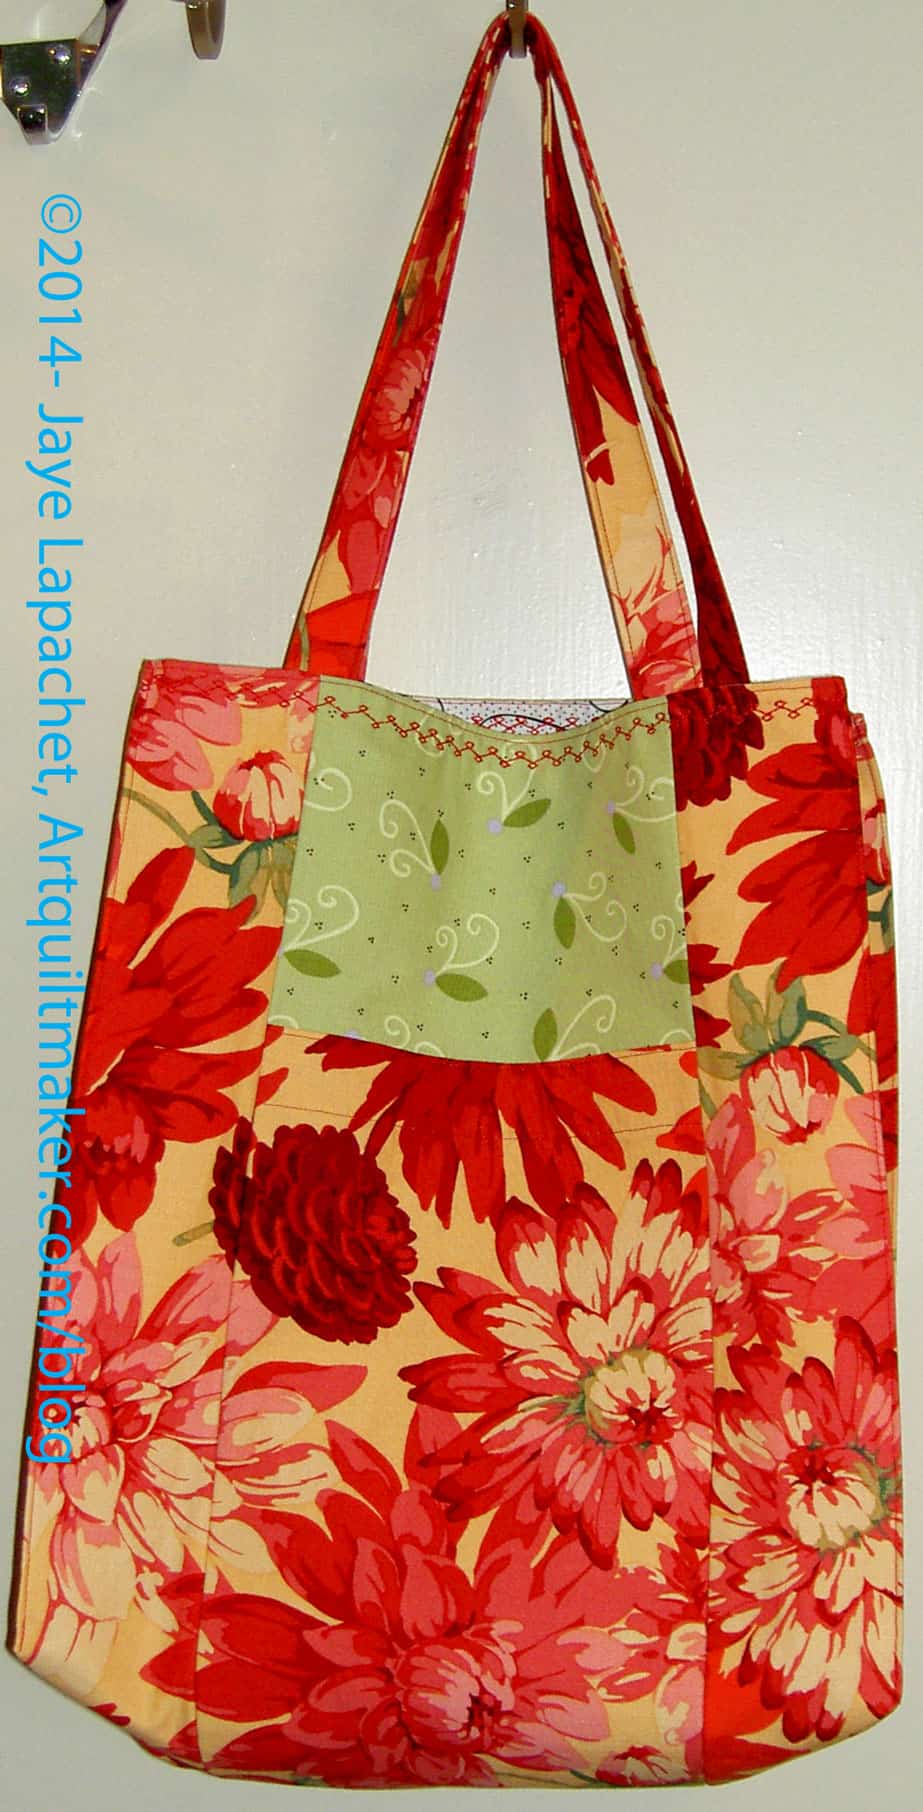
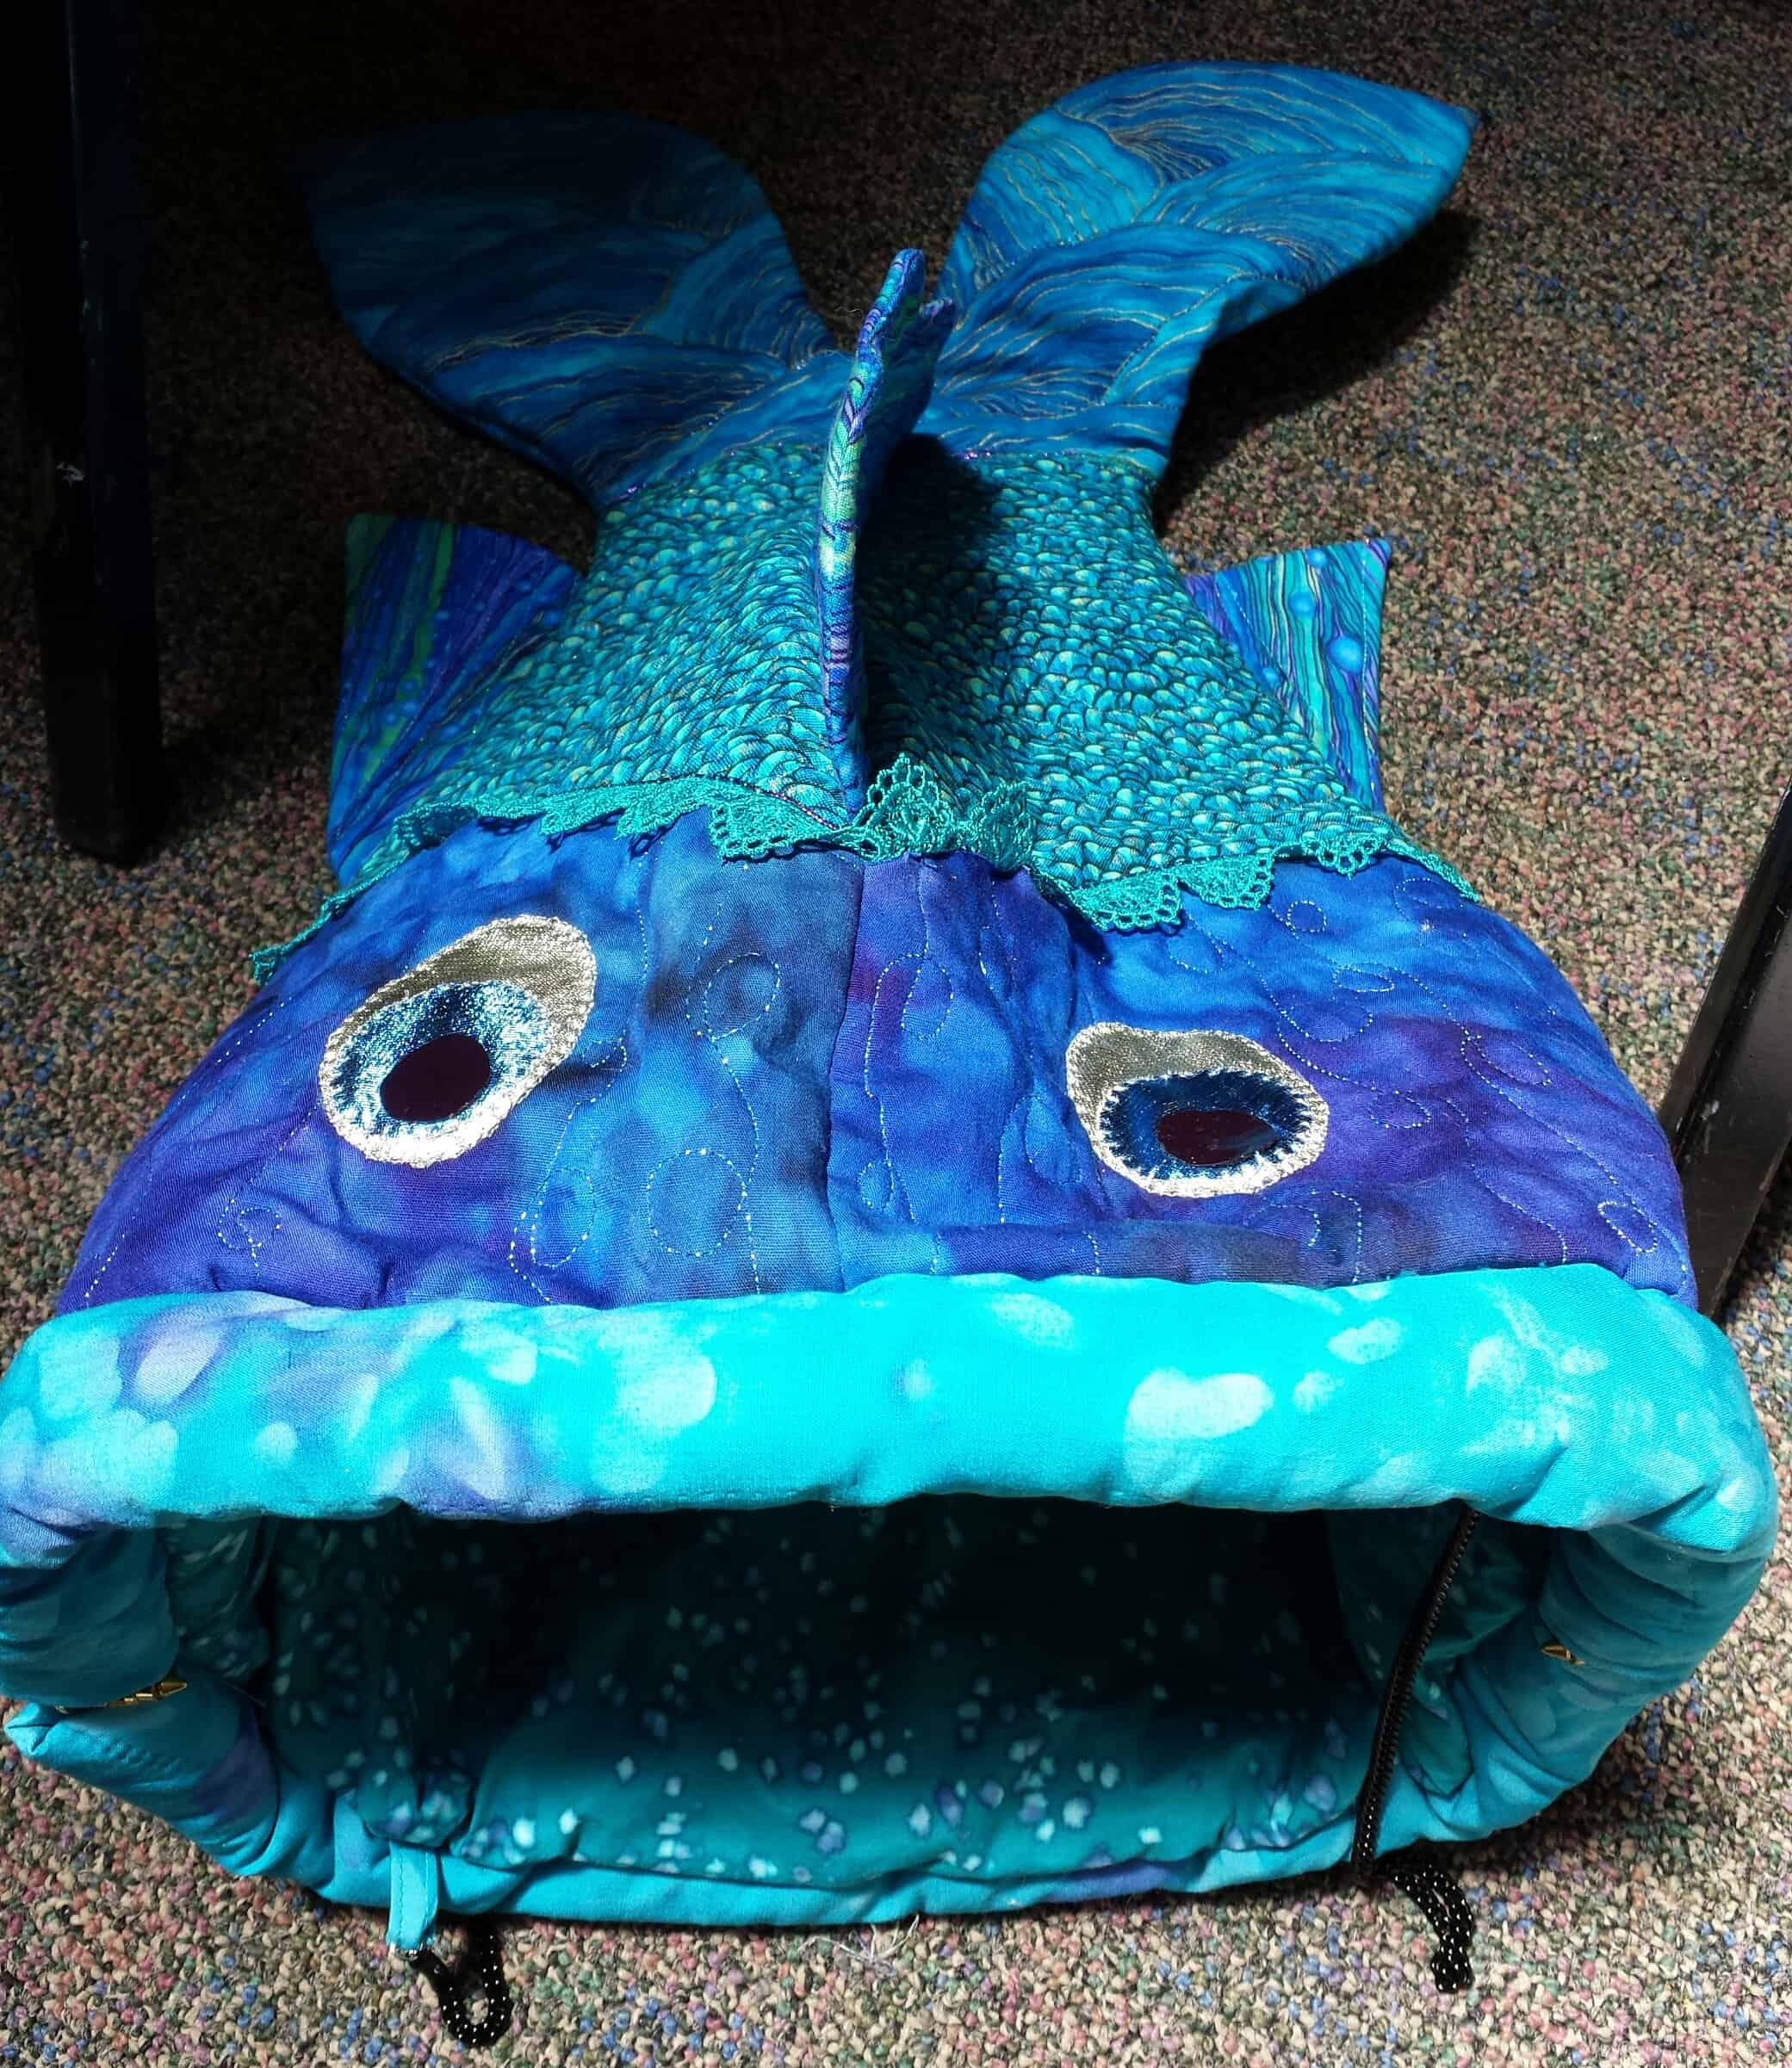
- Scrap Lab Backpack – finished 3/16/2014
- Smokin’ Hot Pillowcase – finished 5/8/2014
- Tea Towel pillow – finished 1/1/2014
Still WIPs
- Aqua-Red Sampler – Frances and I are back at it regularly and I give Frances full credit as I have been letting her “drive the bus.” I did work on the hexagon tutorial as promised. It is ready to post, but I could have taken a few more photos and might still do that. If you look at it and think there are a paltry number of photos, check back.
- The Tarts Come to Tea: I still haven’t worked on this since April 2011, though, periodically, I think about working on it.
- Pointillist Palette #4: Fourth is a series of 6 quilts; needs tiny square patches sewn together. I still haven’t worked on this, though, I did find a bunch of squares already made. That makes me hopeful.
- Self Portrait: started in 2006 at a class at Quilting Adventures in Richmond, Virginia. My career counselor breathed new life into this project for me. She asked a simple question and the end result was inspiration for this piece. I am working on printing images on fabric and looking at the shoulder fabric. I am still trying to decide about a mouth and I need to find some monsters. 😉
- Under the Sea: class project; like the design, but not the colors much. Possibility for abandonment. I have to face reality.
Ready for Quilting
Wow! Everything on this list is new.
- New:* Wonky 9 Patch: Basted; needs quilting and binding. I am planning on quilting this myself. (Not on original list)
- New:* Super Secret Project #4: at the quilter
- Table runner: needs quilting and binding. I am planning on quilting this myself. (Not on original list)
In the Finishing Process
- See: I finished the quilting! YAY!! Needs facing and sleeve
In Process
I decided that I had better put in an ‘In Process’ category. The difference, at least in my mind, between ‘In Process’ and ‘UFO’ is that I am actively working on a project that is “In Process.”
- Russian Rubix
- FOTY 2013
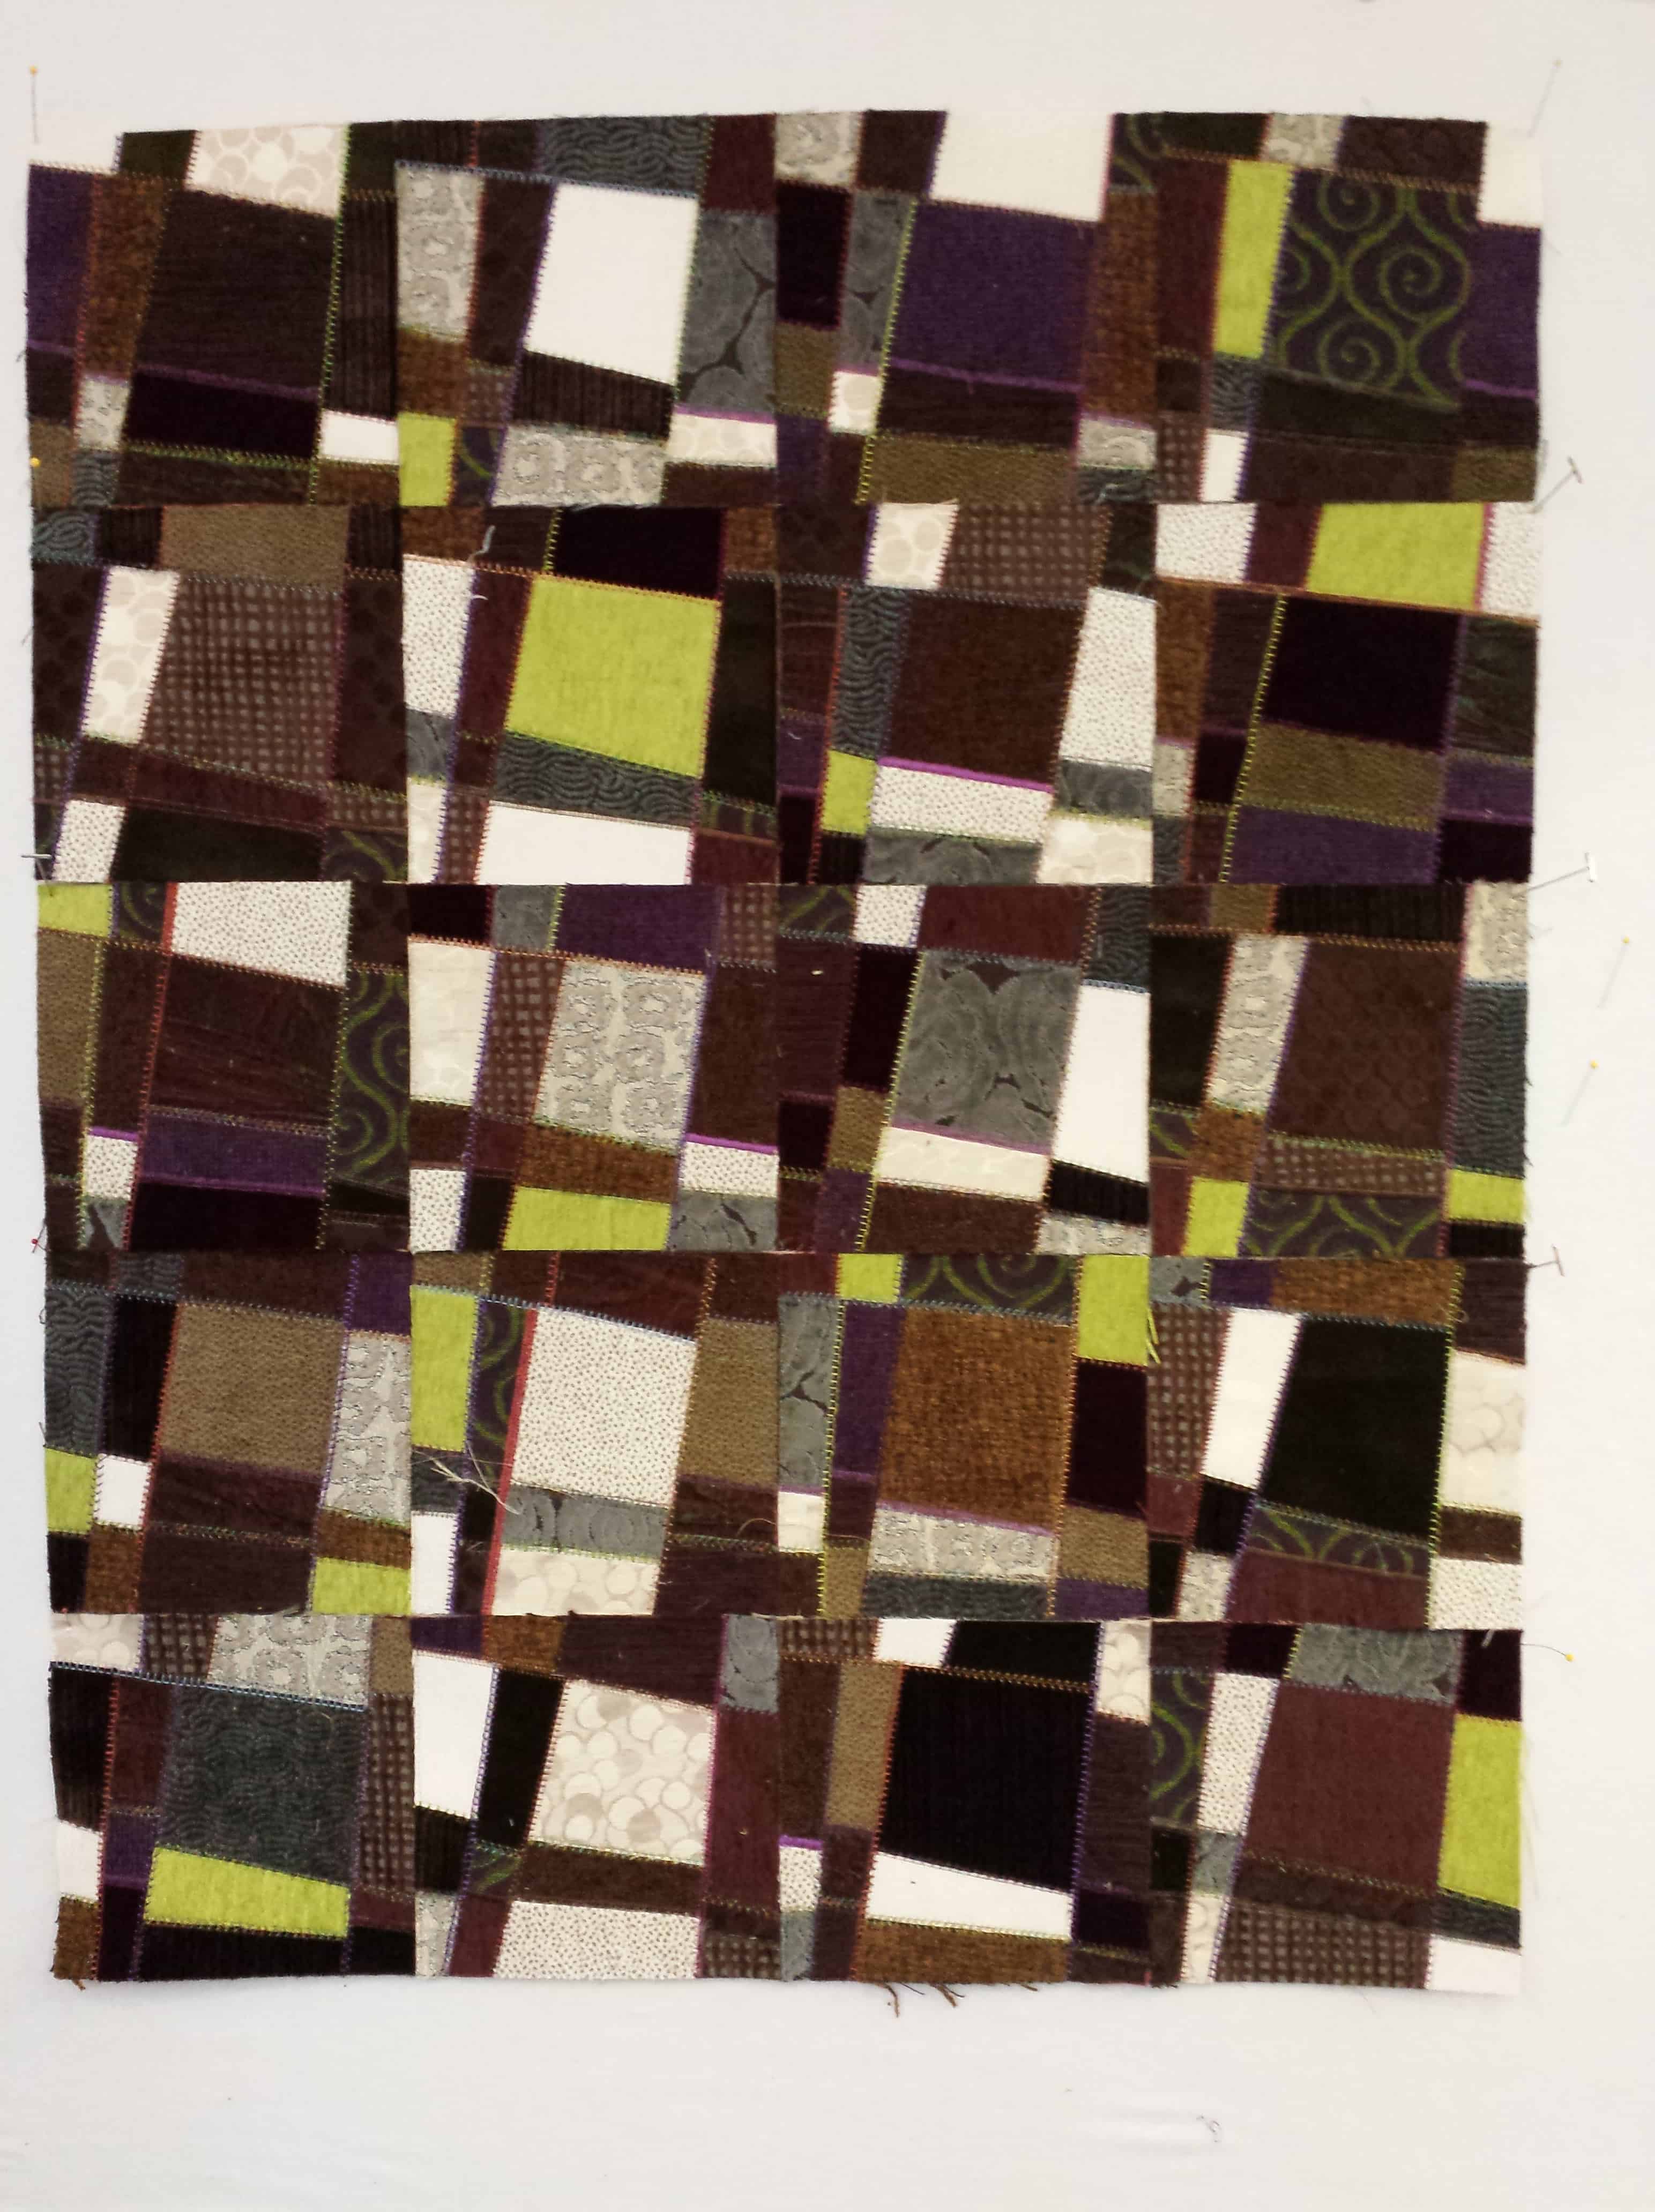
- City Sampler/ Tale of Two Cities blocks
Hunting and Gathering
- Spin Wheel: really not started, but supplies gathered. I probably have enough fabrics and just need to decide to start.
- Windmill quilt: Still hunting and gathering. I will use a grey for the background, because if I use more of the cut fabric patches, the pattern will be lost. The pieces are too oddly shaped and I don’t want to lose the pattern in a mass of scraps.
- Stepping Stones #2 using Bonnie & Camille fabrics Bliss, Ruby, Vintage Modern: made two test blocks, but still in the thinking stage while I decide on the background colors. I want the contrast to be good.
- Stepping Stones #3 using the Macaron pre-cuts from Hoffman. I just remembered this project. It isn’t started, but I have all the pre-cuts and should think about actually using them.
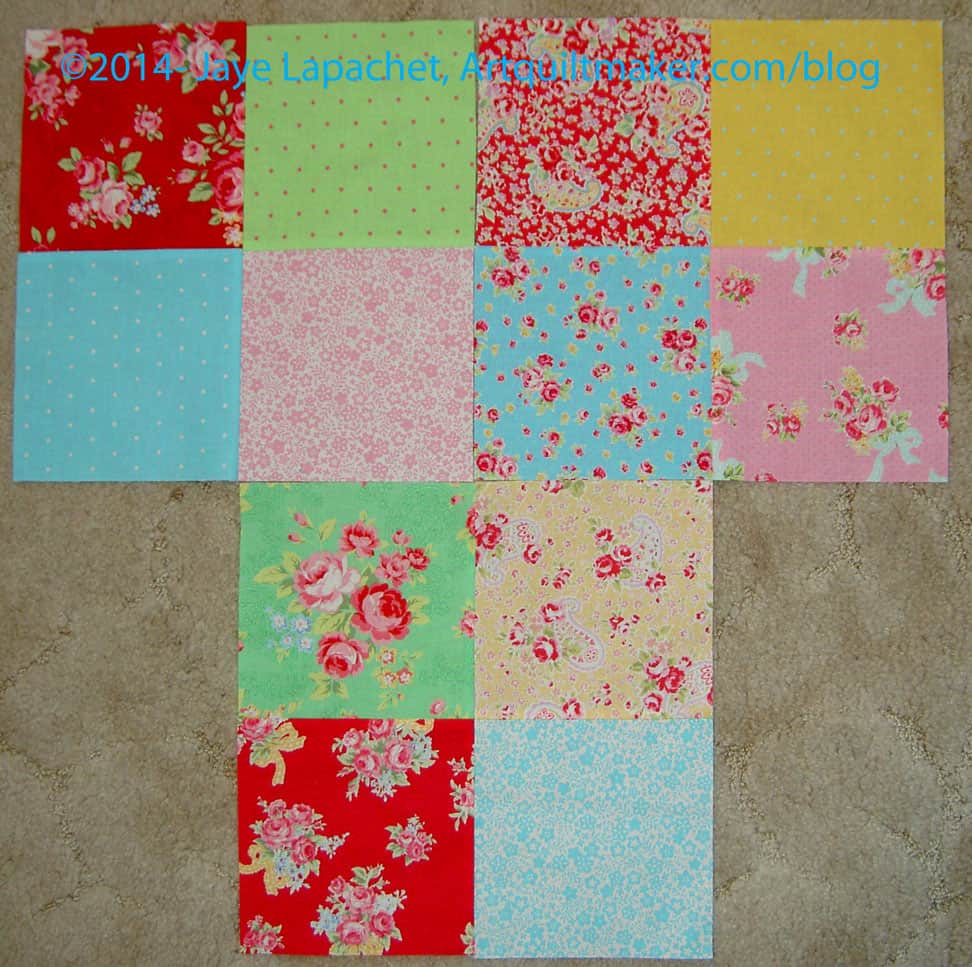
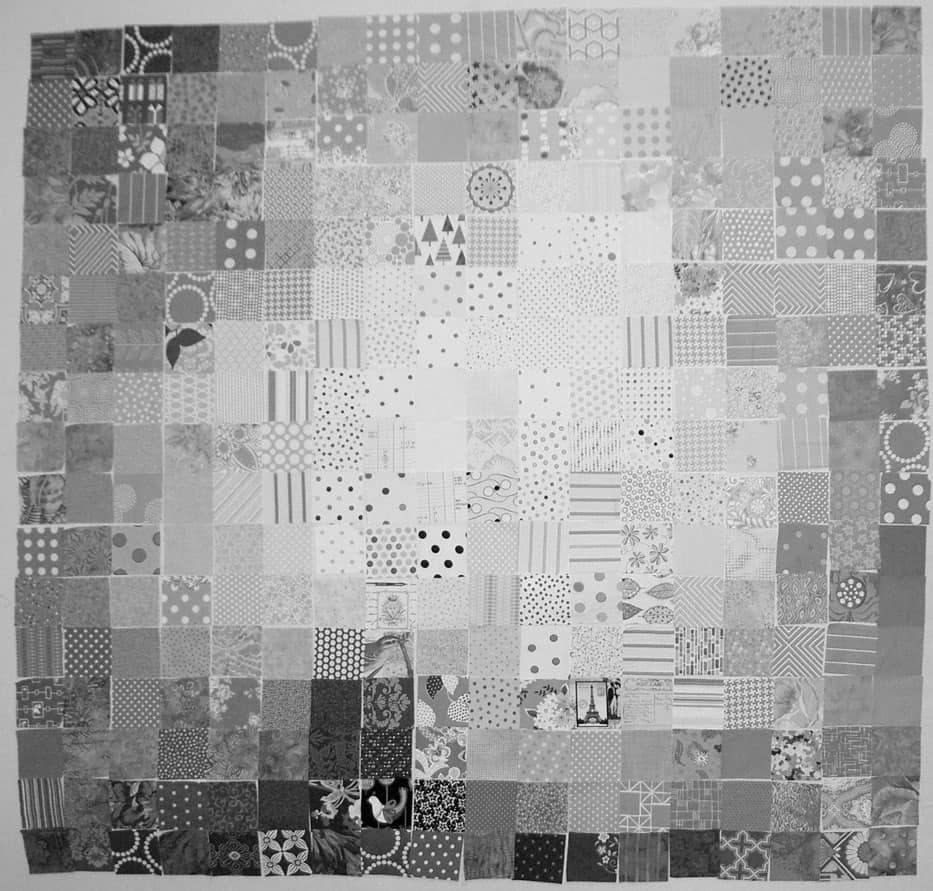
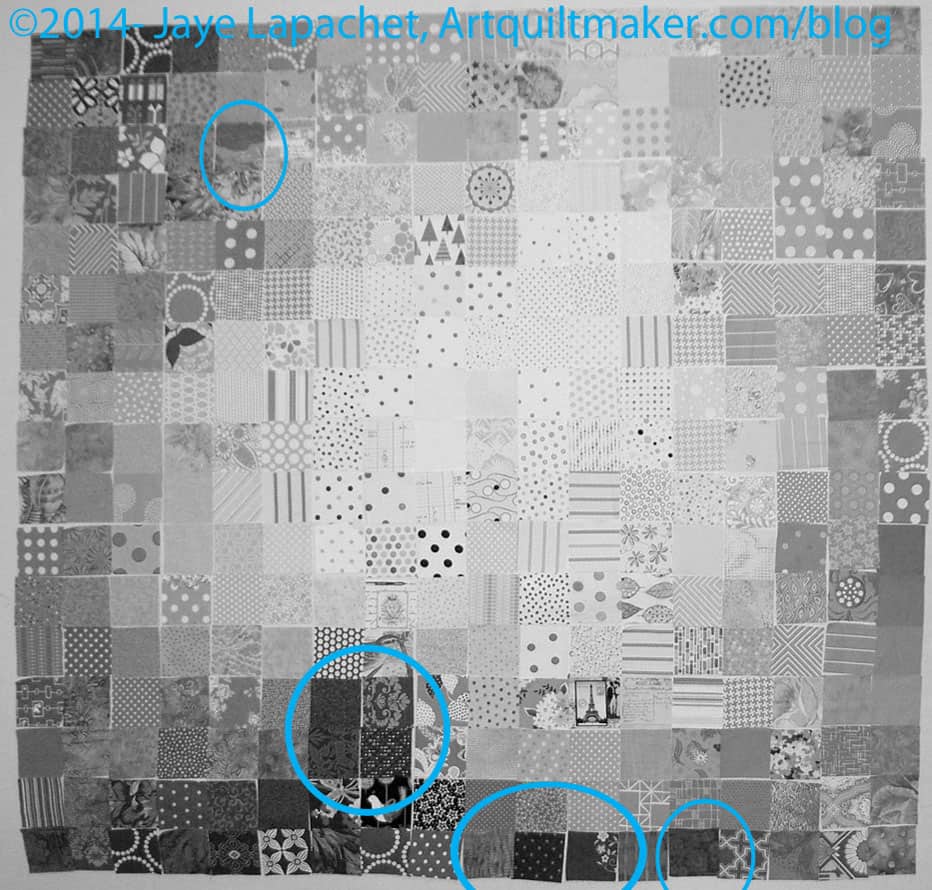
- FOTY 2014: cutting out 3″x5″ rectangles.
Abandoned
Nothing so far for 2014
You can find the last update for the Current Projects list provides a good comparison to this month.
I thought you might want to take a look at the first list I made, the one with the 26 Projects. I started the list in October 2011. I have made REALLY GOOD progress. Up until last month, I was still planning to stop this post when I had no more projects from the original list to write about, but now, that the end is in sight, I am not so sure. It is so useful to keep track of all of my projects. Since I still have some pretty old projects on the list, I don’t have to decide right now.
*New – Project started after I started working on the 26 Projects list


")