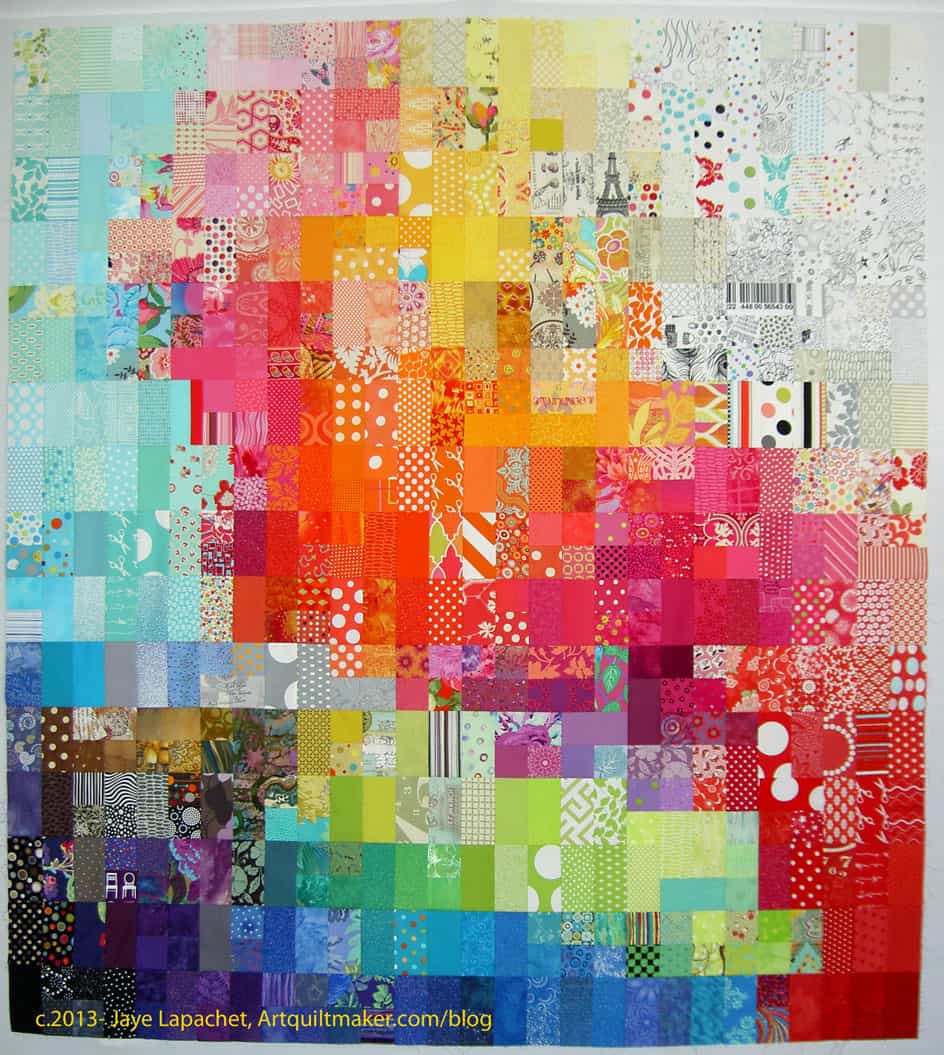
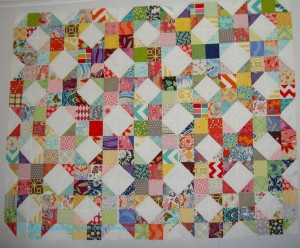
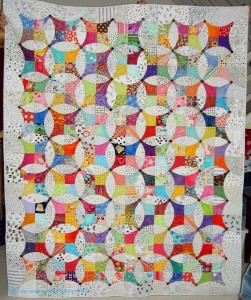
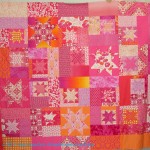
One of the things I love about this quilt is that I get to visit with my fabrics again as I sew the top together. I get to say hello and they get to tell me not to forget them and how they can be used.
I also love the anticipation of finishing this piece and hanging it on my wall and looking at it more often, walking by it every day and remembering the fabrics.
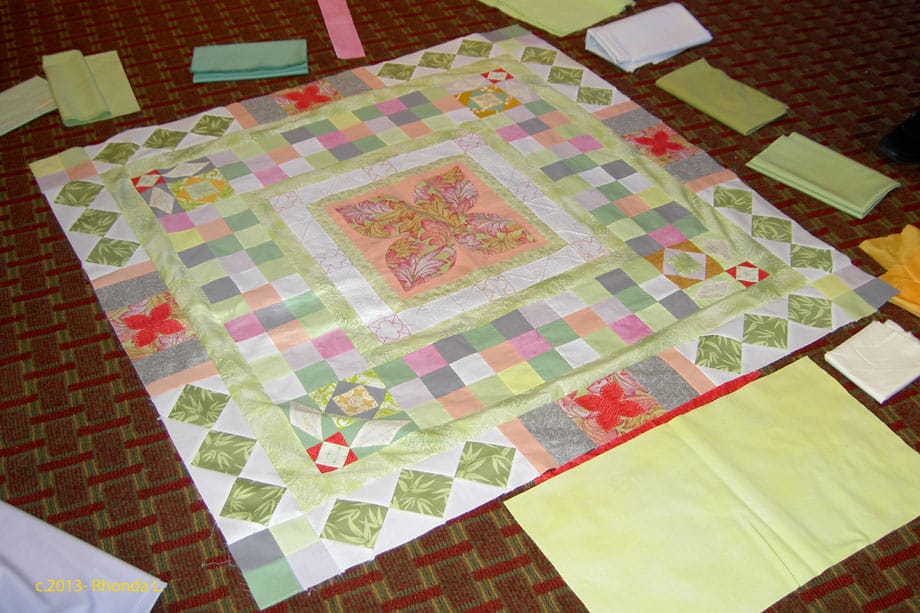
I finished the top yesterday and am very pleased with it.
I probably could have finished the back as well, but finishing this top is some kind of miracle, because of how slow I was moving. Working on it, I think it helped to keep my joints a bit more limber. It could just be a perception, though.
I have been a bit unwell and not up to a lot of contemplation about the meaning of this quilt. I thought that a slideshow of the progress might be just the thing to satisfy you. Enjoy!
I started a series of tutorials on sewing curves during my last Sampler Class, but I never finished the last two parts. The first part is about fabric and arrangement of pieces.
Curves-The Dove
Supplies:
The Dove pattern
paper scissors
template plastic
glue stick
fabric (at least 2 different)
pen ( I like the Pigma Micron & the Pilot Ultra Fine Point)
Fabric scissors
pins
Sewing machine
quarter inch foot or other marking system
thread
Iron and ironing board
We will be using a quarter inch seam allowance. You will need to adjust the pattern if you are using a different seam allowance.
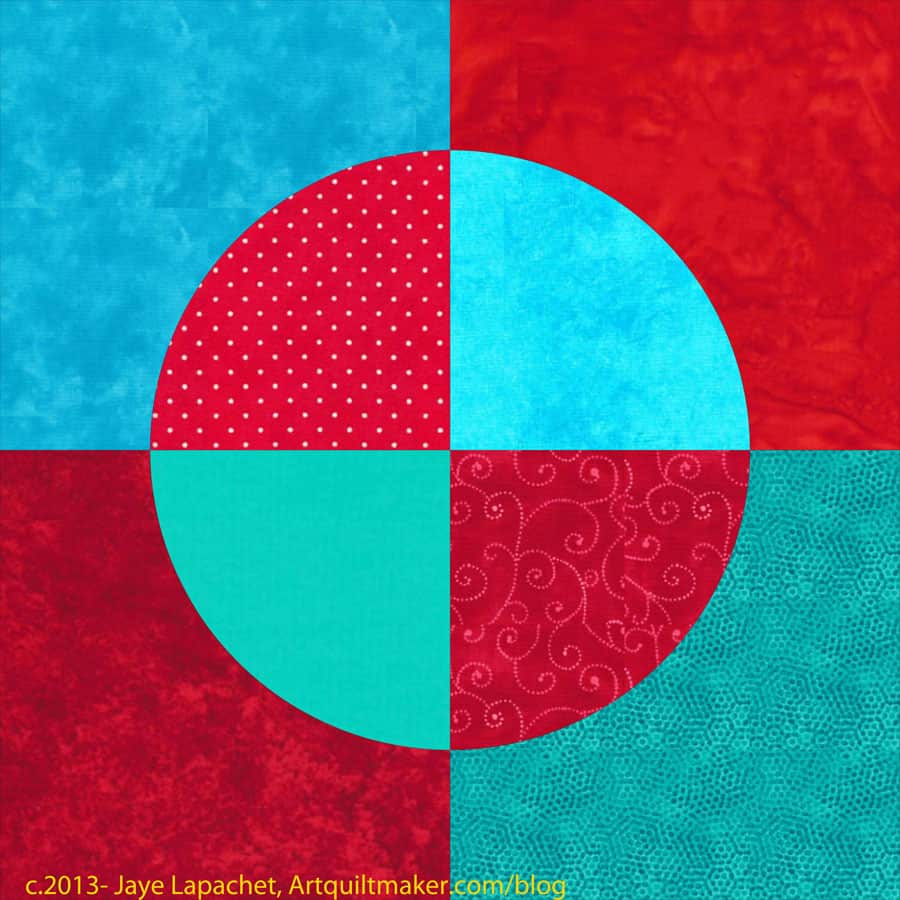
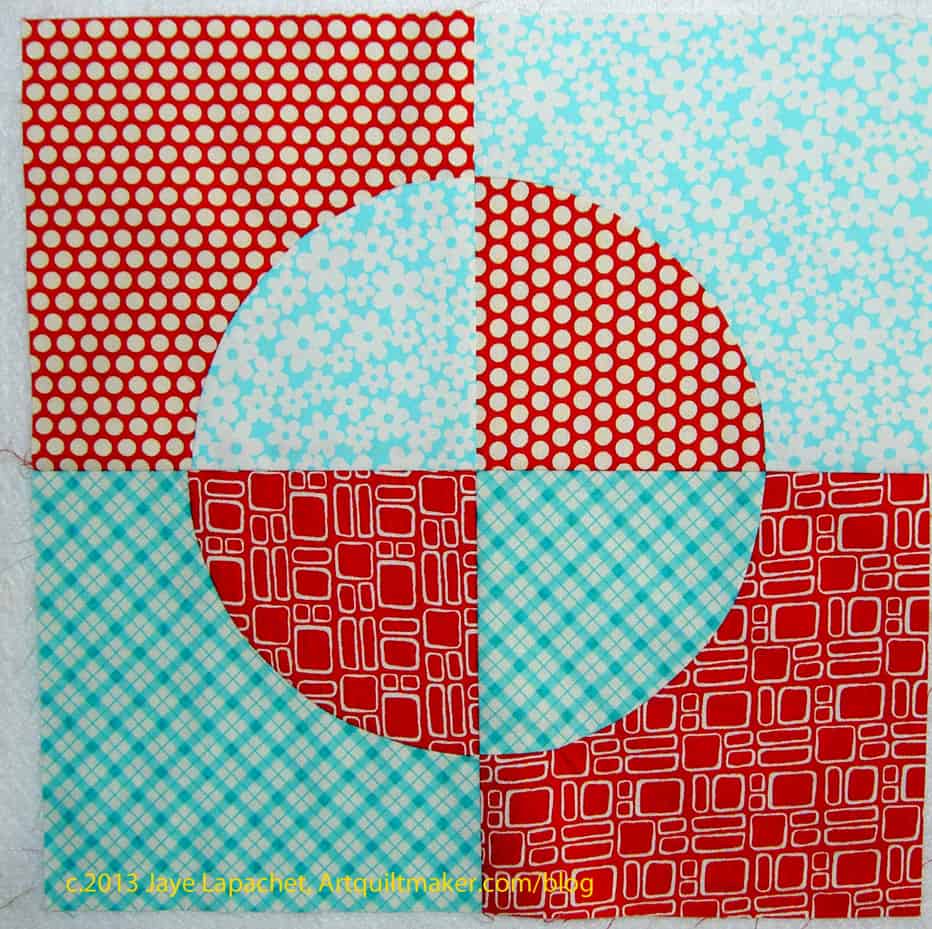
The Dove pattern is a baby version of the Drunkard’s Path. If you make this piece, the next logical curved piece would be a Drunkard’s path block.
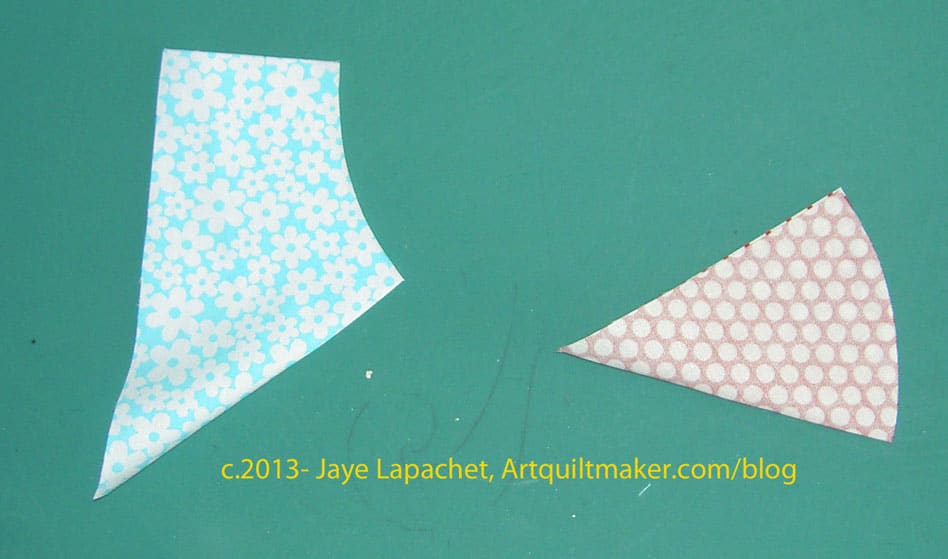
Key to Pieces
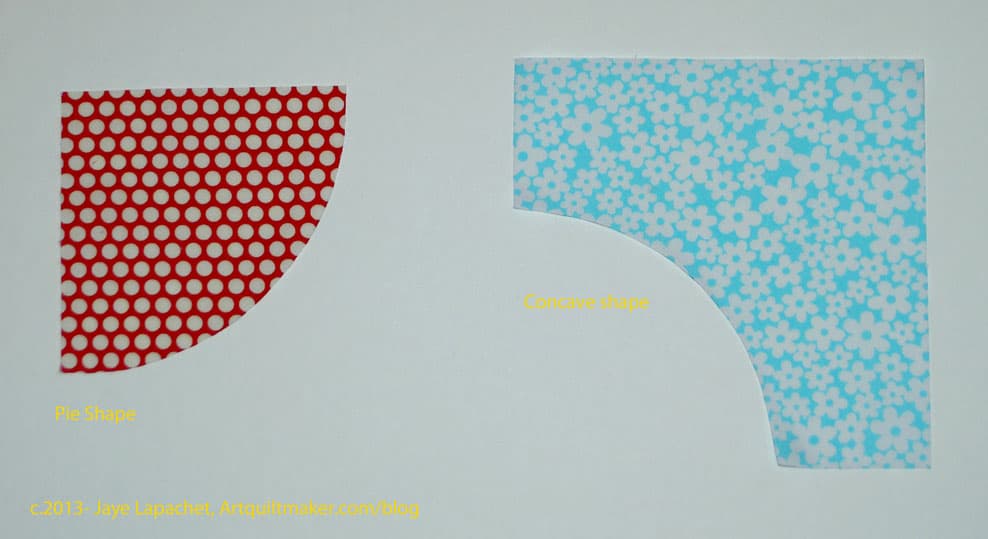
This block, as well as the Drunkard’s Path block is made from two types of pieces: a concave ‘L’ and a pie shape. The pie shape forms the circle in the center and the concave ‘L’ can be considered the background. In this block, the pieces are somewhat larger than in the 12″ Drunkard’s Path I used in my previous class. This design also has a very strong focal point.
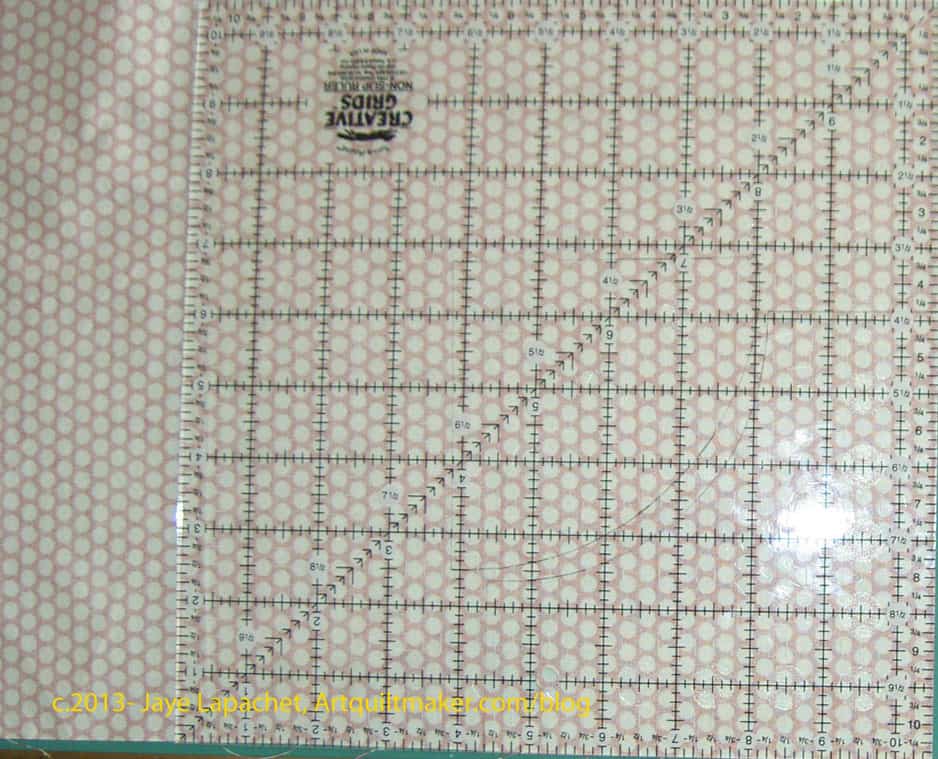
Take the The Dove pattern and rough cut the templates.
Use the glue stick to stick the paper templates to the template plastic. You won’t need heat resistant template plastic as we won’t be ironing over the templates. It is fine to use, though, if that is the only kind you have.
Rough cut out the templates you have glued to the plastic.
Carefully cut out the template on the seam allowance line, cutting off the rough cut paper and plastic.
Place your fabric wrong side up on a hard surface.
Draw Around Templates
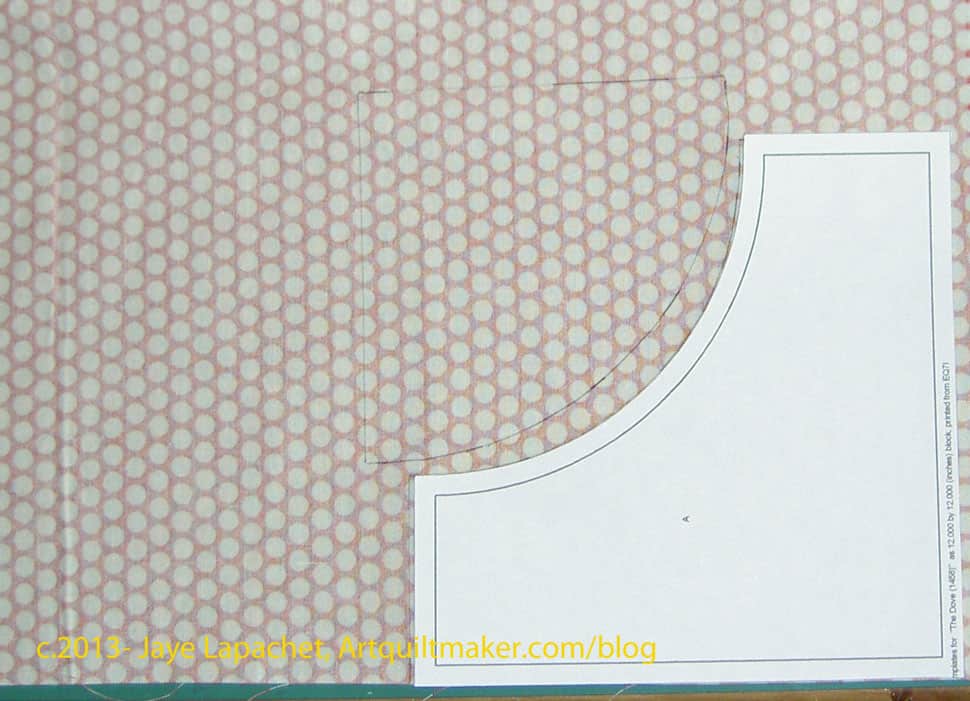
Place the templates wrong side up on your chosen fabric. Nota bene: If you are using symmetrical templates, then it doesn’t matter whether they are right side or wrong side up, but it is good to get in the habit of doing it the right way in case you use non-symmetrical templates in a future project.
Draw around the template with your marking implement of choice. You will need to hold your template firmly so it doesn’t shift. You can also rough cut out the fabric pieces if trying to cut precisely or carefully with a long length of fabric draped over the cutting table is too difficult.
Rotary Cut 90 degree angles
Cut the fabric out carefully using your fabric scissors, especially the curves. Cut the drawn line off the fabric. I used a rotary cutter for the 90 degree angles.
Check to make sure that the fabric you just cut out is the same size and shape as your templates. You can lay the template over your fabric to check.
Fold Pieces in Half
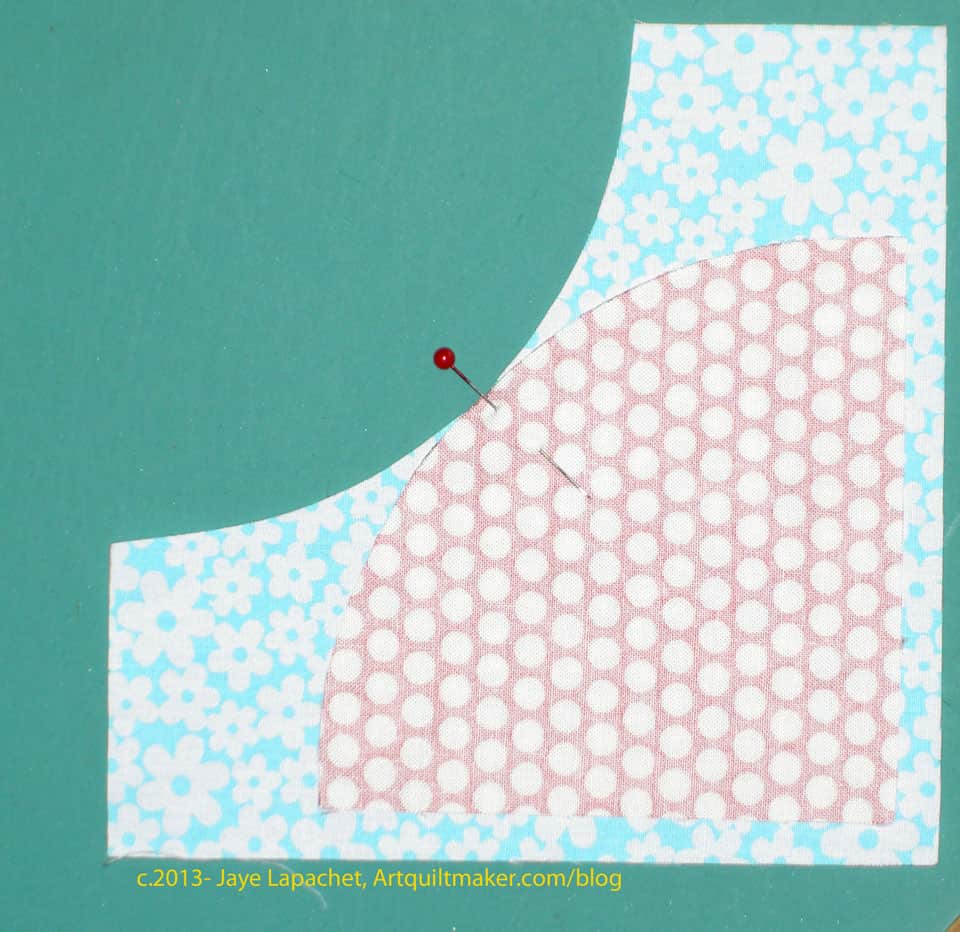
Take a pie shape and a concave shape and fold them in half. Line up the edges carefully. The halfway point that you create will be used to make sure the pieces are sewn together evenly. You will want to make the marks so the patches nest. That means you fold the concave piece in half with right sides together and the pie shaped piece in half with the wrong sides together. Mark the halfway point with a pin or through finger pressing.
Nestle the pieces right sides together.
Pin in Middle
To do this, line up the middle mark where you have finger pressed to align the blocks accurately.
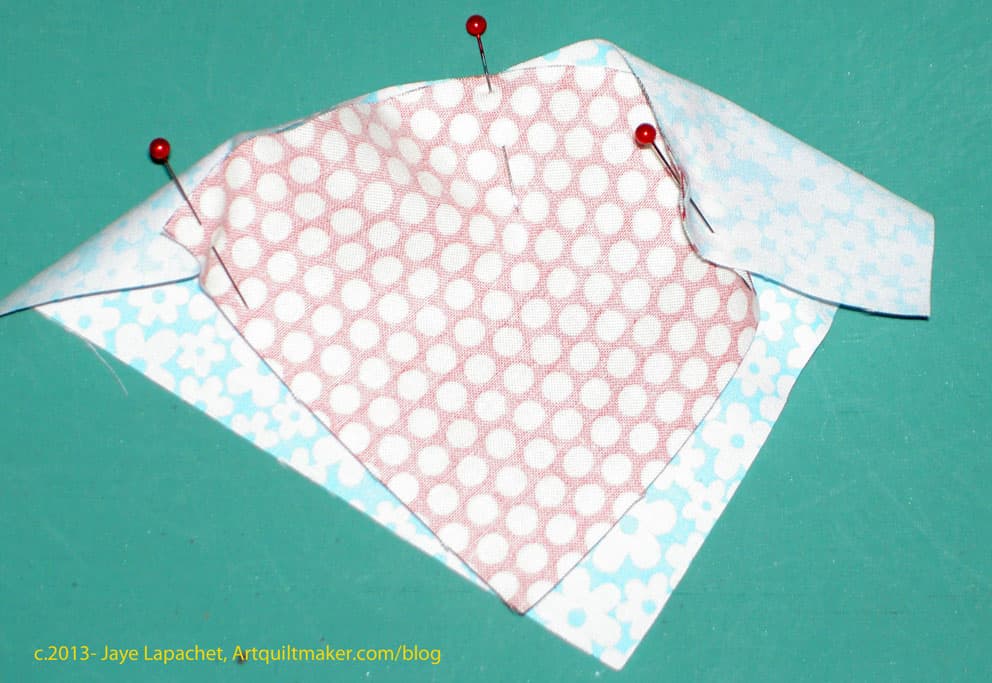
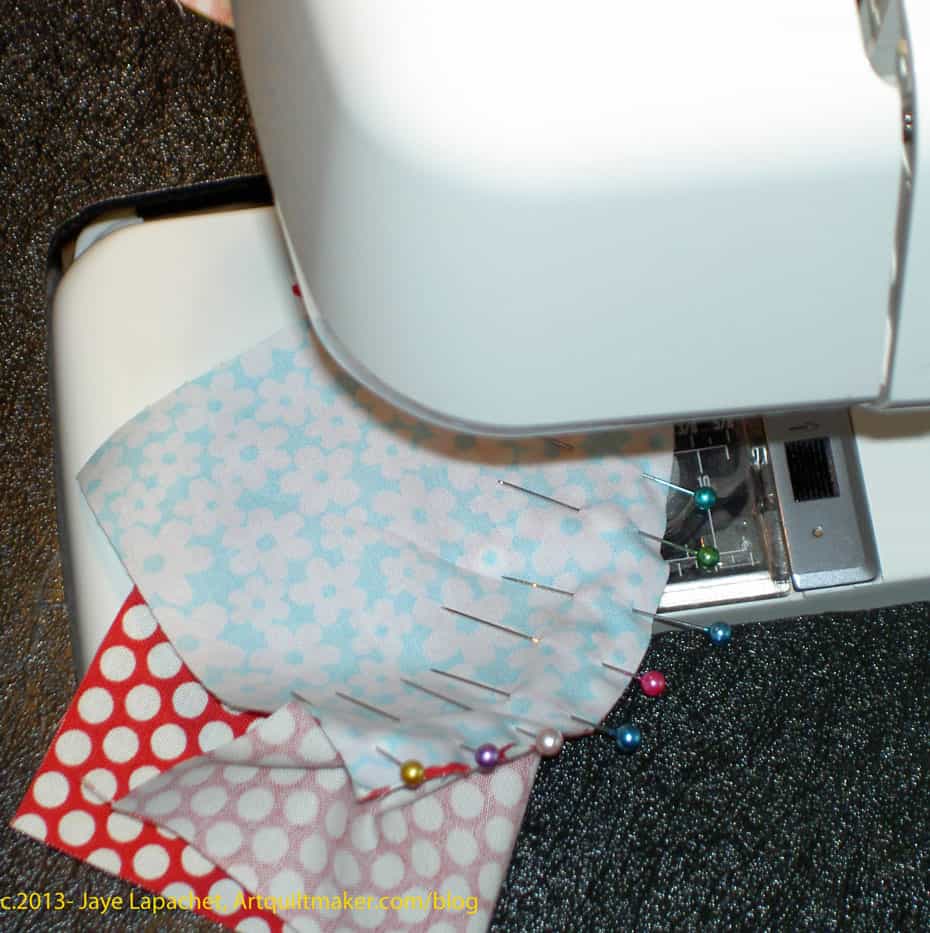
Pinned 3 times
Line up the outside edges and place a pin close to the two outside edges.
Fill in the area between the middle pin and each outside pin with pins. Ease the area between the outside and middle pins into smoothness with your fingers, lining up the edges of the fabric as you do so. Place as many pins as you need between the middle pin and the outside pin. Make sure the fabric is flat and there are no pooches. You may have to ease a bit, but do it very gently so as not to stretch the pieces. If you have to stretch and tug and pull, there is something wrong and you should check to see if your templates match your fabric pieces.
Completed Pinning
Do the same with the second section between the middle and the other outside edge until you have used a lot of pins.
Sew Pie to Concave Piece
Sew Pie to Concave piece, removing pins before you sew over them. You may want to use the point of a pin to keep the edges of the fabric lined up until you sew over the area where the pin was. I also use a seam ripper as a stiletto to keep the two pieces in place after I remove the pins.
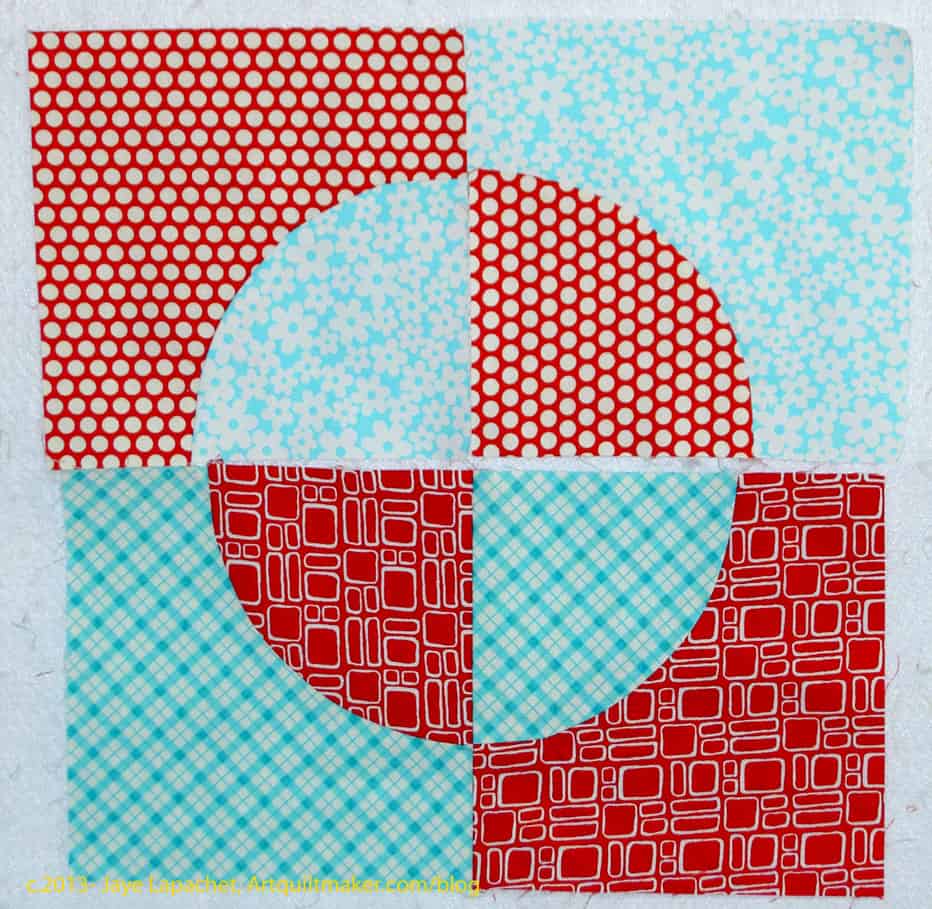
Dove Block in Process
Press carefully.
Repeat for all of the quarter blocks.
Dove Block in Process
Sew 2 quarter blocks together to make a half, then sew the other 2 quarter blocks together so you have two halves.
Press so that the center seams nest
Pin the two halves together, paying careful attention to the center.
Louise Ottilie Fresco (born 11 February 1952 in Meppel) is a Dutch scientist, director and writer.
al fresco
Buon fresco technique consists of painting in pigment mixed with water on a thin layer of wet, fresh (hence the name) lime mortar or plaster, for which the Italian word for plaster, intonaco, is used. (Wikipedia)
Fresco Chocolate is an artisan bean-to-bar chocolate maker producing award winning single origine chocolate.
Definition: Fresco (plural frescos or frescoes) is a technique of mural painting executed upon freshly laidlime plaster. Water is used as the vehicle for the pigment and, with the setting of the plaster, the painting becomes an integral part of the wall. The word fresco (Italian: affresco) is derived from the Italian adjective fresco meaning “fresh”. Fresco may thus be contrasted with secco mural painting techniques, on plasters of lime, earth, or gypsum, or applied to supplement painting in fresco. The fresco technique has been employed since antiquity and is closely associated with Italian Renaissance painting.[1][2]
Take 5 minutes to do any kind of artistic response: poem, doodle, quilt, pastel, pencil. ANYTHING counts. Don’t judge yourself or second guess yourself. There are no rules; just do it!
Post the direct URL (link) where your drawing, doodle, artwork is posted (e.g. your blog, Flickr) in the comments area of this post. I would really like to keep all the artwork together and provide a way for others to see your work and/or your blog.
The Creative Prompt Project, also, has a Flickr group, which you can join to post your responses. I created this spot so those of you without blogs and websites would have a place to post your responses.
Fresco Stainless Steel Coffee Percolator
Fresco Towels are produced by a family of artisans with many years of experience in the field of textile production.
A mobile kitchen serving Southern Oregon
Jacque Fresco (born March 13, 1916), is an American self-educated structural designer, architectural designer, concept artist, educator, and futurist.
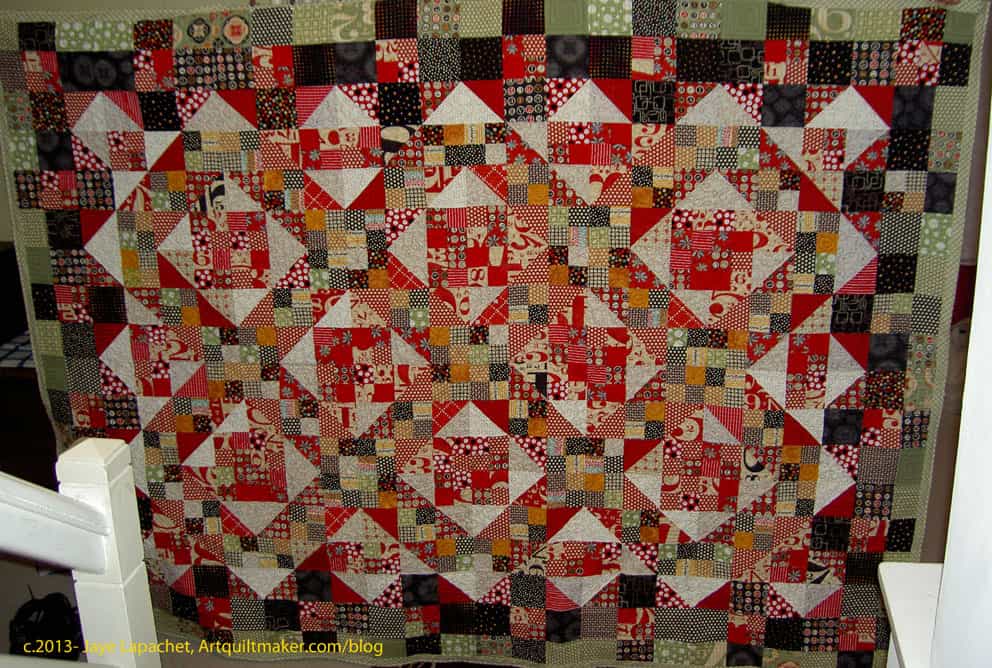
I didn’t just take a bunch of quilts to be quilted on Monday a week ago I also got the Stepping Stones quilt back from my quilter. I am sort of diligently working on the binding.
This quilt was so big. The boys insisted that I had to take the photo from the top of the stairs. I don’t know, but I didn’t want to fight with them about a photo. I’ll have to figure out another way to take the photo full on with no banister in the way.
The last weekend was spent at the CQFA Retreat. We go to a small town on the coast about half an hour away. It is perfect, because I don’t have to drive very far and it is beautiful.
Rhonda and Angela came to the CQFA Retreat for the first time. It was great, because they were able to get to know the other members better. As I mentioned CQFA and the BAMQG were on the same day so it was hard to stay and socialize. It was also great, because we got to spend much more time with Angela and Rhonda.
Rhonda brought her A-B-C Challenge and was able to work on it a little bit. It really looks great and the CQFAers loved her travel concept. I really admire people who bring multiple projects to the Retreat and then work on them. I brought two projects for the first and was able to work on both. One of my issues is I can’t organize myself well enough to make sure that I have all of the parts necessary for multiple projects.
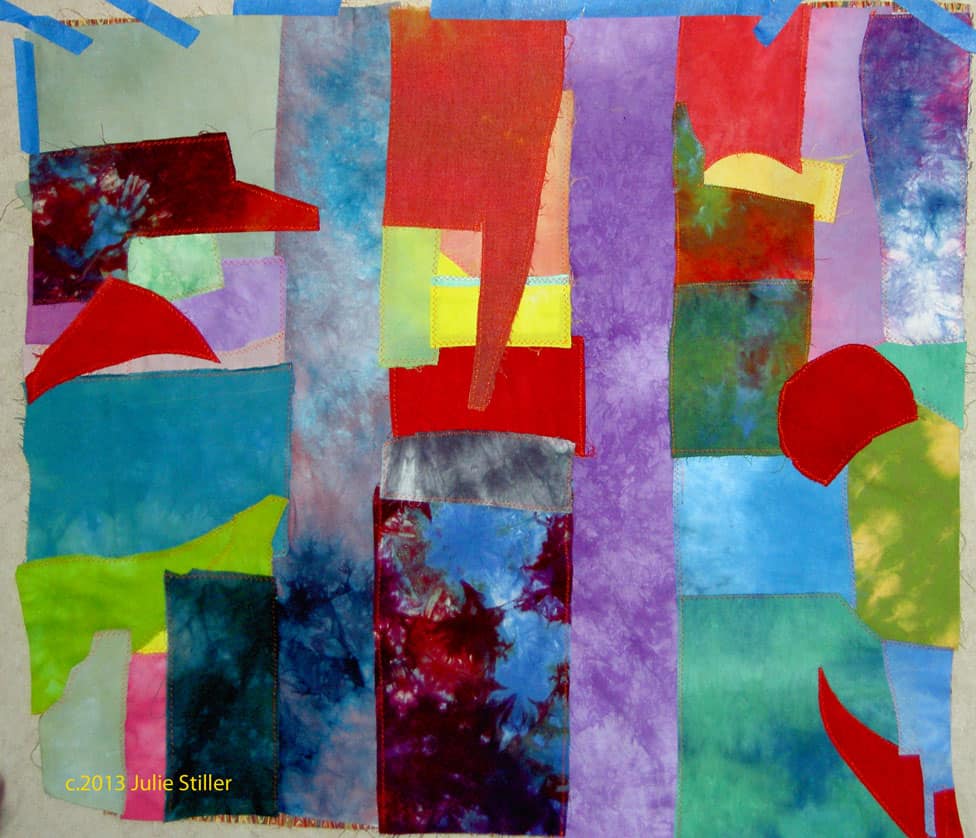
Julie, unlike me, has a wonderful spontaneity about her work. As a result, she worked on several different projects. The three parts of this piece are really a good aspect of this piece. Of course, she used her hand dyes.
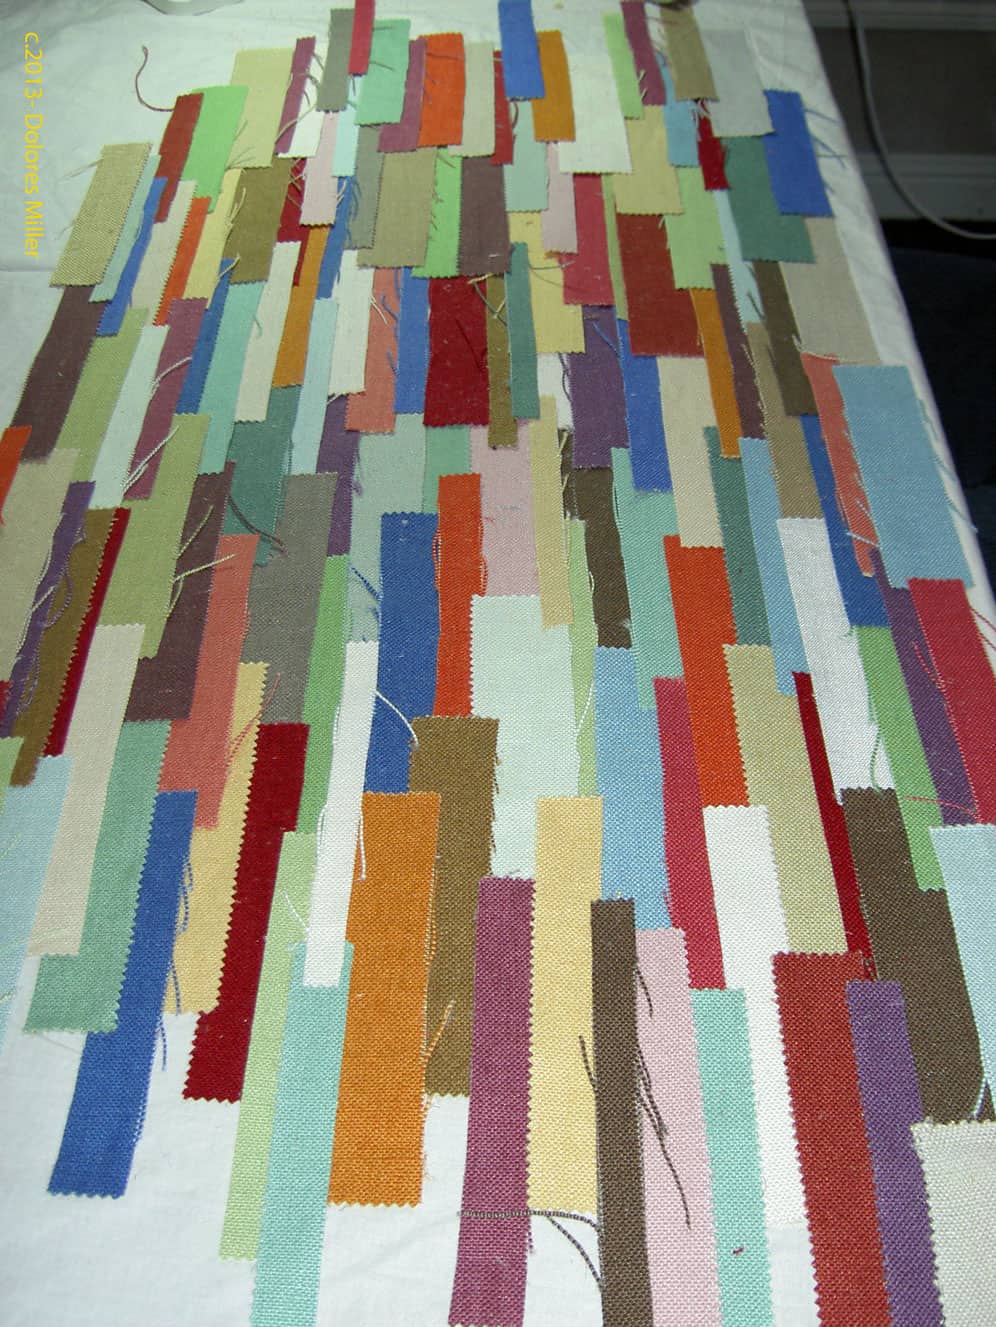
Dolores’ FabMo Piece
Dolores likes to plan her pieces and does gorgeous, thoughtful work. At this Retreat, however, Dolores was sitting next to Julie and, without Dolores realizing it, some of Julie’s spontaneity wore off (infected???) on Dolores. Dolores took a sample book of linen she got from FabMo and cut the pieces apart. She laid them out on a piece of muslin as a backing and glued them down temporarily.
Her intention was to sew them just enough to hold down the strips until she could embellish them.
The interesting thing about this piece is the texture of the fabric and the fraying of the edges. The colors are earthy with a bit of zing (see the purple?)
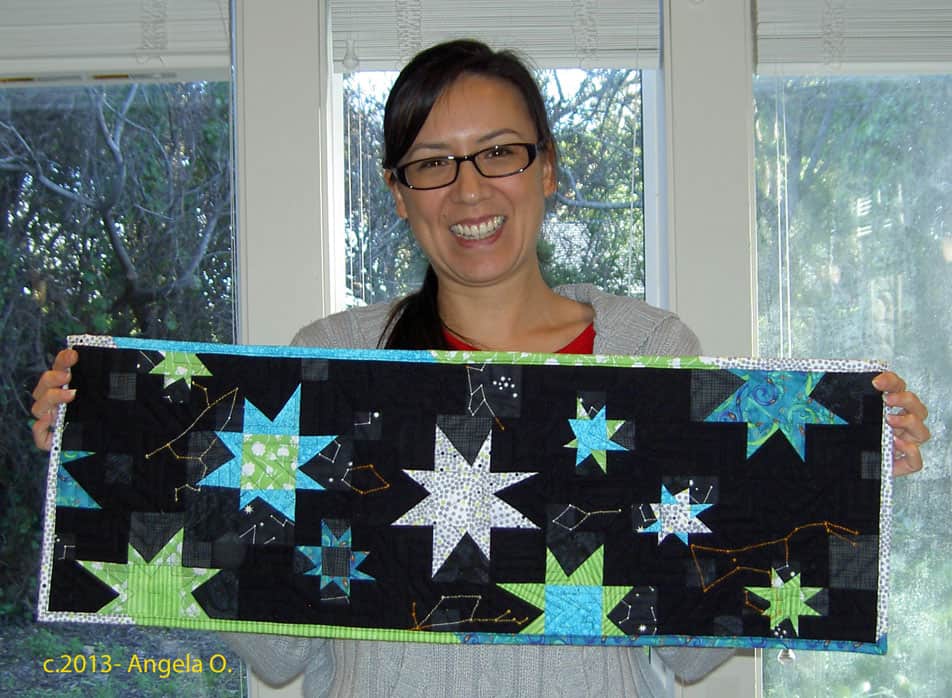
Angela’s Table Runner
Angela came with the SCVQA challenge project. They will be having a show in April and the theme is Oh My Stars!
Along with the show quilts, the organization will have a challenge exhibit and Angela brought her pieces along to work on. She brought fabric and thread and ended up with the piece on the left.
This is a miracle, because there were many, many rules to this challenge. I admire Angela for coming up with this gorgeous piece and still working within the rules of the challenge.
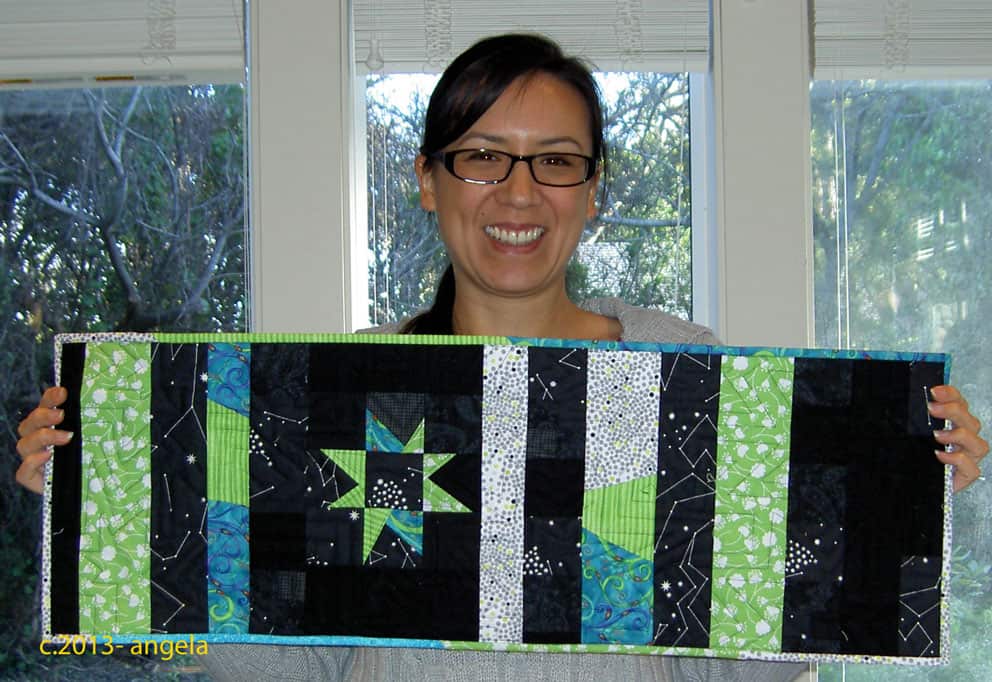
Angela’s Table Runner
She decided to use the Gwen Marston wonky stars technique. I love this piece. I love the colors (of course!!! Look at that turquoise). I love the embroidery of constellations she did as embellishments. I would love to see Angela make a similar piece but larger.
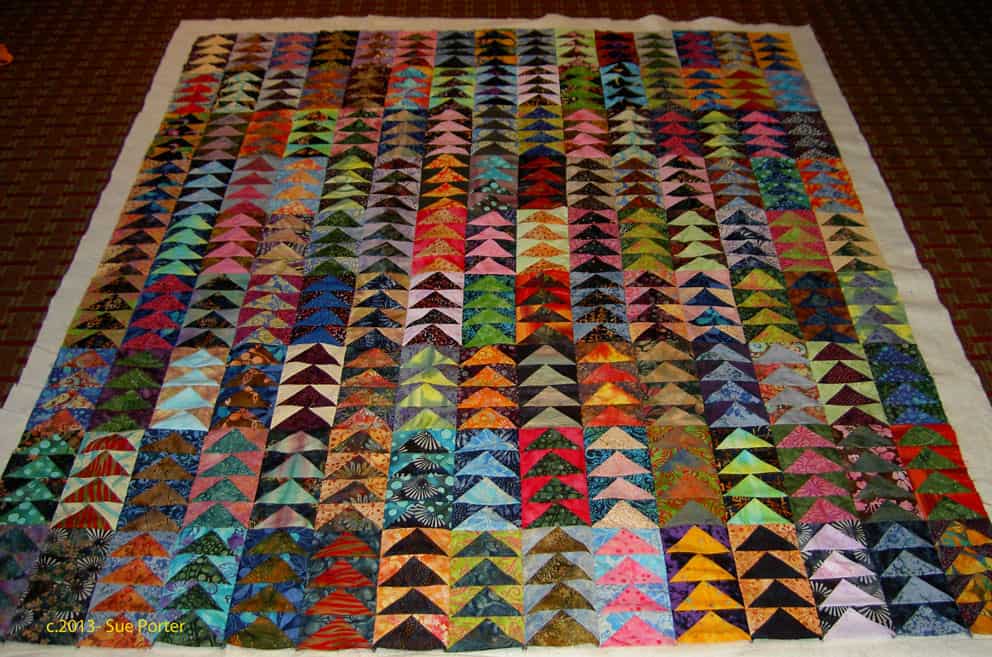
Sue’s Flying Geese
Sue worked, again, with batiks. Her piece from last year was just as gorgeous and when you look at them together, they look like a series.
I also like the juxtaposition of the classic Flying Geese with the contemporary look of the batiks. I know it is weird to say such a thing, but it looks so interesting to me and really stands out to me.
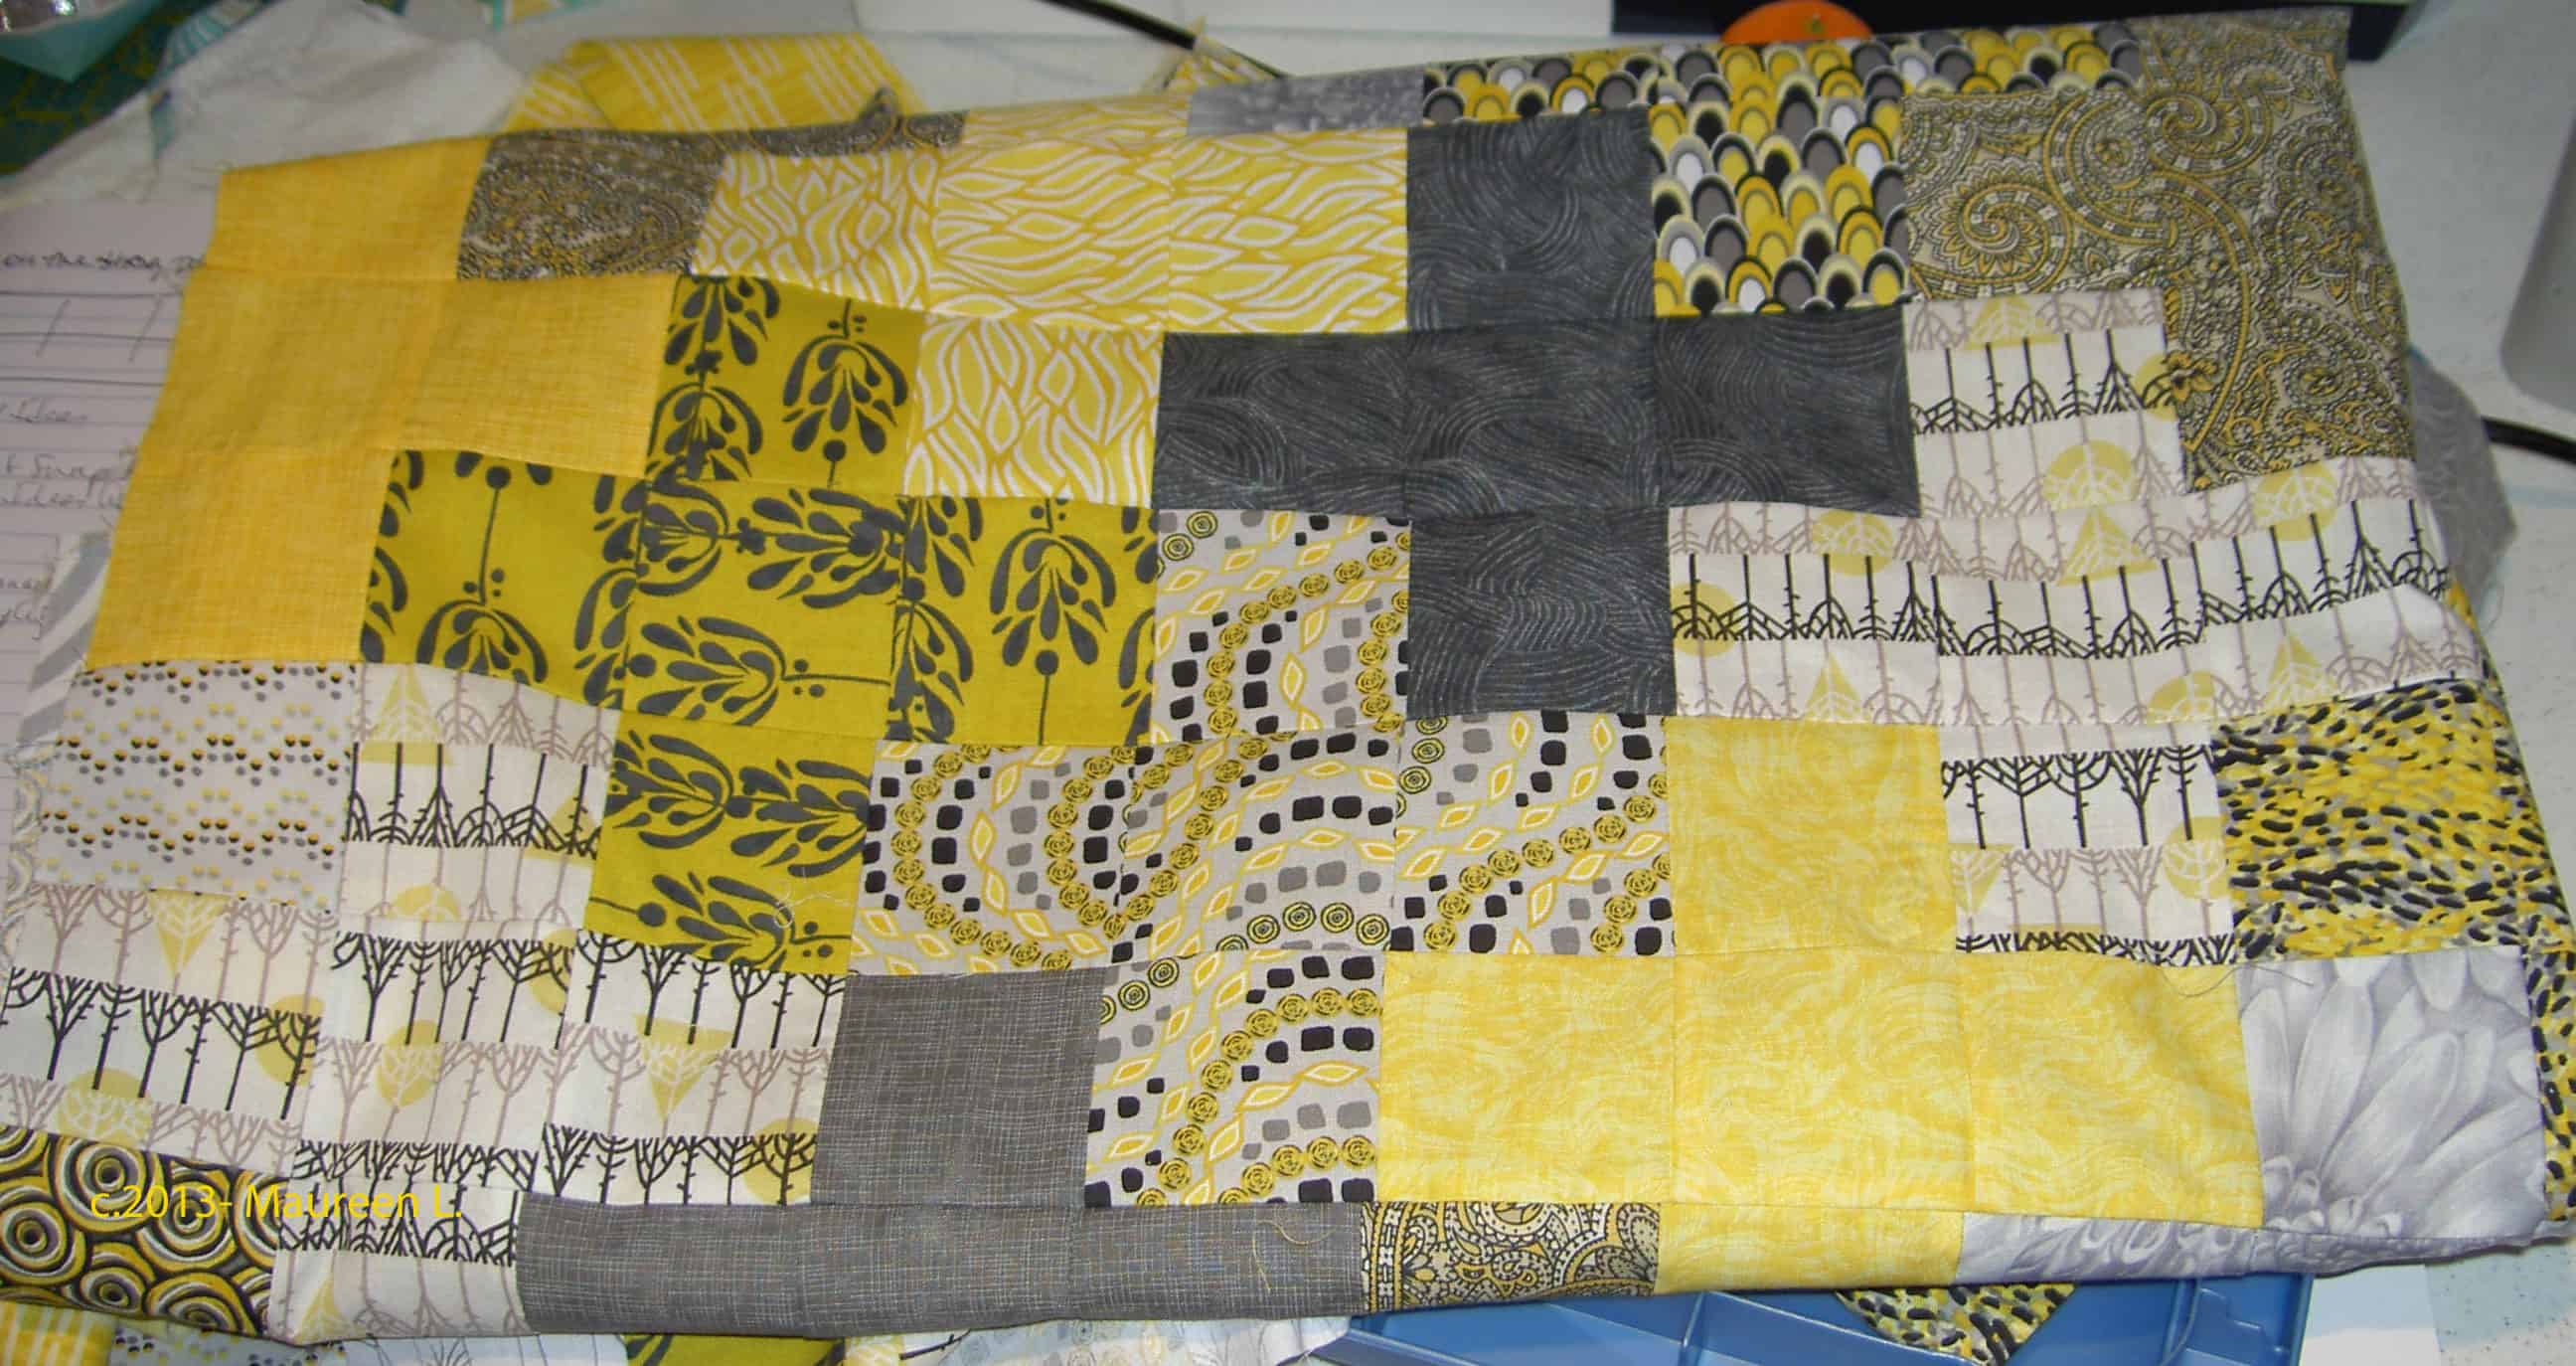
Maureen’s Plus Quilt
Maureen started out with this Plus type quilt.
I love the fabrics that she chose. Maureen had a Jelly Roll or strip set with these colors. Instead of using rectangles as some of the pieces Maureen used all squares. She told me that starting with this piece made for a very calming beginning to the quilt retreat.
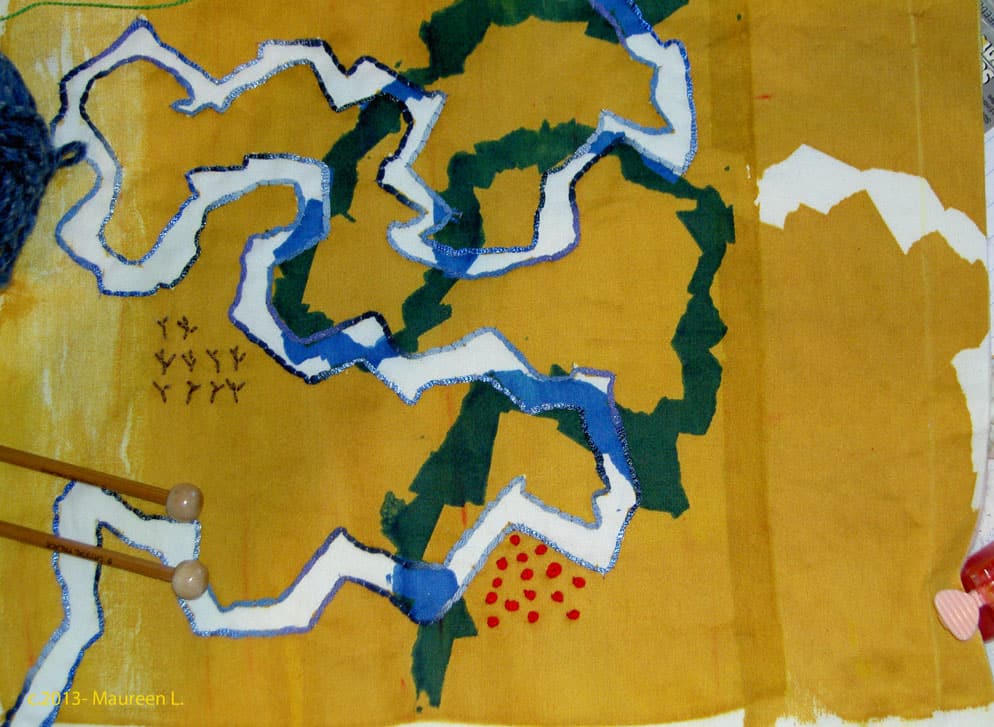
Maureen’s Fabric Map
Maureen started to have some trouble with her sewing machine so she switched to a hand project.
This piece looked like a map. Maureen did a lot of handwork on the piece and was thinking about others. She added French knots and a lot of couching around the edges of the white and blue areas..
DoloresCalm Basting
This is what Calm looks like during basting. Big Deal, right?
Rhonda’s Hand project
Rhonda took a class on different types of handwork. In the picture above we are helping Rhonda chose the colors for the next set of borders.
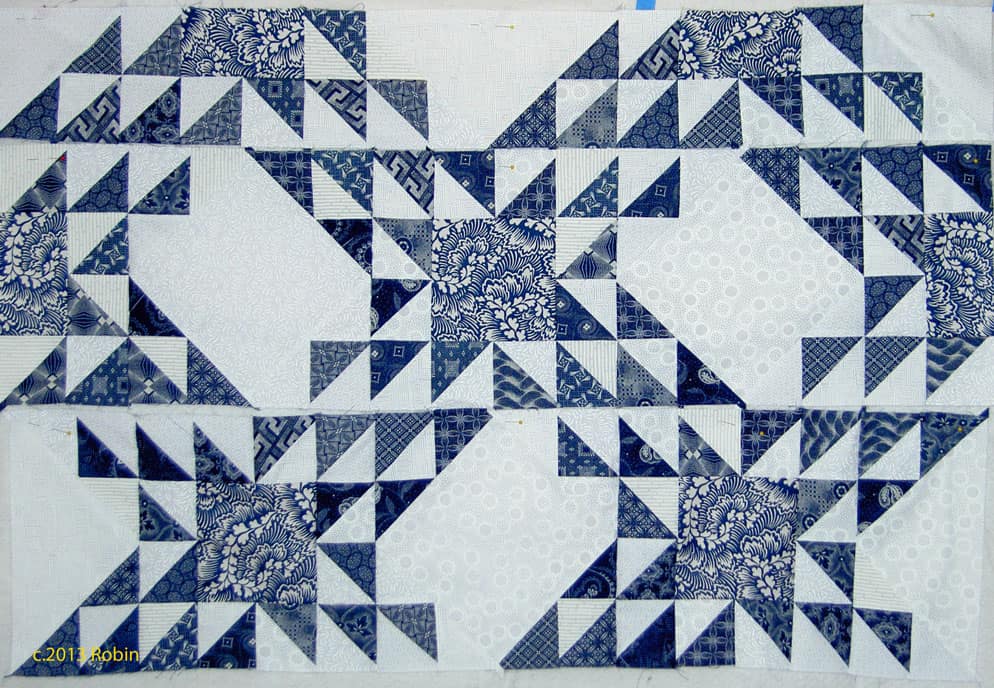
Robin’s Indigo Ocean Waves
Robin had some indigo fabrics from her mother. They were from South Africa. She found some great, and perfect, contemporary companion prints to use with the indigos.
The large squares are the contemporary prints. I also like the way these blocks are a bit off. It gives the piece movement.
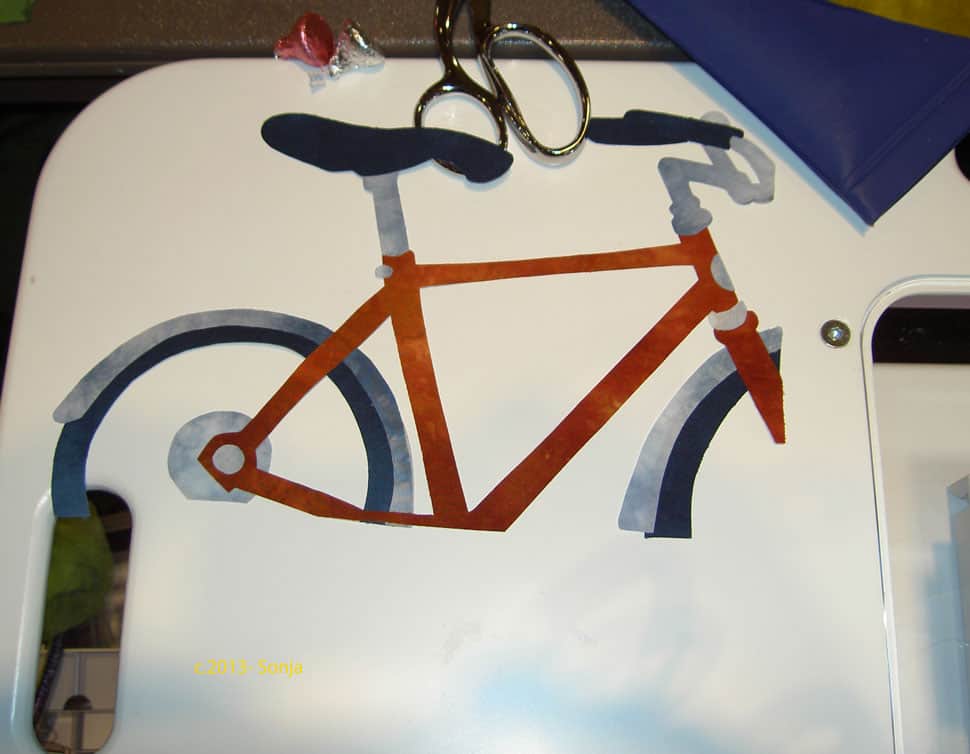
Sonja’s Bicycle
Sonja was working on several pieces as well. She was inspired by some of the activities she does with her family. In addition to the bicycle, she had a scooter as part of the series. It was such great work; I can’t wait to see it finished.
Thanks to Doug88888 for allowing this to be shared.
This is part of my effort to help you “see” inspiration wherever you are.
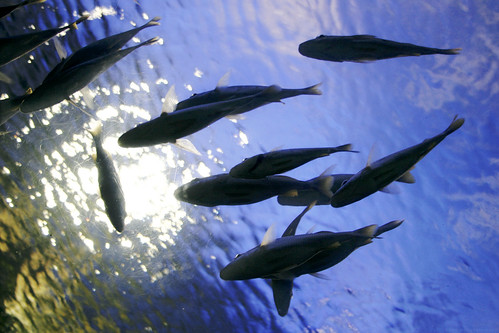
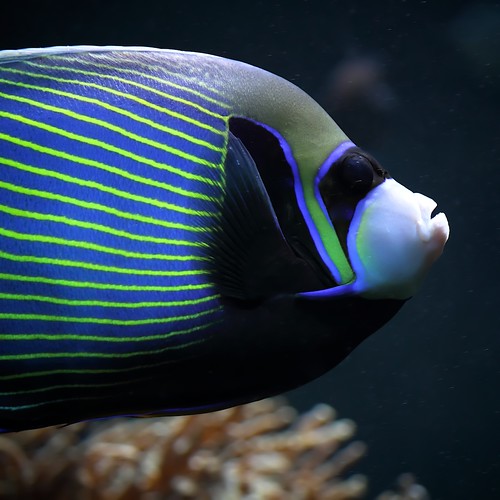
I sometimes think I should get a fish tank just to keep me calm. I wouldn’t want to do the work to keep the tank clean and the fish alive, though. Sad, but true.
The servers where I host the Artquiltmaker blog were down yesterday when I had time to post, so this is a last minute post or a bonus Creative prompt post, if you want to think of it that way. What can you do it with it?
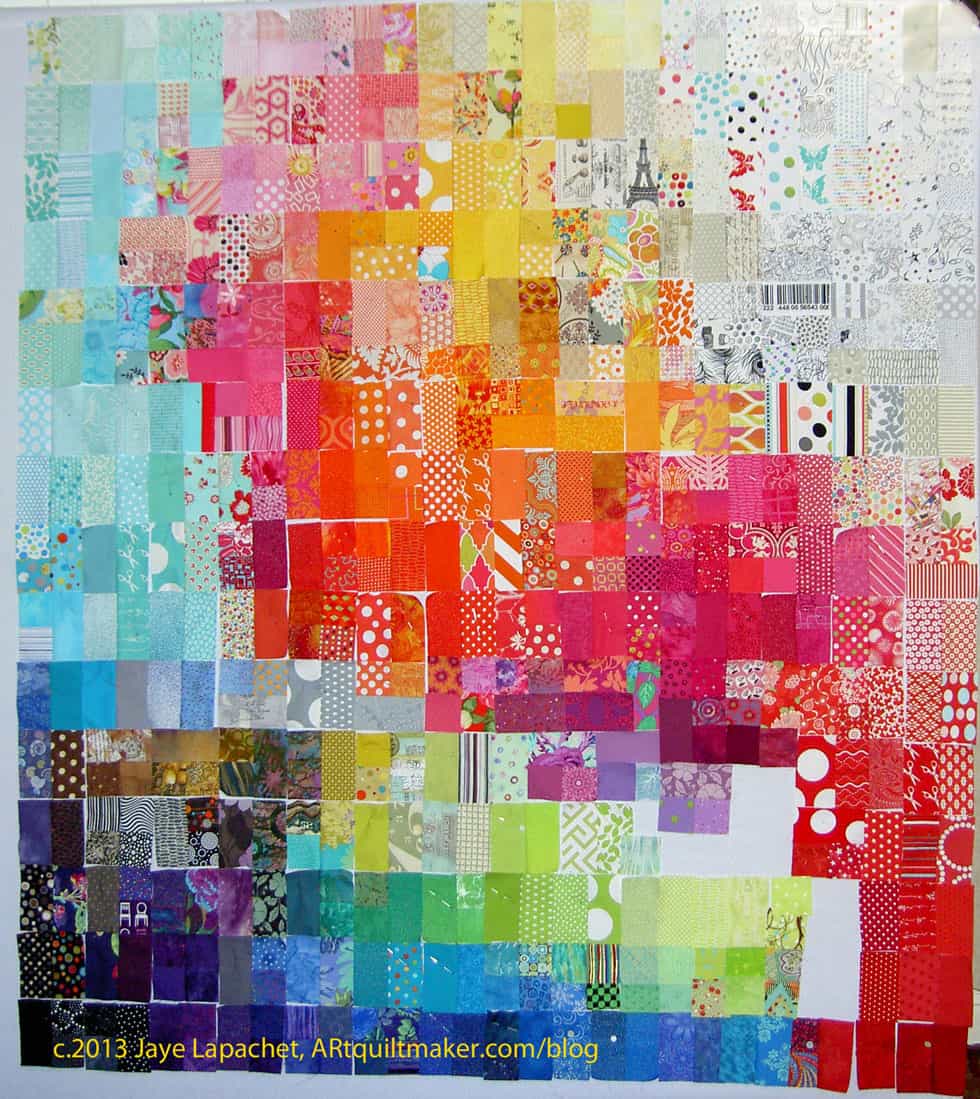
Early last week I posted the final patches I was planning on using for FOTY 2012. The CQFA retreat was this past weekend and I worked on the quilt top all weekend. This is the final layout, or nearly the final layout, of Fabric of the Year 2012. I think of this as a butterfly emerging from a cocoon, in some ways. Perhaps I will call this piece Chrysallis?
In this picture, all the pieces are sewn into groups of 2. By the time I left the retreat center, I had started to sew larger chunks together and the upper right hand corner was nearly all sewn.
As usual, I went through my process of hand wringing and chest beating on Friday followed by sewing and intense rearranging on Saturday.
One of the things I really like about working on this at the retreat (remember last year’s retreat?) is that everyone helps. They don’t help by rearranging, though that goes on a bit, but they come by and give me an opinion, there is always someone around to help with tricky placement and they appreciate my process. By appreciate, I meant they let me engage in my process, which, for this project, involves a fair bit of angst. It was all worth it. I am pleased with the way this is coming out.
I think that I may be over the colorwash technique for these pieces. I like the idea of cutting a piece of fabric from each fabric I use or buy during the year, but I think I have done enough of the colorwash exercise for the time being. I am trying to think of something else for 2013. I have some fragments of ideas, but they haven’t coalesced yet.
A few weeks ago, I wrote about my strategies for getting out of the Creative Desert. Getting out of the Creative Desert is different from seeking inspiration. Just because you are piecing a bunch of squares together doesn’t mean you are inspired. Piecing a bunch of squares together is good because you are working, but you are only at the first step back to your creative potential.
I find that if I need inspiration, it doesn’t work for me to go out and look for it at that moment. I can’t rush outside and look around and expect to be inspired JUST LIKE THAT. The world might be boring that day or I might not be able to see, really see. I have to be prepared. I have to be in the habit of looking for it every day as I go about my business. I have to accumulate possibilities so it is available when I need it.
Teaching yourself to see requires training. Fortunately, the training does not require you to spend time in the gym every night. It requires you to clear out your head for 5 minutes and look. Christi Friesen, a polymer clay artist, described what I am talking about really well in a recent Notes from the VooDoo Lounge podcast episode. She said your mind has to go into “screensaver mode” to get your best ideas. (a creative example of this can be found on writer Deanna Raybourn’s blog in a post from last week) That explains why I get my best ideas in the shower or right before I drop off to sleep. Thoughts about lunches for tomorrow, who has to be picked up from where and what’s for dinner are not on my mind and there is space to be inspired, to put together the bits and pieces of inspiration you have encountered into a logical whole. Listen to this episode, if it is not on your regular playlist. Exercise: go out at lunch, walk around the block with a clear mind. Don’t think about your next meeting or the assistant who won’t do your bidding. Look at the world around you.
1st: Identify: I know what I like: mosaics, leaves, color, architectural details are a few. You have to look at a lot of stuff to know what you like. It doesn’t matter what other people like, because if you don’t like something, you won’t be inspired.
2d: See. Walk around with your head up. Stop looking at your shoes; they are fine. Really. They are fine. Get out of your head and SEE what is around you. See what is really in front of you NOT what you EXPECT to be in front of you. Seeing is different than looking. We look at the things around us so we can avoid the slimeball from the sales department, not get hit by a car, and find the right coffee shop. Seeing is the next step after looking. Something deeper sparks your interest and you pay attention to the thing. The thing gets in your head and your mind starts playing with it, turning it over and translating it into a quilt design or a machine quilting pattern.
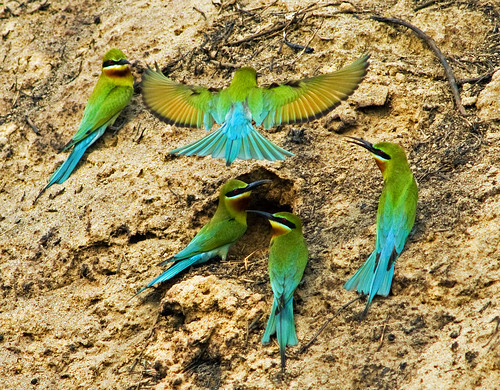
If you can’t go out or you live in an industrial wasteland, look at sites that provide you with inspiration that you don’t see in your every day life. Flickr and Pinterest can be black holes of creative doom, but they can also provide excellent inspiration. People share photos of their trips to exotic lands and interesting tidbits they see in their daily travels. Put some random words into the search box and see what you get. I found the above photo by putting “Thailand blue” into the Flickr search box. Gorgeous birds, aren’t they? Look at the color combinations! Check out the beaks. I love the feathered tail of the bird flying. Amazing!
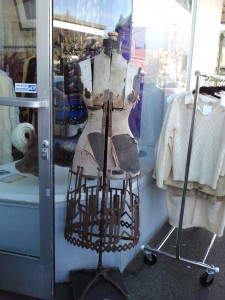
Piedmont Ave Mannequin
3rd: Document. Having a camera in my phone is the best thing ever. I take photos of the strangest things because of some little detail that sparked some interest. I have photos of half decayed leaves on the street because of the color. I have a corner of a magazine page, because of a star pattern that might be good in a quilt some day. I have a photo of a rack of vintage sweaters, because of the shape. I am focused on quiltmaking, so when I see a pattern or design that I like, I document it for a later quilt or machine quilting design. You may not see what I see, which is why you need to collect your own inspiration.
If you carry your camera around or have a smartphone, remember that your photos don’t have to be professional. The photo of the mannequin above has that commercial door in it, which looks stupid, but I want to photograph the whole mannequin without completely blocking the oh-so-narrow sidewalk traffic.
You don’t need a camera in your phone. If you don’t want to haul your camera around with you, bring a sketchbook. You don’t have to be Degas or Seurat. You aren’t drawing on the street or on the bus to win awards; you are drawing to remember something, for your own use. You don’t have to share. Commit to whipping out that sketchbook to record a line or design. This is your inspiration. What it looks like in your sketchbook will never look like the end result.
4th: Manipulate. Put your photo or sketch (after you scan) through Photoshop, Photoshop Elements or one of the free programs available online. Add filters. Change the pixels to a sketch or a different color. See what happens. Save your creation as a new file and compare to what else you have done.
5th: Use. The inspiration you are collecting will quickly become crap if you don’t use it. Look through your folders or boxes periodically. Don’t review your bits and pieces only when you are in need of inspiration. Look through folders regularly just because. If you can’t remember why you saved a shard, then it is time to toss it.
Sea by Cuba Gallery
6th: Organize. For every project, I keep all of my notes, swatches, and details in a file folder. Once you have decided to work on a project, put the shards of inspiration into that file folder with your calculations and fabric swatches. Have you ever seen the movie “Working Girl”? She uses her organizational system at the end to prove the deal was her own idea. You can tell where you are and how to move forward if all the pieces are in one place. Also, if they fall out of the folder, the way they land might provide further inspiration. If you let a project simmer for awhile, having your inspirational shards all together will help you get back on track quickly.
These blocks got some quality time with my design wall – for about 10 minutes – this past weekend. I put them up thinking that I would get a chance to sew them together, but other quilts interfered.
These are going to be sewn together as shown and I think I will leave the border off so that I can make progress and get this baby to the quilter. I want someone to sleep under it or drag it around for comfort sooner rather than later. I feel like this is the longest it has ever taken me to finish a donation quilt. AND I am not even finished.
The blocks are a little crazy, but I had fun making them. I would like to try this block with some different fabrics. I’ll put it on the list. It might be a good donation block when someone is making a lovey.
(of a person, animal, or other living organism) Grow or develop in a healthy or vigorous way, esp. as the result of a particularly…
Noun
A bold or extravagant gesture or action, made esp. to attract the attention of others.
Take 5 minutes to do any kind of artistic response: poem, doodle, quilt, pastel, pencil. ANYTHING counts. Don’t judge yourself or second guess yourself. There are no rules; just do it!
Post the direct URL (link) where your drawing, doodle, artwork is posted (e.g. your blog, Flickr) in the comments area of this post. I would really like to keep all the artwork together and provide a way for others to see your work and/or your blog.
The Creative Prompt Project, also, has a Flickr group, which you can join to post your responses. I created this spot so those of you without blogs and websites would have a place to post your responses.
Flourish (2006 movie)
In positive psychology, flourishing is “to live within an optimal range of human functioning, one that connotes goodness, generativity, growth, and resilience.”[1] Flourishing is the opposite of both pathology and languishing, which are described as living a life that feels both hollow and empty.
Flourishing is a positive psychology concept which is a measure of overall life well-being and is viewed as important to the idea of happiness.[1][2] Many components and concepts contribute to the overall concept of flourishing and the benefits of a life that can be characterized as flourishing. It exists as an umbrella concept because it includes and incorporates many other concepts in the positive psychology field such as cultivating strengths, subjective well-being, positive work spaces, etc. (Wikipedia)
an extra touch
Flourish Magazine – resources for a happy, healthy, beautiful life
Artquiltmaker.com has a store, as I have mentioned. I updated the store recently with new products, especially products related to technology, such as iPad cases, and phone covers as well as tote bags, jackets, etc. I have used Flowering Snowball images and I hope you like them.**
Yes, shameless self promotion. Now we are done with that for the time being.
Patterns and Techniques
Have you seen Camille Roskelley’s new patterns? She gives us an overview of her 5 new patterns and a sneak peek at her new fabric line. I really like the Fireworks and Round & Round patterns. Fireworks reminds me of Swoon. It is very Swoon-like. She has moved away from the aqua/turquoise I adore into more of a dark blue. I probably won’t buy it, but I am sure it will be a great seller for Moda. She also introduces us to a new Pre-cut called Honeycomb, which is a hexagon charm pack. I will not be buying them. Don’t tempt me, don’t talk to me about them. I have enough hexagon projects. Thank you.
I have mentioned the Star Sampler that was still germinating. TFQ and I spent some time over the weekend of our birthdays (we have birthdays 2 days apart) hashing out the details. I have more fabrics to find, but we know the blocks we are working on first and we both should be well underway by now. One of the things we did over the day we spent together was flying geese. I am a big fan of the ‘squares method” of making Flying Geese. Very Lazy Daisy, who is actually quite the prolific quiltmaker, put up a tutorial for the Flying Geese part of Easy Street that explains this squares method. I am a big fan of Deb Tucker’s Wing Clipper ruler. In the directions that come with the ruler, she gives the measurements for different sizes of Flying Geese, which is helpful. The Wing Clipper is one specialty ruler that actually works works without too many machinations, headstands or special dances. 😉 You can use the squares method to make the Flying Geese without the Deb Tucker ruler. Any ruler will do. I sometimes use my 4.5″x8.5″ Creative Grids ruler (also a fave), if I am in a rush and my Wing Clipper is buried. There are also four methods of making flying geese that you can try out on the Martingale blog.
If you are scared of zippers or just want to learn a new way to put zippers into a small pouch, check out Lovebug Studios’ Fearless Zippered Pouch tutorial. These make great gifts and Pam, of Hip to Be a Square podcast fame mentioned that her guild is making them for the Wellspring House in her town. Her comment made me think they would be nice gifts for a domestic violence shelter.
Around and About the Web
I noticed a Skills builder Block of the Month and it is free. Do you need to build some skills? check out the list of block techniques that will be covered. Have fun, if nothing else.
If you haven’t banished the voice in your head that tells you are not good enough, smart enough, etc. It is time to do so. Read Robin’s take on the subject. Remember: you are good enough, you can make hard quilts, you are smart enough.
I get the City Quilter’s newsletter. I have no idea why as I have no intention of going to NYC anytime soon. Cathy, the author/owner, sent along a notice about a Wall Street Journal article on quiltmaking. “QUILT COLLECTOR FEATURED IN THE WALL ST JOURNAL In case you missed this recent Wall Street Journal article, you will enjoy reading about art quilt collector Jack Walsh, and his collection (almost 100!), many of which were commissions. We got to know Jack last September when he was honored at the European Patchwork event in Alsace. Here is a photo gallery drawn from his holdings”
I probably have blocks of the month on my mind, because Ruth was talking with me about the BAMQG BOM program she is designing. While perusing the City Quilter newsletter, I saw this new Amish BOM as well and love it. I can’t do it, because I have enough on my plate AND I don’t like the term/acronym BOM.
Completely switching gears, I just had to tell you that I LOVE the fabric the Pile of Fabric blog shows in her new sampler post. If you didn’t get me a birthday gift, yards of these would be fine. 😉
Jennifer Pagnatelli has a new line of fabric coming out in May. It is called Circa (looks nothing like Circa 1934 from Cosmo Cricket) and has a similar feel to the Flower Sugar line I am using for the hexagon quilt with a little of my Grama’s living room curtains thrown in.
I used to make ornaments every year for family gifts, but everyone has enough ornaments now and I am lazy. Lori has some wonderful photos of felt ornaments on her blog, which make me want to make some ornaments again. I really like the way she used the buttons, rick rack and ribbon to embellish. It might be a fun project to do with friends and then donate to a women’s shelter or some other worthy cause.
Jane Davila has a relatively new blog post up with some ideas for starting the year off right with your art AND a free printable calendar.
Doing Good
Quilter’s Corner asked for 600 pillowcases to provide pillowcases for the children at Sandy Hook. I wrote about it in a previous post. The shop received over 7,000 pillowcases! Isn’t that great? I am so pleased that the drive was successful.
Design Series
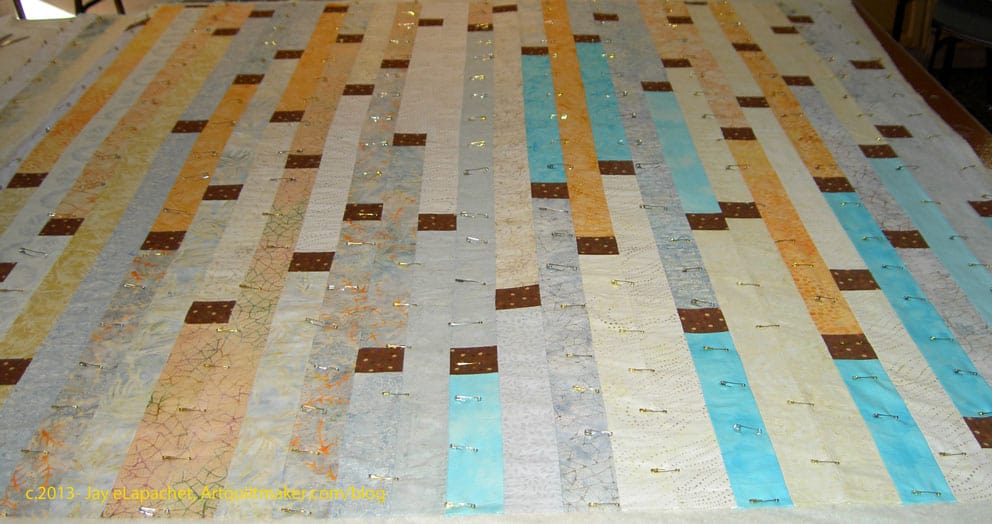
My most recent segment with Sandy was about Negative Space, which isn’t, if you listened to the episode, really a principle or element. I found a great quilt by a friend, Maureen that has some interesting negative space.
Kaffe Fassett – A Life in Colour will be an exhibition at the Fashion and Textile Museum and will run from 22 March to 29 June, 2013. You can find more information out on The Quilt Show Blog.
Publicity
Yes, I am getting some publicity, which is nice as long papparazzi don’t start following me around. I am not sure I would be very patient with them, which would lead to stories in Star Magazine and Gawker saying how mean I was. Somehow The Carolina Cotton Company found the Food Quilt on my blog and Lisa Ann Toney of Carolina Cotton Company left this comment: “You just made Carolina Cotton Company’s FAVORITE QUILT OF THE DAY! DElicious! Creative! Love the black/white/red accents! Perfect for movies/games/picnic! AND… “Supper” cool! We liked you on facebook as well, of course!
http://www.facebook.com/CarolinaCottonCompany”
I was shocked and thrilled to be notified that the Renewed Jelly Roll Race was one of the most loved projects of 2012 on Threadbias! I was so shocked, because I have put up about 3 projects there and almost no information. I just haven’t invested the time, especially after SeamedUp and Tomspoolery both imploded. If you are not a member, I guess I should say “sign up!” Thanks, Threadbias!
NQR
This article about ideas completely blows my mind. Two quotes to keep you up at night:
“…your use of the alphabet does not inhibit mine.”
“If I give you the tie off my shirt, now you have it and I don’t; but when I give you an idea, now we both have it, can expand upon it, test it, and make it more valuable. Ideas and knowledge are subject to increasing, rather than diminishing, returns.”
Go forth and make stuff!
**If you buy stuff, it helps get the word out that AQ is a cool place to be and adds to the Young Man’s college fund. Truly. I don’t use the money to buy more fabric. JL
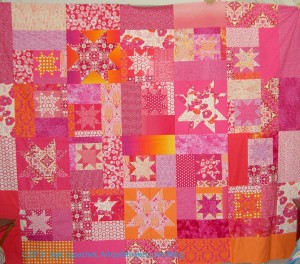
The Sparkle Pink top and back are done and at the quilter. I was in a rush and almost didn’t take a photo of this top, but it took 2 minutes, so I am glad that I did. It is a fun top and we decided that an all over design will work fine and not be overshadowed by the bold fabrics. Also, as an added bonus, an all over design will not cost as much.
My quilter is back and it looks like she will be quilting quite a bit during the next 6 months. YAY! I took a BUNCH of quilts to be quilted on Monday. I kept three (Wonky 9 Patch, Infinity quilt and the Calm Jelly Roll Race) back to quilt myself, just so you know I am not a complete prima donna. I have to say that I took them in one of those blue plastic IKEA (great for hauling quilts) and that bag was heavy!
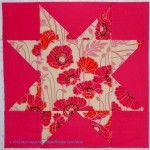
Swoon Top
16″ Sawtooth Star
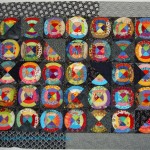
Original Bullseye Top
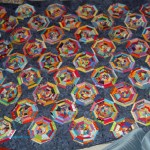
Spiderweb Top
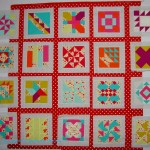
A-B-C Sashing in process
Sparkle Pink Top
I also have more space now to store additional quilt tops!
Having the back to the Spiderweb done (as well as all of that %#@&^* paper ripped off) and in the queue to be quilted is great. Perhaps I’ll get the quilt back before 2013 ends and it will end up being a 14 year project rather than a 15 year project! It is last on the list to be quilted, so we will have to wait and see.
Now I feel like I crossed some sort of threshold. I feel like my decks really are clear. I still have projects on the 26 Projects list, but it feels manageable now. Putting my nose to the grindstone last year helped, as I have mentioned over and over, but until yesterday, I didn’t feel a sense of relief. That relief was building and I felt a little more of it and a little more of it with each project, but the Spiderweb was a milestone.
I also feel wary. I know the extreme amount of time I have had to sew the last year or so cannot last. I am really glad I spent the time when I had it and I am going to enjoy the time I still have, but I see the time and the quilts that resulted as a gift.