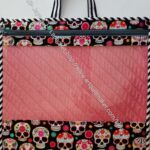
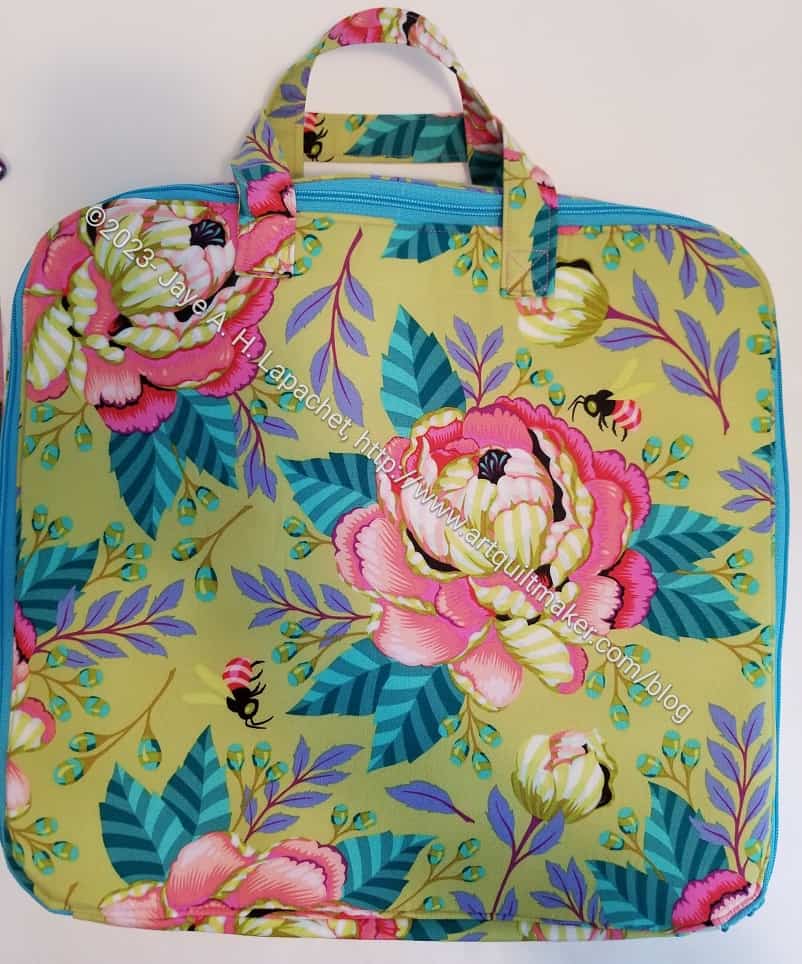
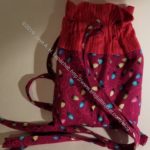
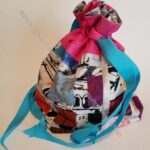
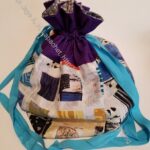
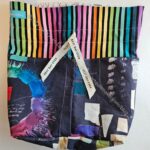
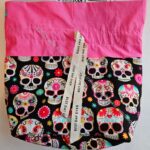
I finished the Paint Tube Day Trip! Yay! This one went together a lot more quickly than the Hindsight Day Trip, but that’s the way it works, right?
I was thinking, as my Mom has started using the bag, that a slip pocket might be a good addition to the front. It would add to the layers, but would also be really useful.
I mentioned that I was making it so she could carry her cell phone with her and didn’t have to hold it in her hand as she moved around. That is working really well. She has also started using it as a wallet. When we go out, she takes it instead of her purse.

I was pleased, once again, that the cell phone pocket fits her new phone very well. I am also glad I reinforced the magnetic closure. I think it might have ripped already if not for the extra (Decovil Heavy**) reinforcement.
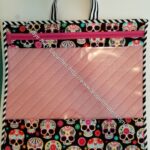
I also made the straps/tabs for the D-rings slightly longer. I did that because one pulled away from the edge stitching on the Hindsight Day Trip. I didn’t want that to happen again, but I noticed that the D-rings spin around now. The triangle hardware pieces would not have worked for this application, sadly. My mom doesn’t care, but I care. Another learning moment, I guess.

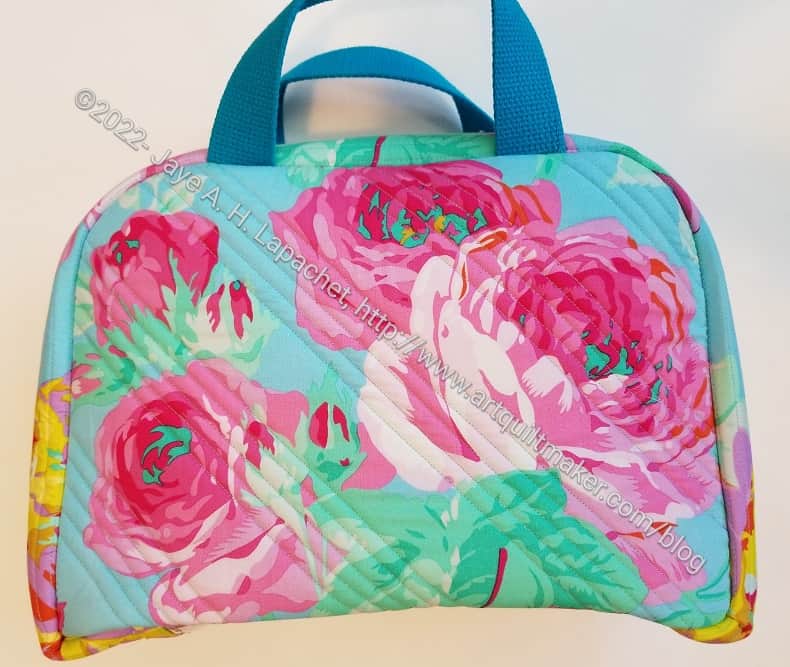
The inside went together well and I love that I can turn this bag through the openings in the interior zipper pocket.
I used leftover zipper tape for the interior zippers. They are the handbag size, but it doesn’t matter.
I put different colored zipper pulls onto the the interior pockets to give a visual cue of the contents. The pulls are nice and large so easy to grasp.
I don’t really want to make a bunch of these, but I have the templates and some ideas, so I might make another one or two. One would definitely be a good Pink Project addition.
Check out all of the Minikins patterns I have made as well as some of the other Sew Sweetness patterns.
**N. B. : Obviously, you should shop at local quilt shops and small businesses. However, if you are too busy or can’t find what you need there, I use Amazon affiliate links and may be paid for your purchase of an item when you click on an item’s link in my post. There is no additional cost to you for clicking or purchasing items I recommend. I appreciate your clicks and purchases as it helps support this blog.