A Little Sew Day

Coffee Walnut Cake
Coffee Walnut Cake

WOW! Sew Day was a mob scene on Saturday. It was great, but very busy. I thought there wouldn’t be very many attendees, because of the holiday weekend, but I was wrong. 

We even had a person Julie and I met at the Fair come and visit. I only got to talk to her a little bit, but I hope she joins. The more the merrier!

After reading several installments of the Jenny Starling series** (The Castle Mystery** was the one I really remember the cake playing a part) and hearing about her delicious walnut cake, I decided to make one. I looked at a few recipes and decided on one by Nigella Lawson. I had everything except Caster sugar, so was pretty much set. 

Sew Day is a great way to try new recipes as I have a lot of good tasters available. Also, usually I only want a piece, or two, so a whole cake is too much for the two of us. I came home with one large piece left, which tells me it was a success. I think I will add a little more of the coffee flavor to the batter next time I make it. I posted about it on IG and like to think it was the lure of cake that brought some many people out to Sew Day.

I got a lot done. I cut out the final Triumphant border.It was a struggle, but I did it. I felt like I had totally forgotten how to use the HuRTy rulers since the last time I worked on the quilt. 🙁 I got a free HuRTy PuRTy quilt pattern and may make it just to cement the use of the rulers in my mind.

I cut a few pieces for a Hackney pouch that I have been working on since I visited Birch Fabrics.  This was sort of an in between project while I waited for Lynette to be free to work on my lesson.

Anchoring lining to exterior - ready to sew
Anchoring lining to exterior – ready to sew

I brought the 6 Open Wide pouches I had prepared and we went through anchoring the lining to the exterior. 

I have done the technique before, but needed a refresher and this was a great one. It all came back to me as we worked together.

I also showed Lynette what I was doing with the zipper tabs. I was able to 

After I got home, I did a yoga session and saw some fabrics I can use for more zipper pouches. 

All in all a good day!


**N. B. : Obviously, you should shop at local quilt shops and small businesses. However, if you are too busy or can’t find what you need there, I use Amazon affiliate links and may be paid for your purchase of an item when you click on an item’s link in my post. There is no additional cost to you for clicking or purchasing items I recommend. I appreciate your clicks and purchases as it helps support this website.

Sidewalk Tutorial

Sidewalk top: done
Sidewalk top: done

I am well into my second Sidewalk quilt. I got such good feedback on it at the guild meeting last month that I decided to write a tutorial for it. I want to encourage people to make donation quilts using the 16 patch blocks the guild makes tons of. This tutorial will enable you to make one of your own.

I saw the original quilt at the Sonoma County Fair. There was no attribution. If I find that someone has written a pattern for the quilt, I will add a link here.

Supplies

    • Sewing machine
    • Background fabric
    • Random scraps
    • Basic sewing kit
    • Thread
    • Iron 
    • Pressing surface
    • Graph paper 
    • Pencil
    • Optional: Colored pencils

Draw

1. Draw out the design on graph paper

2 Mark the pieces that will be background. You could do this with colored pencils

3. Mark, or color in, the pieces that will be your foreground

4. Count up the pieces on your design and confirm my math is correct.

This gives you a map to work from.

Cut

Nota bene: Cutting directions are duplicated below. I have included cutting here in case you want to cut the background in advance.

Cut 25 4.5 in. x 4.5 in. background patches (B blocks)

Cut 16 8.5 in. x 8.5 in. background patches (C blocks)

      • I used one full yard to cut these 8.5 inch blocks out.

Sew

1. Create 40 8.5 in. x 4.5 in. patchwork blocks, unfinished. (A blocks) There are several ways to do this:

      • half 16 patch using 2.5 in. squares
      • scraps, e.g. blue strip blocks
      • improv piecing similar to my improv donation quilts / made fabric
      • one solid piece of fabric cut at 4.5 in. by 8.5 in.

2. Cut 25 4.5 in. x 4.5 in. background patches (B blocks)

3. Sew 24 4.5 in. x 4.5 in. background squares (B blocks) to 24 patchwork pieces (A blocks). This creates an A+B block.

3A. Keep back 8 A+B blocks for the ‘border’ or outside edge

4. Press to the background squares (B blocks), because there is less bulk. If you are using white, there might be a shadow. 

5. Cut 16 8.5 in. x 8.5 in. background squares (C blocks)

6. Sew 16 8.5 in. x 8.5 in. background squares (C blocks) to 16 patchwork pieces (A blocks). This creates an A+C block

7. Press to the background squares (C blocks)

Sidewalk #2, block 1

8. Sew 1 4.5 in. background + patchwork combination block (A+B block) to 1 A+C block )8.5 in. background + patchwork combination block).

You will end up with a block like the one shown on the left.

You need a total of 16 of these blocks, so go ahead and sew them.

Blue Strip Sidewalk blocks

9. Put all of your blocks on the design wall. 

10. Rearrange them until you like the design.

As I was looking at these blocks on the design wall, I realized that I had focused on putting like blues together rather than mixing them up, so in this arrangement there are big blobs of dark blues that I will need to mix up before I sew the blocks together. 

11. Find the 8 A+B blocks for the ‘border’ or outside edge that you set aside in step 3A. Position them along the right side and the top. 

12. Add your last B block to the corner.

13. Chunk your blocks together.

14. Make a back

15. Make a binding

16. Take to your longarmer or quilt as desired. 

I am having a fun time trying different things with this pattern and I hope you will as well. 

Pattern for improv version.

I’ll make updates if needed. Remember: this is a free tutorial that I created in my spare time. Thank you!

Open Wide Pouch

Noodlehead Open Wide Pouch #1

This pouch serves several purposes. First, I have wanted to try the Noodlehead Open Wide Pouch pattern for awhile. This is a very popular and free pattern. It is nice to have a go-to, simple yet straightforward pouch pattern that I can make up quickly. I still haven’t found one, which is why this was on my list to try. The instructions are basic, but complete. I found it useful to have some experience with other pouch pattterns. Don’t you think it looks like a stingray? 

Second, I told my Mom I would make her some pouches that she could give out as thank yous. This is an easy pattern to follow and I know that I will be able to make a few of them relatively quickly. It also doesn’t require any hardware, such as a frame, which makes the pouch more cost effective.

Finally, I want to learn how to anchor the lining of bags to the exterior. Yes, Lynette showed me once and I did it on the Hildegarde Trunk after Lynette gave a mini-workshop at Bag Club. Then, I didn’t use the technique again and forgot how to do it. I think if I can cut out two or three of the Open Wide pouches and get them to the boxing corners point, I will be able to practice anchoring the lining a few times. That should get the process stuck in my head. 

Open Wide- ready to box

The pouch is now at the point where I need to box the corners. I arranged with Lynette to do the boxing of the corners at Sew Day. I hope I can, again, learn to anchor the lining to the exterior.

I was surprised to find that the directions are similar (a shortened version?) of the Emmaline Retreat bag. Then I realized that both are very simple zipper pouch patterns and they are all made the same way. I referred to the Retreat Bag directions, because I wasn’t sure what to do when I was sewing around the edge of the pouch and got to the top of the zipper.

For the next pouch, I plan to use a technique from Sweet Cinnamon Roses (IG) for creating zipper tabs on the top end of the zipper. I have wanted to try it as it looks like it will reduce bulk a bit and make the corner of the zipper pouch actually close.


Happy July 4th

For those of you who celebrate, Happy Independence Day! For those of you who do not celebrate, have a great day and please send wishes that our country can wake up from this nightmare in which it is immersed and get back on a good path.

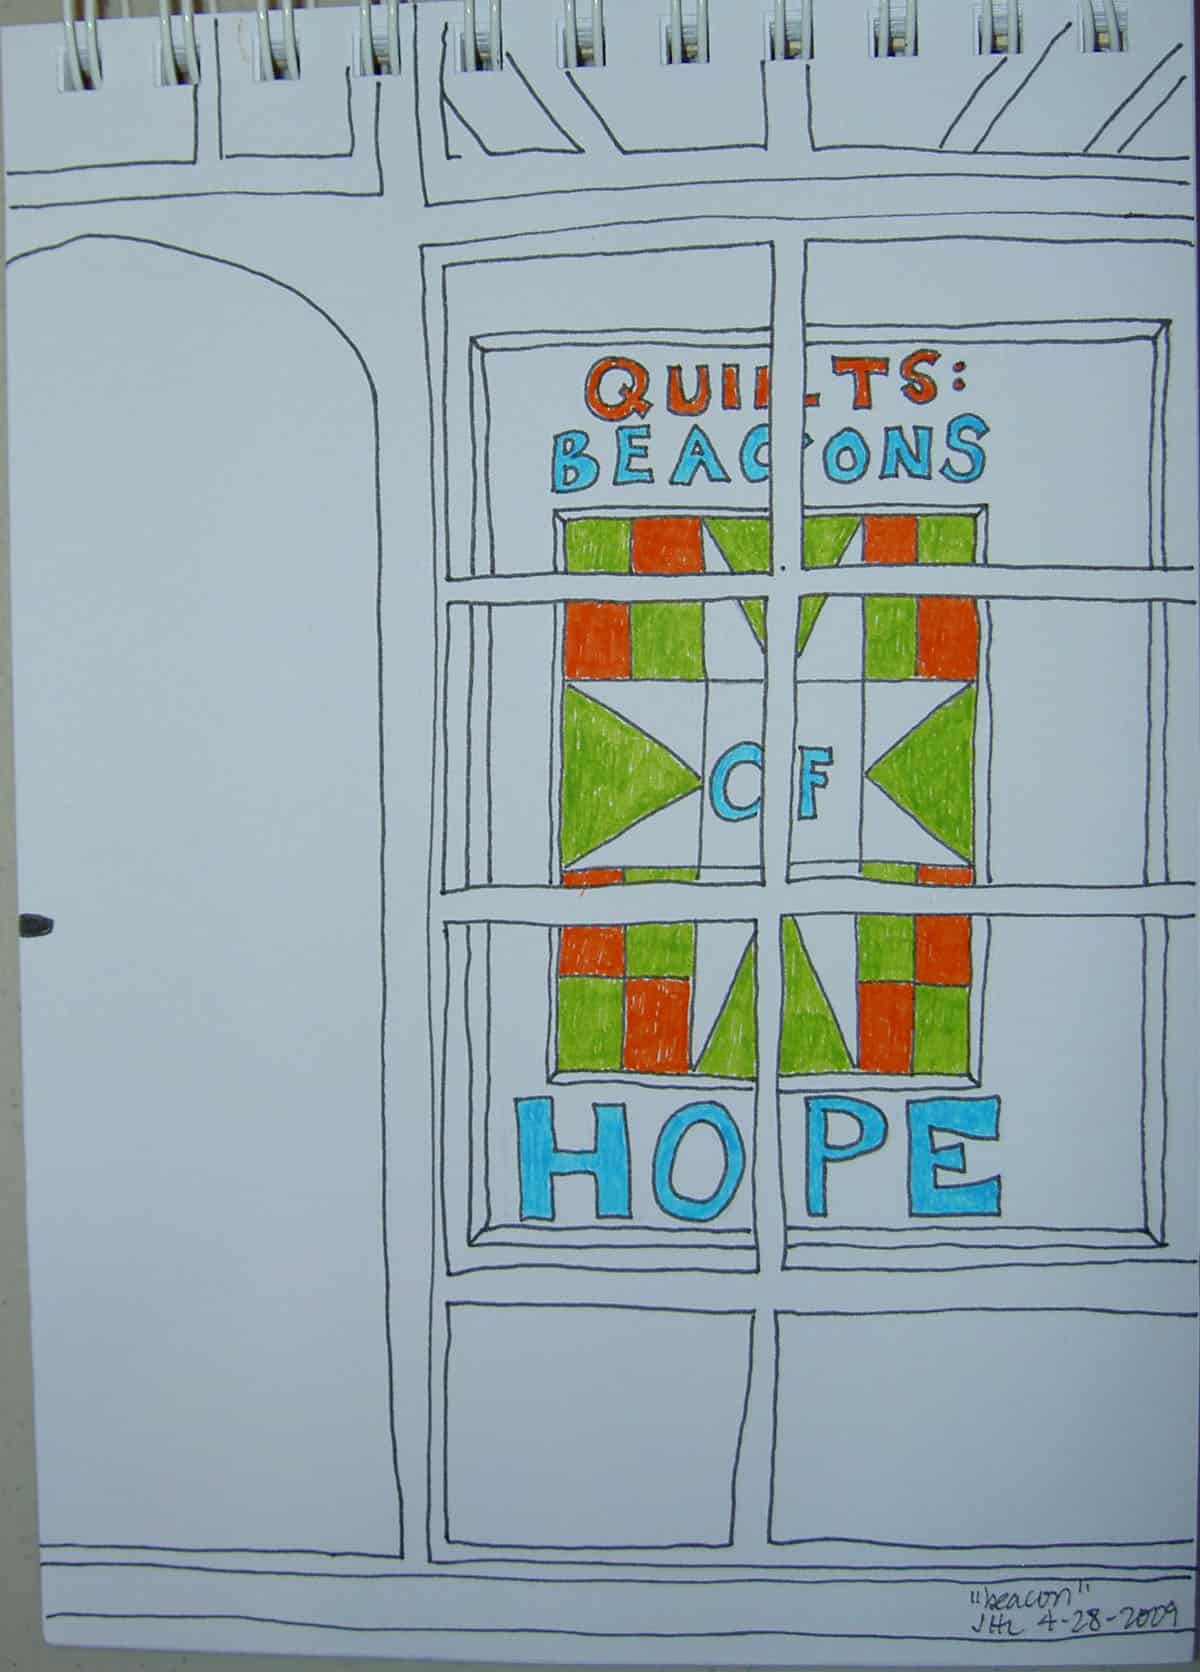
Beacon #11
Beacon #11

This isn’t specifically a Fourth of July image, but our country needs something. Some hope is a good start.

Lessons in civics as well.

New Sidewalk Blocks

Sidewalk #2, block 1

I have started to make the blue strip donation blocks I sewed in June into the second Sidewalk quilt.

I have more than plenty of the blue color strip blocks to make another Sidewalk quilt similar in size to the first. 

This is the first block I have put together with the white background and I think the block looks nice.

Sidewalk #2, block 2

I made a second one using some darker blue strip blocks.  It looks nice, too and the sewing is going pretty quickly in between the Chain Link and Triumphant piecing.

I need to finish something as finding the time to finish four projects is making my head swim a little! LOL.

26 Projects 2025 #6

Finished June 2025 Quilt Projects

🙁

Finished (for me!) June Donation Quilts

Sidewalk top: done
Sidewalk top: done
  • Sidewalk

    Finished Bags and Small Projects for June

    🙁

    June Projects Ready for Quilting / In the Quilting Process

    Chain Link Top finished
    Chain Link Top finished

    I still have to make the back and the binding, but otherwise

    this is ready for quilting.

    June Projects In the Finishing Process

    🙁

    All the WIPs

    WIPs are projects on which I am working. This means that I am past the cutting out of pieces stage,  some sewing has taken place.

    • La Passacaglia – I am working on the border, but need to work more and harder

    Cut Out & Stopped

    Still UFOs

    I still have UFOs. Who doesn’t, after all? A project in the ‘UFO’ category means I am stalled, it hasn’t been worked on in awhile or it is waiting its turn to be worked on. The list is a lot shorter and the projects are newer, for the most part.

    I am annoyed that some of these are still UFOs. I have to give myself credit for completing some of them last year.

Blue Improv #2 Grows

Blue Improv #2
Blue Improv #2

While I worked on the Chain Link top, I used blue improv piecing as leaders and enders. I am really enjoying watching the improv piece grow as my blue scrap pile shrinks.

I still have a big pile of pieces that I am working on enlarging. As the scrap pile shrinks it gets harder to match up pieced units and make them bigger. Still, I seem to be doing it and I am having fun. 

Various & Sundry 2025 #6

Short version this month.

Projects, Classes, Patterns, Techniques & Tutorials

The other day I shared a top that AngelaB made. She shared the source, which is great, because there are several other free patterns there that would be great for donation quilts.

As mentioned, Lynette gave us a bag trunk show at our recent meeting, which was great! I loved seeing her bags. I always love talking to Lynette about bags. She shared a couple of designers she likes. One was Minki Kim. I have heard of her, but I took some time to peruse her website. There are a couple of patterns there I might like to try. One of the patterns in which I was interested was the Crepe Case for Scissors. I like the idea of a small handle on the case. 

Most of the links to her shop seem to be broken, but if you go to the Sewing Illustration, there are a lot of patterns, including Minki’s to look at. The double pocket folder is a really interesting design. I looked at the free patterns, but wasn’t interested in any of them. 

I bought the Joni tote on a whim. It is from Sew Hungry Hippie and I really like the shape. It comes with a video as well.

Another site that Lynette mentioned was Geta Grama. I took a look at the free patterns and was pleasantly surprised to see some interesting ones.  I thought the heart pouch had interesting construction. If you need some easy zipper pouch tutorials, I saw two there. I liked the Chic Bin pattern, but decided I would sew a couple of patterns I have bought recently before I buy another one.

Exhibits and Organizations

Pantone released the winners of their color of the year quilt challenge.


**N. B. : Obviously, you should shop at local quilt shops and small businesses. However, if you are too busy or can’t find what you need there, I use Amazon affiliate links and may be paid for your purchase of an item when you click on an item’s link in my post. There is no additional cost to you for clicking or purchasing items I recommend. I appreciate your clicks and purchases as it helps support this website.

June 2025 Donation Blocks

Hooray! I have some blocks to report. 44 is a good number. I had to start on blue strip blocks even though I didn’t make a white improv quilt after I finished the white strip donation top. My blue scrap drawer is overflowing. I can’t shove anymore scraps in it, so here we are.

I really like making these strip blocks. They are so much more fun than the Half 16 patches, though it could just be that I was sick of them because Sidewalk came out really well.

I plan to use the blue strip blocks for another Sidewalk quilt. The blocks are the same size and I am not done with that Sidewalk design yet. 

Triumphant Again

Triumphant blocks 4 & 5

The way this piecing is going is I cut a lot wrong, then I figure it out, cut it right and piece cool units together. This is the case with Blocks 4 & 5.

However, I like this quilt, am pleased with the fabrics I chose and am learning a lot. 

Except for a couple of background strips, these blocks are done and I have the patterns for blocks 6 & 7. I plan to work on this weekend.

More Blue Improv

Blue Improv chunks
Blue Improv chunks

I have slowed down a little on the Blue Strip blocks, mostly because I am running out of strips. I am, however, putting smaller pieces of fabric together to make chunks of improv piecing for another Blue Improv donation top. The chunk on the left is the largest piece so far, but I am making progress on others as well. 

My blue scrap bin is emptier. I can close it now.

Not So Triumphant

After out Triumphant week off, I am back to cutting out pieces. Well, I am back to trying to cut out the pieces. There are very few this week as we are on the borders, but I am struggling with those #@%^ HRT Bs again. 

I watched the video, which is very clear, and cut several pieces wrong. I am now watching the video again,but stopping it, doing the step and then watching more. I just can’t seem to wrap my head around this ruler. I am glad she came up with the mystery quilt as it is a good way to try out the tools.

Triumphant top border

Now I have  the Color 3 (turquoise) pieces cut and am about to add some Color 6 (red-violet) pieces. Fingers crossed I can trim these  to the correct size.

More on Pet Beds

Elephant Pet Bed
Elephant Pet Bed

I keep filling pet beds and I am still working on my most recent.

We aren’t filling them up as much with schnibbles any more, but just how much is something I have to confirm. 

As mentioned, the schnibbles don’t wash well and become giant lumps that pets can’t mold into a comfy shape. I knew this and it worried me, but I was happy to be using my schnibbles for something.

We are now filling the pet beds with Poly-fil** and batting. I am confused about whether we aren’t filling the pet beds with schnibbles at all or only a little bit. I have already stuffed this one a bit, so am now wondering if I will need to remove the schnibbles, put them in a different type of bag and hand them in separately to fill the cubie?


**N.B: Obviously, you should shop at local quilt shops and small businesses. However, if you are too busy or can’t find what you need there, I use Amazon affiliate links and may be paid for your purchase of an item when you click on an item’s link in my post. There is no additional cost to you for clicking or purchasing items I recommend. I appreciate your clicks and purchases as it helps support this blog.