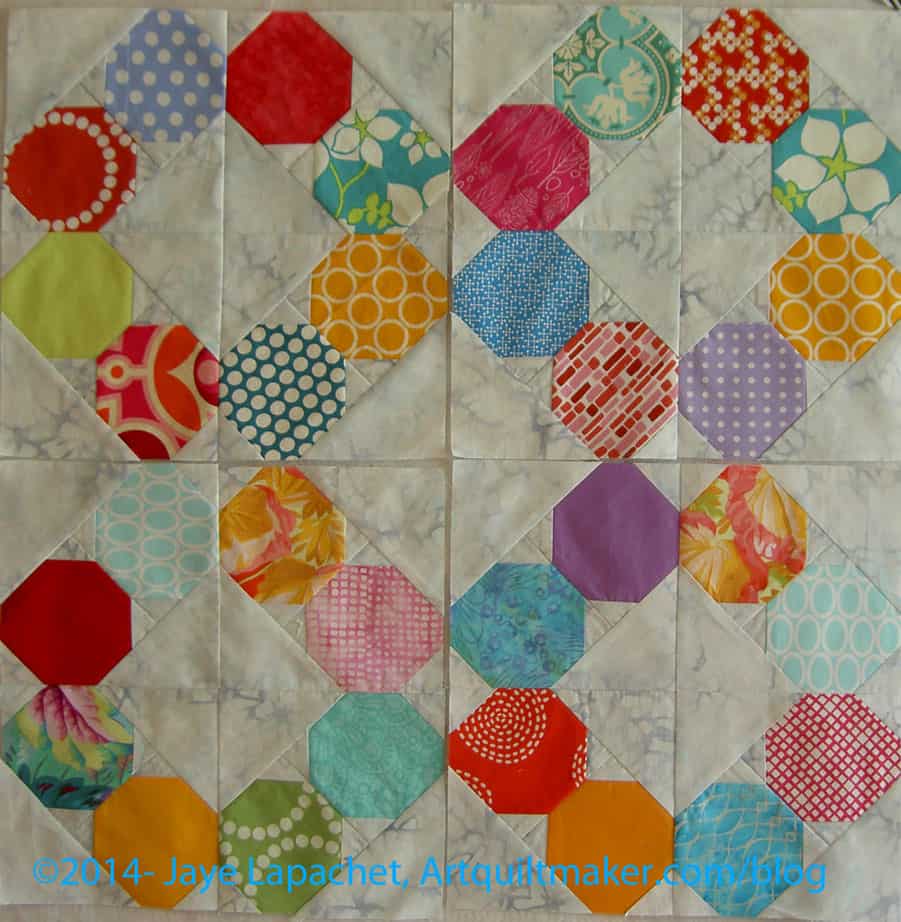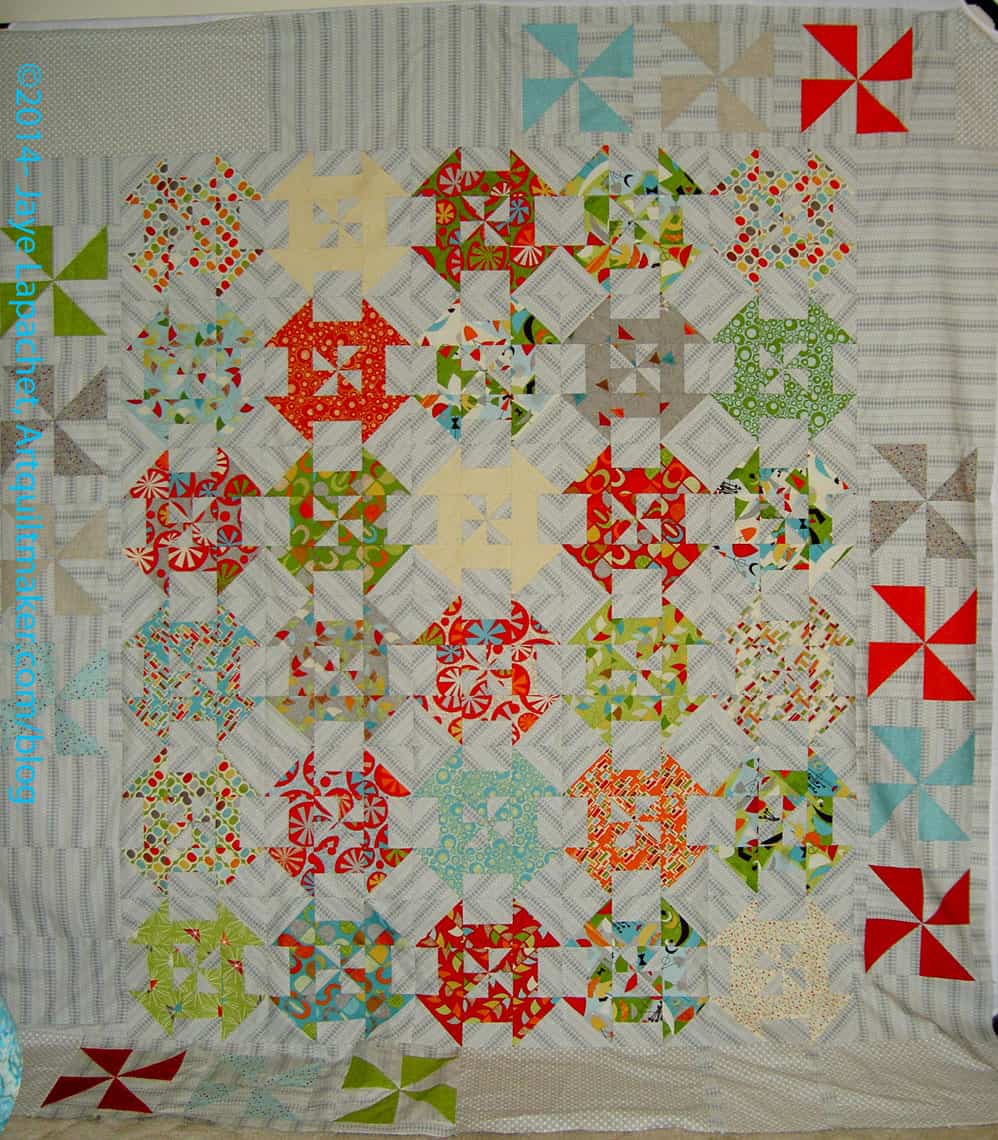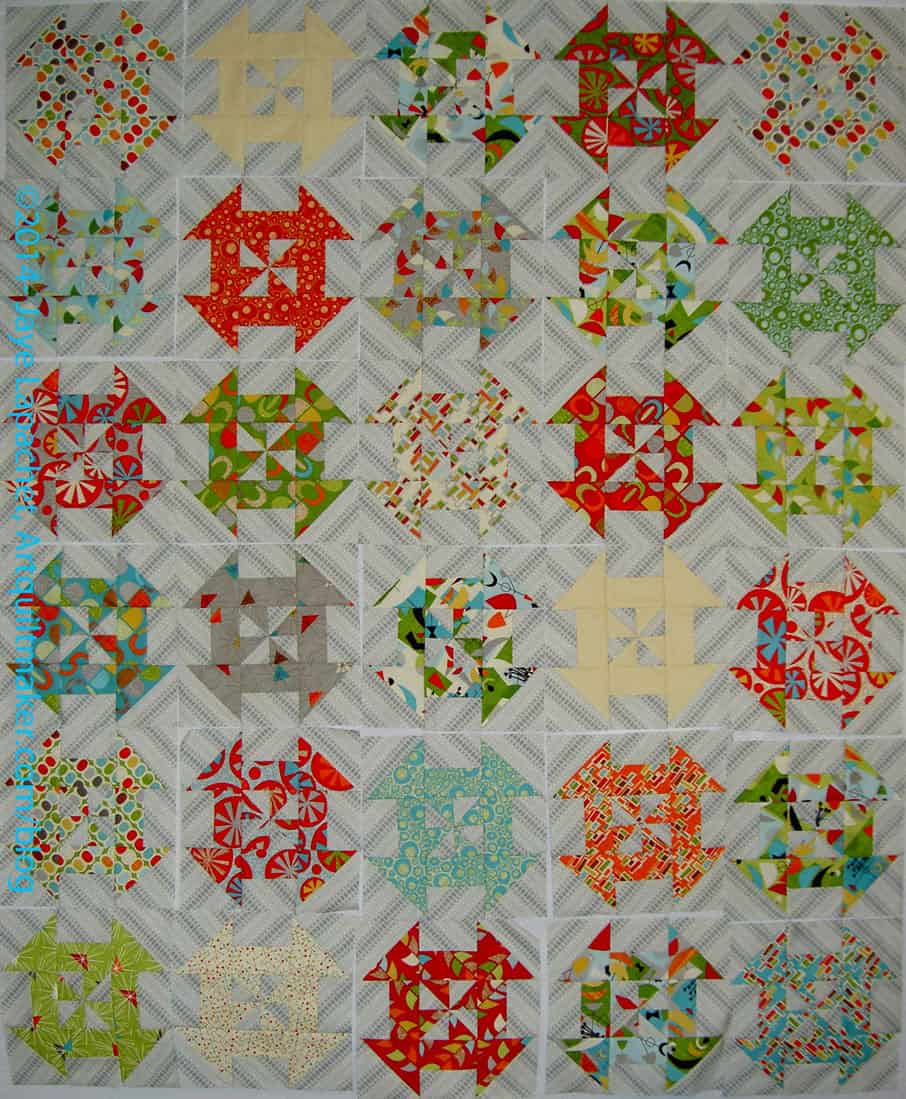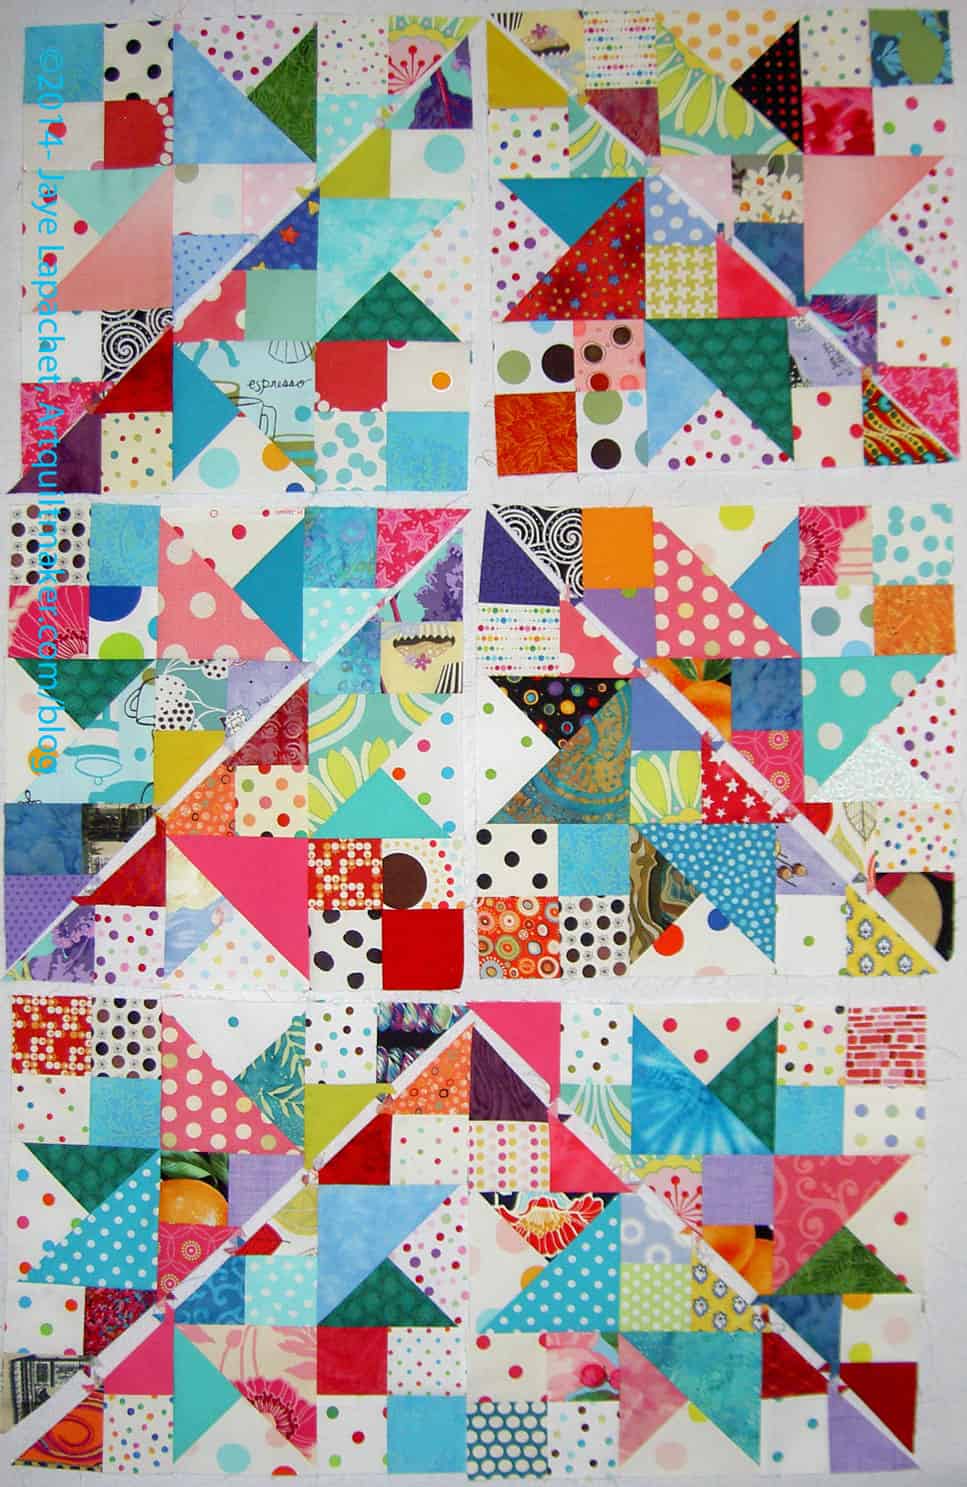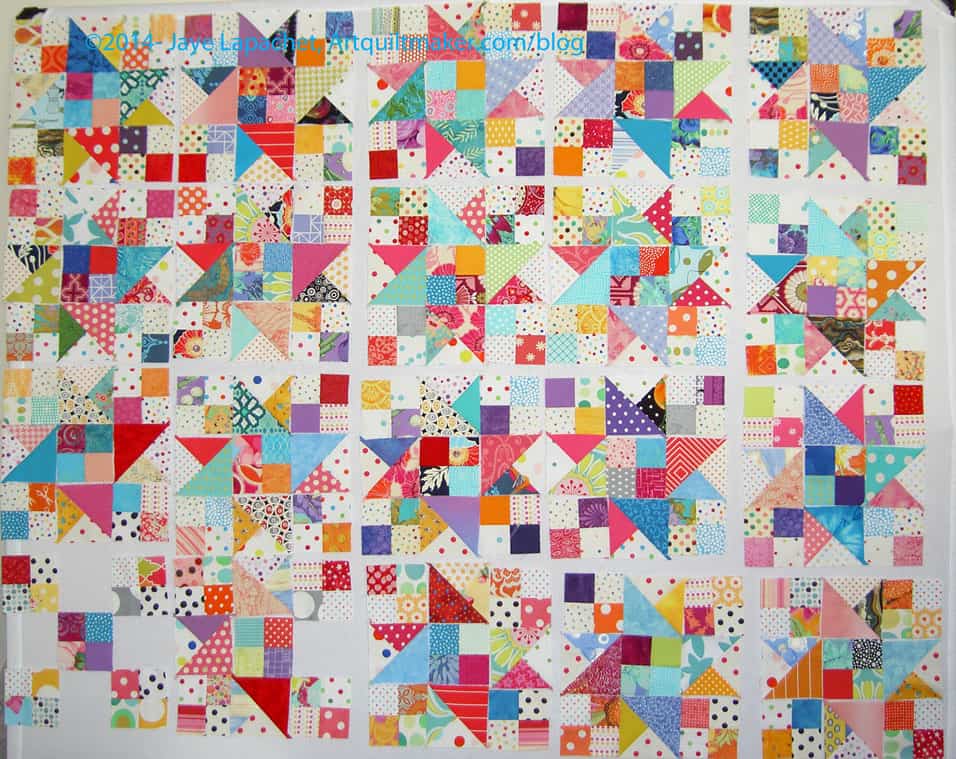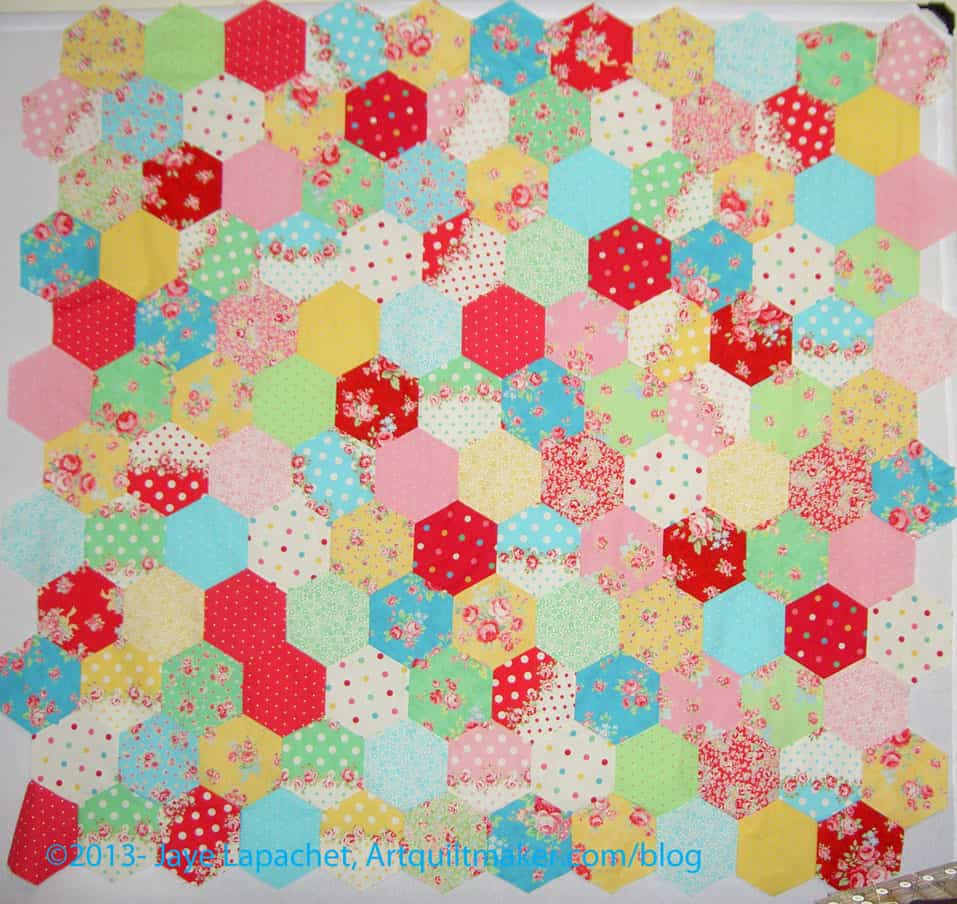
I have been piecing parts of the Russian Rubix blocks together, but not putting as many blocks together as one might expect.
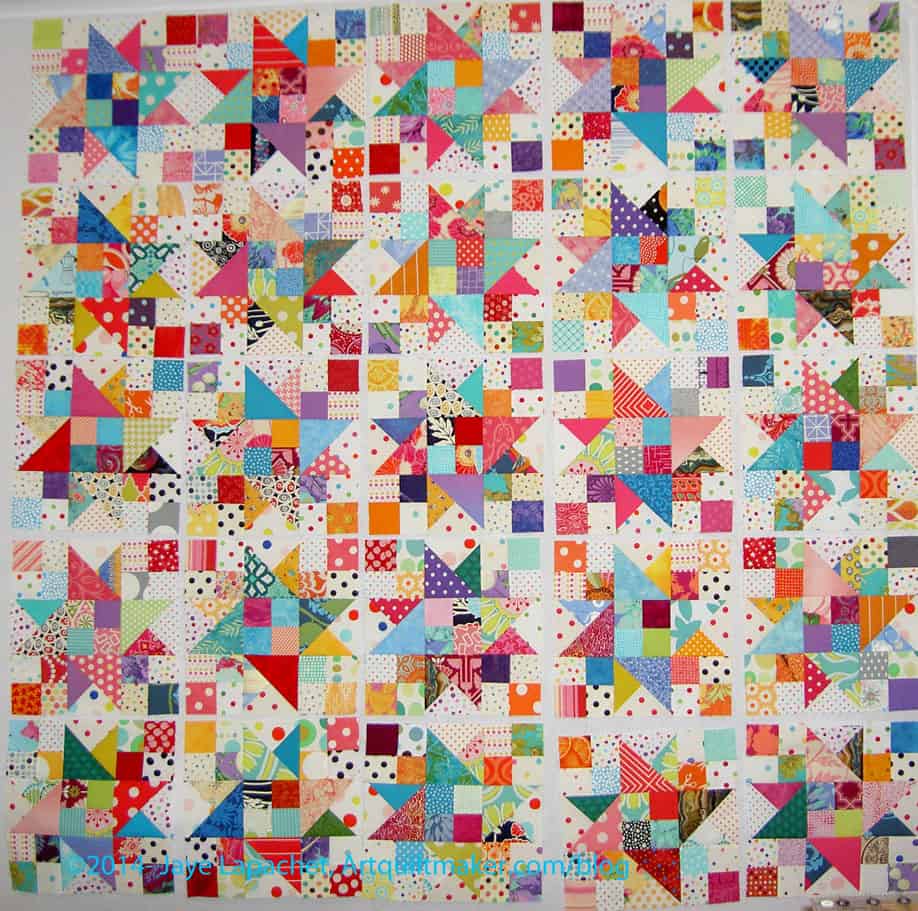
I am trying to sew grey to all of the octagons, so I have a lot of choices when I go to make the blocks. It is a good plan, but doesn’t always work, because I get bored and want to make blocks.
So, I make a few blocks then admonish myself for having no self control and go back to making the pieces and parts for awhile.
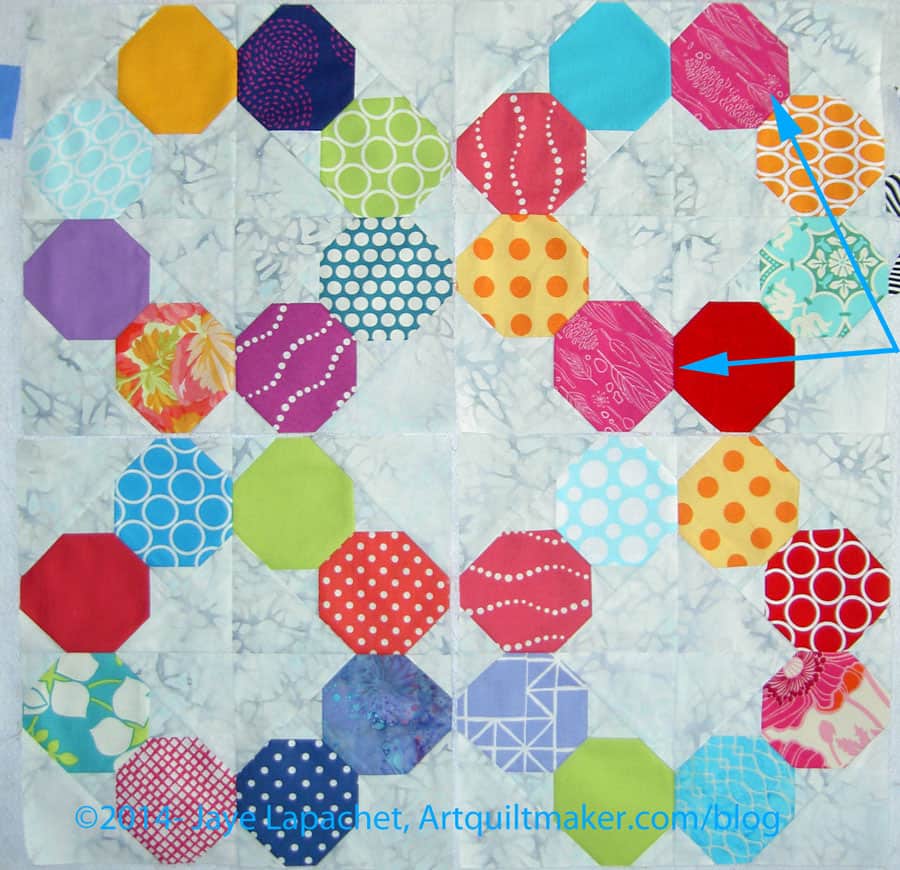
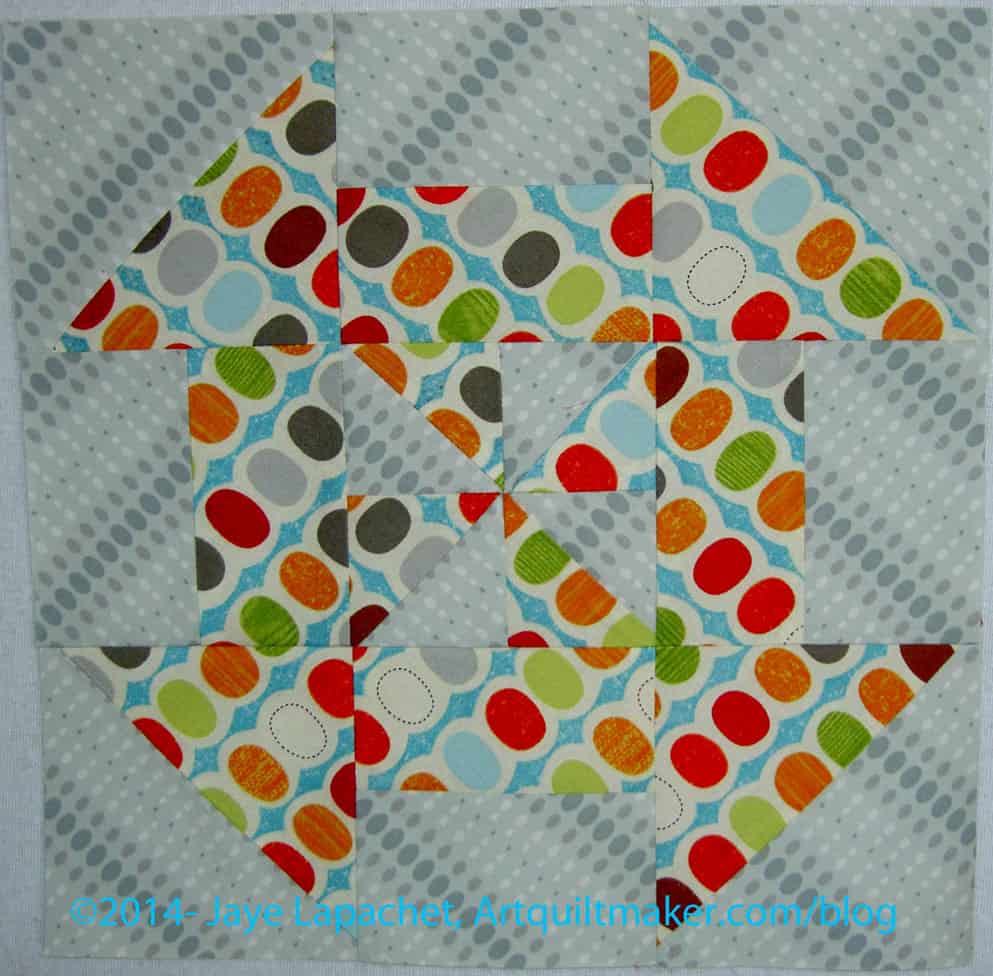
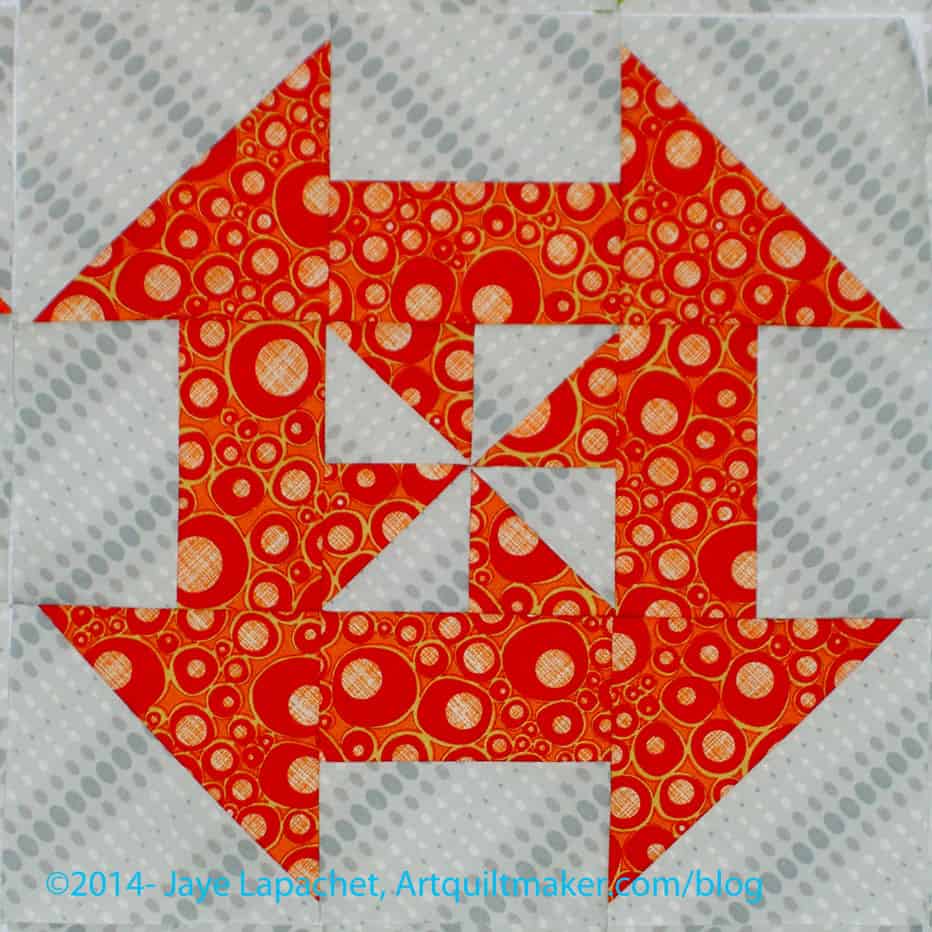
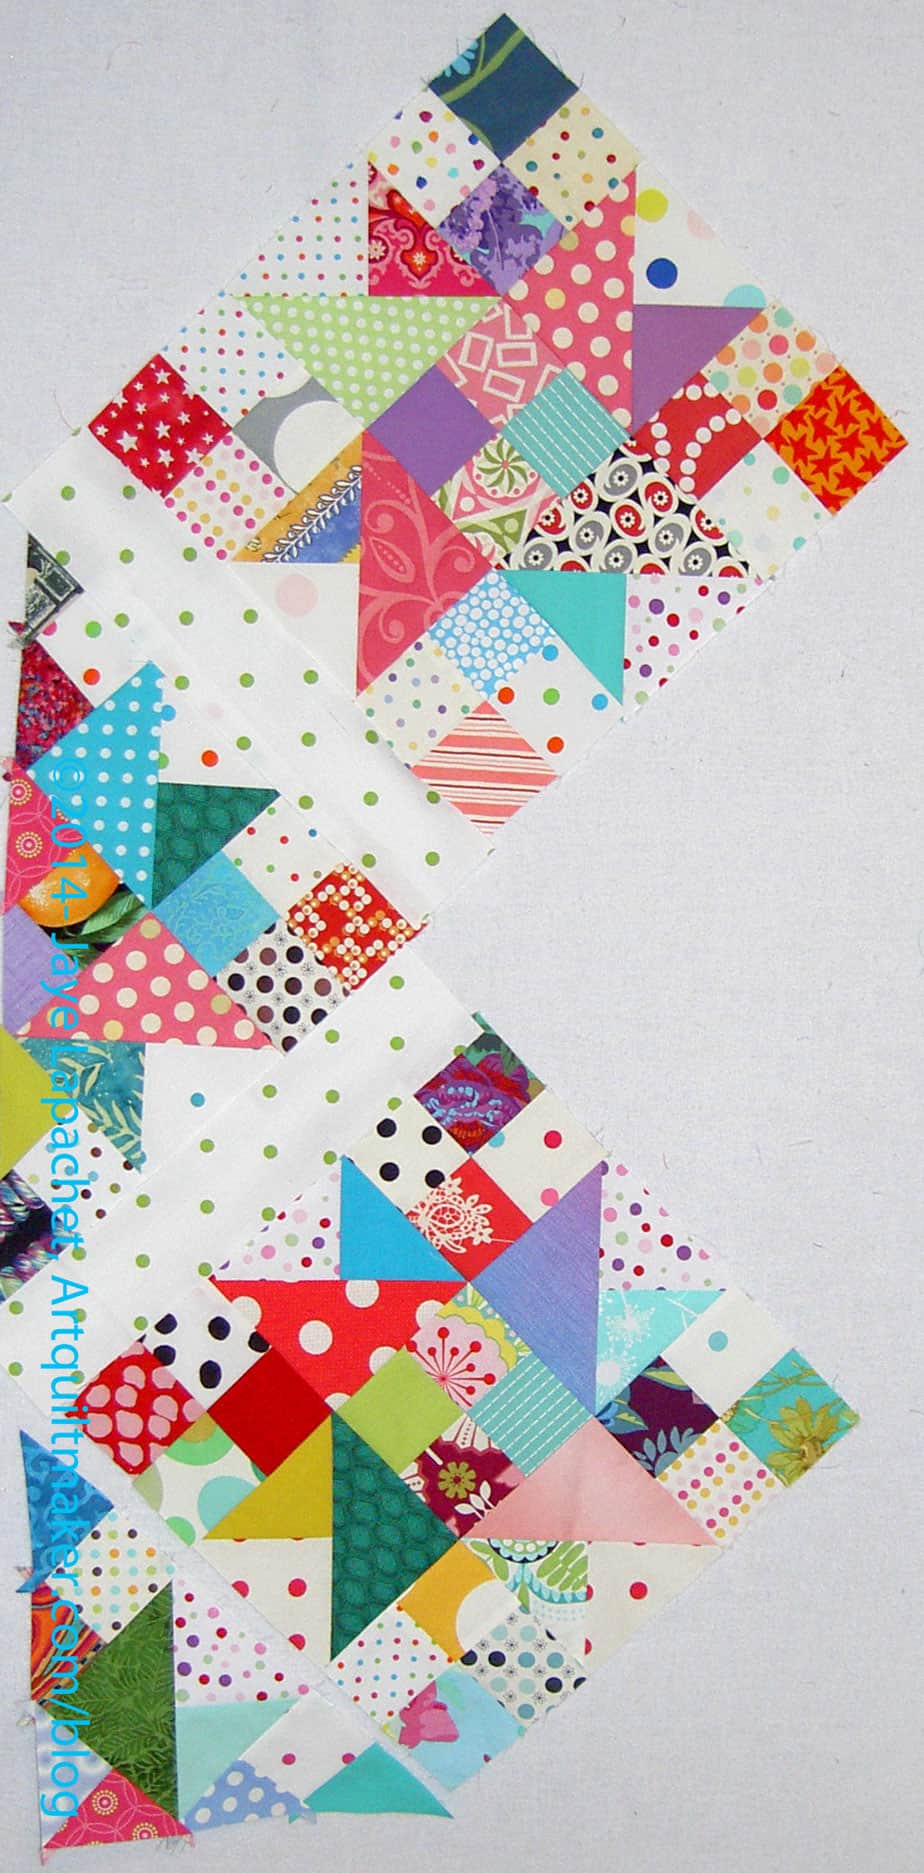
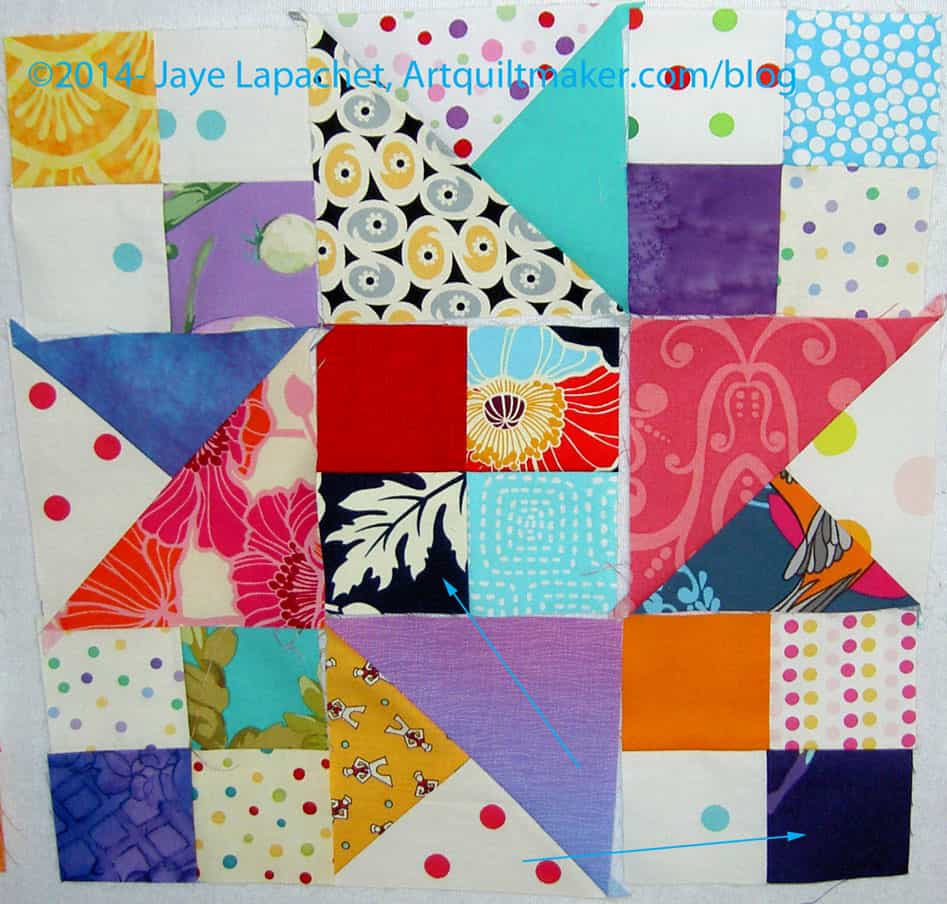
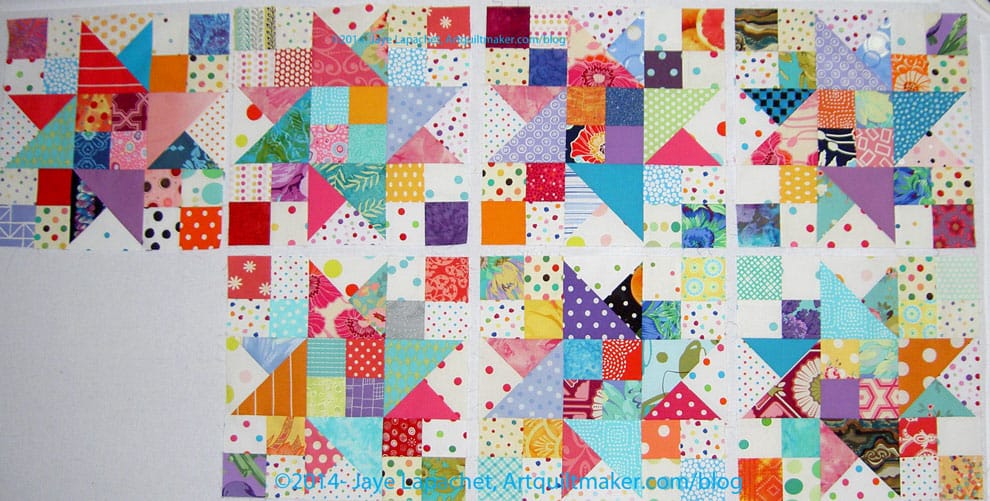
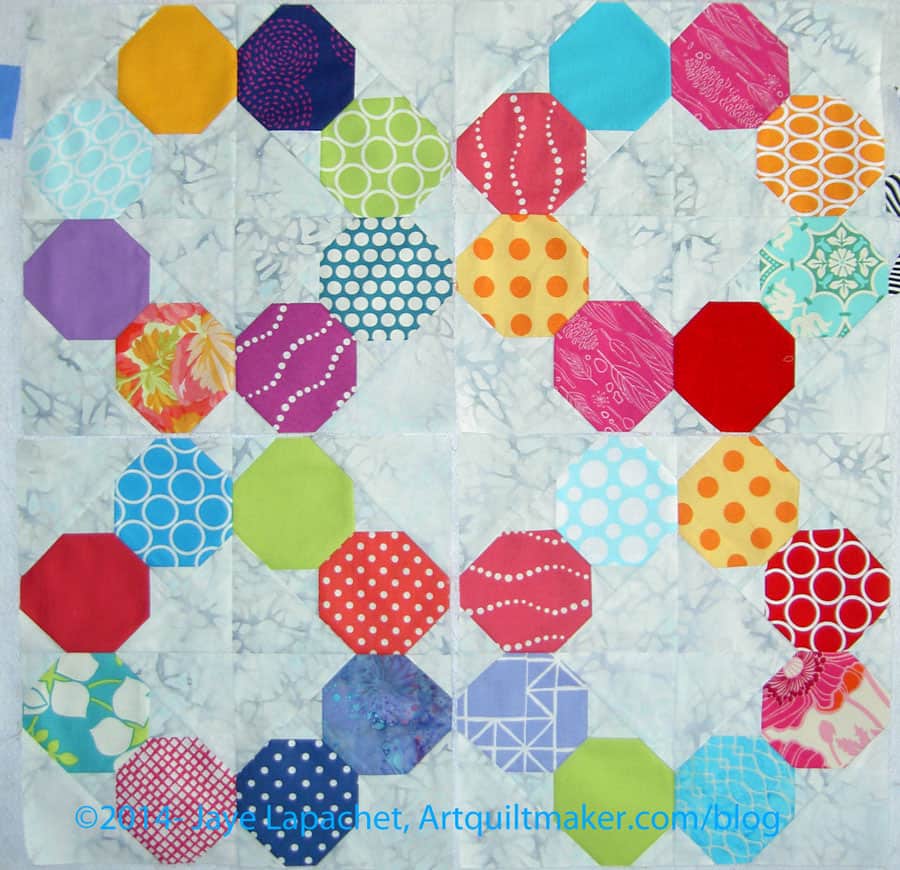
I am pleased with the group of fabrics I put together. It is fun to see the different fabrics next to each other and in different combinations. I made one small booboo on one of these blocks: I put the same fabric in one block twice.
In the grand scheme, I don’t think it will matter since there will be several octagons next to each other and the different quarters of the blocks will create new rings when they are put together. Still, I want you to know that mistakes happen and life goes on. I did consider ripping it out and putting in a different quarter block (2 octagons). I may still, but for now I am going to leave it. I really don’t think people will notice much.
Also, SIL said that the light blues dropped out because of their value on the grey. She was right, but there is something in leaving them in that creates a bit of movement. I plan to space them away from each other, if I can, when I lay out all the blocks.
I had three of the four shown finished for a long time, but I couldn’t seem to get the fourth one finished. Finally, I did and wanted to take a photo so I could remove these blocks from the design wall and fill up the space with new blocks.
Previous Posts:
- Tuesday May 6, 2014: Russian Rubix Again
- Susan: Wednesday April 16, 2014: Podcast episode #41
- Saturday March 1, 2014: The Colors of the Russian Rubix
- Saturday February 22, 2014: Russian Rubix Colors
- Saturday December 7, 2013: Russian Rubix Center Square Test
- Monday October 28, 2013: Russian Rubix Color Choices
- Wednesday October 9, 2013: Russian Rubix Test Blocks
- Tuesday October 8, 2013: More Background Drama
- Saturday October 5, 2013: Russian Rubix Backgrounds
- Saturday September 28, 2013: In a Clear Space You Can See Across the Room
- Wednesday September 11, 2013: Chosen Colors
- Thursday August 26, 2013: Russian Rubix Templates
- Tuesday August 20, 2013: Continuing to Choose Colors
- Susan: Tuesday August 20, 2013: History Quilter Podcast Episode 39
- Monday July, 22, 2013: Russian Rubix