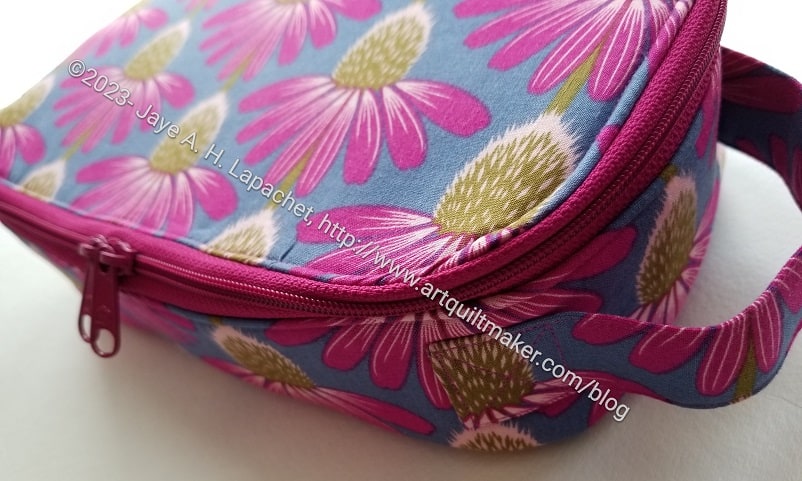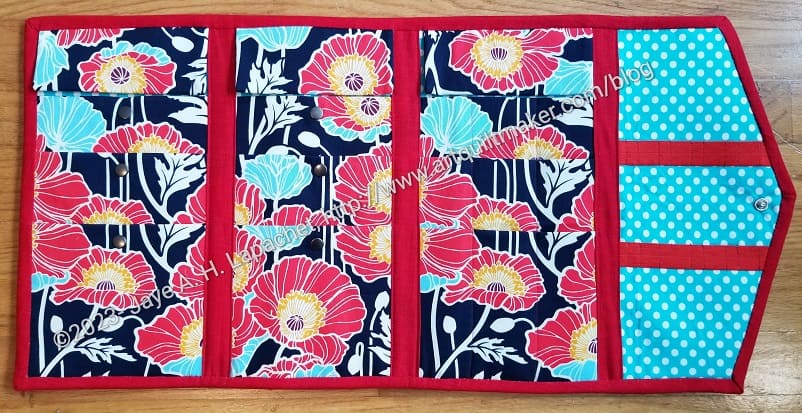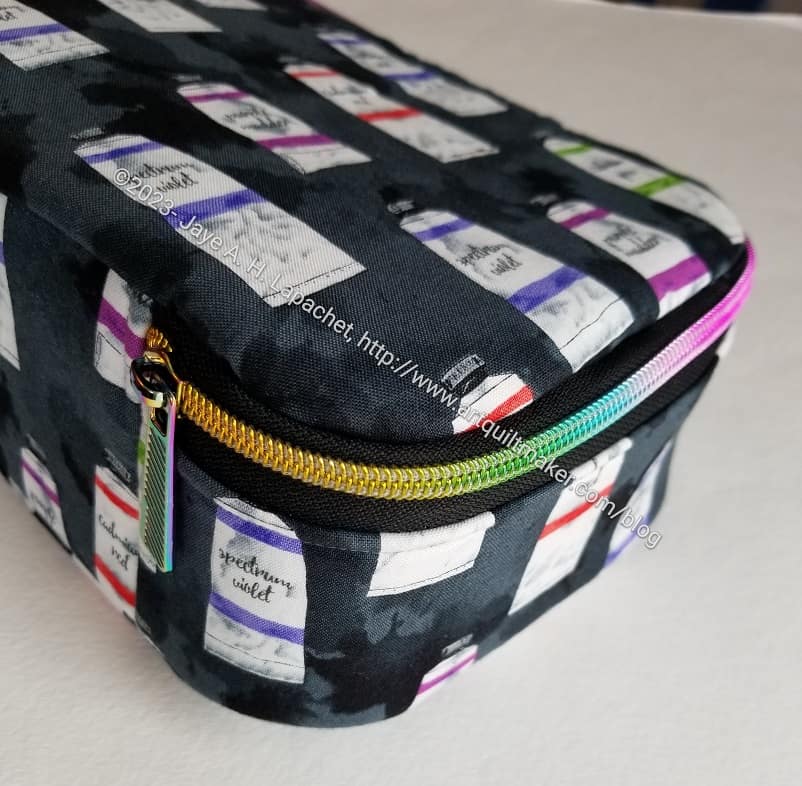
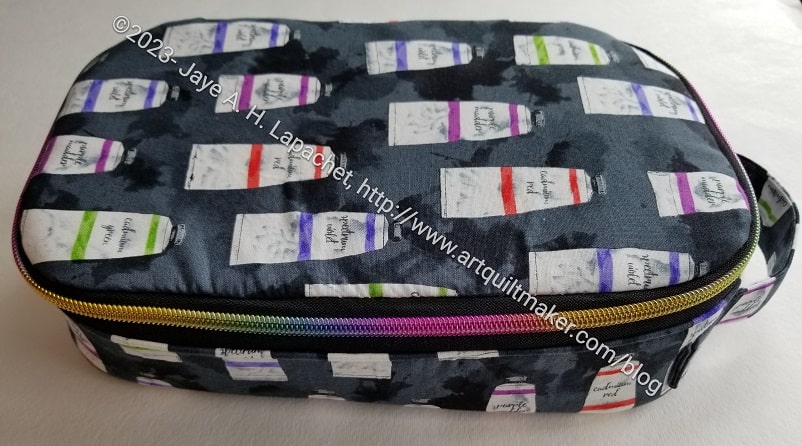
three quarters view
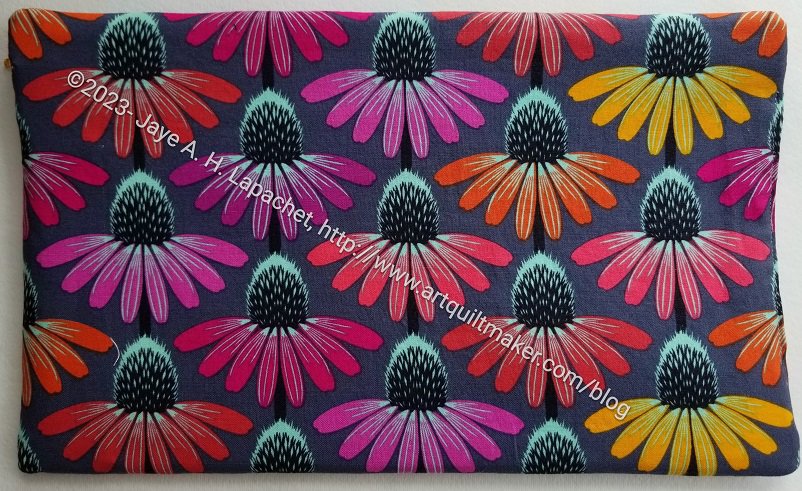
I have made a number of these Hackney bags, but this one is special as it is for my mom for her birthday, which is today!
This one also really came out well. I am super pleased with it.
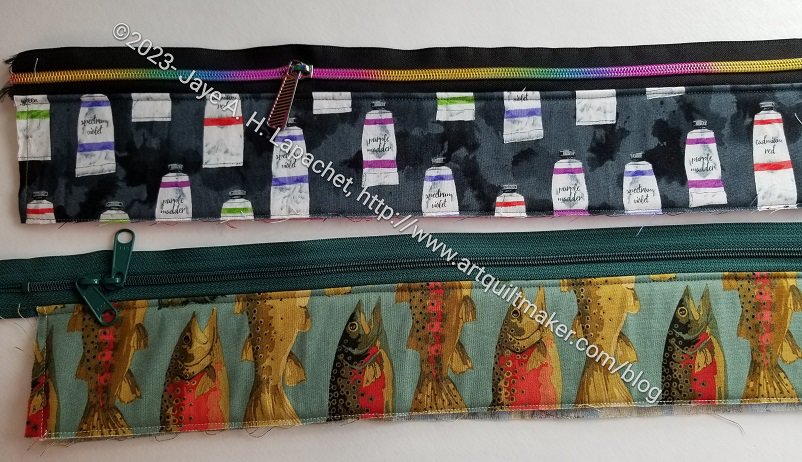
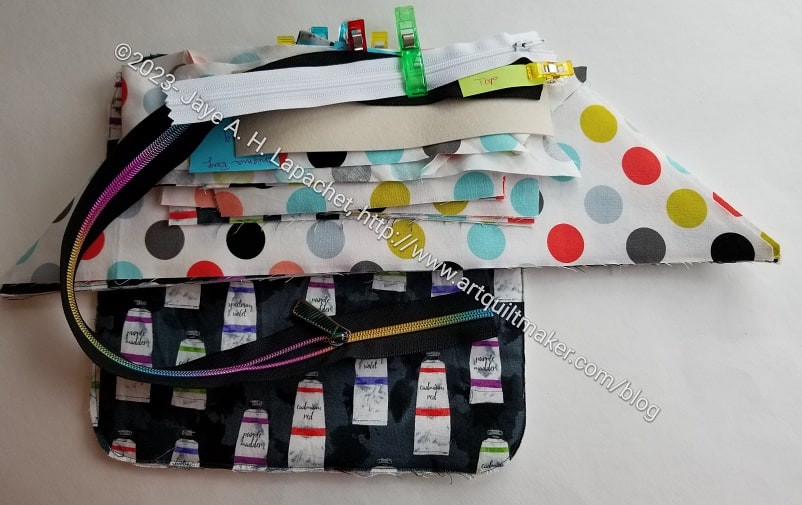
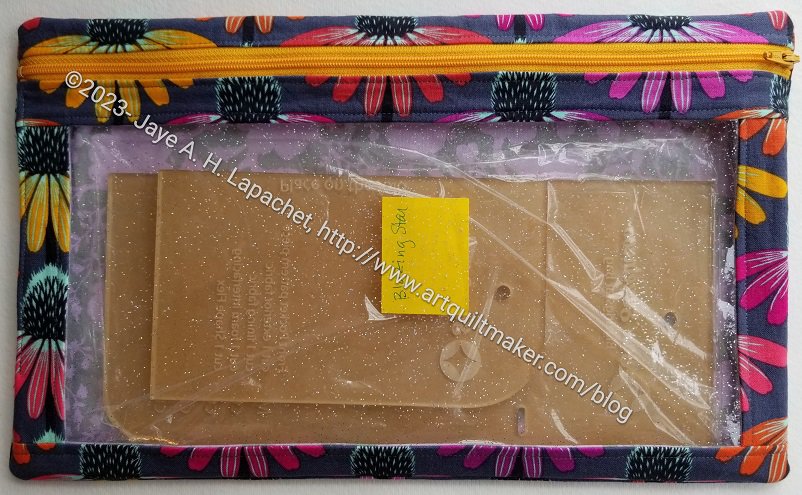
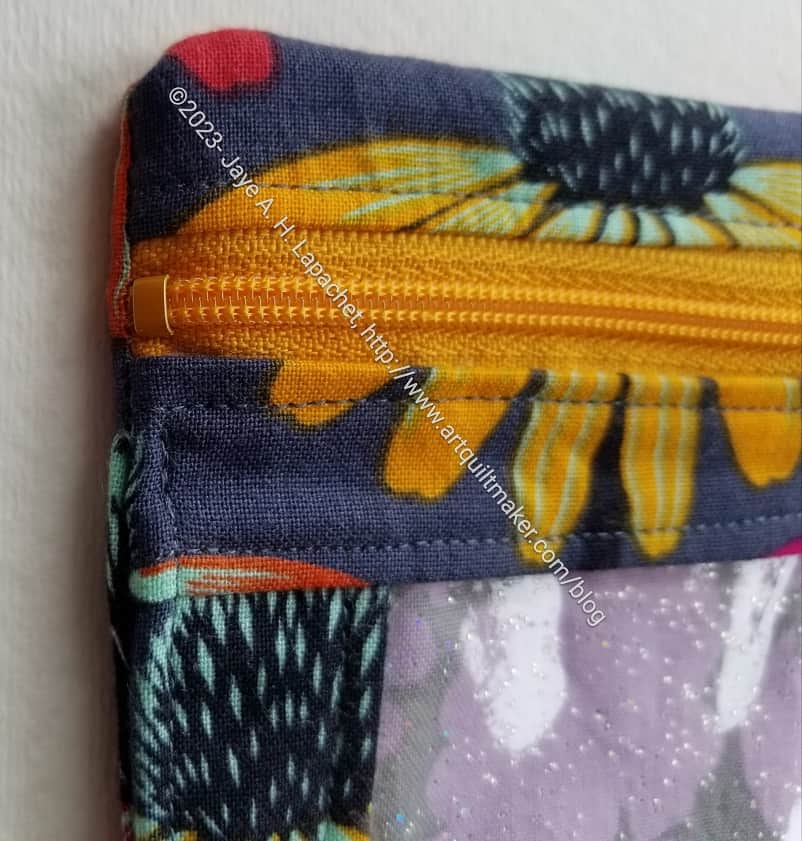
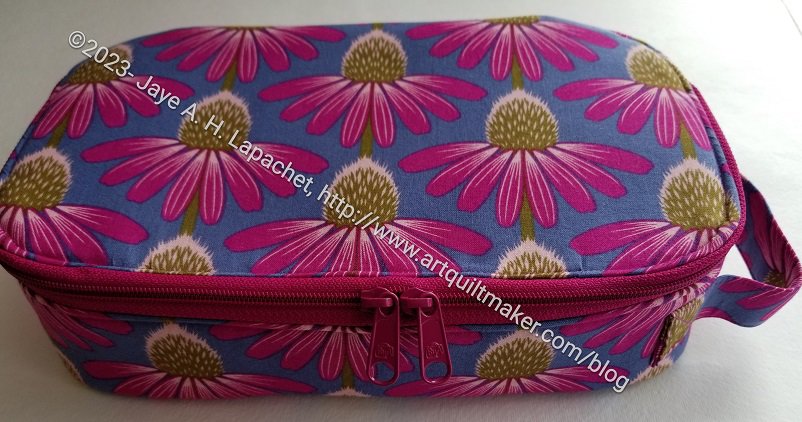
I used some zipper tape I have had for awhile. I bought it from Sew Sweetness in January in both black and white. I am pleased with how the rainbow metallic of the zipper teeth enhance the look of the paint tube fabric. I did forget to add a second zipper head, but the bag will still be able to be closed with a zipper, so no problem.
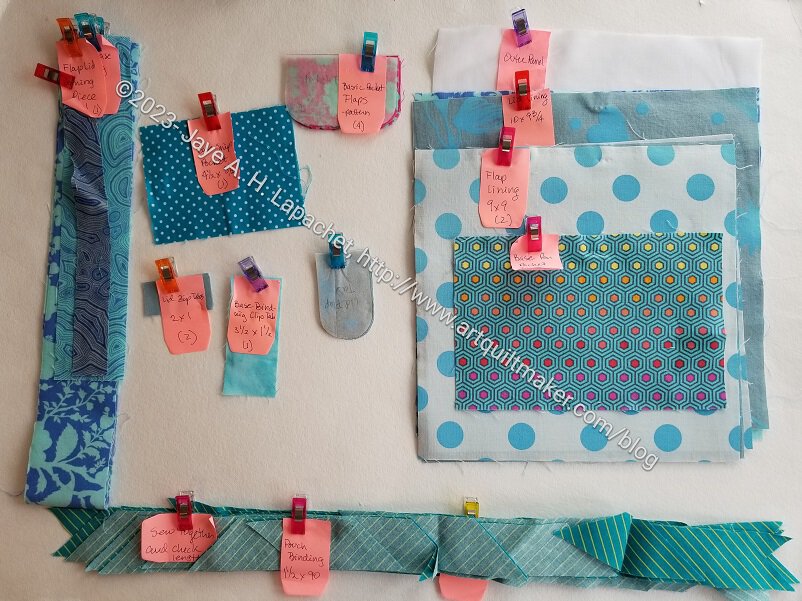
I used a more Decovil** and DecorBond** than in other Hackneys. Note, I didn’t add an excessive amount, just a bit more. I have to remind myself that I like structured bags and I should add more appropriate interfacing when I need to.
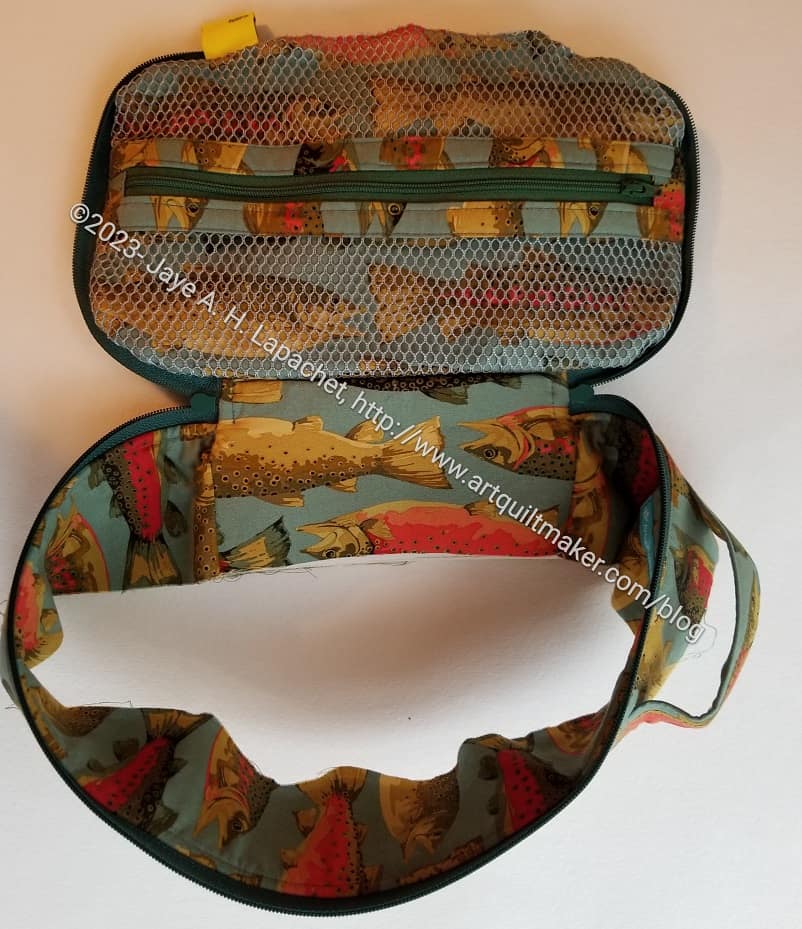
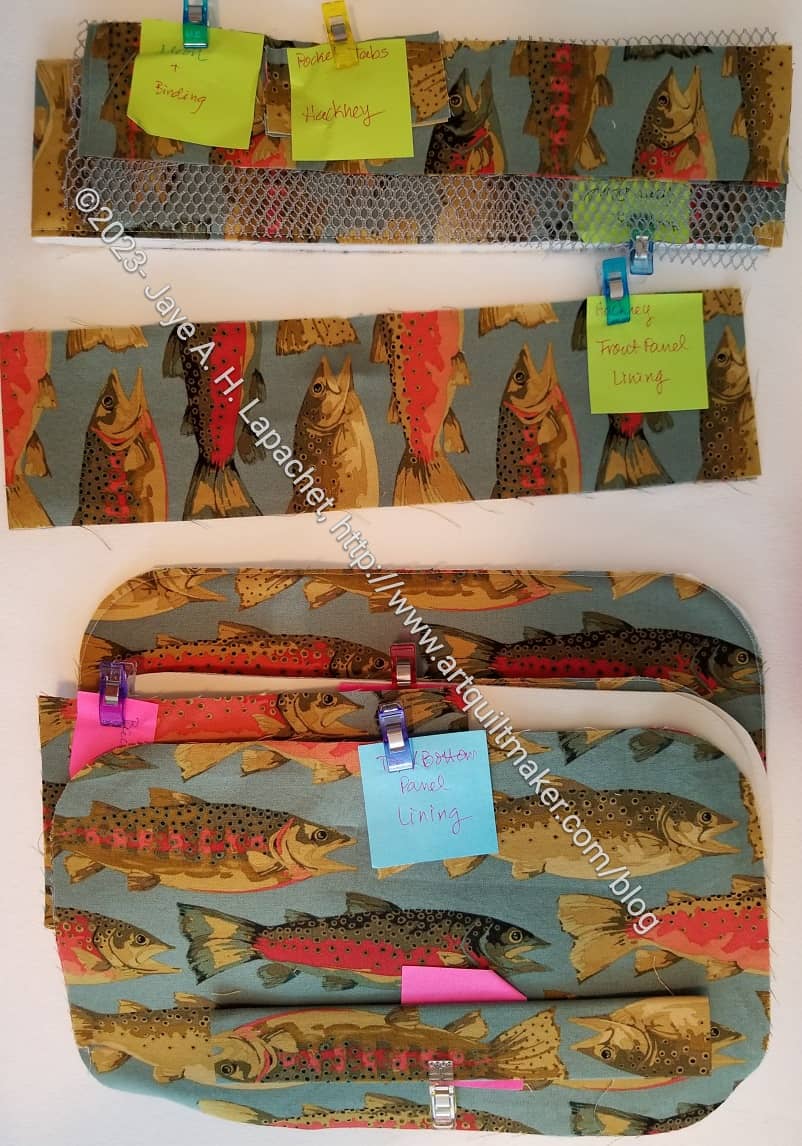
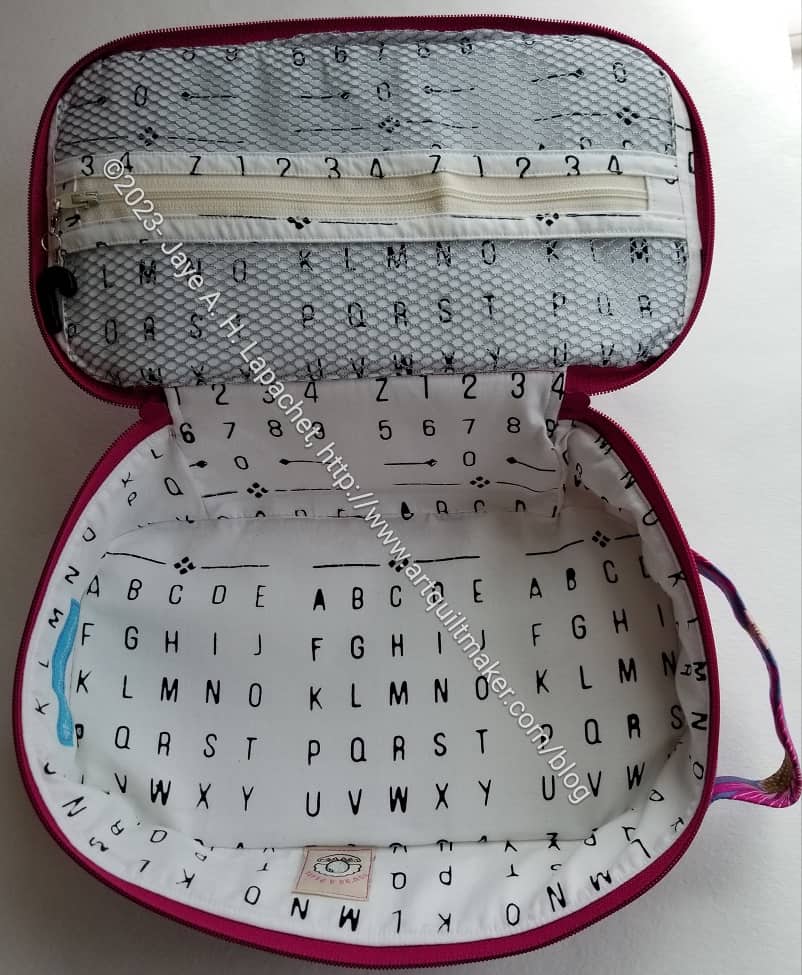
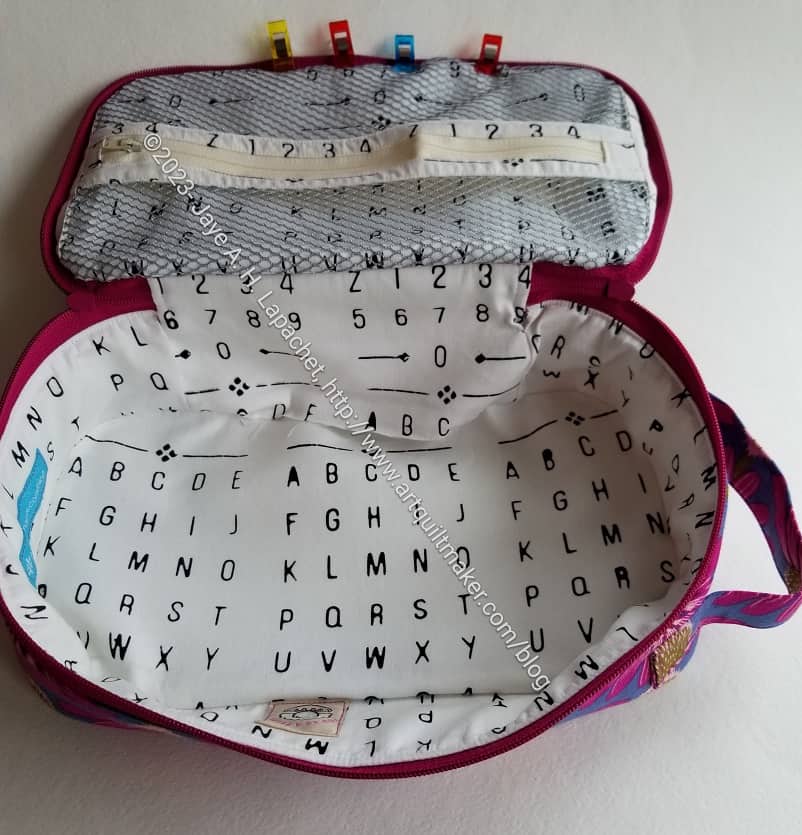
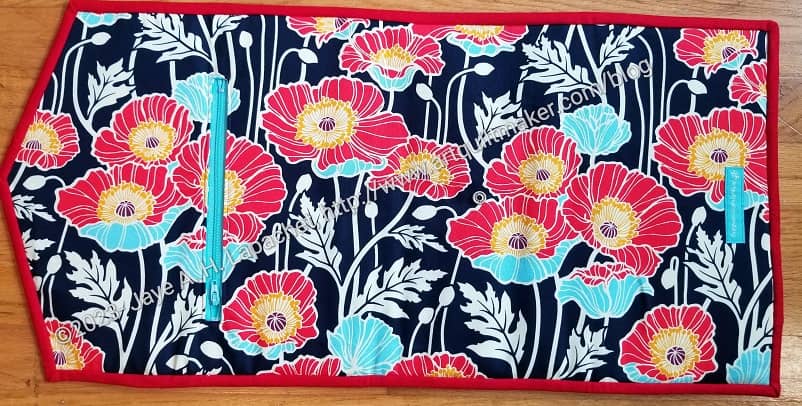
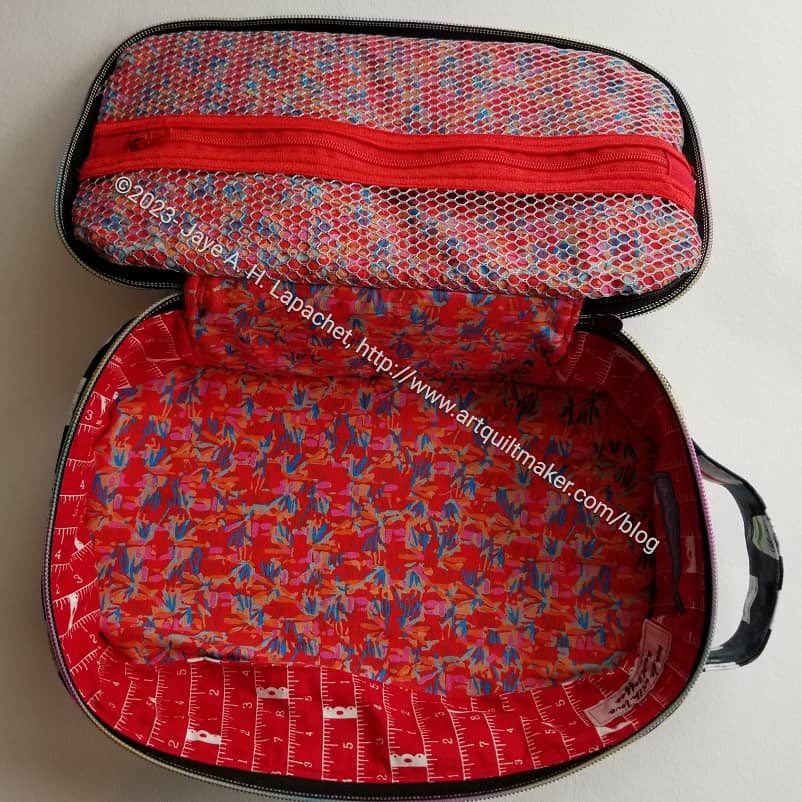
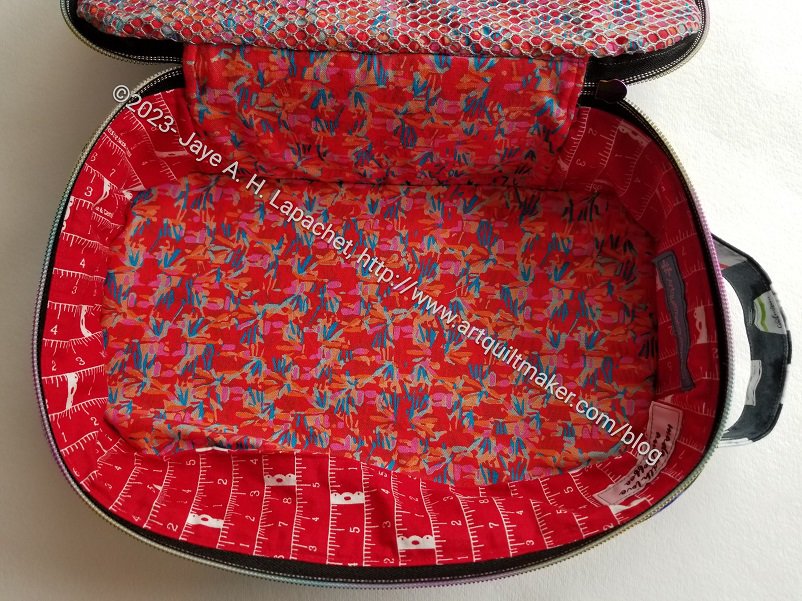
I thought I had a ton of red fabric, but I didn’t have quite enough for the front panel of this bag. I still think it looks nice. It looks very cheerful on the inside.
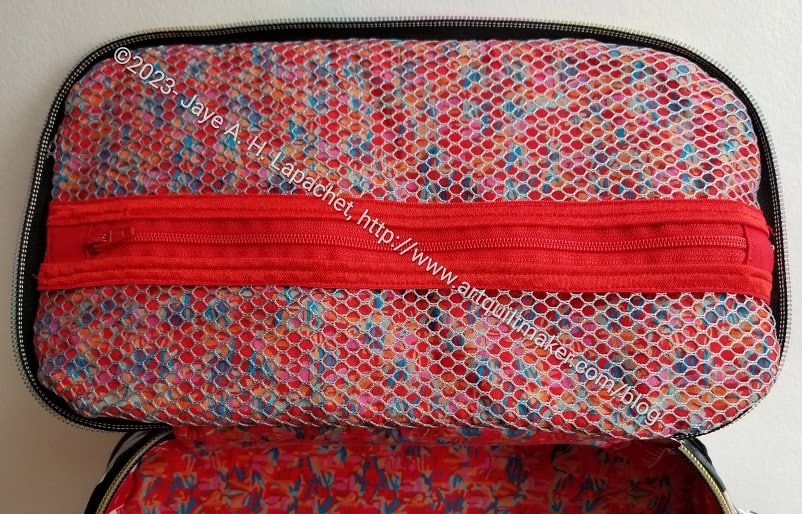
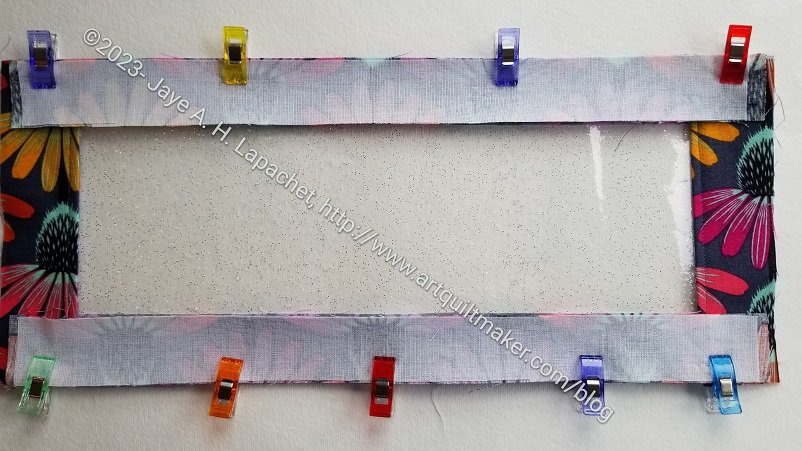
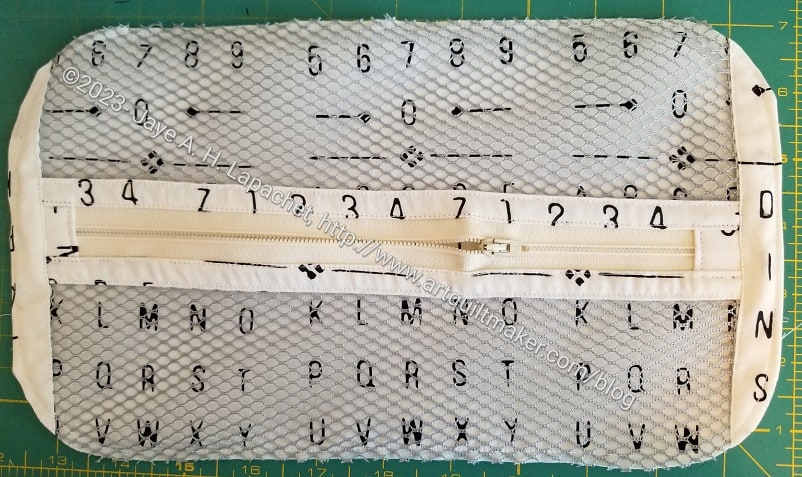
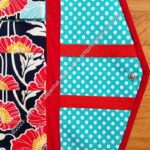
Yes, I made the mesh pocket again. As I said before, I think they are useful; I just don’t like making them, but practice makes perfect. I think I would like to try making it a different way. I don’t want to fold the edge of the zipper tape as much as the pattern says. The edge of the zipper tape gets ensconced in the seam allowance, so there really isn’t a reason not to leave it raw. It is easier and tidier not to go through all of those layers of folded zipper tape anyway.
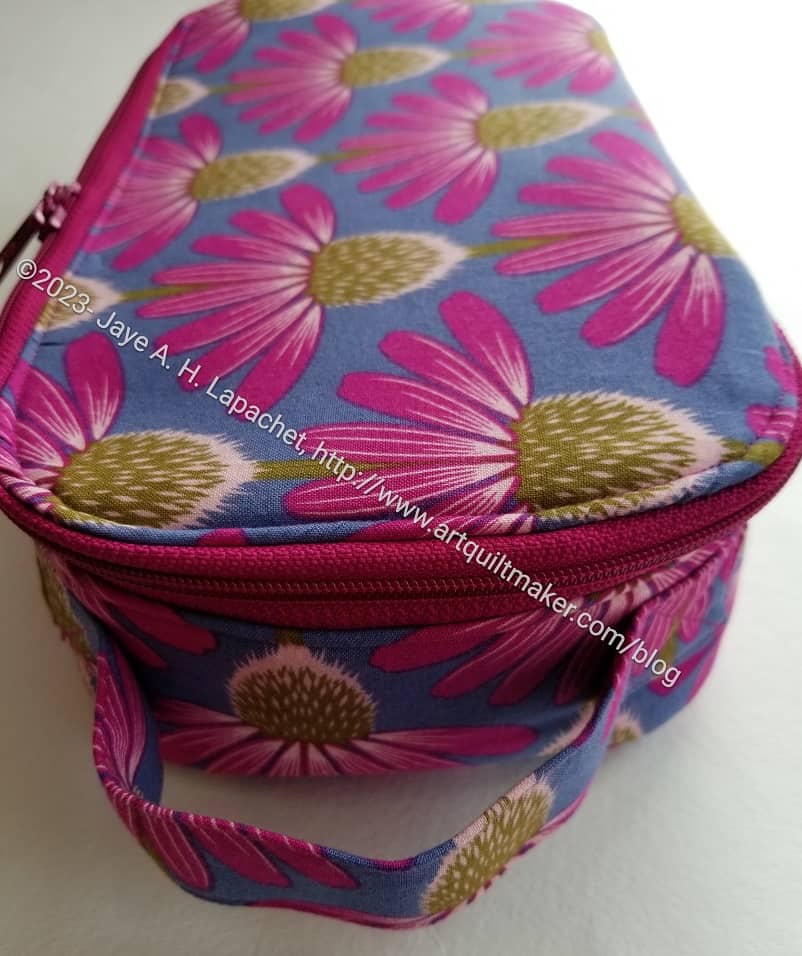
I will say that the fabric I found matches the zipper and the foldover elastic very well.
I think I still need more practice making the inside.
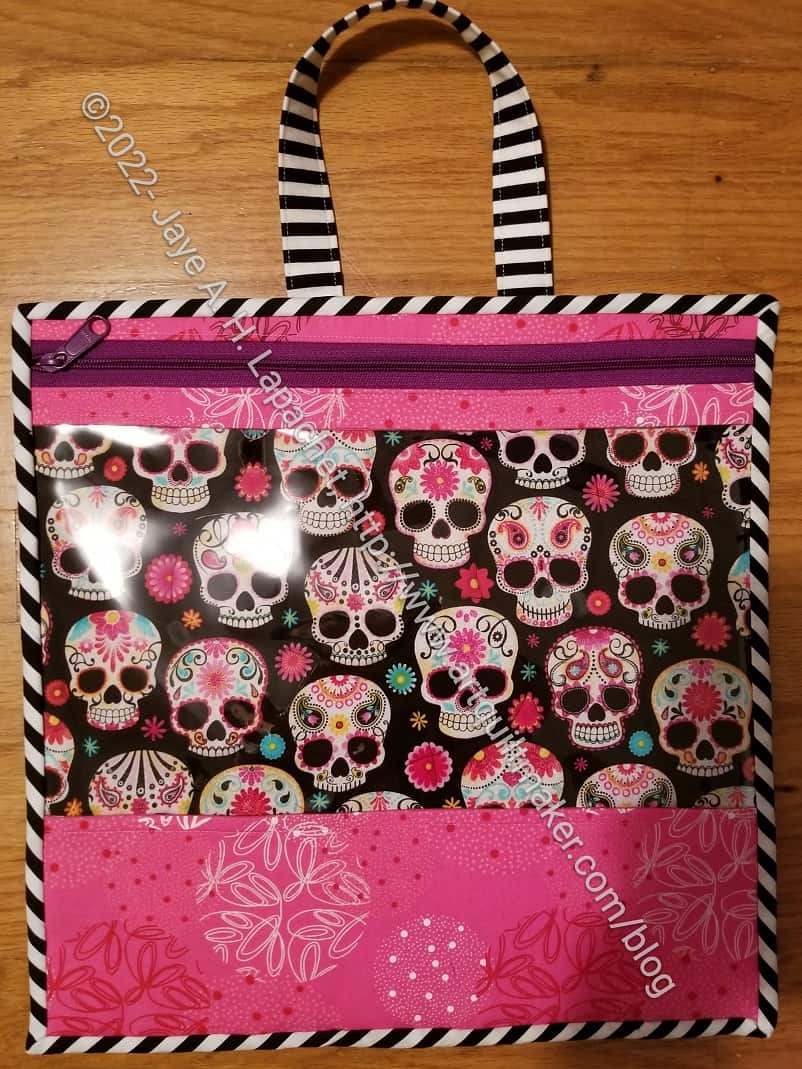
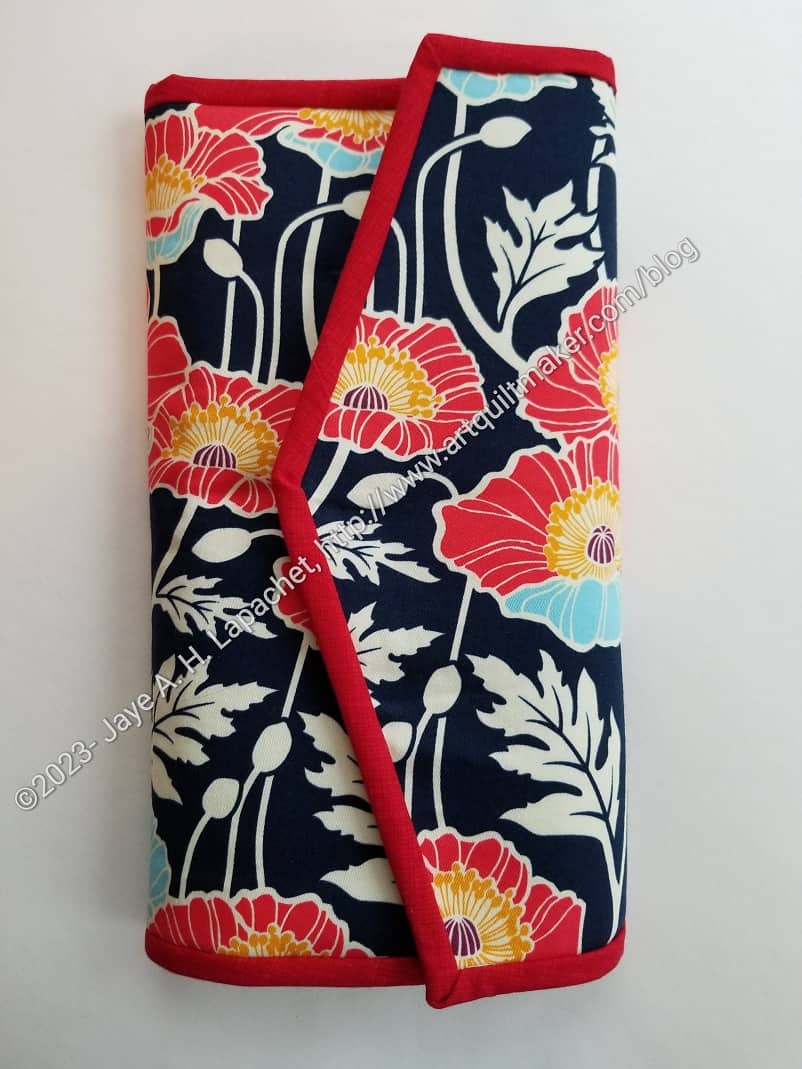
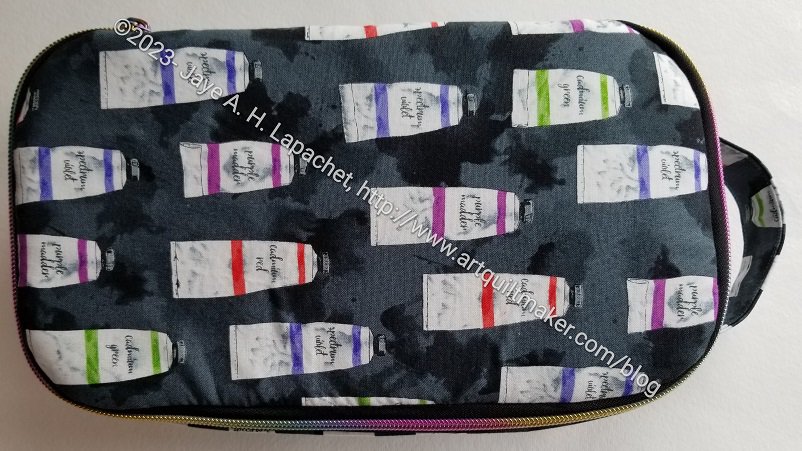
The outside looks very good, though.
I oriented the directional fabric a little differently this time. I oriented the top exterior piece so the paint tubes are right side up when the bag is being carried. The bottom paint tube are oriented at a 90 degree angle from the top.
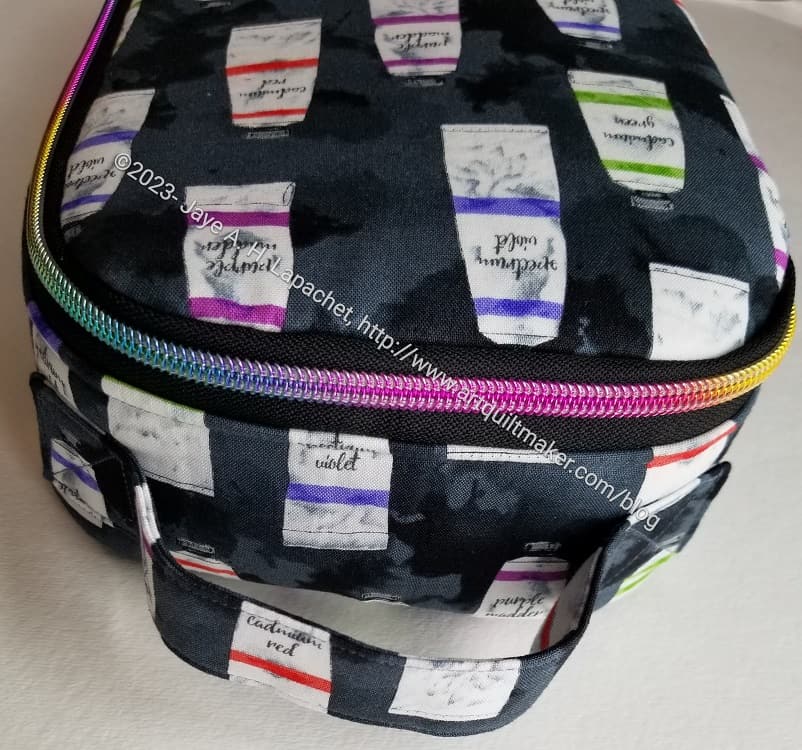
The handle is also in the right place, which makes me really happy.
One thing I haven’t figured out is where to put the handle in terms of the distance between exterior top and exterior bottom. I hope I remembered to measure where this handle is placed before I gave it away. 😉
I am doing a better job of remembering to sew my labels in. I wrote myself a note on the pattern, so sewing in a label has become another step in the process. You can see the labels in the photo on the right. I try to include one of my Wunderlabels as well as a label from my 2022 Advent Calendar.
So, another Hackney under my belt. I feel like writing another post showing them all. Maybe I should make myself one.
**N. B. : Obviously, you should shop at local quilt shops and small businesses. However, if you are too busy or can’t find what you need there, I use Amazon affiliate links and may be paid for your purchase of an item when you click on an item’s link in my post. There is no additional cost to you for clicking or purchasing items I recommend. I appreciate your clicks and purchases as it helps support this blog.