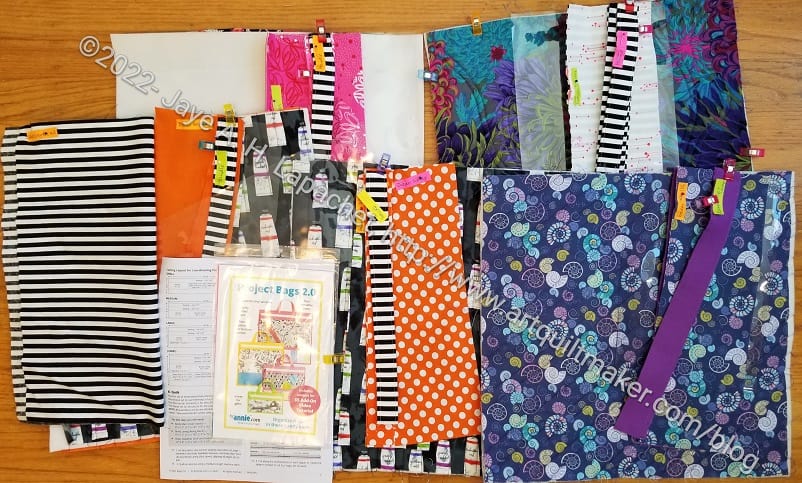
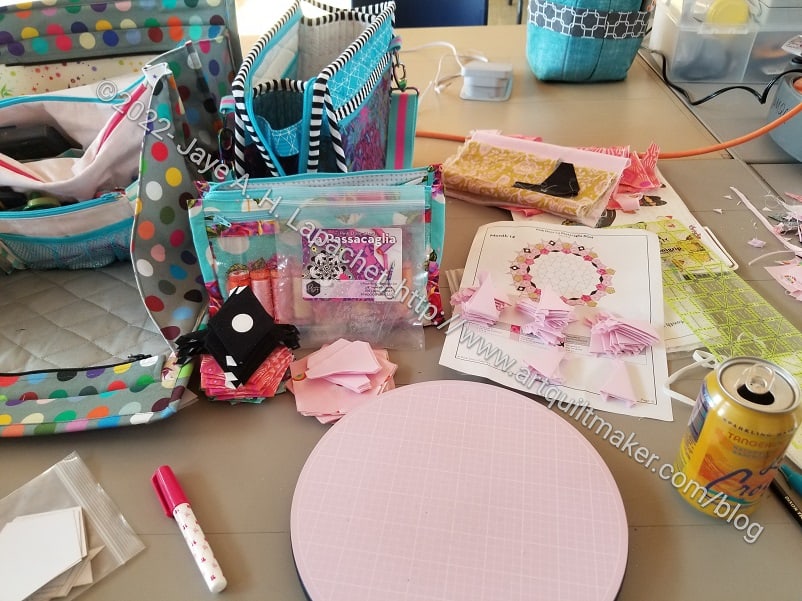
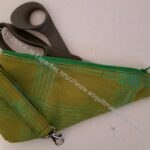
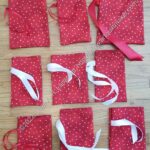
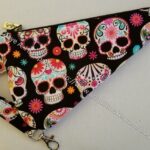
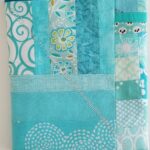
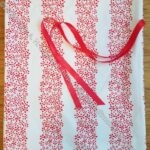
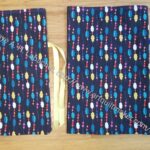
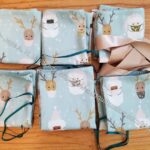
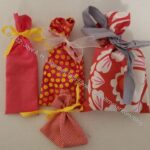
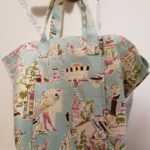
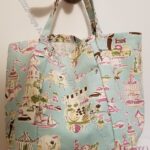
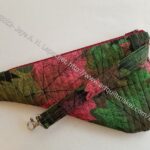
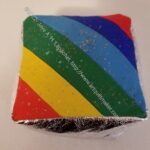
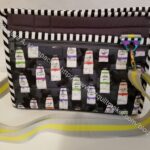
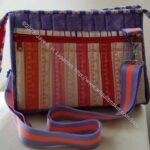
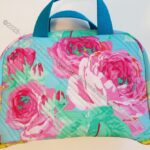
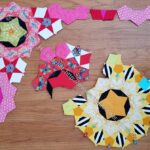
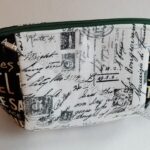
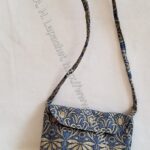
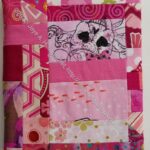
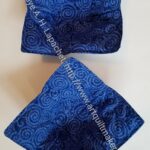
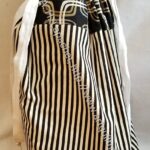
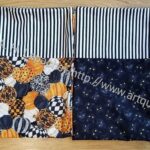
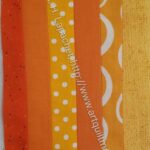
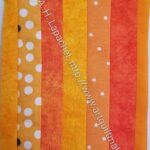
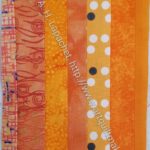
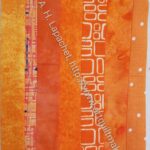
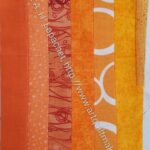
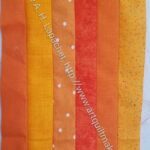
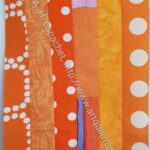
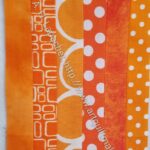
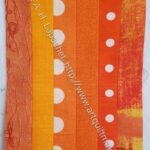
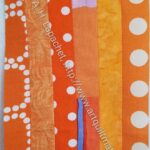
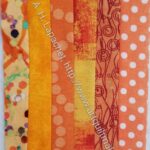
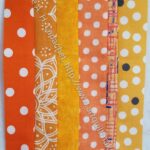
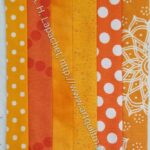
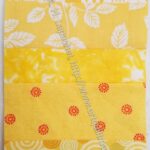
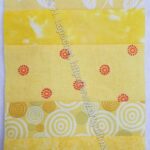
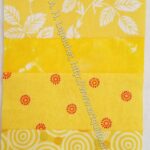
As I mentioned, I spent part of Super Sew Day cutting out Project Bags. My idea for these bags is that they will allow me to collect pieces and parts, such as thread, templates, fabric, of projects so everything is together when I am ready to sew.
Partly, this project and the process has to do with organization. If I have a few minutes and am not at the machine, I can gather some fabric or find the pattern and templates for a future project. This uses my precious time well.
The way I have organized them helps me keep all the pieces with their fellows. This works especially well when I am making more than one at a time.
Yes, I have plenty of ziploc bags and other, purchased containers for projects, but this allows me to use some of my fabric stash. It also makes my space prettier.
Progress on Month 13 continues. Aside from continually having to go back and cut more pieces, this month seems easy.
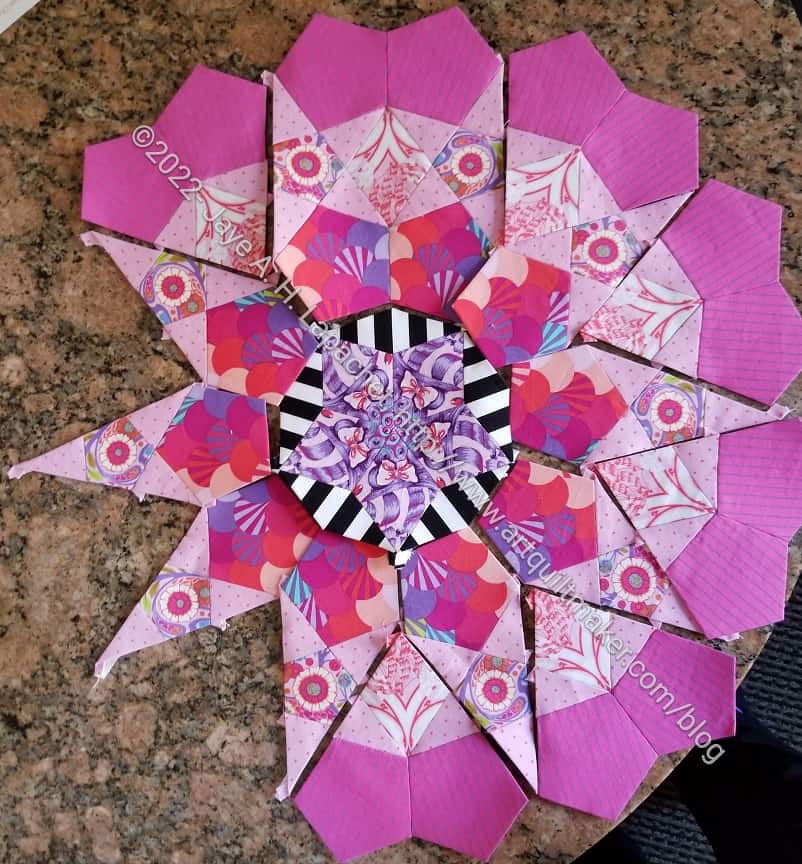
I think using the Hearts & Cones method makes the process seem easier.
I keep having to go back and cut more pieces because of the shift in the BOM shipping schedule for Month 13. Because this month included Parisville, Pink Door could not ship as normal. My practice is to wash all the fabric, then cut and baste at Sew Day (first Saturday of the month). I couldn’t do that this time, so I cut and basted some pieces so I could be ready to sew in the evening while hanging out with DH, then I would go back and cut more for the next night. I got off track and, apparently forgot to cut the rest of the star points.
Recently, we took a long weekend and visited Lake Tahoe. Our nephew was getting married. We tacked on a few extra days to make it a long-ish weekend. The YM flew in to see his cousin get married. That means we got to spend a few days with him as well. It was really great to have more than a day to catch up and get more of a sense of how our YM is doing.
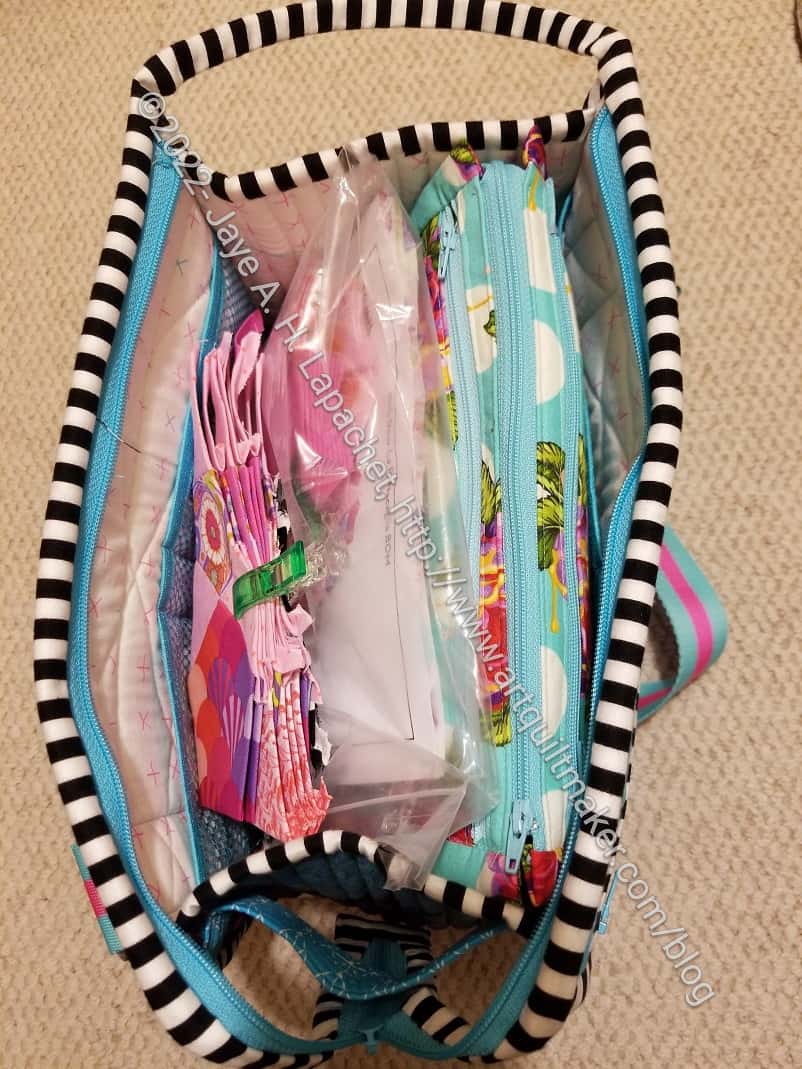
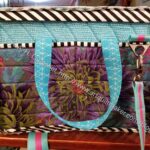
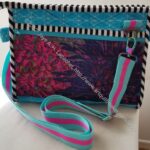
Without a Trace/Take a Stand tote filled with La Pass
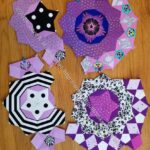
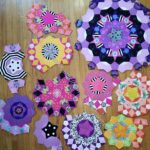
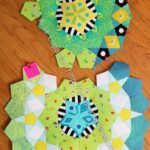
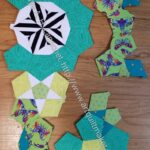
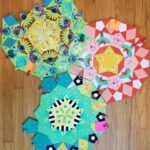
I wanted to take La Pass with me on the trip so I could work on getting Month 13 finished. Month 14 had been shipped and I needed to get back on schedule. As shown, my pieces were in hearts and cones, so I needed a bag that would keep them flat during the drive and general chaos of travel. I also needed space for my Sew Together Bag and my Inside Outside Pouch, which contain various tools and supplies for La Pass. Eventually, I landed on the Without a Trace/Take a Stand Tote. Since I fixed the zipper and sewed the zipper tab closed, I have been looking for a use for it.
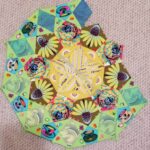
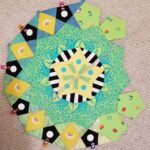
Unlike my trip to Portland earlier this year, travel was much easier with the rosette not yet sewn together. I keep working on combining the smaller pieces into larger sections. Once each rosette is fully complete, it is a bit of a hassle to transport until I remove the papers.
It was a bit of a tight squeeze, but worked. I am really pleased!
I spent the last three days at Sew Day, well, 2.5 days as we started Thursday at 1pm. Saturday was the busiest with about 16 people. Thursday was the least busy with about 8.
Month 14 basting/cutting in process
I arrived a little early so Mary and I could set up the tables, irons and food. We had help from Sue S and some others. Then we started sewing. I started off basting La Pass Month 14. Yep, Month 14 is here and Nope, I haven’t finished Month 13. Like Month 1, however, Month 14 is the outer right of Month 13, so I can sew them together at the same time. It makes hand sewing a little easier that I have not finished Month 13 yet.
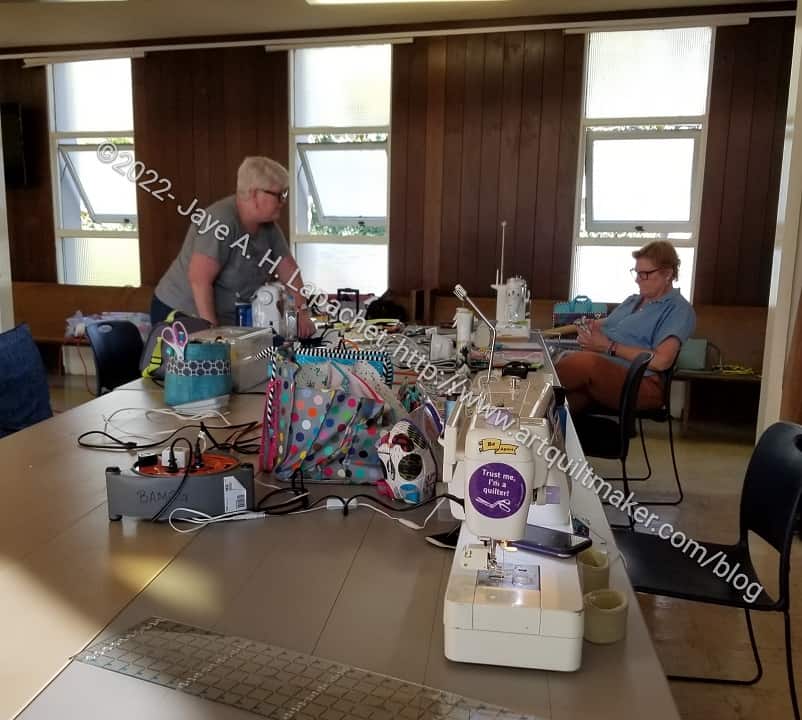
My station is on the other side of the sewing machine in the first photo (above). That is Friend Julie’s machine in the bottom right of the photo. She joined the guild and I was able to convince her to come to Sew Day. I am almost more excited about what she got done than my accomplishments! 😉
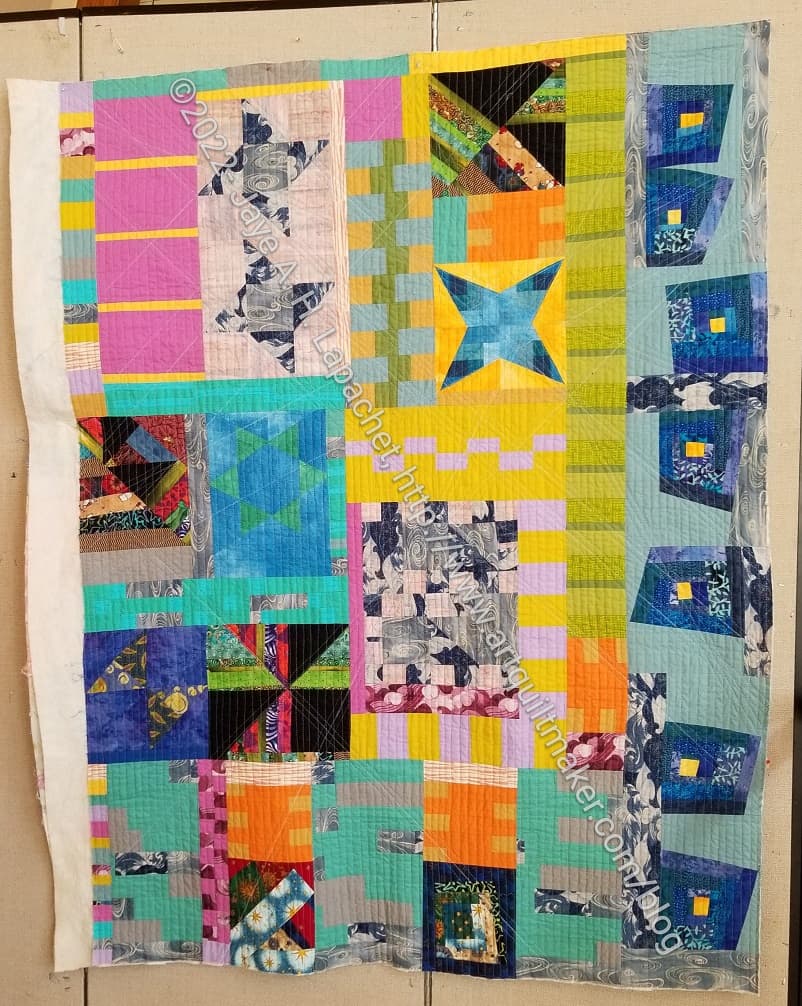
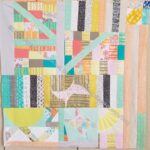
Julie’s Kitchen Sink quilt
She worked on finishing her Kitchen Sink quilt, which she started in a BAM class with Maria Shell. She had already quilted most of it, but did a little more quilting then made and attached the binding.
I think the quilt looks really good and quite cohesive. The colors are fun and interesting, too. There is also a lot to look at. This is one of the projects on Julie’s September to do list and I am excited she made such great progress.
Another project on Julie’s September To Do list is her Japanese houses. She worked on making the back, which turned out really well, but could be another top! I forgot to take a photo, so you’ll have to go look at her blog for more info and a view.
I had a little more basting to do when I arrived on Friday. I had left one of the fabrics in the dryer at home. After I finished the last few small pentagons, I started cutting out other projects.
First I worked on cutting out pockets for the Brocade Peony UCAB. Remember I cannibalized the pockets I made for that UCAB for my improved UCAB? I was able to finish all the pieces and parts for the pockets on Saturday, I think.
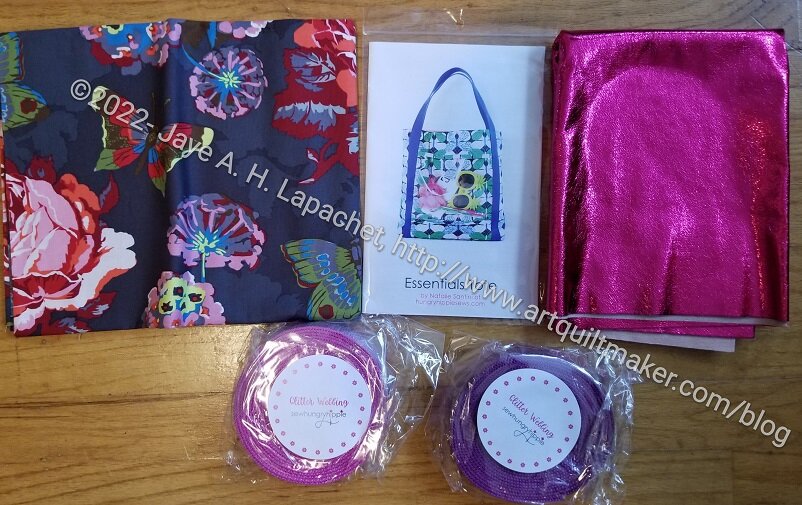
Sew Hungry Hippie Essential Tote order
As soon as I finished the pockets, I started cutting out the fabrics and vinyl for the Sew Hungry Hippie Essential tote pattern. I was able to cut out all the pieces except the exterior, because I am waiting for another piece of AMH’s Glow to arrive and I forgot to wash the other AMH fabric (left) I bought. I wanted to use that Spanish Rose vinyl (photo left) and I wanted to use it with Anna Maria’s Glow colorway. I know it is a shocking pink. I just bought it recently and I want to use it while I am excited (and not horrified) about it.
I didn’t mean to make two of these totes, but now I am. The webbing won’t be super comfy, but it is glitter webbing and super fun. One good thing is that I used up most of my regular vinyl with all of these projects, so now I can switch completely to glitter vinyl. Yay!
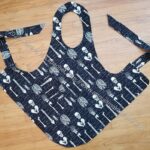
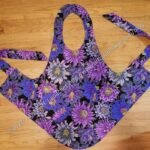
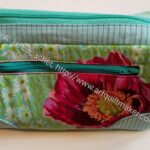
Once I finished cutting what I could for the Essential Totes, I started cutting for the ByAnnie Project Bags. I need more holders for in process projects. I know I am a glutton for punishment since I started making 5 of these. Yes, FIVE. I am a lunatic.
I had to lay out the cut pieces on a free table, clipped together, so I could be sure I had cut all the pieces for each different bag.
I was able to finish cutting out all of those Project Bags pieces on Saturday before lunch. As soon as I finished lunch, I started quilting the main panels. Somehow quilting at Sew Day is less terrible than quilting at home. I quilted four of the main panels, which leaves one left to quilt, then I’ll be done and ready to put them together. I kind of wanted all the quilting done at Sew Day, but we don’t get everything we want.
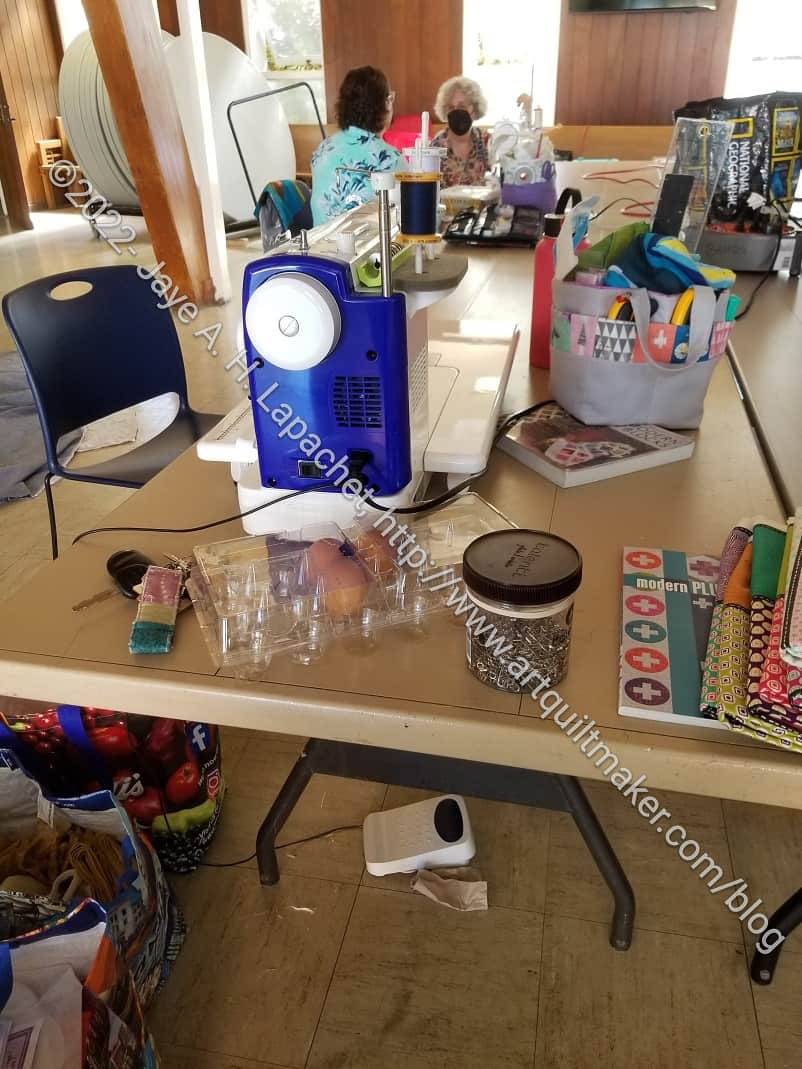
Maria’s eggs at Sew Day
A lot was going on at the event. I don’t know why Maria had eggs next to her sewing machine, but she did. I didn’t get a chance to ask.
You can see Patti and Anna talking in the background. Their table was pretty full, though people moved around the room quite a bit so it looks pretty empty in this photo.
New Mary came and got her door prize bag. There was a lot oohing and aahing over the contents. That made me feel good.
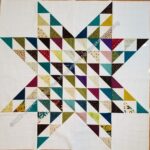
Sue S’ grandson’s quilt top
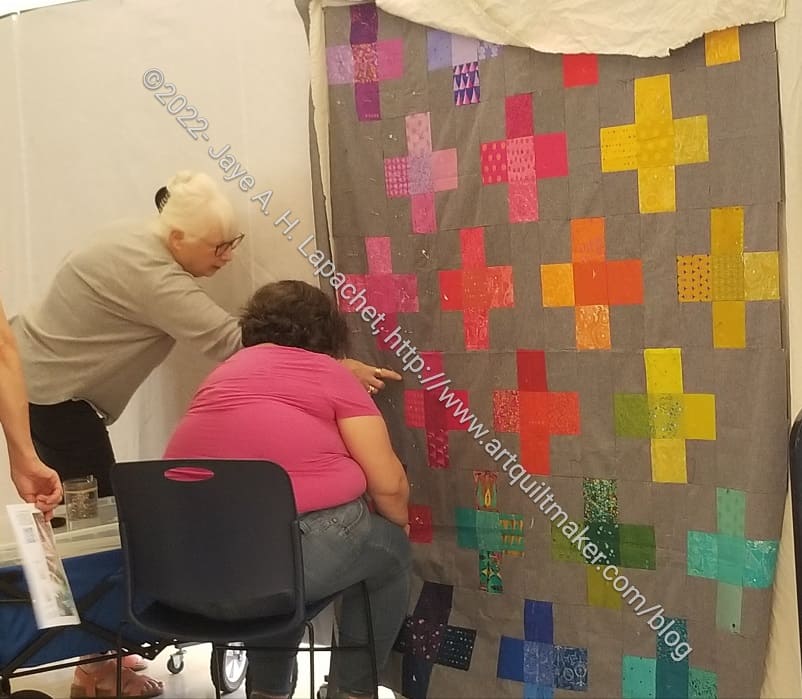
Sue S has a grandson who is interested in quiltmaking. He has made a quilt, which we were pleased to having hanging on one of the design walls at Sew Day.
I was impressed with the sophistication of the design. It is all half square triangles, but the design is quite elaborate. I kind of want to make that design in different fabrics.
He joined us for Sew Day via FaceTime and got to see what we all were doing.
Maria basting her Plus quilt
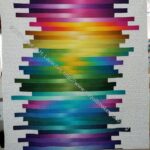
Maria basted a quilt on the wall. I tried that technique a few years ago and it didn’t work for me, but she was very successful. I love the quilt, too. She did a nice job choosing fabrics.
I came home on Friday exhausted. It was a result of walking back and forth to the cutting table all day. That was hard. I took a break from my daily walk on Saturday and didn’t feel the exhaustion as much, though I was still tired.
All in all, I am pleased with what I accomplished. I don’t know that I can cross anything off my to do list, but I’ll soon be able to do so.
Admin
I am working on updating all of my old posts that link out to my old Blogspot blog. I went through 2007 the other day and updated a bunch of links. I used to create really clever titles. Hope I am not boring you now.
Projects, Classes, Patterns & Tutorials
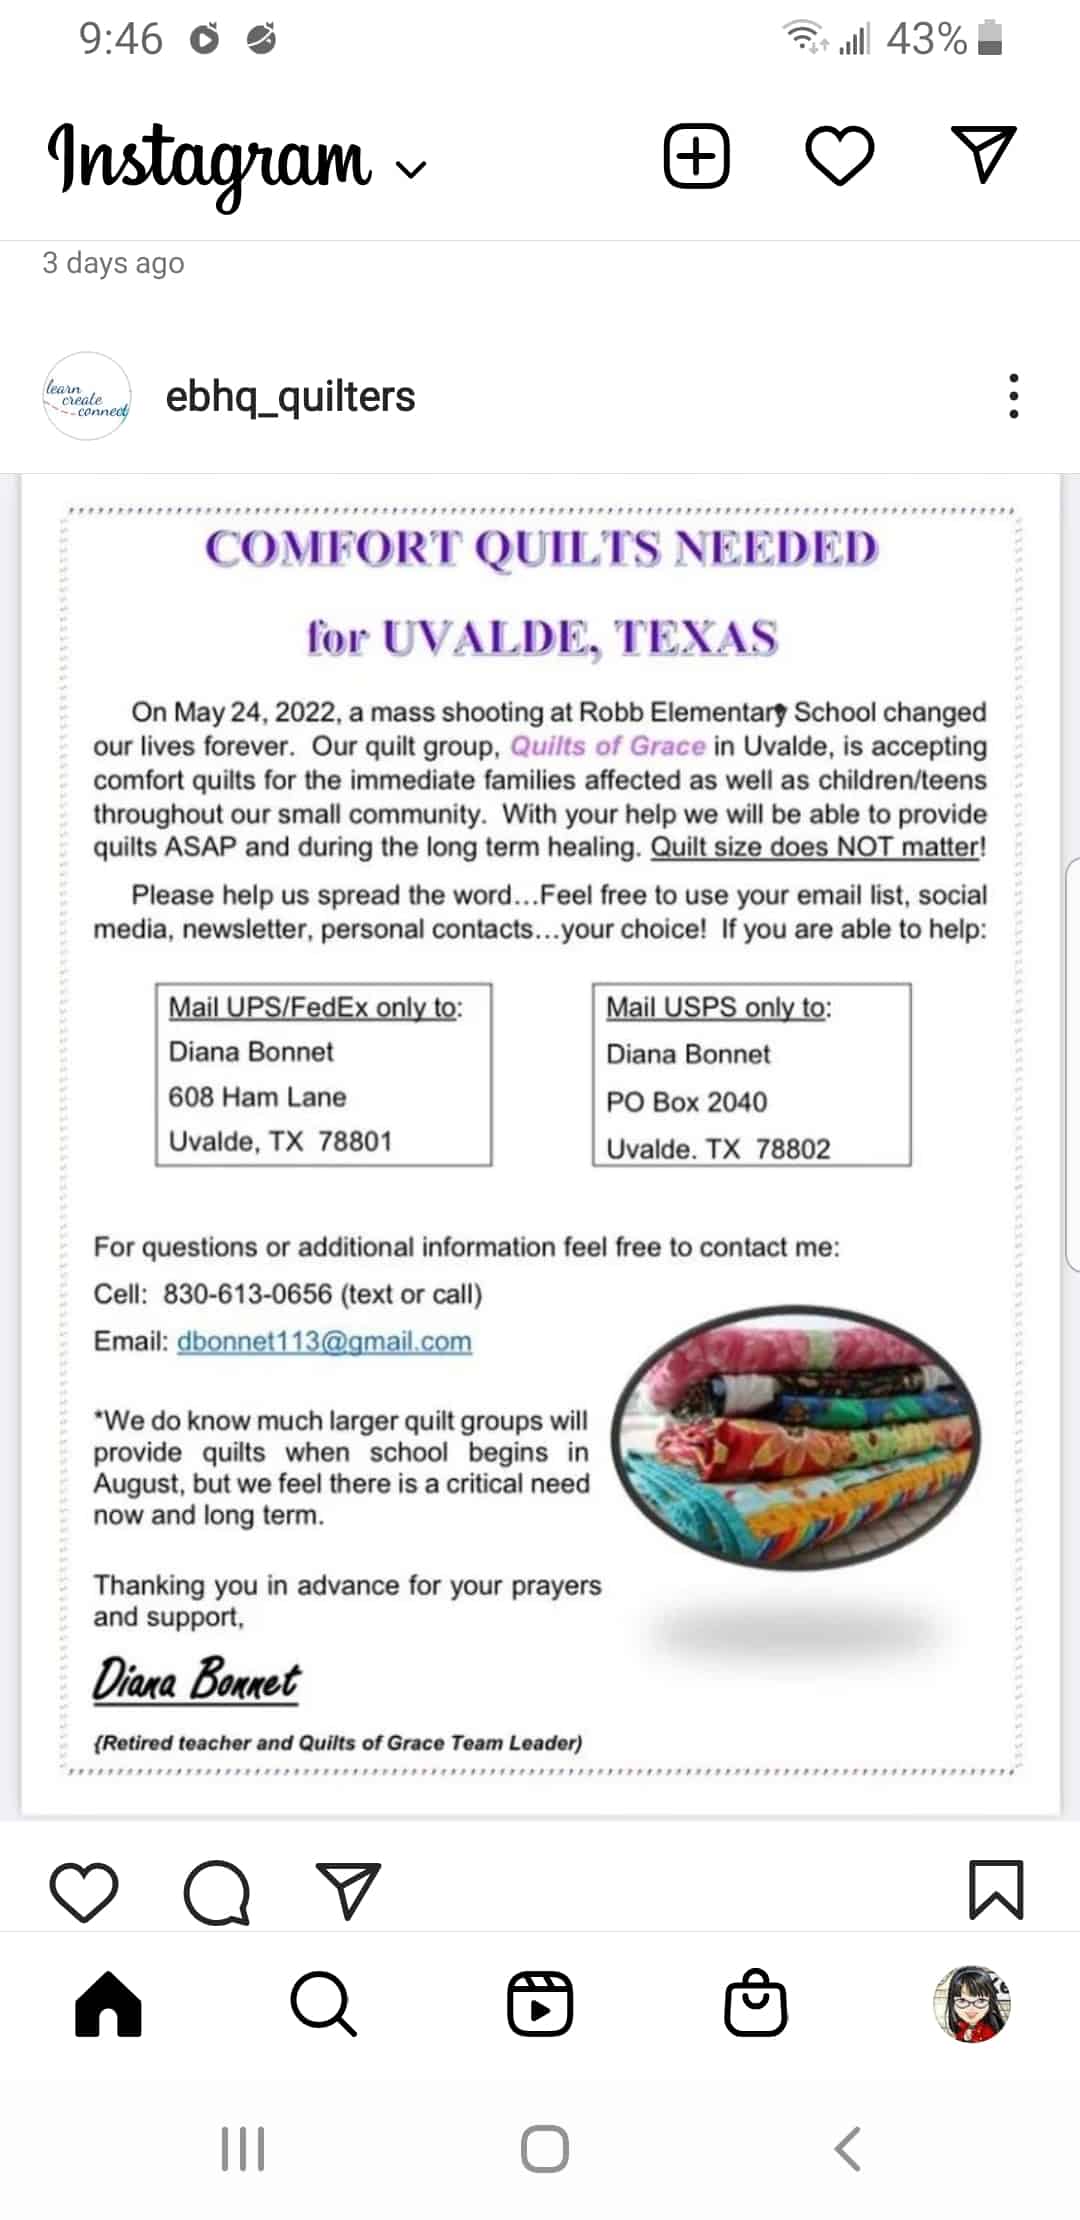
Help Uvalde
If you want to help the people affected by the shooting in Uvalde, here is one way. Click on the photo to see it larger.
My friend and I did some paper folding the other day. In the course of teaching her to make a Mette Ring, she told me about the Woven Stars she makes at Christmas. I found a tutorial, which she said was the way she makes hers.
Vanessa of Crafty Gemini has a new mini-bag club with cute patterns. The early bird pricing is over, but you can still join and get your holiday gifts finished.
If you want to see a quick video on changing the look of zippers, I found a post on IG.
Another friend, Mary C, finds all the good quilt-a-longs. Mostly I admire her work, but I signed up for the Harmony and Light QAL. Sign up is free through October and I wanted to look at the pattern. Not sure I will actually sew it, but you never know. Also, I have a long to do list and need to get it whittled down.
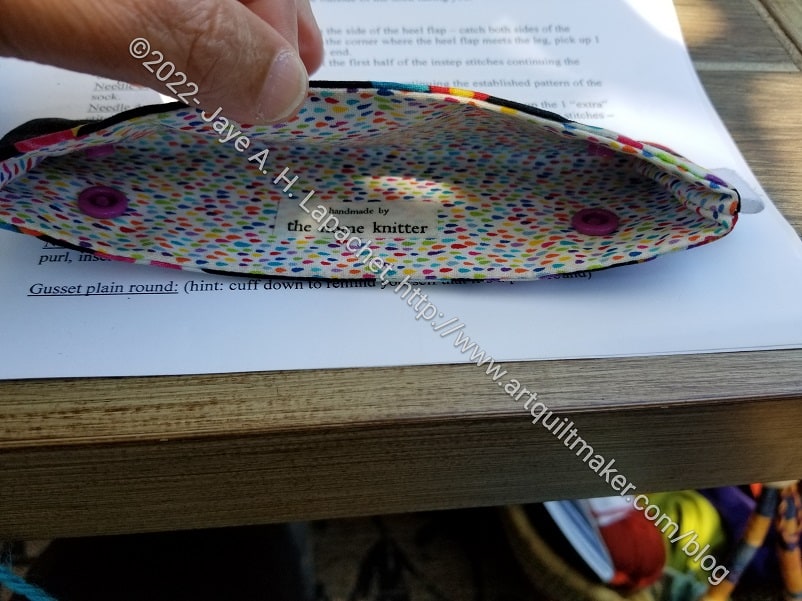
You may have seen that I took a knitting class. One of the items I learned about was a double pointed needle keeper. I found a tutorial for making them from The Nome Knitter.
Not that I would ever do it, but I liked the horizontal FMQ sampler lessons provided by Lori Kennedy. The reader quilts she posted are interesting and exciting.
Sherri Noel has a tutorial for a simple needlebook. The needlebook shows a lot of optional embroidery so get out your Perl Cotton.
She also has a tutorial called Bento Lunch Bag. I like the shape, though probably wouldn’t use a lunch bag. The inside of the bag is not shown.
AllPeopleQuilt Pool Noodle Basting
AllPeopleQuilt had an IG post about basting using a Pool Noodle. I haven’t tried this technique, but thought it might be worthwhile to watch the video and try the technique.
Interesting collection of 12 patterns for $72 from Swoon. It’s a good deal even if you don’t want to make all of the bags.
Need to jumpstart some UFOs or WIPs? Take the My Creative Corner3 10 Day quilting challenge. Start with the PDF.
Tools, Books, Fabric, Notions & Supplies
Renaissance Ribbons are fantastic. I have found them hard to use, thus hard to justify buying. Tula talks about her new Tiny Beasts ribbon in a recent video, but also how she uses ribbon. I used some of her tips on my A Place for Everything v.2.0 bag and LOVE the detail. It makes me so happy to see the ribbons there. It also gives me ideas about how to use ribbon going forward.
Friend Julie has finished her Orange Bullseye top. You can see the full top and some details on a recent post.
Friend Julie’s August Cornucopia post is up and has some interesting links.
**Obviously, you should shop at local quilt shops. However, I use affiliate links and may be paid for your purchase of an item when you click on an item’s link in my post. There is no additional cost to you for clicking or purchasing items I recommend. I appreciate your clicks and purchases as it helps support this blog.
Last month I wrote “I started this list as reminder of everything I had started or wanted to make, but also to show how much I had a accomplished“. I need to remind myself of my accomplishments as I embark on another finishing jag. I may have a lot to do, but I have also accomplished a lot.”My mind has been focusing on all I have to do rather than giving equal weight to what I have accomplished.
I realized after that post posted that I was adding things to my to do list quite regularly, but not making progress on the to-do list. It is great to add new things, but I also need to cycle through the projects that have been on the list for awhile. For some reason this is hard, but I will make an effort.
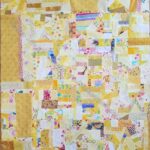
Yellow Improv Donation Top & Back – finished February 2022
In Process or To Make
The ‘In Process’ is used to denote projects on which I am actively working or are on the design wall waiting for me to stitch. I am continuing to try not to put away projects. I find putting a project away ensures I never work on them, because I just lose steam.
Quilts (machine work)
Lobster – This will soon be turned into a tablerunner for the buffet. The piece is on the design wall and I just need some time to map out the blocks that will make it longer
Quilts (Handwork)
I decided that some of my quilts are in a different class because they are hand piecing or embroidery or beading. They take longer. Thus I created a new category and have moved some projects here.
English Paper Piecing Project– half hexies – I worked on this project again while I was waiting for La Pass Month 11 to arrive. I need to lay it out and figure out the bottom so I can put the border pieces on
La Passacaglia – I am up to date on this project and waiting for Month 13 to arrive.
Small Projects
Most of my progress involves thinking or just cutting. I don’t have a bag in process at the moment.
Ultimate Project Organizer – another project from the Crafty Gemini Organizer Club, also on my list, but not yet started
Retreat Organizer – another project from the Crafty Gemini Organizer Club, also on my list, but not yet started. Recently, I saw one of these made up and I am not so nervous about it
Rose Petrillo bag – I found the pieces for this bag cut out, but not sewn.
Superbloom tote using Hindsight fabric – not started
Westchester shirt – this is a Crafty Gemini pattern. I bought the fabric at PIQF in 2018. I have the pattern pieces cut out and ready to sew. I was held up by the supply list which wanted a Jersey needle. SIL #2. I have finally given up on doing this shirt on my own. Mary C is going to look a her calendar, let me come over and hold my hand while I finish it.
Ready for Quilting
Orange You Glad
In the Quilting Process
The Tarts come to Tea – I am working diligently on getting this quilted. I am sick of looking at it.
Still UFOs
I still have UFOs. Who doesn’t, after all? A project in the ‘UFO’ category means I am stalled or it is waiting its turn to be worked on. The list is a lot shorter and the projects are newer, for the most part.
I am annoyed that some of these are still WIPs. I just need to work on them!
Handbag Sampler – this is still the forgotten project. It should be on the UFO list. The blocks were teaching samples when I taught a sampler class some time before I started writing the quilt class sampler tutorials. I found one block recently, but otherwise I don’t actually know exactly where the blocks are hiding. I crawled up in the far reaches of my fabric closet to see if I could find them and they weren’t where I thought. I am sort of mystified as to where they could be. I haven’t even found a picture of all the blocks. WTH?
Pointillist Palette #4: Fourth is a series of 6 quilts; needs tiny square patches sewn together. No progress.
Serendipity Lady – I am still planning to take this piece to be framed. It might need a bit of quilting first.
Who Am I? – This piece is still languishing. Perhaps having a larger design wall will help me regain momentum. The amount of satin stitching I was facing was a problem until I thought of BIAS TAPE. I am going to make the words with bias tape, perhaps different widths, then I won’t have to satin stitch everything. Red Scribbles and Friend Julie helped me come up with this solution. Now I just have to do it!
Take a Stand/Without a Trace Bag finished & repaired
I wrote about my unhappiness with the Take a Stand/Without a Trace zipper a few weeks ago. In a way this is the project that keeps rearing its head. Finally, though, I think it is finished, repaired and available for use.
It is a good, medium sized bag, so I hope to put it to good use in some way I can’t think of right now.
Take a Stand/Without a Trace Bag zipper tab updated
I changed out the zipper tab to match the binding. I haven’t checked the pattern to see if it calls for exterior (my first choice) or binding fabric for the zipper tab. I am pretty sure I cut what the pattern suggested. I like the zipper tab matching the binding better.
I also adjusted the size to match the width of the binding and the zipper. I don’t like the zipper tabs being larger. The Quilts Illustrated Tool Tote pattern calls for a larger tab and it bugs me every time I see it. now that I have changed the zipper for the Take a Stand/Without a Trace bag, I might change that one as well.
We had a social meeting day this month. Most of the Board was out of town and it was assumed that a lot of members were as well. I invited the people from the Pink Door La Passacaglia (with permission from the Board) for two reasons. One to give them a chance to meet up and also to introduce some new members to the guild. Only one lady, Courtney, showed up. She lives in San Jose and is actually not a quiltmaker. She is only doing La Pass, which I think is really interesting.
The meeting turned out to be the same day as my knitting class so I rushed over from knitting for the end of the social. It was hair raising, a bit.
La Pass – M1-M12 laid out (August 2022)
Courtney is on Month 4 and firmly with Team Turtle. She helped me lay out my La Pass, which was fun. It was fun to see it laid out and see how it is coming together.
We identified a couple of minor problems, which I noted and will fix when I have time.
I was glad Courtney came and I hope to see her again.
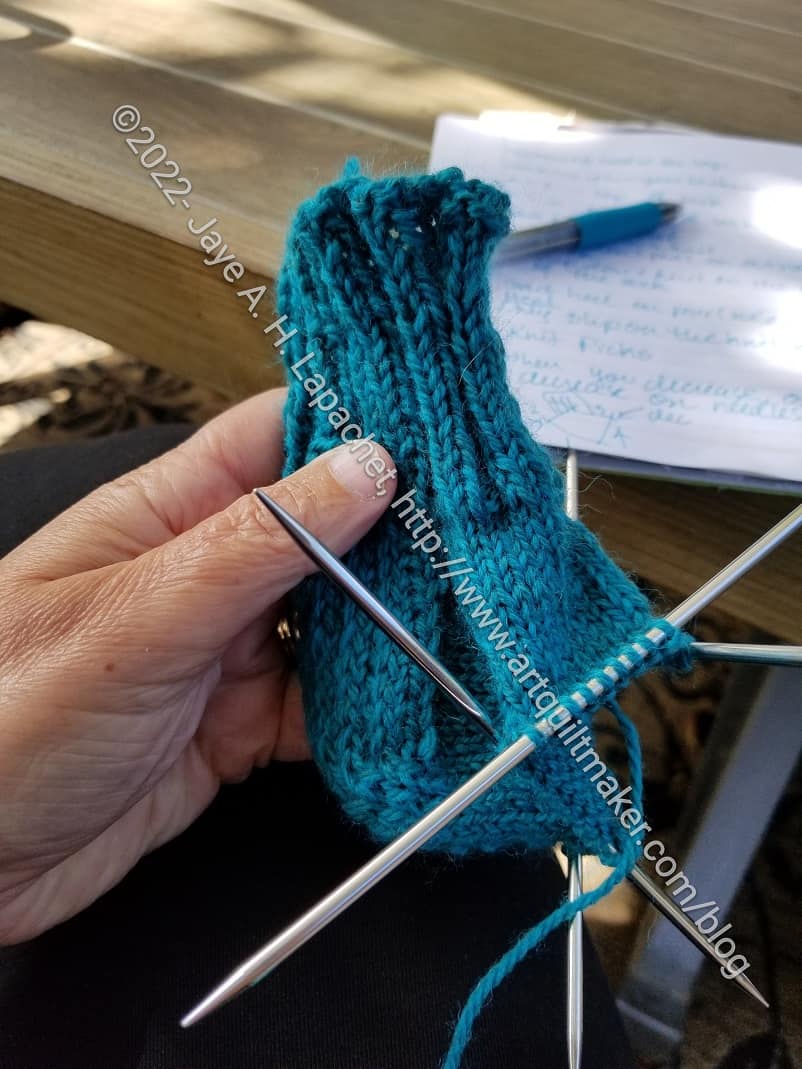
I have wanted to learn to knit socks for a long time. Kelly at Royal Bee Yarn Company offered one over the weekend and I signed up. I had to ask myself why as I struggled during the first class and doing my self assigned homework. I write about knitting about once a year. The last time was when I tried to knit a sweater, gave up and started another scarf. I do want to be a good knitter, but I don’t want to devote as much time to knitting as I do to quiltmaking. I want knitting to be a side activity I can pick up when I travel or when I am out of quiltmaking handwork.
The class was good and I like the style of socks we learned to make. I learned a couple of new skills such as decreasing in two ways.
Heel cup shaped
It didn’t start out well for me, though. As part of the class, we received a set of double pointed needles (DPNs) and a ball of yarn. The DPNs available were wood or bamboo. I have some wood (or bamboo??) needles. Usually, however, I use wood needles with steel tips**. I like steel tips because the stitches slide on an off easily. I like the wood part because that means the shaft is not as rigid as on full steel needles.
I really struggled with the bamboo. In addition to not being able to get the stitches off the needles easily, my project came off the needles in transit from class to home. I couldn’t fix it, though I tried, so I knitted the whole cuff over again before class the next day. It looked a little better, but not much. I felt super discouraged and almost didn’t attend the second class.
That is not me, so I went and confessed all to the teacher. She offered to trade me her steel needles for my bamboo needles. I took her up on it. I was planning to buy a set of my preferred needles, but the shop doesn’t carry them. She moved my project onto the new needles and in the process discovered that one of my needles had a sliver in it. While not the complete problem, it was definitely part of the problem.
I like the style of the sock that Linda teaches, because there are no ridges on the heel. I feel now, like I can knit socks. The steps are not firmly lodged in my head, but could get there after a few more socks.
Cuff and heel complete
Things went a lot better with the steel needles and I ended up with part of a sock and the heel completed. I need to knit the foot part and then contact Linda, the teacher, to get help with the toe. I plan to knit the other cuff as well so she can help me with the other heel at the same time.
**Obviously, you should shop at a local quilt (or knitting) shop. However, I use affiliate links and may be paid for your purchase of an item when you click on an item’s link in my post. There is no additional cost to you for clicking or purchasing items I recommend. I appreciate your clicks and purchases as it helps support this blog.
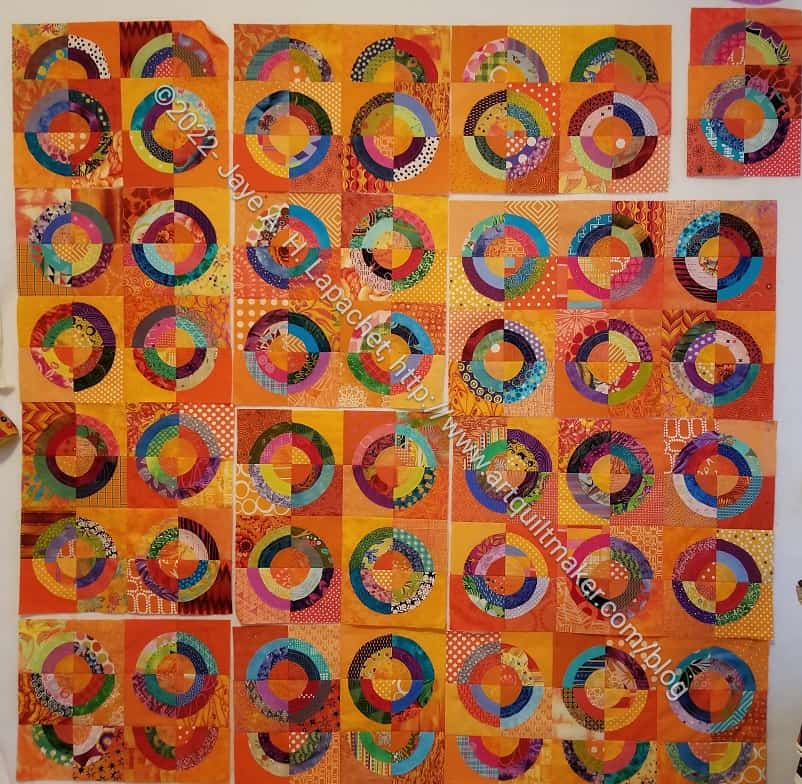
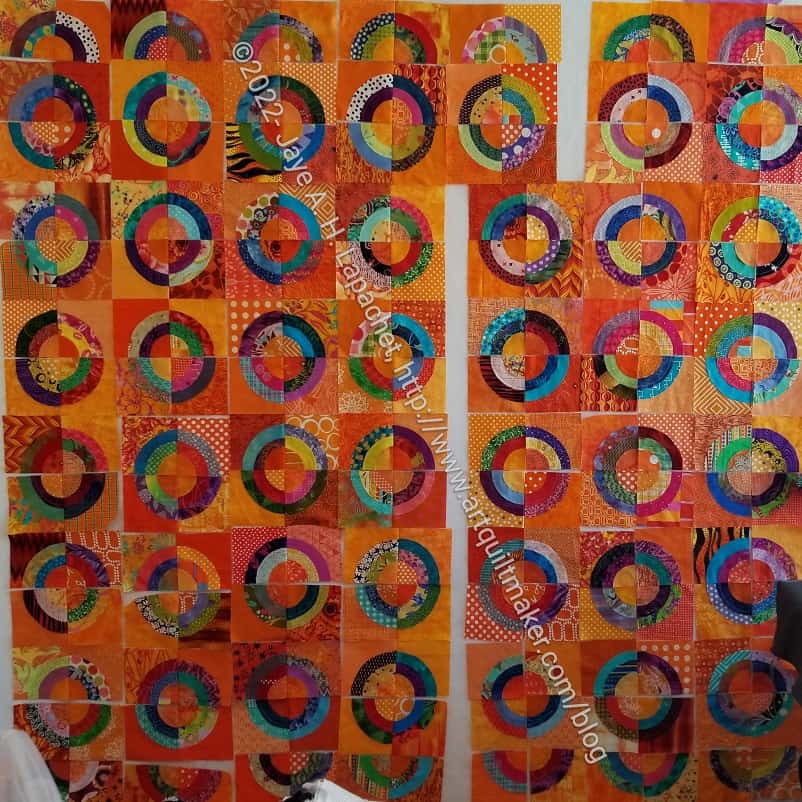
I know it is all Orange You Glad all the time right now. I am almost done piecing the top.
I spent the last few days chunking the top. I have many chunks and the piecing is going much faster. I’ll probably be able to finish piecing the top tomorrow or the next day. Life gets in the way of sewing.
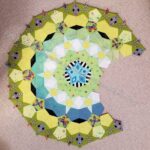
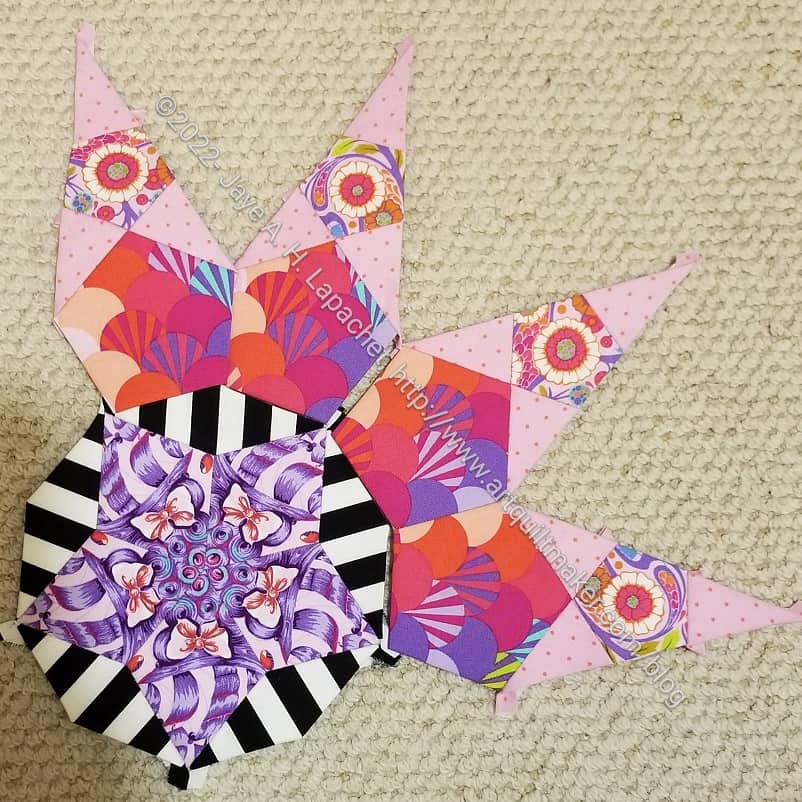
I am making good progress on La Pass Month 13 using the Cones and Hearts method.
I am pretty much using the fabrics provided so far. I did contemplate using different pinks for the outside pentagons (not shown), but decided just to go with what they sent.
I cut the large cameo print differently as, like the animals, I don’t want people faces looking out of my quilt. Also, I really like those pink bows.
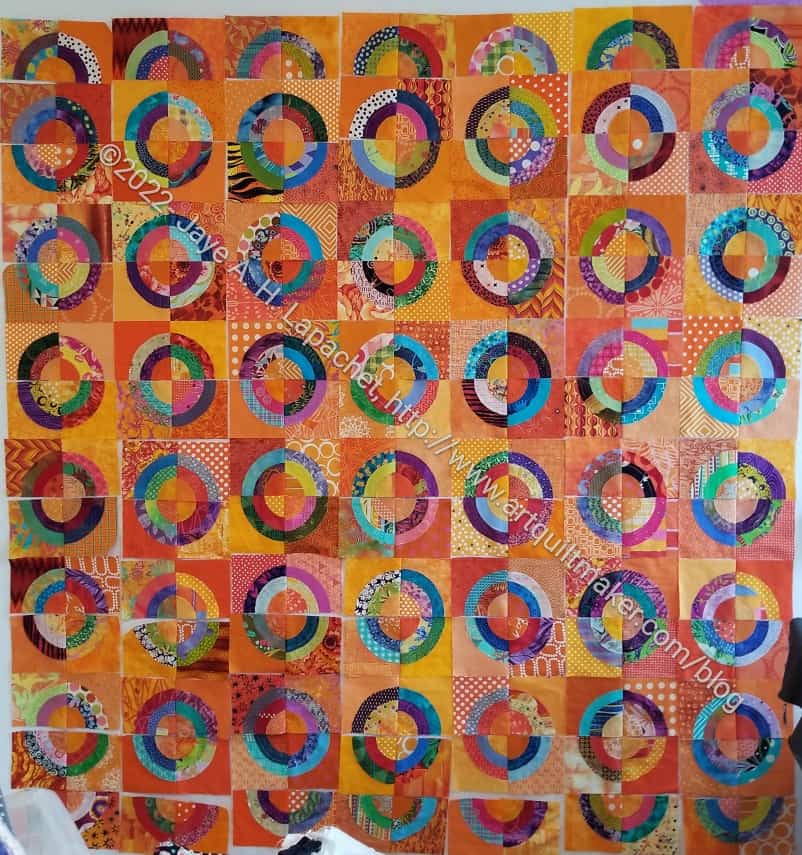
I have finally sewed all the pairs of quarter blocks together. It took a long time.
I started on Saturday and finished on Sunday. Of course, I couldn’t sew all day both days, but I did spend a good portion of my time on the project.
One thing I can never get over is how much space is taken up by the seam allowances. The spaces in the photo (right) show how much space I gained by sewing the blocks on the left.
Orange You Glad Pairs sewn
Once all of the pairs of quarter blocks were sewn together, the piece looks ‘normal’ again. Of course, I have to sew the pairs into blocks. Then we’ll see the spaces develop again.
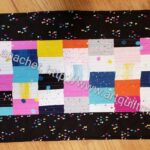
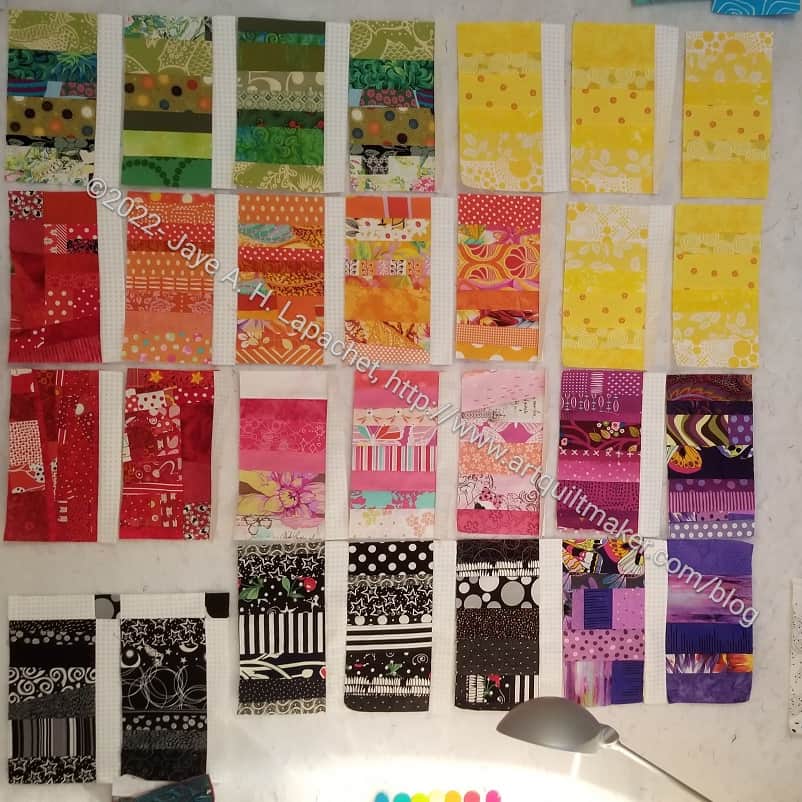
I finally bit the bullet and started putting the Rainbow Color Strip Donation top together. Once I finished all the Orange Strip donation blocks, I needed another leaders and enders projects while I put the Orange You Glad quilt top together. I decided that enough was enough and to get busy on this top.
Finished is better than perfect, right?
Rainbow Color Strip top on design wall-detail
As usual, I don’t have a pattern. While I sort of have a plan, it is subject to change based on the number of blocks. At the moment I am going with a width of 7 blocks plus sashing for the center of the quilt.I am reserving the right to make it larger once I can move the blocks to the large design wall and see what I have. I have a feeling I will need to make a bit larger, but I want to minimize making more blocks, if I can.
I don’t have enough space on my design wall for all the blocks I have made (remember most of these except the yellow are leftovers from the other Color Strip donation quilts). You can see the blue blocks and the white blocks in the photo at the top floating around. This is one reason why I feel so anxious about the various projects going on.
Rainbow Color Strip leaders & enders-detail
I need the space on the large design wall for two quilts. The Orange You Glad piece and the Rainbow Color Strip top are jockeying for position in my mind and it is starting to make me a little crazy. This is the point where I usually focus on one quilt, but I can’t (don’t want to??) in this case. I need leaders and enders and the sashing for the Rainbow Color Strip top is great for leaders and enders. And I really want to make progress on the Rainbow Color Strip top.
Putting on the sashing is relatively easy and makes the blocks ready to put together. I may have to add more sashing to the end blocks, if I make the quilt wider, but we will see.
All of this means I am not quilting the Tarts. It is still on my mind, don’t worry. I just need to get through this patch of piecing crazy. This is a great example of why UFOs are really not good for my process. If I had finished the Tarts back in 2010, they wouldn’t be making me crazy as well. It is really hard to enjoy my quiltmaking when I feel pulled in so many directions. Yes, this is a #firstworldproblem and one of my own making.
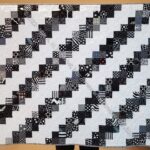
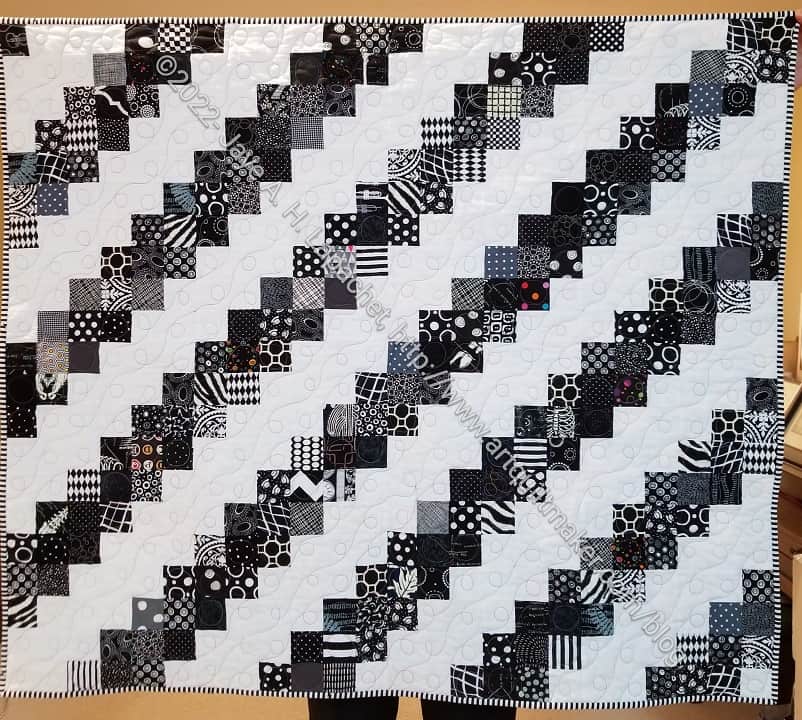
The Diagonal Nine Patch is finished. I am really pleased with how it came out. Of course, Colleen’s quilting makes it, but my choice of the various white on black fabrics looks really good, too. Even though the blacks have little to no contrast, the variety of prints makes each square stand out well.
I am also pleased with the striped binding. Striped binding is the best and I am glad I am able to use some of the stripes I have been saving.
I really like this pattern. I think it has a lot of potential. I got an idea for one of the Niece-phews quilts I have been meaning to make from making this quilt.
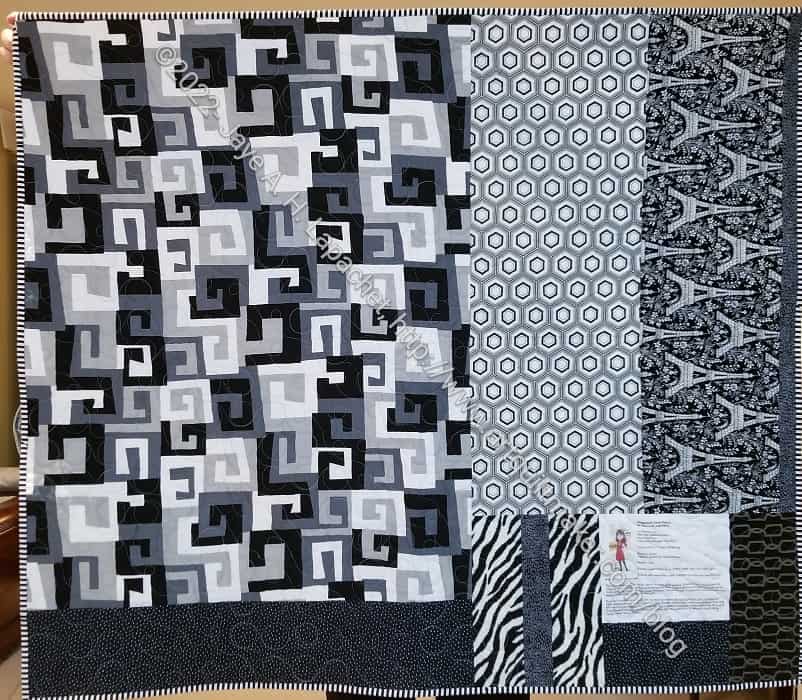
Diagonal Nine Patch back – Finished
I do like the back. That large print on the left is really good. I am also pleased with my use of it. Some prints are great as they are – not cut up.
A number of these prints were leftover from the Cityscape (Black & Red Improv) quilt. I am glad I used them. They have been sitting around for awhile.
I finished the Diagonal Nine Patch just in time. The baby shower is this weekend. I may have just enough time to make a storage bag for the quilt. We’ll see.