Today is surgery day for my mom and the Sewing Date Traveler is ready for duty.
For my purposes, this will be used to organize Mom’s stuff in the hospital room. There are a lot of little things in life that get strewn around and need to be moved for meals and doctor visits. This bag will provide the organization.
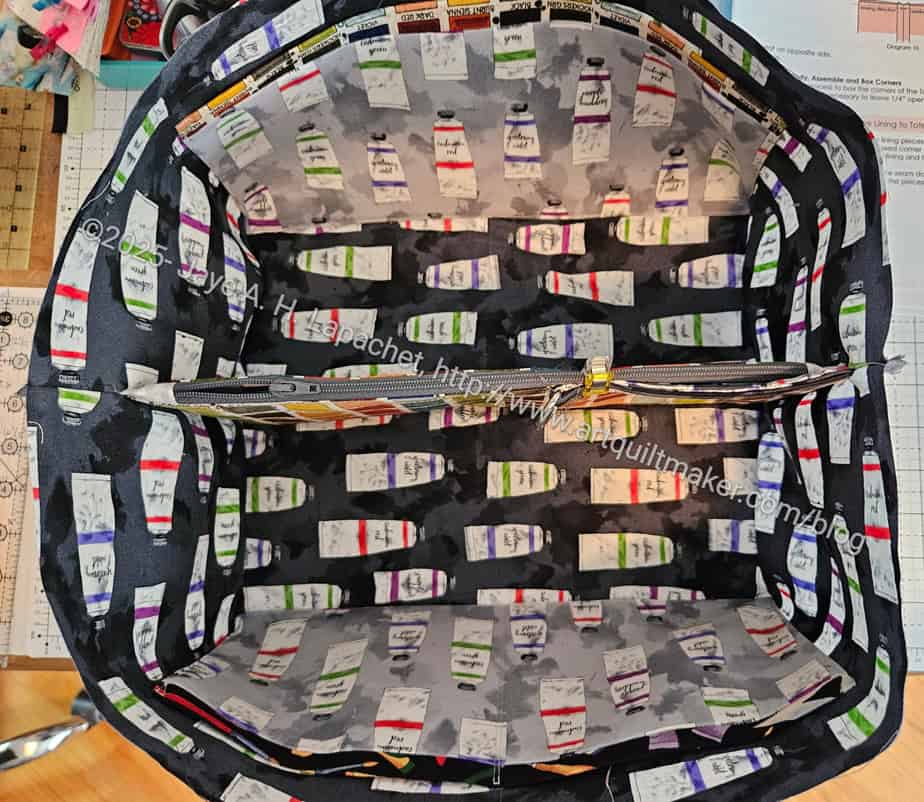
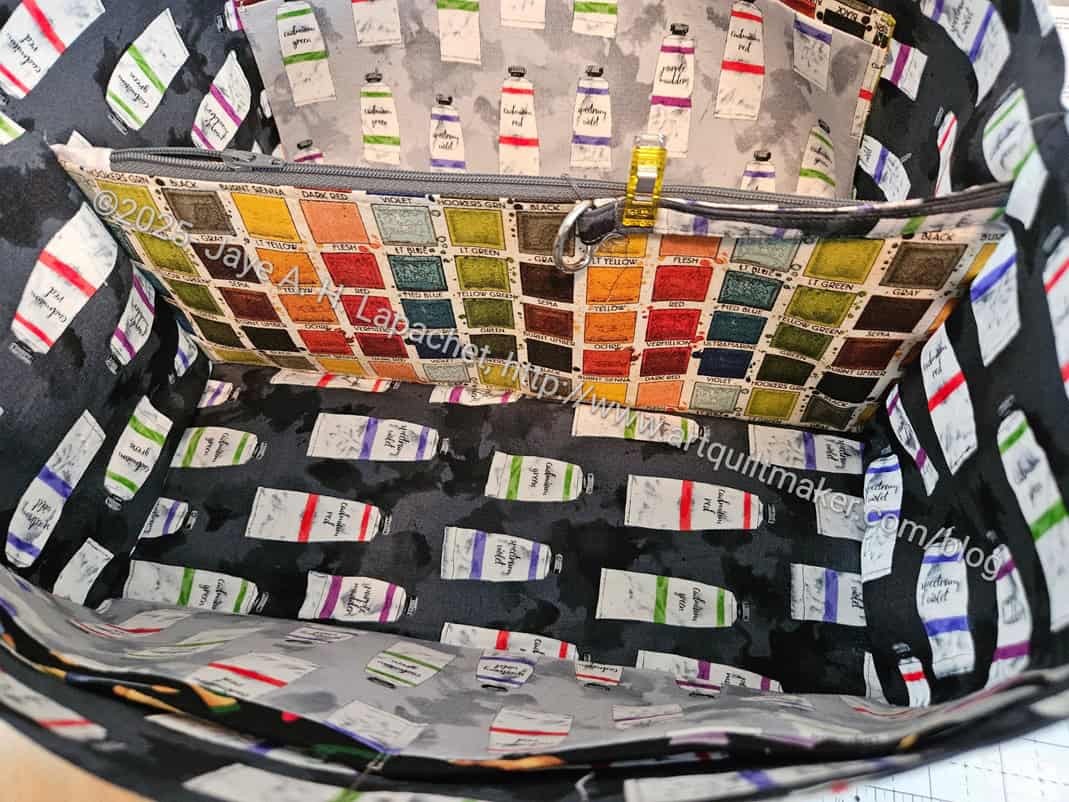
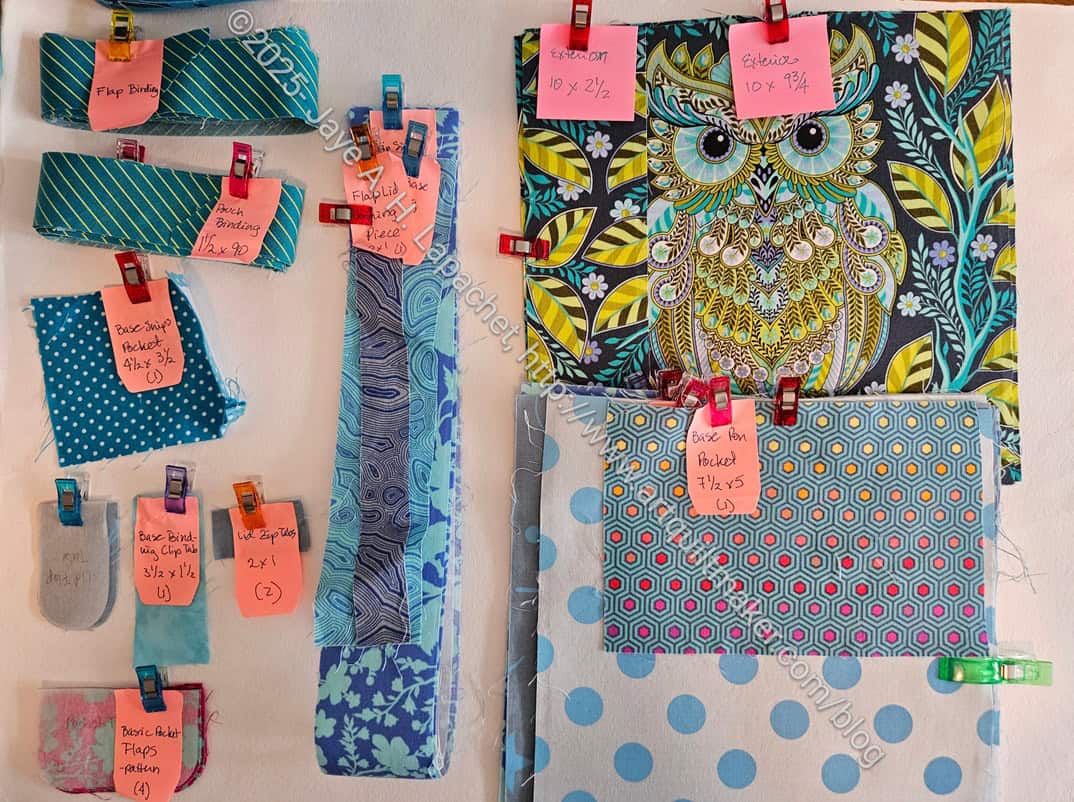
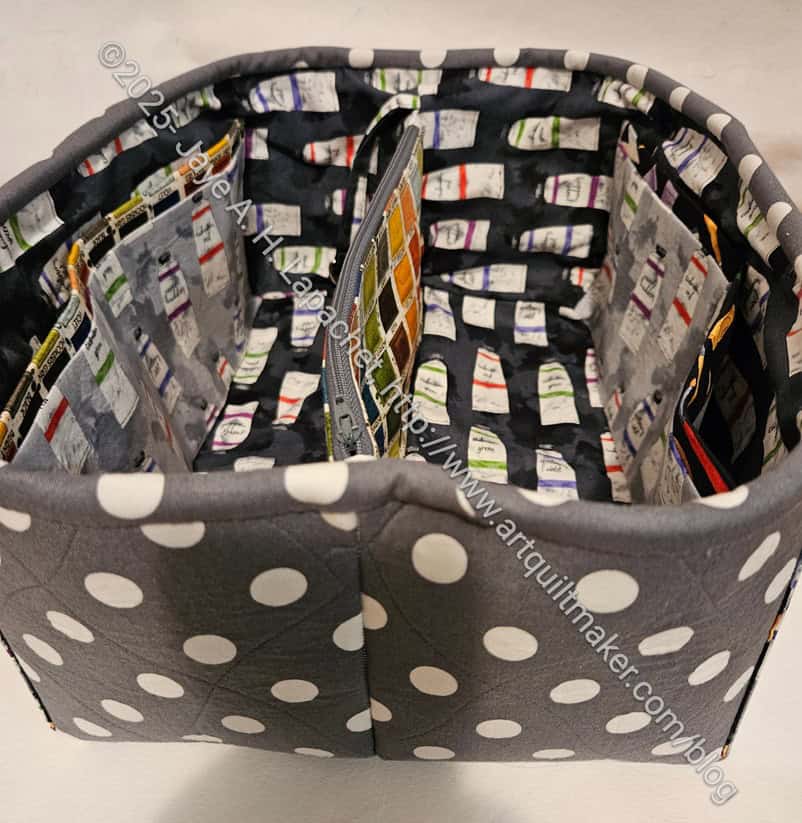
The bag has 5 pockets, but a couple of them are subdivided to keep items organized. One of the pockets is a zippered pocket, which provides the only security in the bag. Otherwise the bag is completely open.
I think it would be possible and useful to make the inside pockets, at least, from vinyl. It will mean that people can see what’s inside. The pockets are deep, too, so a phone inserted will be three quarters in the pocket.

The bag is large enough to keep a water bottle, a book, glasses, phone, hand lotion and a myriad of other items.
The pocket on the inside is one of the 5 mentioned above. It is divided in half so the sections are larger. A phone will fit inside.
The pattern says to do some stitching across the center seam near the top of the bag to anchor the lining. This was not enough for me. I didn’t want the lining getting caught on something and flipping out of the bag. My practice of anchoring linings to exteriors with Lynette the other week (month?) and a note in a Sew Sweetness pattern helped me figure out how to anchor this lining. As I was turning the project inside out, I realized that I could anchor the center bottom exterior seam with the center pocket seam. With a lot of jostling and bag wrangling, I was able to do it.
That didn’t solve all of my problems. I couldn’t figure out how to anchor the lining to the exterior using the boxing corners method that Lynette and I discussed. Not because I forgot how to do it, but because of that center pocket and because the whole bag was so stiff. I still needed more anchoring, because the corners were not anchored to anything. I ended up setting a few hand stitches in in the corners to keep the lining in the corners. If I were to make this again, I would do something different. I don’t know what, but something.

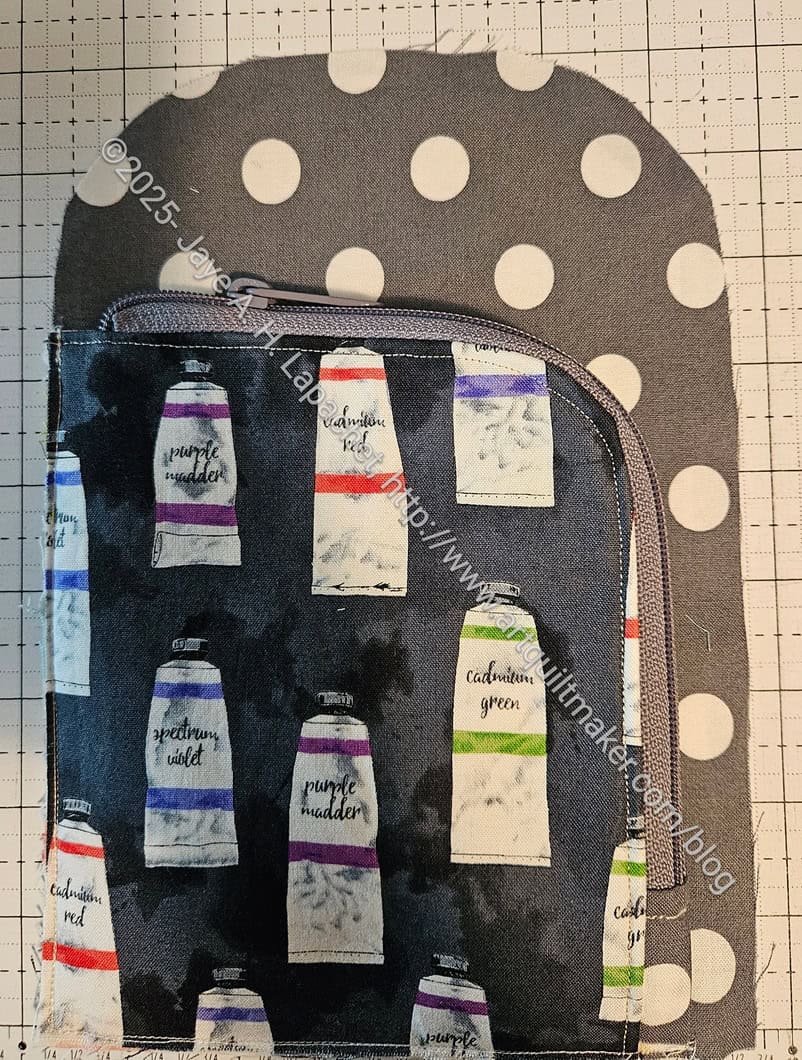
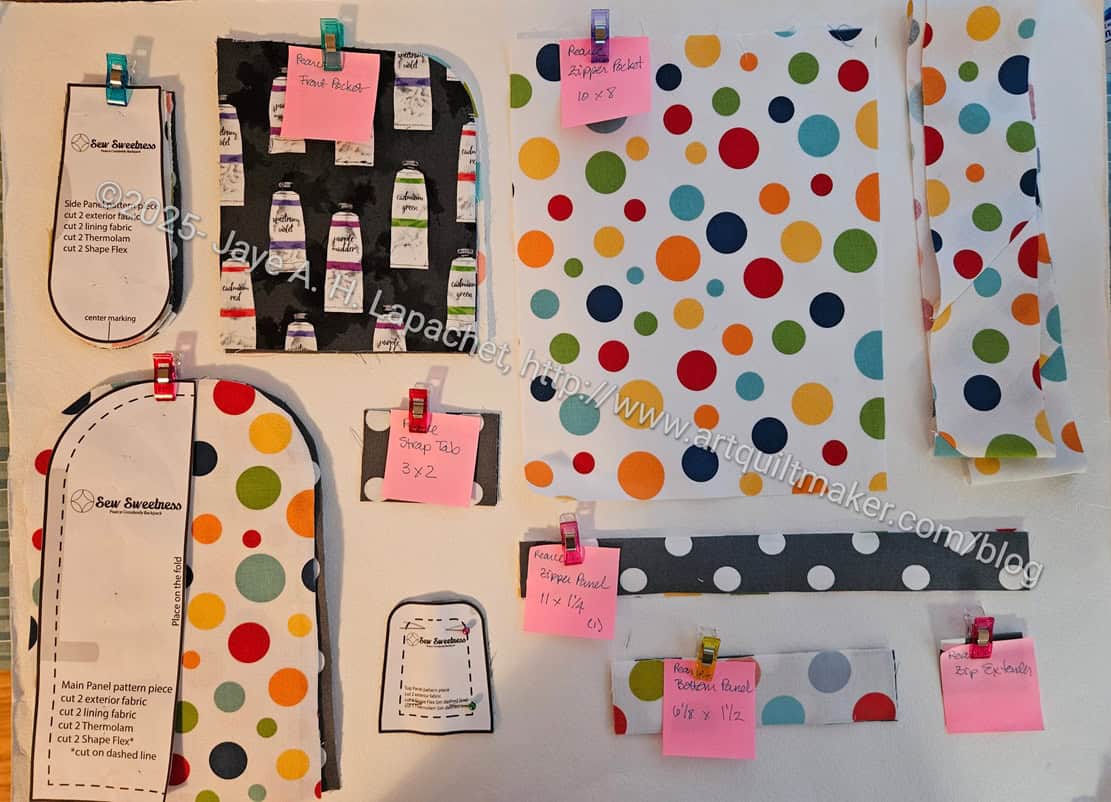
The exterior has more pockets. I divided the front pocket (photo, left) into 3 sections with the right section being largest. The smaller sections can be used for pens.
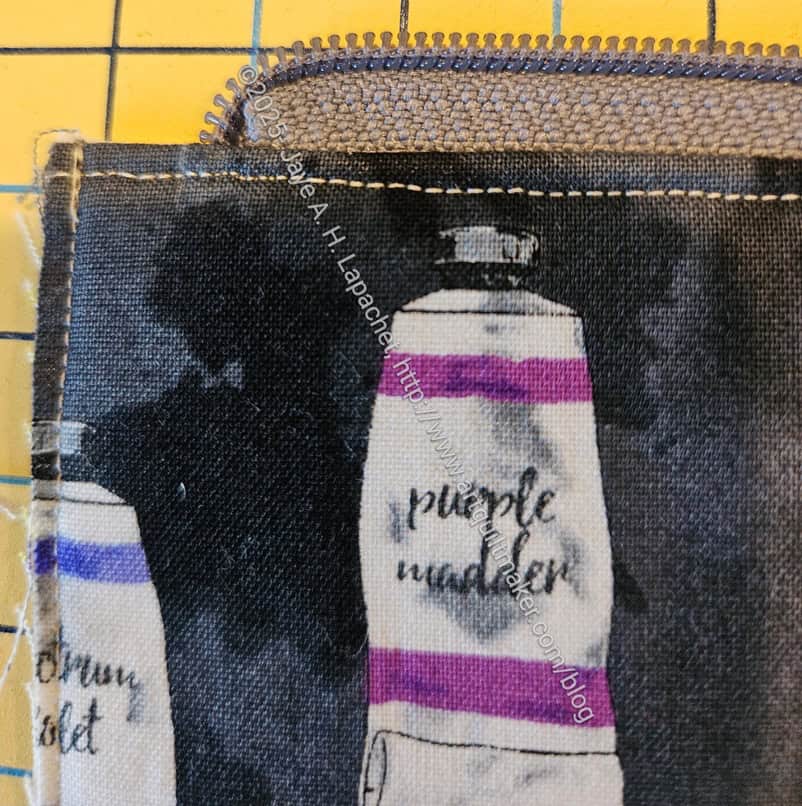
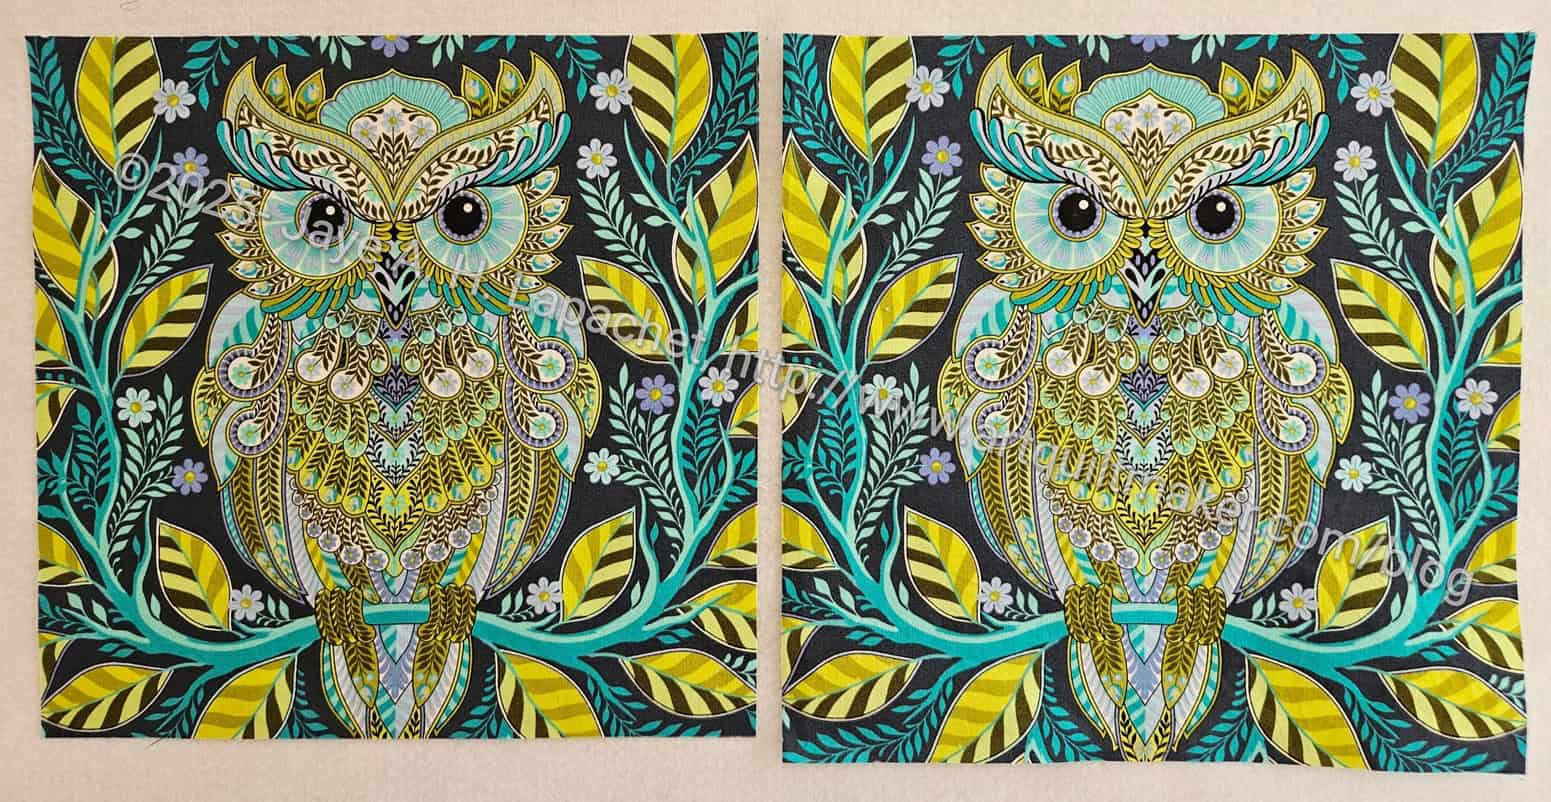
I like the trick of ‘self trimming’ for pockets. In this case, the trim is also the inside of the pocket. I wouldn’t do it again for this bag, or I would use a solid or tone-on-tone fabric. The art supplies fabric is lost in that small trim area.
I’ll let you know how Mom likes it and if it is useful. I am pleased I was able to finish it.