I hope all of you start 2024 the way you want it to continue.
I am taking today off from the blog, mostly, so I can sew and putter around the house.
Commentary about works in progress, design & creativity
I hope all of you start 2024 the way you want it to continue.
I am taking today off from the blog, mostly, so I can sew and putter around the house.
2023 blog posts: 358
2023 fabric used: 58.63 (30% used for Charity) – I can really believe I have made all the items listed below with 25 yards of fabric! It really doesn’t take much fabric to make a quilt.
To compare, take a look at the 2022 Year in Review post.
I seem to be finishing four – six quilt projects per year. Four of the projects below were long time residents of my 26 projects list. I am pleased to have them finished.
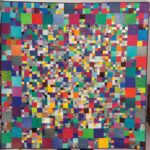
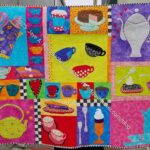
Finished (for me!) Donation Quilts
As you know, I don’t quilt much and I enjoy the collaborative effort of making a top and allowing someone else to quilt it. Thus, the quilts below are mostly tops, but I have included the finished quilt once someone else finishes it for the group.
I never seem to make as many tops as I think I should. These are pretty nice tops, though, and I am pleased to say that I usually have a donation top, or some blocks, under the needle.
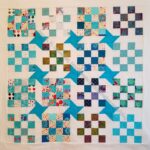
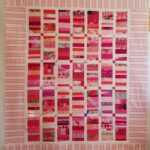
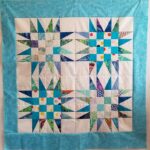
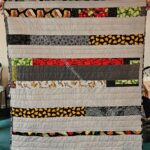
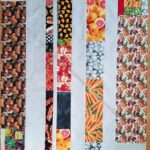
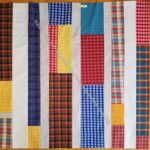
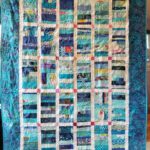
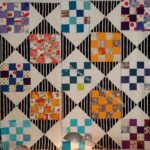
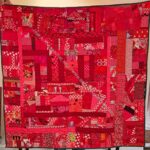
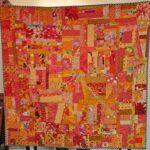
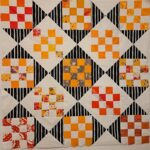
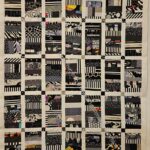
It would be great if I was able to make one more donation top before the end of the year. 12 quilt tops = 1 top per month, though I didn’t make all of them this year. Regardless, the blog symmetry is good.
Finished Bags and Small Projects
This category covers bags, toys, aprons and knitting as well as other non-quilt projects.
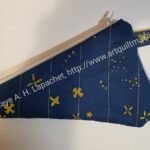
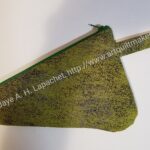
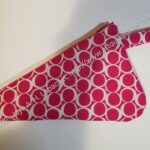
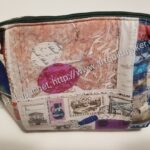
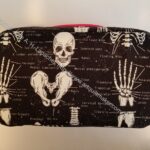
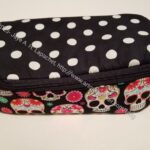
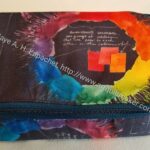
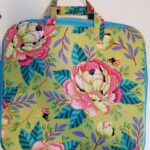
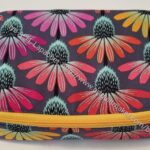
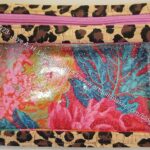
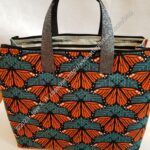
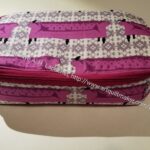
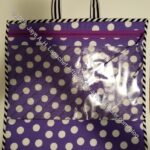
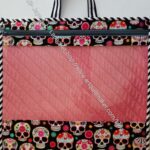
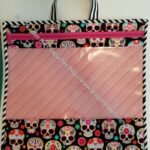
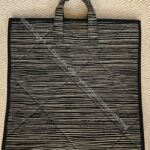
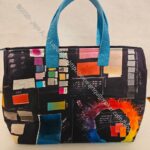
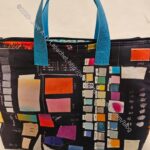
It was definitely the year of the Hackneys. I kept making that bag and am not sure I am finished with the pattern yet.
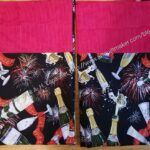
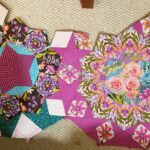
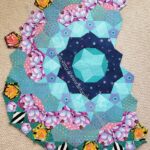
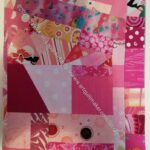
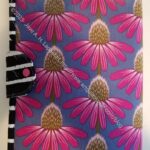
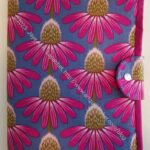
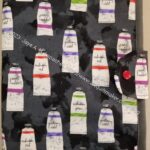
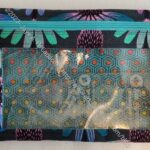
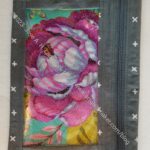
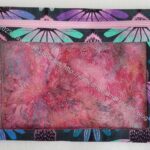
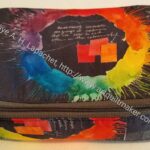
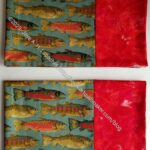
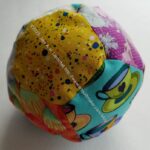
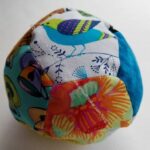
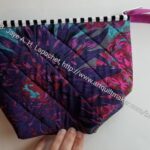
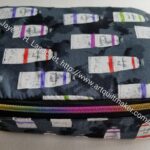
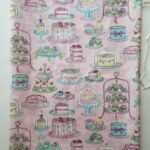
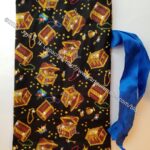
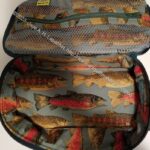
The ‘In Process’ is used to denote projects on which I am actively working or are on the design wall waiting for me to stitch. I am continuing to try not to put away projects, so that they stay off my UFO list. I find putting a project away ensures I never work on them. Out of sight out of mind, I guess.
Quilts (machine work)
Quilts (Handwork)
I decided that some of my quilts are in a different class because they are hand piecing or embroidery or beading. They take longer. Thus I created a new category and have moved some projects here.
Ready for Quilting
In the Quilting Process
In the Finishing Process
Still UFOs
I still have UFOs. Who doesn’t, after all? A project in the ‘UFO’ category means I am stalled, it hasn’t been worked on in awhile or it is waiting its turn to be worked on. The list is a lot shorter and the projects are newer, for the most part.
I am annoyed that some of these are still WIPs. I just need to work on them!
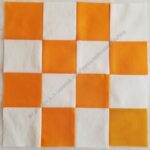
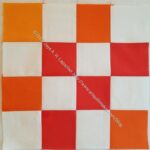
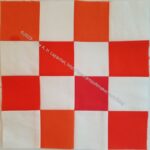
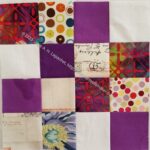
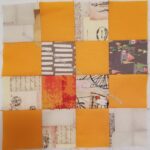
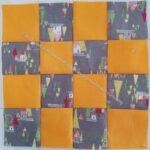
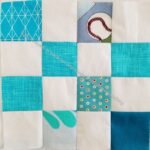
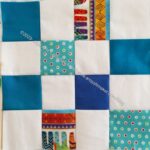
This is quite a few donation blocks (188 at last count)! I am pretty pleased with how many blocks I made this year. I know you saw many of these yesterday. Scroll down to revisit the ones I made earlier this year.
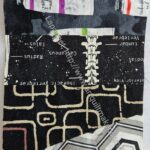
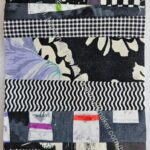
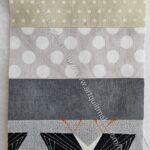
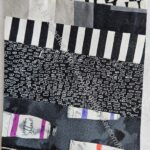
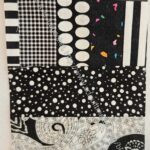
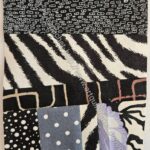
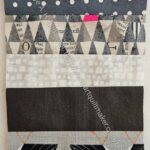
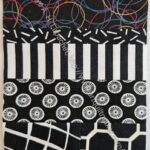
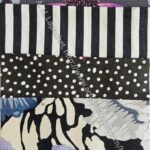
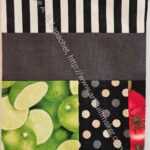
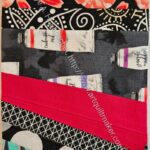
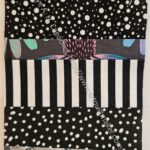
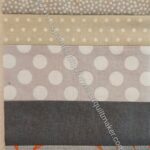
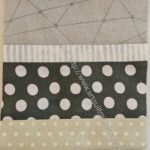
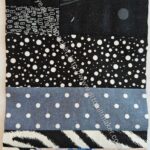
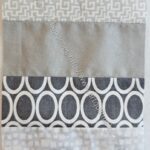
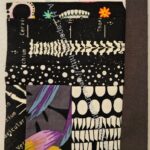
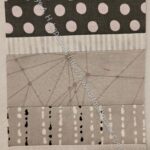
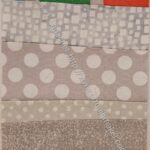
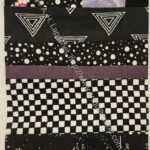
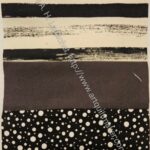
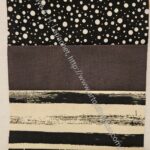
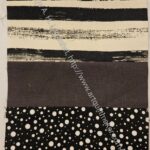
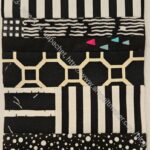
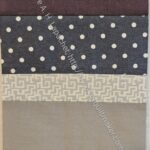
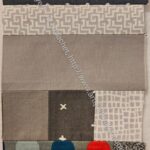
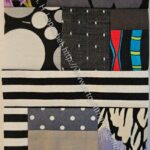
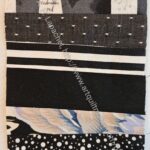
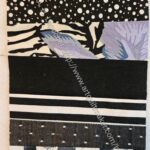
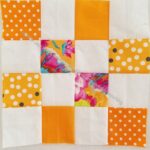
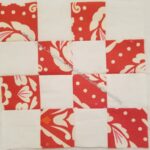
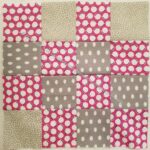
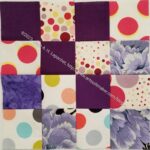
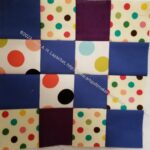
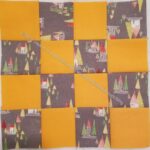
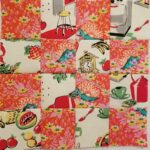
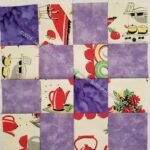
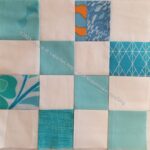
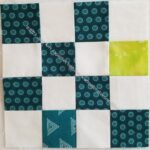
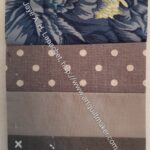
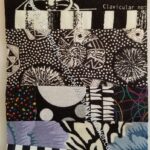
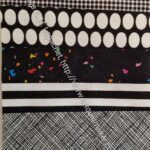
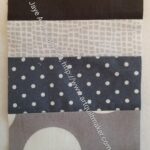
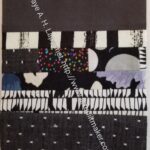
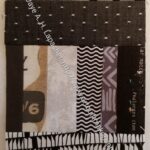
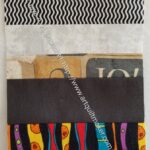
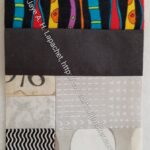
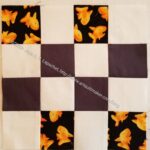
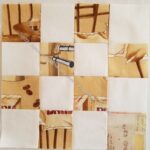
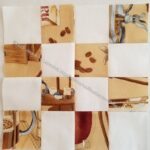
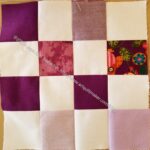
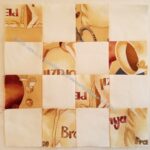
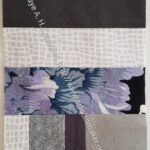
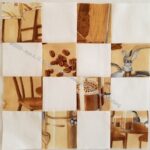
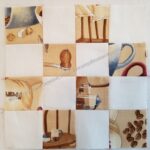
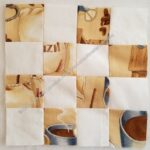
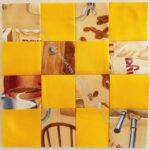
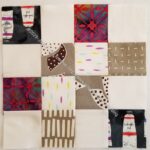
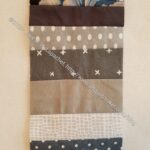
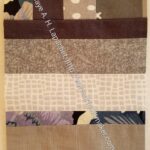
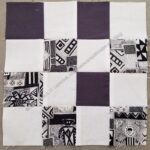
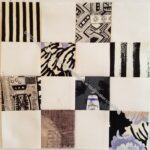
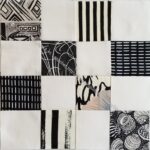
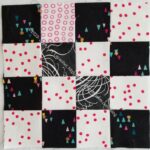
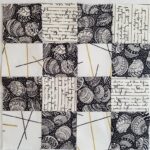
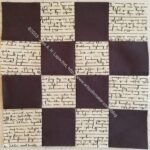
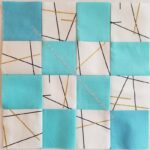
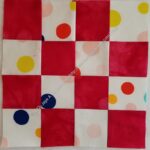
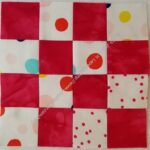
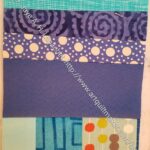
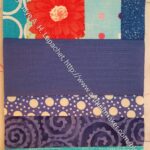
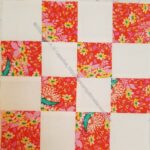
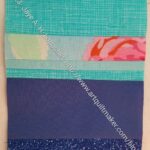
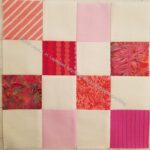
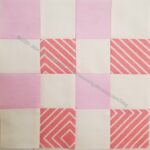
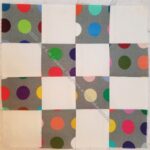
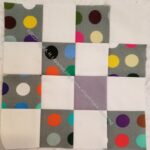
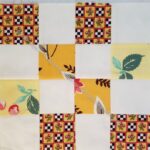
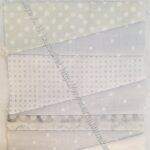
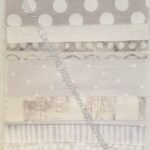
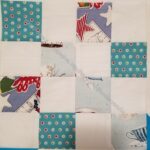
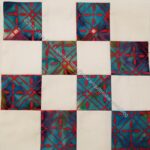
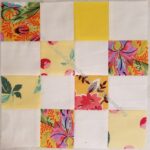
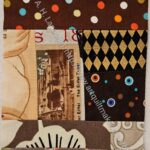
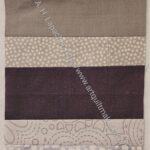
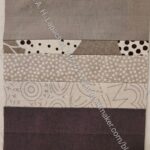
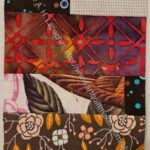
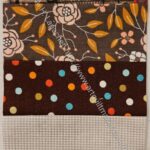
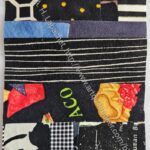
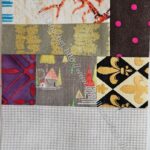
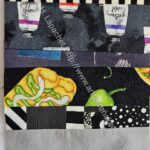
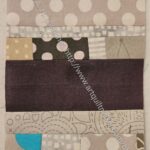
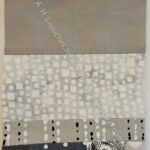
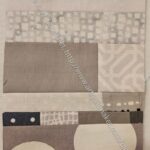
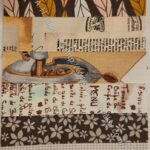
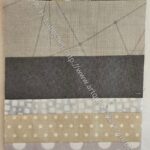
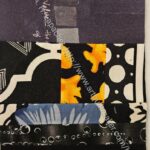
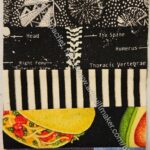
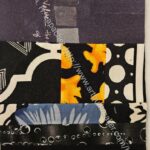
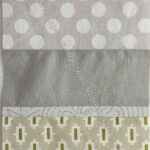
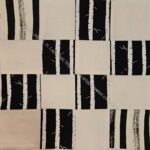
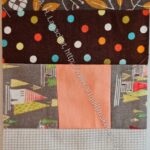
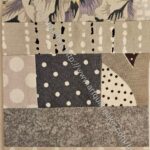
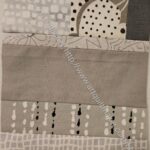
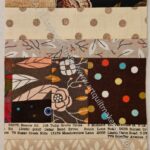
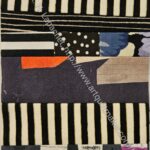
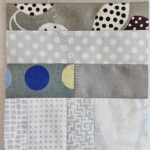
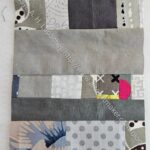
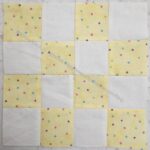
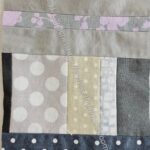
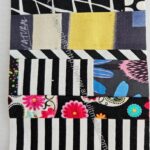
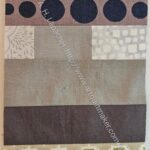
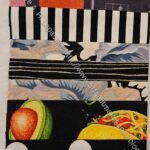
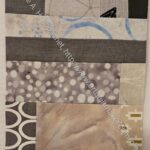
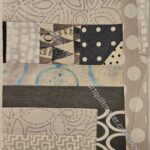
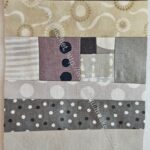
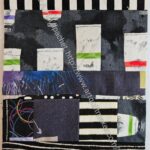
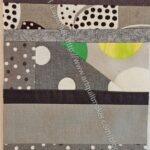
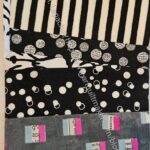
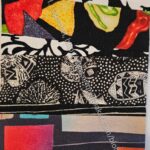

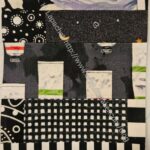
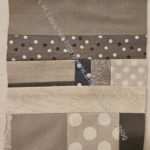
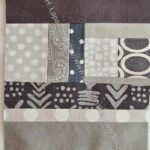
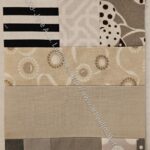
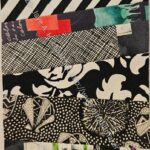
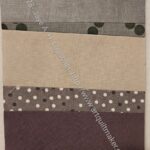
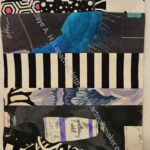
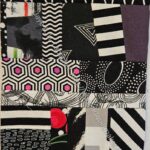
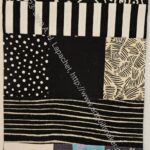
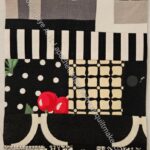
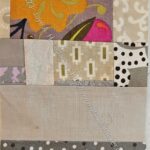
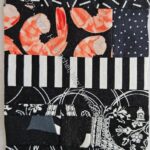
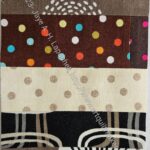
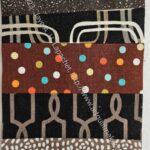
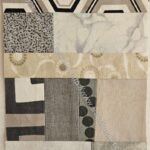
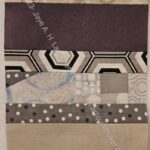
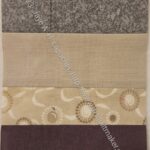
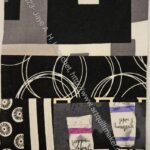
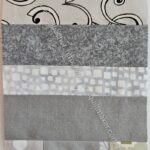
I realize that most of these are black or light grey. This is a result of working through my black, grey and brown scrap bin.
Unfortunately, I was being odd when I first started naming these blocks and so they are all called Dark Grey…. I will probably end up making, at least, two quilts out of the blocks you see. I think I will make a light grey and a black quilt, but it depends on how much light grey I have. The drawer was full when I started and I still have quite a few scraps, though most of the straight strips have been used.
I was able to make so many because I used a strip piecing method and just zoomed them through the machine. I also didn’t have to worry about matching any seams since I trimmed them to the right size once I had a large enough piece.
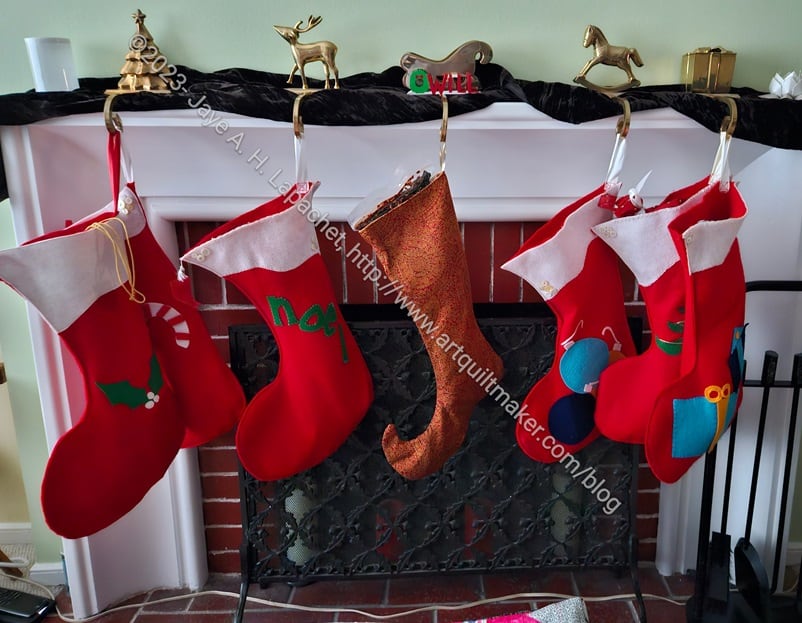
Our holiday celebrations were a bit topsy turvy this year as the normal hosts, SIL#4 and BIL#4, of our family Christmas Eve party were out of town. As a result, I invited my niece, their oldest daughter and her fiance over for Christmas morning.
This was great as they are delightful guests, but I didn’t have enough stockings. I have enough for the three of us, my parental units and one spare for random visitors. Now I have two spares.
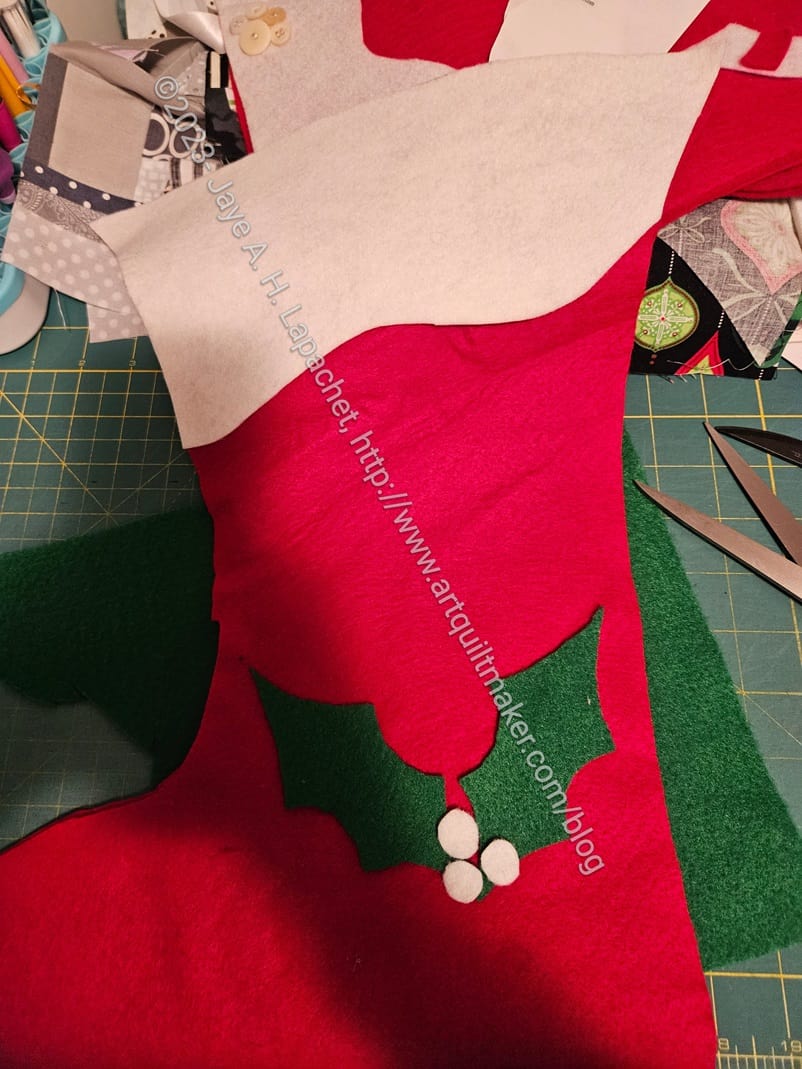
I had a lot to do over the past few weeks and was busy as work. Though this project was on my mind, I didn’t start making it until Christmas Eve. I put the YM in charge of the dinner and went off to make a stocking.
I found some line art I wanted to use, then I traced one of the stockings, made the motif and sewed the whole thing together. It has been several years since I made stockings, but this one went together pretty well and looked good when finished. My soon-to-be nephew was pleased to be included.
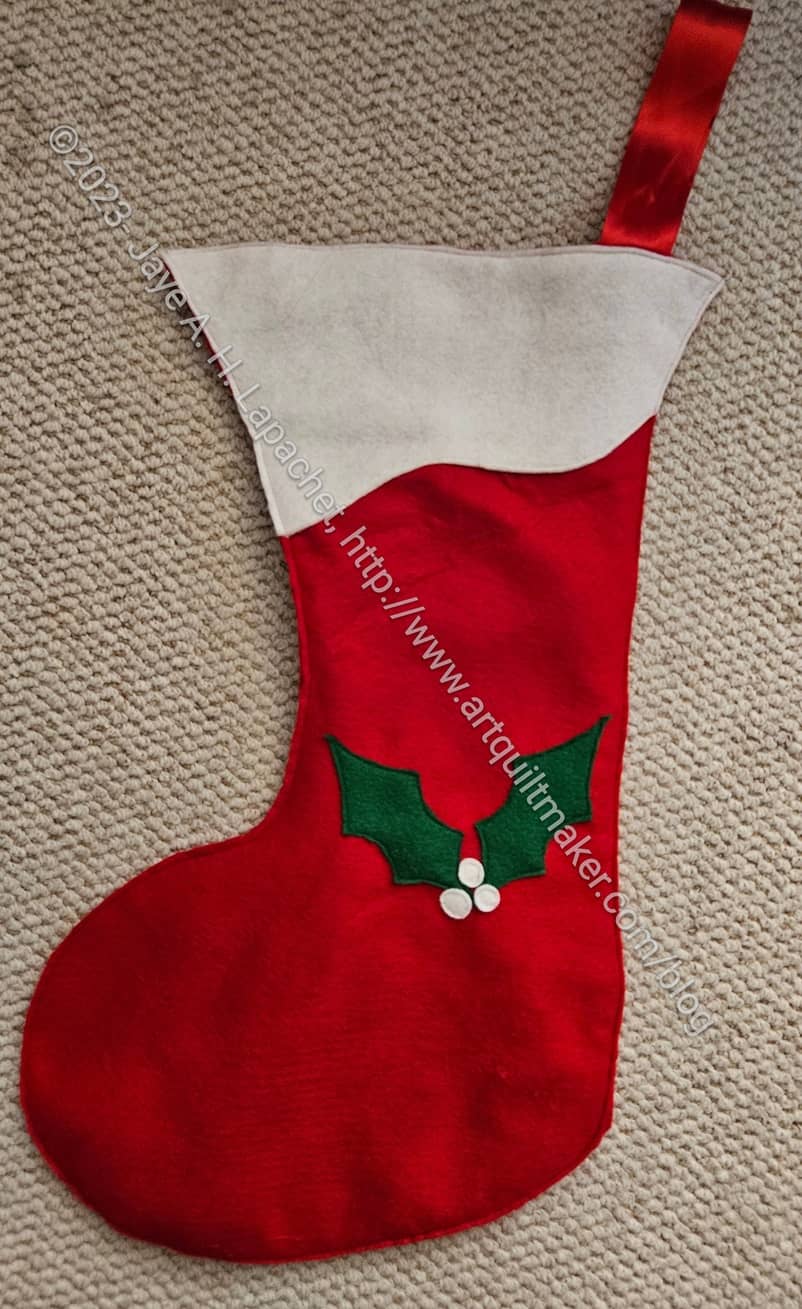
I am pleased with the way the stocking came out. I spent, maybe an hour, on the whole project. The ‘pattern’ is relatively simple. I use felt because I don’t have to worry about raw edges, but you could make one quilted and appliqued as well..
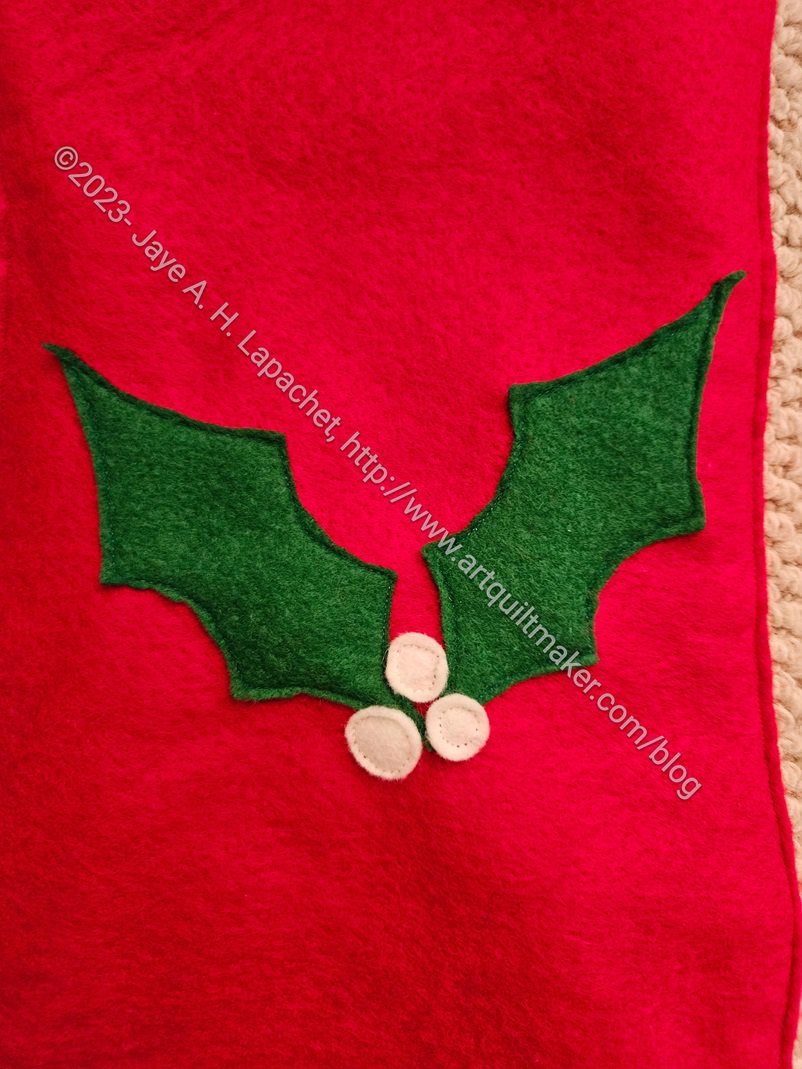
I really want to work on embellishing the stockings in general. I may start on that this evening. I plan to put a spine on the holly, but we’ll see when. I try to do a little every year, but don’t always get to it before we put the Christmas decorations way.
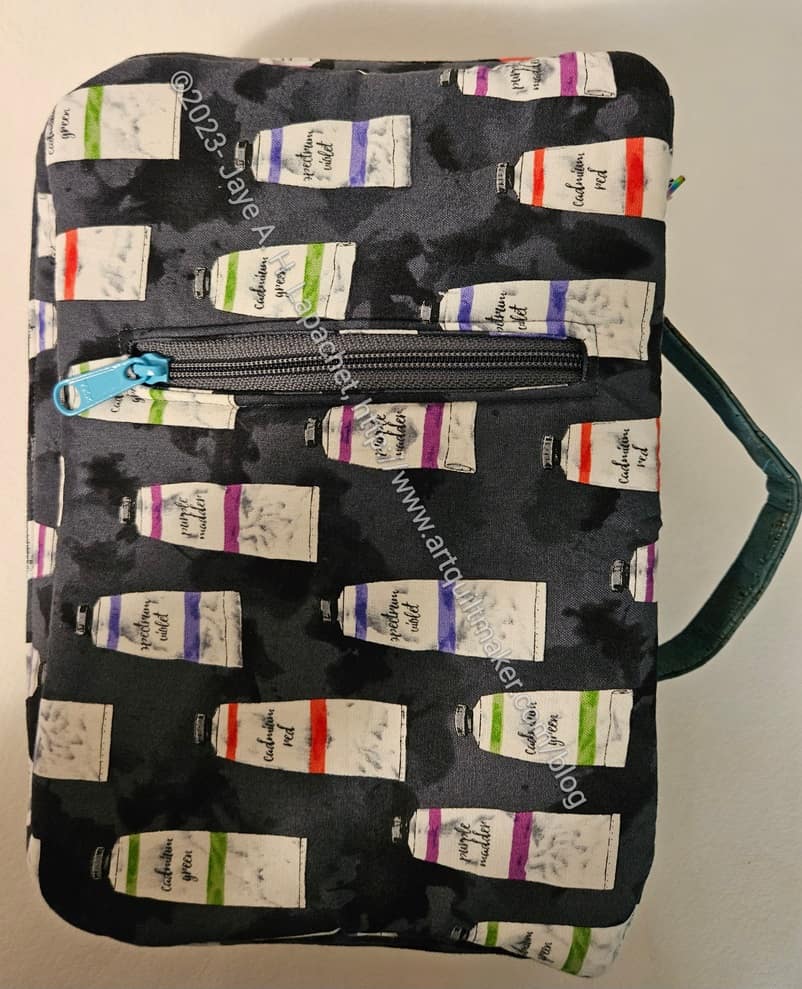
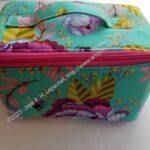
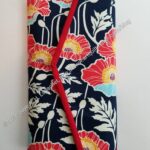
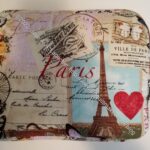
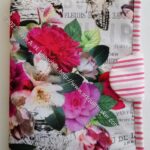
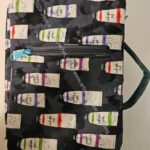
I made this book cover for my mom for Christmas. I wanted to enter the Sew Sweetness challenge for the month, which used this pattern. I didn’t think I would ever make it as I don’t normally carry books around. Then I talked to my Mom about her book club and all the pieces came together in my mind. It seemed like a good opportunity to make sure she can take her Bible to book club (Bible study??) in a chic and personalized manner.
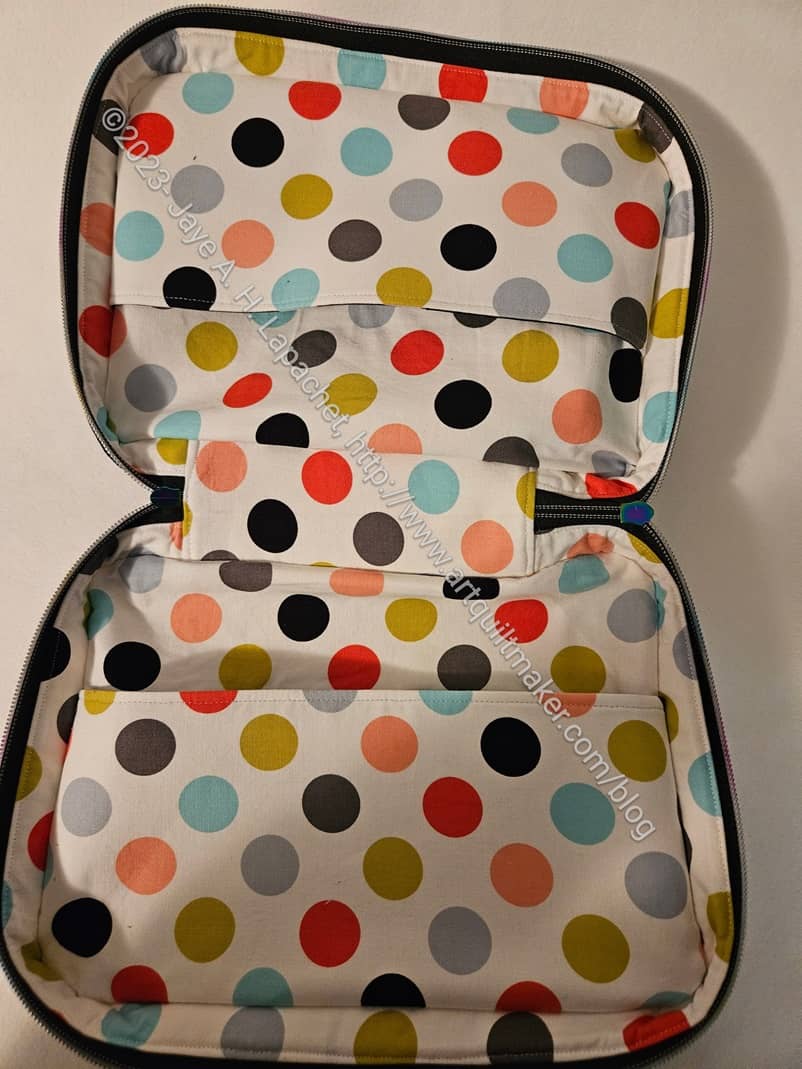
The Goldenrod Book Cover is one of the patterns that make up Minikins Season 4.
The idea is that you slip the cover of the book into each of the slip pockets and then zip the cover up. The handle is on the top (see above), which allows the owner to carry it. I thought it would be good to put a shoulder strap on it, but didn’t have the time to work out that change, so left it for another day.
Some of the construction is similar to the Hackney pattern– the gusset and the piece under the handle that connects the ends of the gusset. I am sure it makes sense in terms of pattern writing, but I appreciate it as I feel like I am gathering a bunch of skills that can be interchanged between patterns.
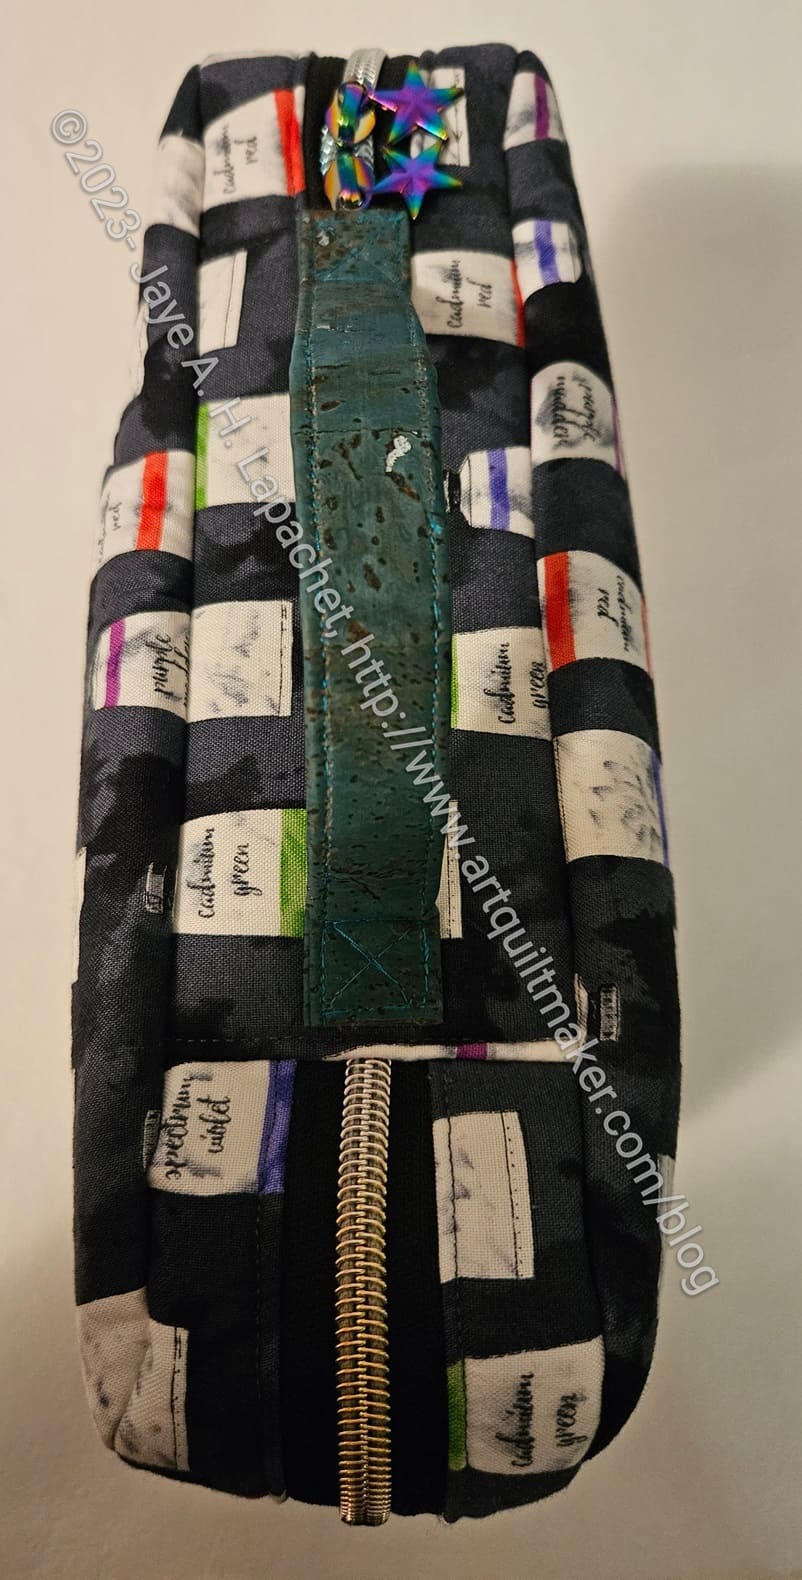
I used a piece of cork (?) I bought from Sew Hungry Hippie. They don’t have the exact color any more, so I am not linking to the product. It is called cork microfiber backing. I had some trouble with skipped stitches while sewing it. I tried different needles and rethreading. Nothing worked so I have reached out to the team at Sew Hungry Hippie to see if they have any suggestions. Writing to them made me think that I had not tried different thread. As you know, I mostly use Aurifil and have a lot of colors. Of course, I have other thread, but not in the array of colors.
It is important that I figure out how to use this material since I want to use it for the Rockstar bag. I’ll need more of it for that pattern and don’t want to fight with it the entire time.
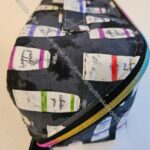
Mom seemed to like it and I hope she will be able to use it. She really liked the rainbow zipper.
Haha! I am off work for a week. While I don’t get paid, I am excited to have some time off. The YM is home, so we are doing a lot.
I will post more about these projects, but I wanted to show you all the gifts I made for Christmas and December birthdays. It doesn’t look like a lot, but I have been busy.
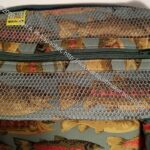
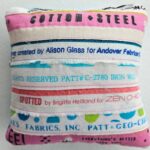
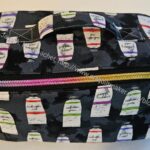
I feel like I sewed more than are shown here, but I can’t find them if I did.
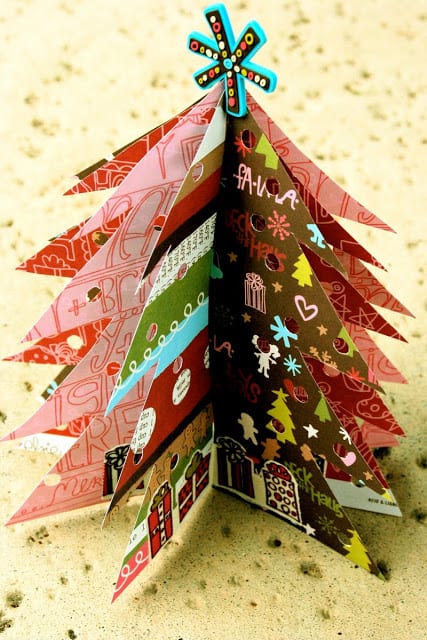
I am taking another day off to hang out with my family. Despite this lack of real content, I wish everyone peace and kindness in your life. Have a great day!
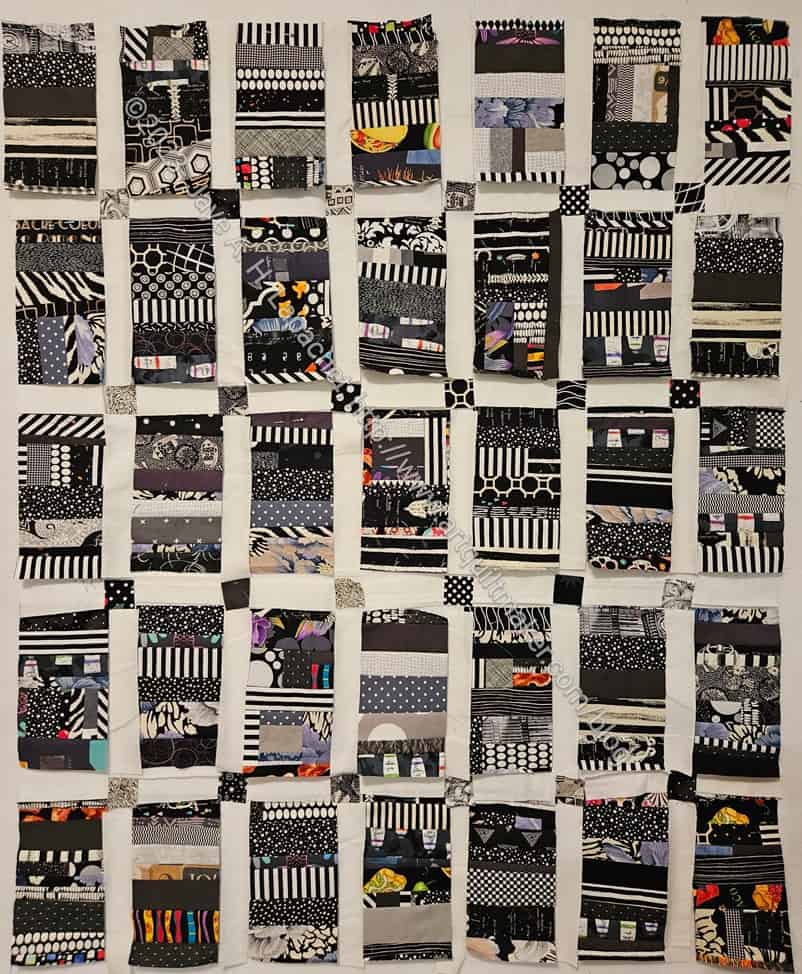
I spent some time yesterday, before I started cooking and wrapping, cutting sashing strips and cornerstones. I thought about putting colors in the cornerstones, but ultimately decided that I would stick with black. My goal, after all, is to clear out that scrap bin.
I wanted to get all the pieces cut so I would be able to sew if I had a few minutes in between the crazy. I tried all day yesterday to press a gift and that hasn’t gotten done, so I doubt I’ll find the time. Still, I am making progress.
Even though I finished enough blocks to make the Black Color Strip donation top, I continued to make blocks. After all, I had more strips. I don’t have quite enough for two donation tops, but I am getting there.
I am nearing the end of my stash of black strips, but I still have a few blocks coming together. As I finish these new blocks, I have replaced a few of the original blocks you saw in the previous post. I thought I would show you a comparison and see what you thought.
I have added the dates so you can see the difference. Let me know your thoughts in the comments.
I have been thinking about zipper installation since my sewing date with Cyndi. There, I installed two zippers.
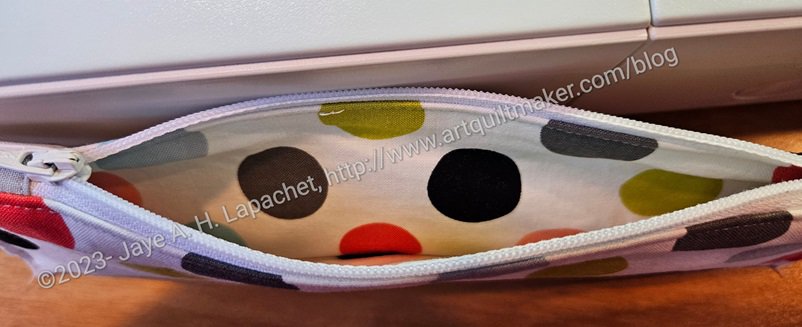
The first one was the small pocket zipper, which went into place with no problem. That small pocket is a great opportunity to use some smaller zippers.
The second was the zipper for the overall bag, which didn’t go together at all well. This was completely my fault, because I was being lazy. I didn’t install the zipper foot and, thus, the edge of the regular foot interfered with the smooth installation of the zipper.
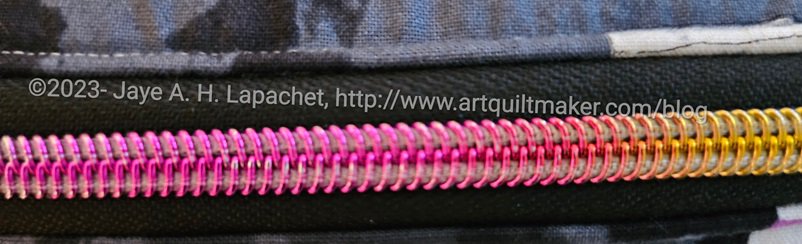
I suffered for my laziness and hope to have learned my lesson. I unstitched the whole zipper, installed the zipper foot and re-sewed the zipper. There were no wobbles using the zipper foot. My only complaint was that I found the end of the thread to be a pain because there is no foot under which to anchor it. I hope I will now have the habit of installing the zipper foot in the future.
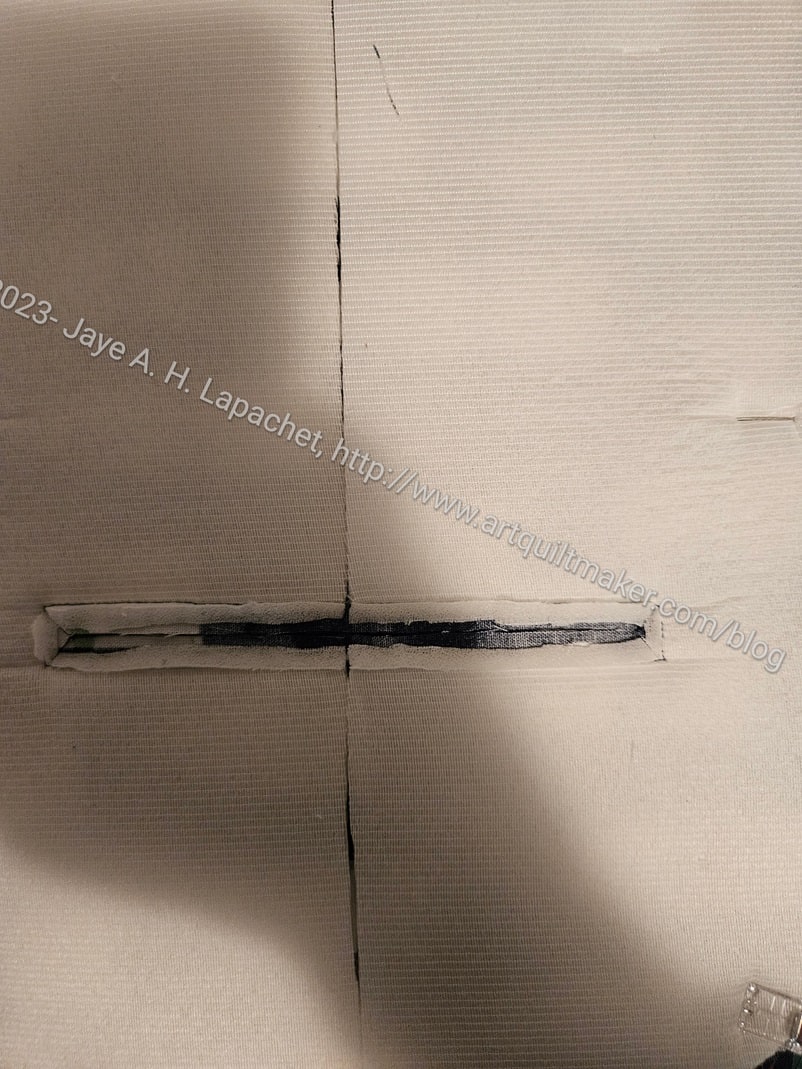
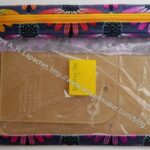
On another bag, I installed an internal zipper pocket. I have always found that pressing the area around the zipper opening into shape before installing the zipper to be less than satisfactory. In this latest pattern, the designer suggested trimming away the foam to make the preparation for topstitching easier. I did that and did find it a bit easier. I could have probably trimmed more, but was trying to be careful since I have never done that before. If you haven’t ever made an inside zipper pocket, take a look at this tutorial. Also, Sara from Sew Sweetness* has a video for using her acrylic template. I have one of those templates and use it every time I make one of these pockets.
*no affiliation; just a happy customer
I went to Cyndi’s house and sewed the other day.
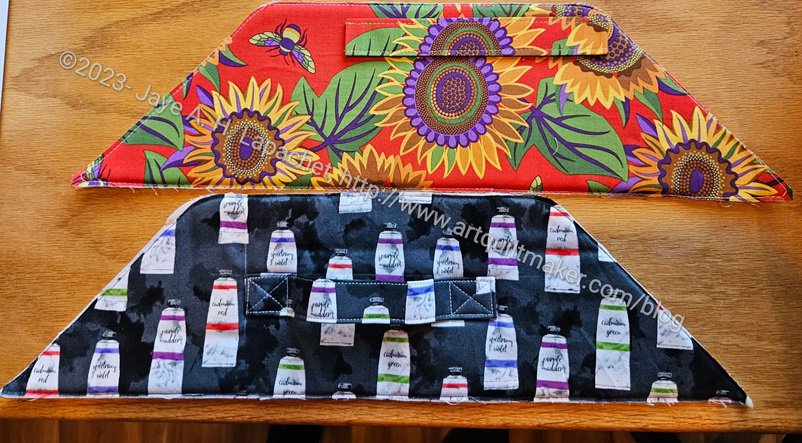
We planned to make the Enigma Bag (Sew Sweetness, Minikins Season 4) together back in November, but life happened, so we didn’t get to it until last week.
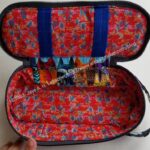
I have to admit that the Enigma Bag might be my new Hackney Bag – that is a bag I make for gifts for various people. I like it a lot. I especially like the diagonal zipper and how it opens flat. I haven’t given them to enough people to have feedback.
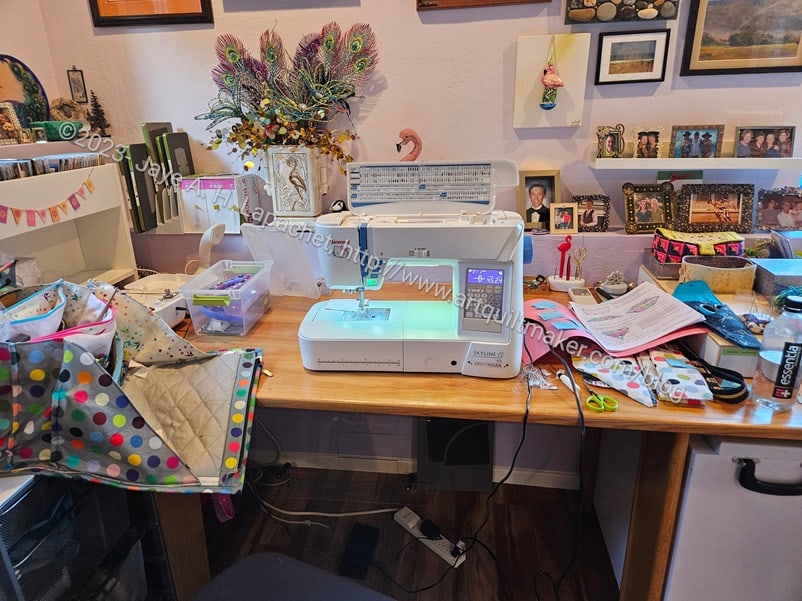
I didn’t feel like lugging my machine along, so Cyndi kindly let me use her machine. She has a Janome Skyline and I have to say that it was really nice to use for sewing. The bobbin loading was amazing. I might need to look into getting a new machine. That’s a story for another day.
As you can see, I moved in quite completely. My pattern and pieces are on the right and my go bag is on the left.
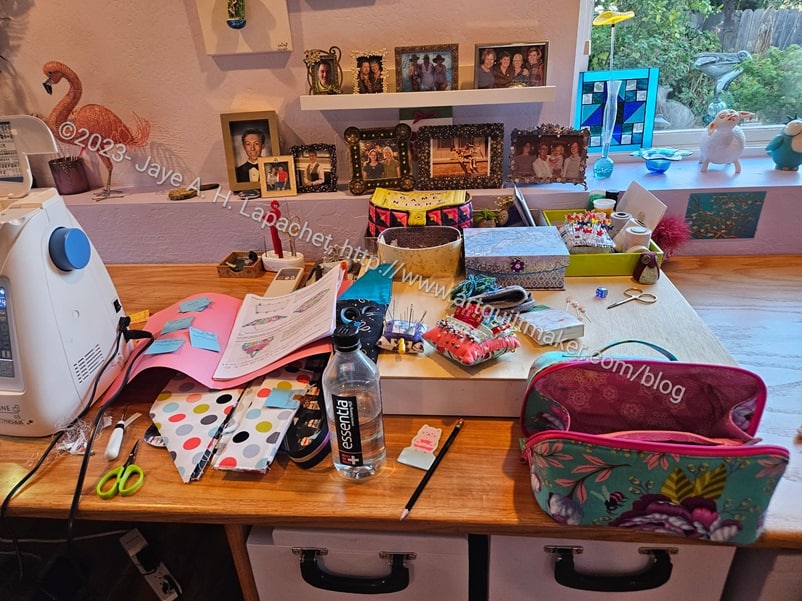
I had done all the cutting and prep for my bag, so I worked on cutting out the Goldenrod book cover, which I decided to make at the last minute, while Cyndi finished her prep. I started a bit before and was able to get to the point in the pattern where I installed the main zipper. I wasn’t happy with it, though and stopped, because I needed to contemplate the zipper in the overall scheme of making the bag.
It was a great day and I enjoyed sewing with someone else very much.
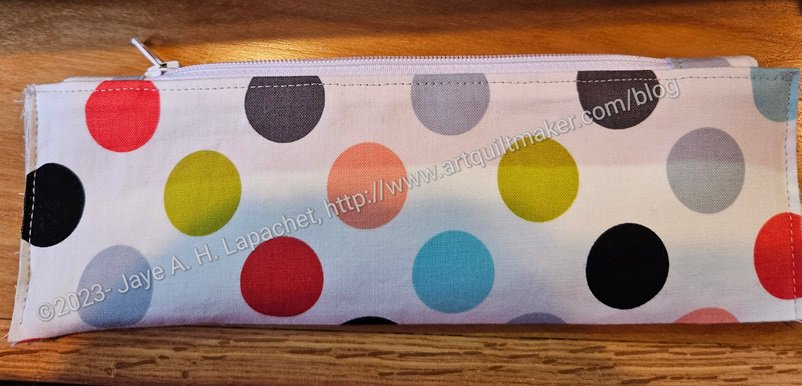
I went over to Cyndi’s house the other day to sew. We had decided a few months ago to make the Enigma pouch together. We both prepped our pieces at home, then worked on sewing them all together.
With bags the prep is the hardest and most tedious part. It doesn’t matter how many times I have made a bag. The prep is a drag.
One of the things I had to do was make the inner zipper pocket. This is such a tiny little pocket. I have found it useful on my Peony Enigma. Still, I marvel at the small size of this pocket.
I ripped out the main zipper and sewed it in a second time. The second time I actually used my zipper foot and the zipper installation went perfectly. Now I have a big note on the pattern to install the *&^% zipper foot!
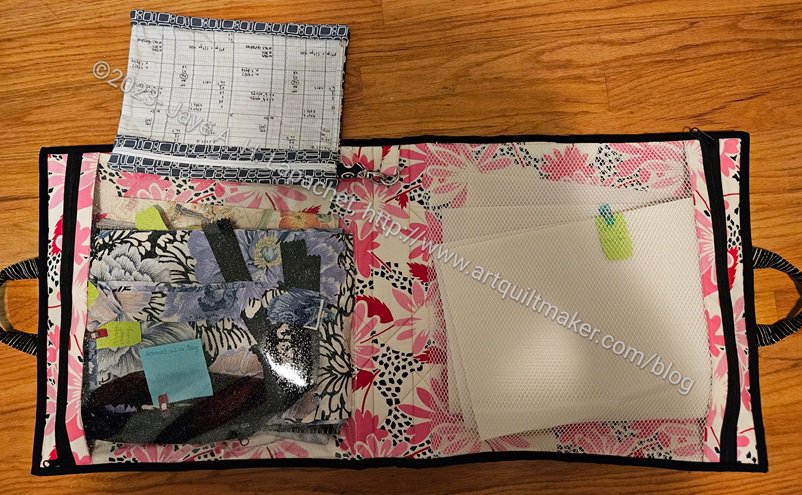
I just posted about this bag the other day, but had to show you how I have already started to use it.
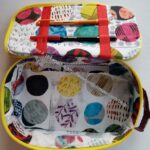
In the photo, you can see the pieces of the Crafty Gemini Retreat in a Bag, also from the 2018 Organizer Club.
I am still not happy with the Road Trip pouch, but haven’t done anything to fix the position of the clip. At the time I took the photo above, I wasn’t using the pouch for anything. I am not sure where the hardware is for this project, but have another box with all of the 2018 Organizer Club bits and pieces in it, so will look there later.
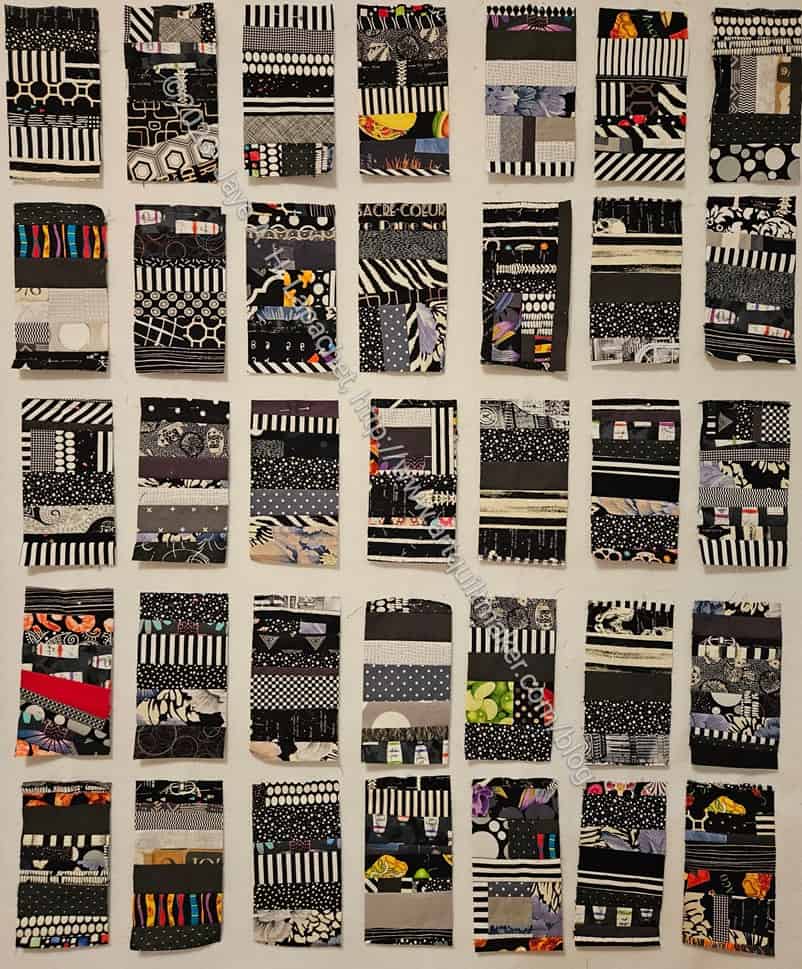
I have been busy making these blocks. I should have been doing other things, but I wasn’t. I just sewed after work, then sat with my DH.
As you can see, I have enough to make a quilt. I am going to start sewing the sashing on soon.
I am thinking of using pink cornerstones and a thin pink border. I like the black and pink color combination. The problem is that this would be a great boy quilt and pink would ruin that. Red might be a good alternative. I’ll have to see.
I still have more strips and am still working on making the grey blocks. My black/grey/brown scrap draw isn’t empty, but it is much emptier. That is a huge bonus as I can actually close it now.