Various & Sundry 2022 #8

This is an incredibly massive V&S. Hope you can make it through whole thing as there is lots of important and fun links to explore. Maybe two sessions?

Admin

Send me other blog comments

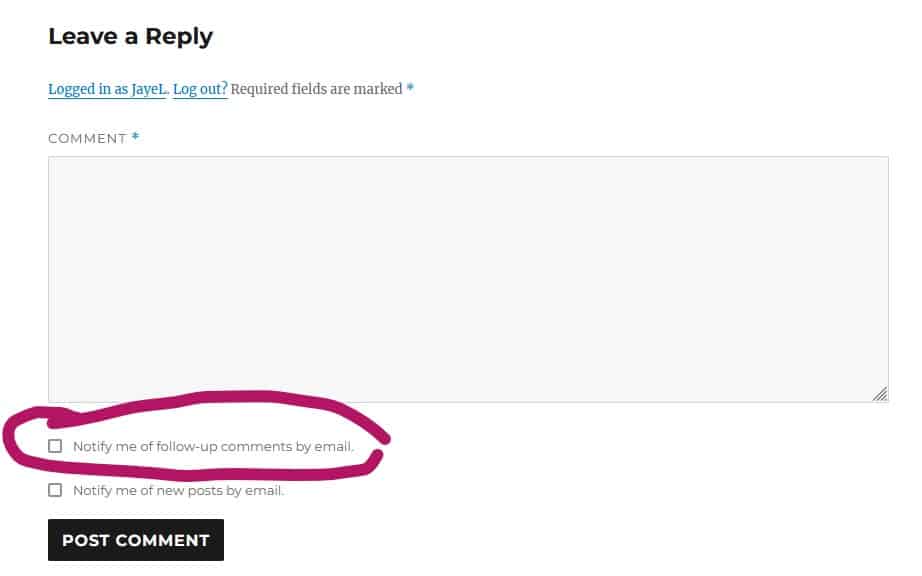
Reminder that if you ask a question in the comments and forget to come back and look at the answer, you can click the “Notify me of follow-up comments by email.” and get other comments on the one post. This will send you a notification when I answer. I do try and answer all comments, though I don’t always answer that same day.

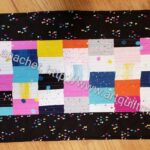
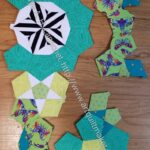
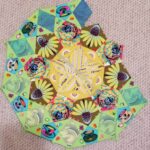
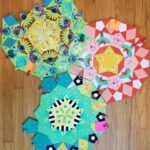
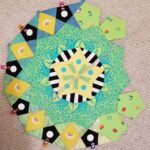
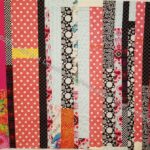
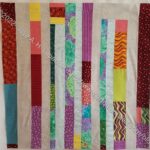
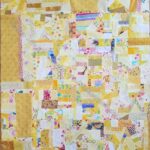
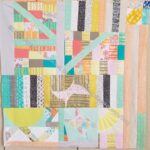
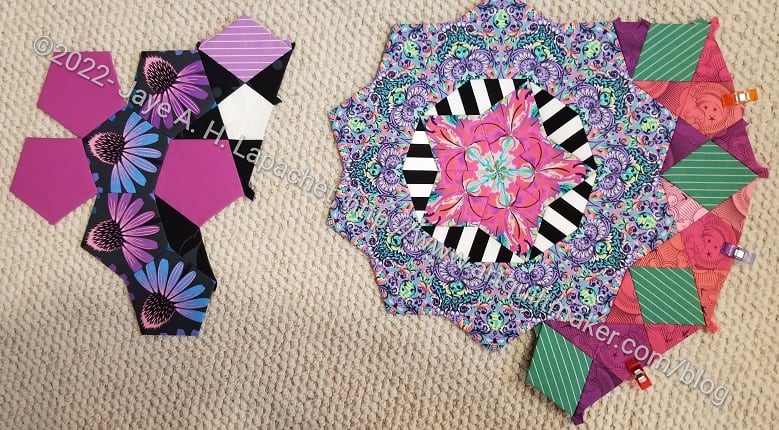
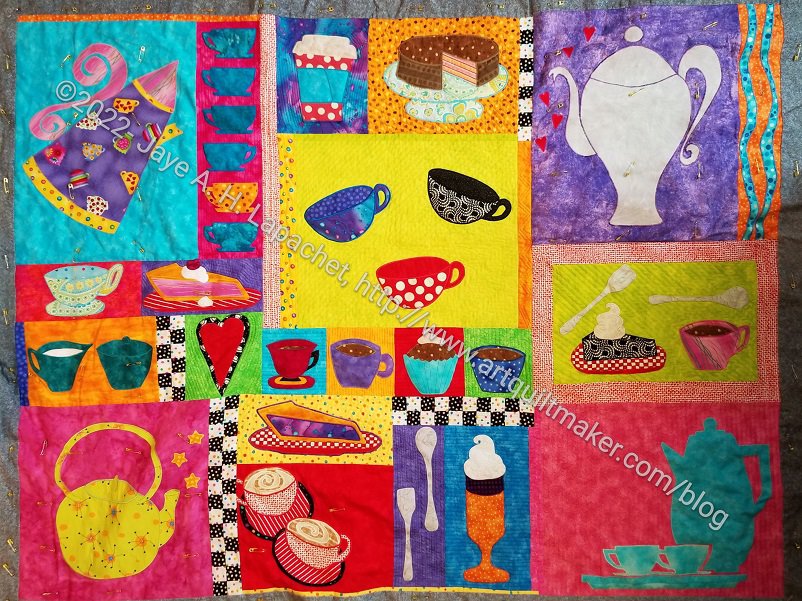
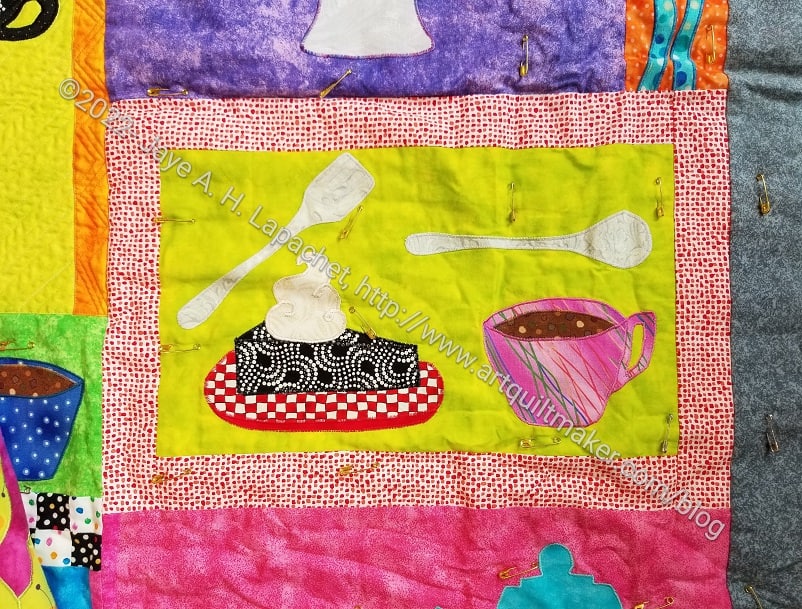
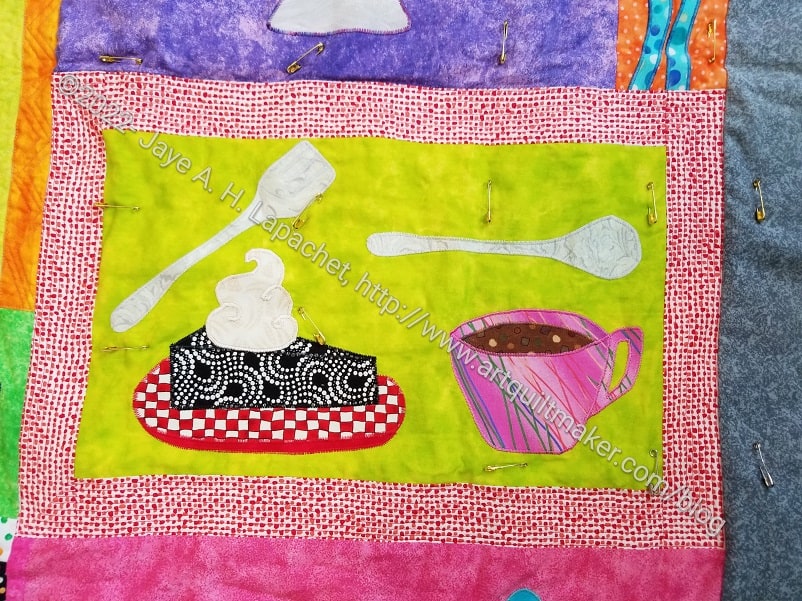
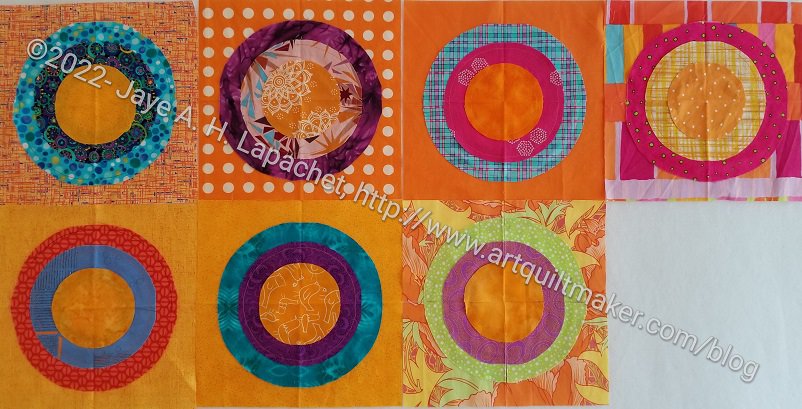
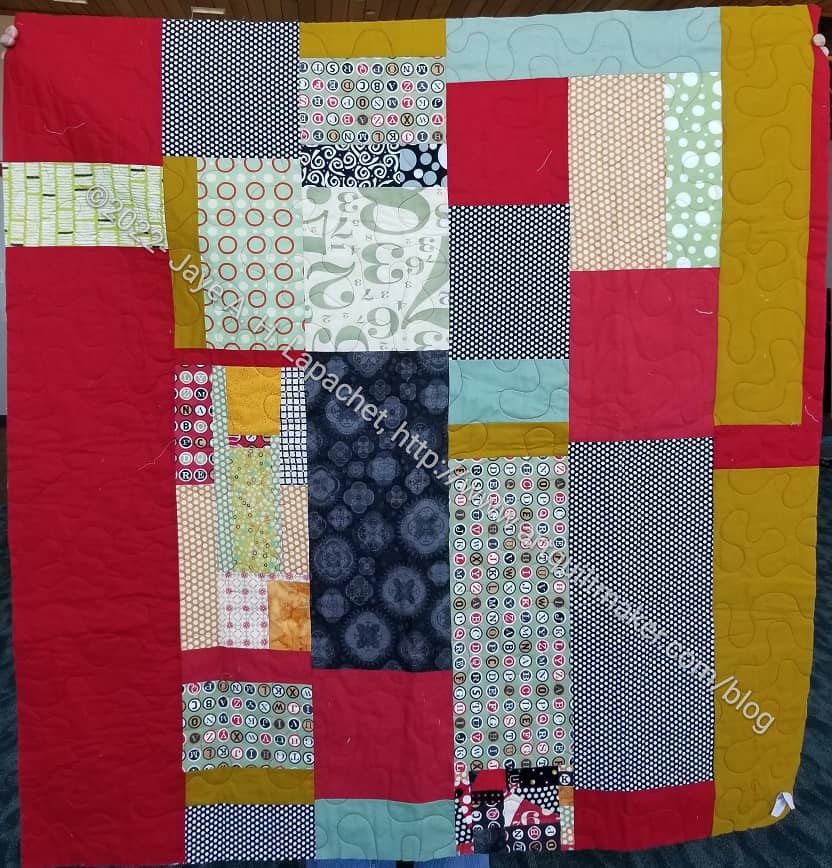
I put up a new page showing all the improvisational piecing quilts I have made or worked on. This page was inspired by my work on the Tarts. I forgot that I had made or worked on so many. The improvisational piecing is different than Improv quilts now. The work I did was unplanned, but not necessarily wonky.

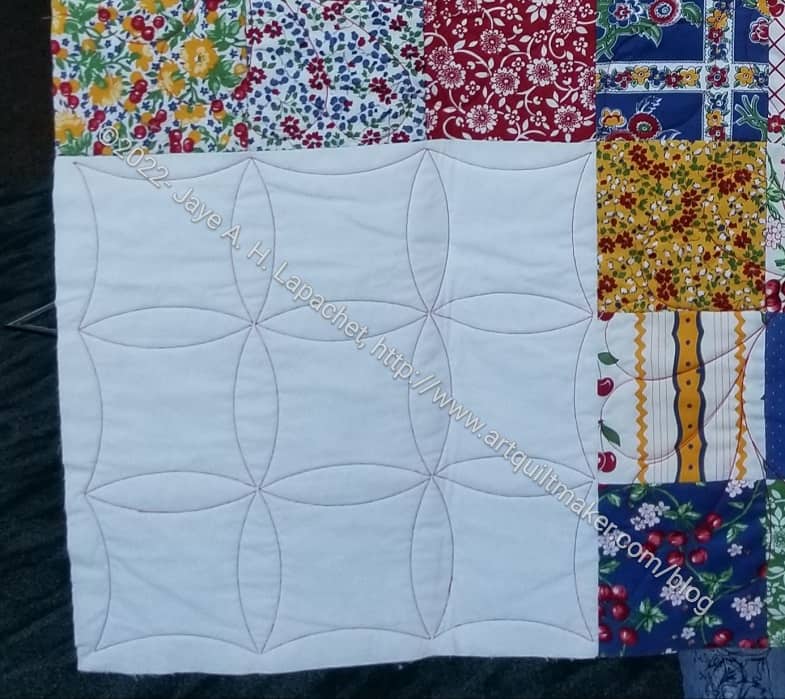
Reminder: all the photos on this blog are mine or I have permission to use them. The artworks are mostly mine, but occasionally I take a photo of someone else’s work and post it. All photos are generally watermarked which says I own the photo. If the artwork is mine, the watermark means that I own the artwork as well. If you want to use my photos, please contact me and provide a link to the photo you want to use and to the location where you want to post it. I am pretty good about getting back to you quickly. I don’t want to go through a fight again. This talks about photos, but all the words are mine as well.

Projects, Classes, Patterns & Tutorials

I found an extensive video (15 minutes) on the flatback stitch.

Natalie, from SewHungryHippie, has a FB page. Check it out for product information, but also for the 7/11 post talking about using interfacing on vinyl!?!?!

Tula has a video comparing the A Place for Everything v.1.0 to the v.2.0 versions of the pattern.

I was looking through some old emails and came across an email about diamonds. Quilting Cubby has a tutorial on sewing Half Triangle Rectangles any size. I haven’t reviewed this tutorial, but I have reviewed the methods I wrote in a series of tutorials on making Half Triangle Rectangles. Remember the Split Recs ruler** by Studio 180 Designs as well. I love that ruler.

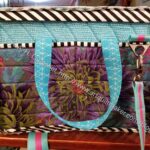
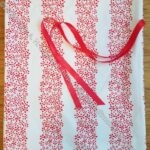
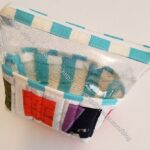
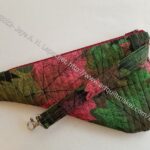
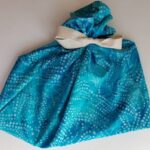
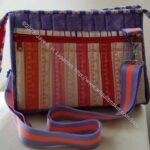
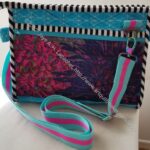
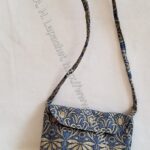
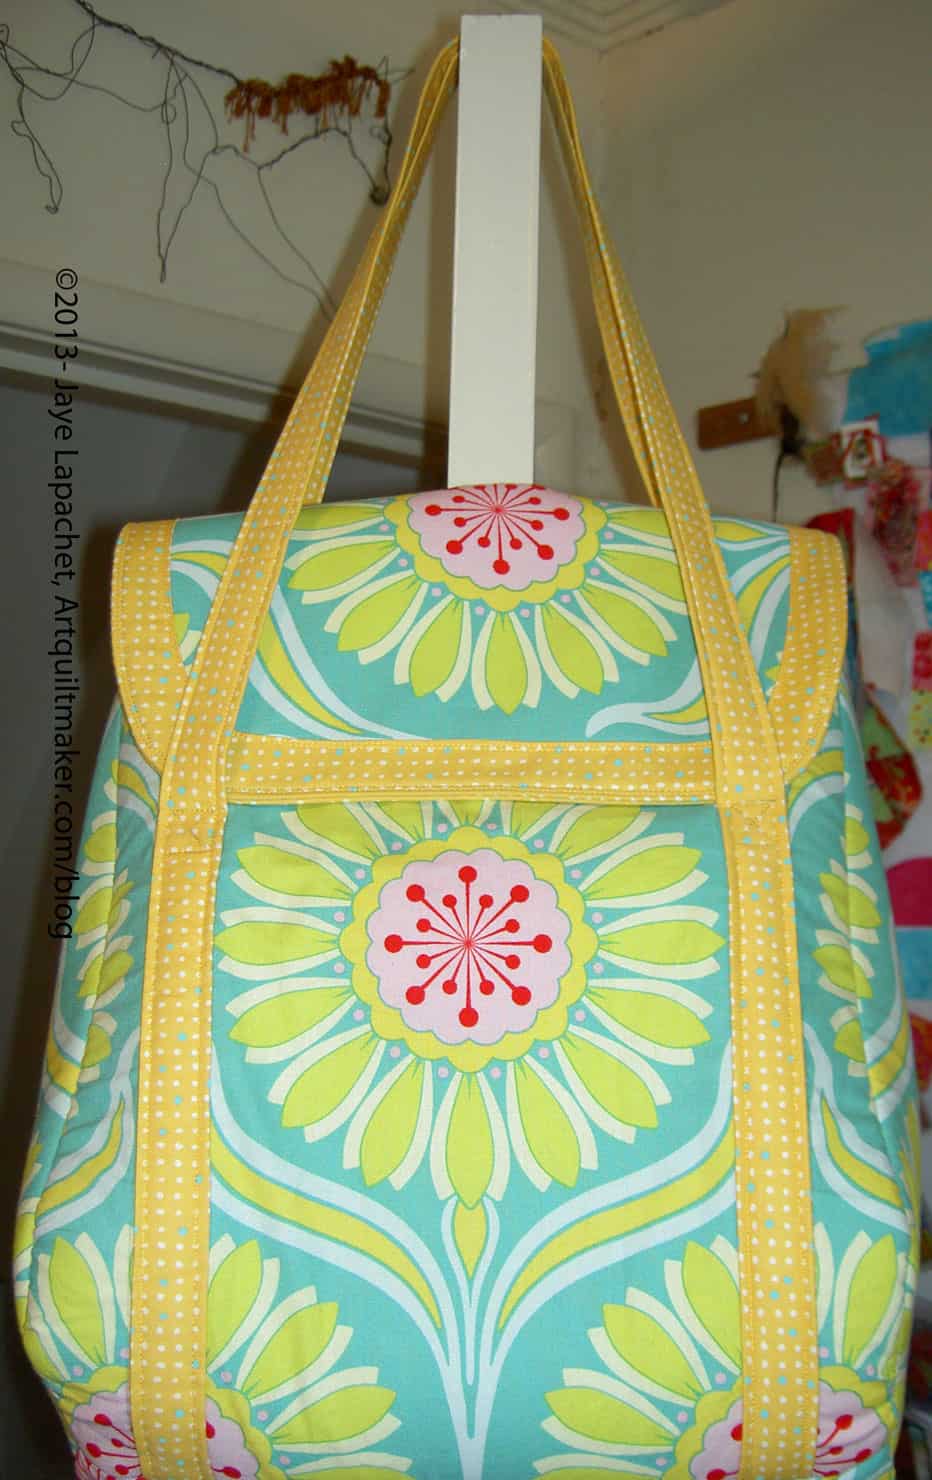
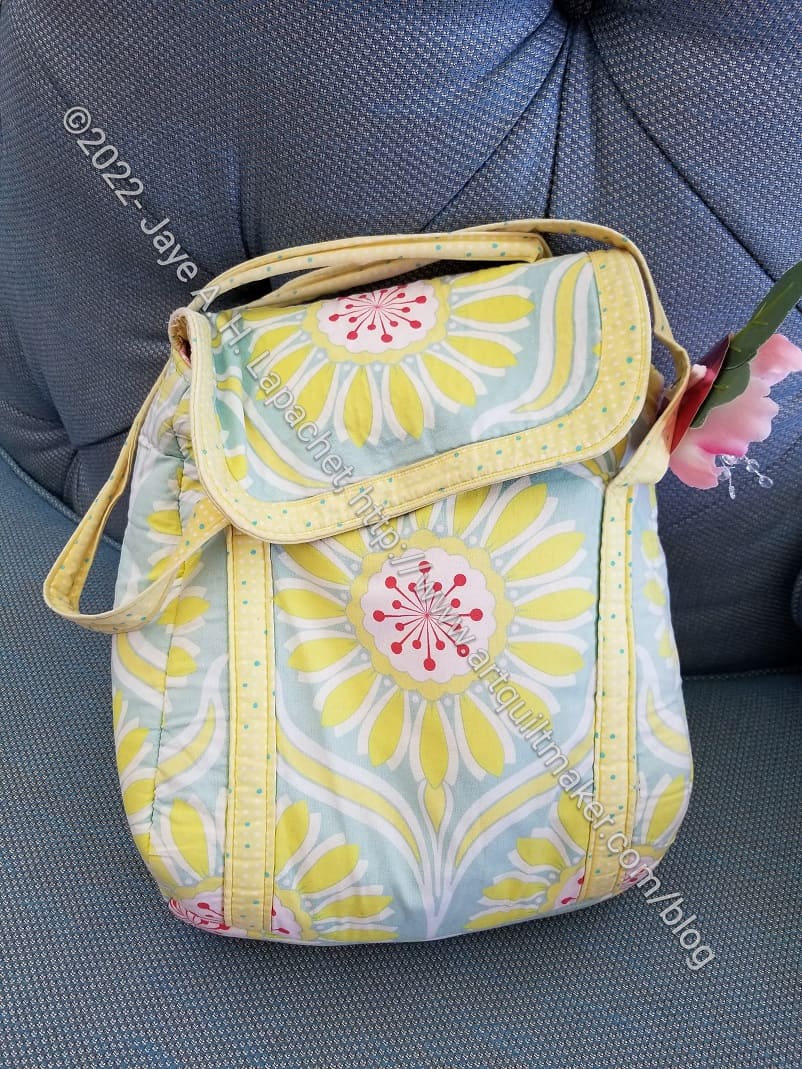
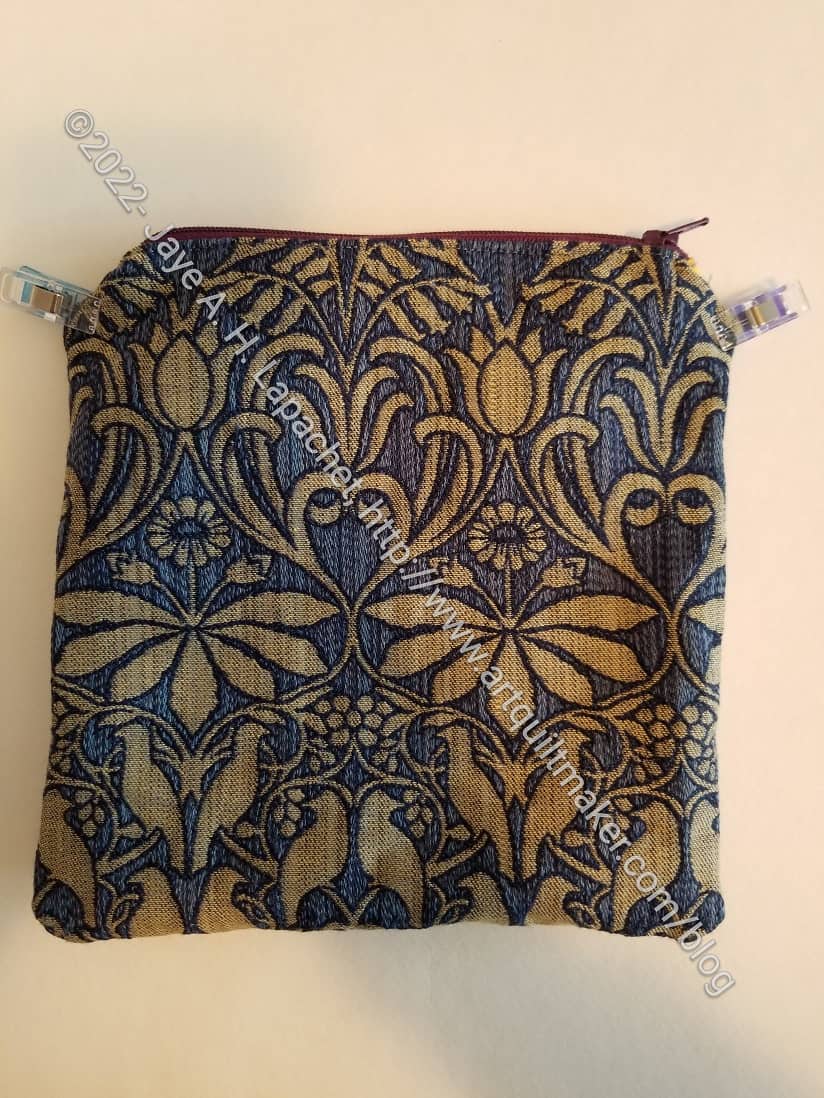
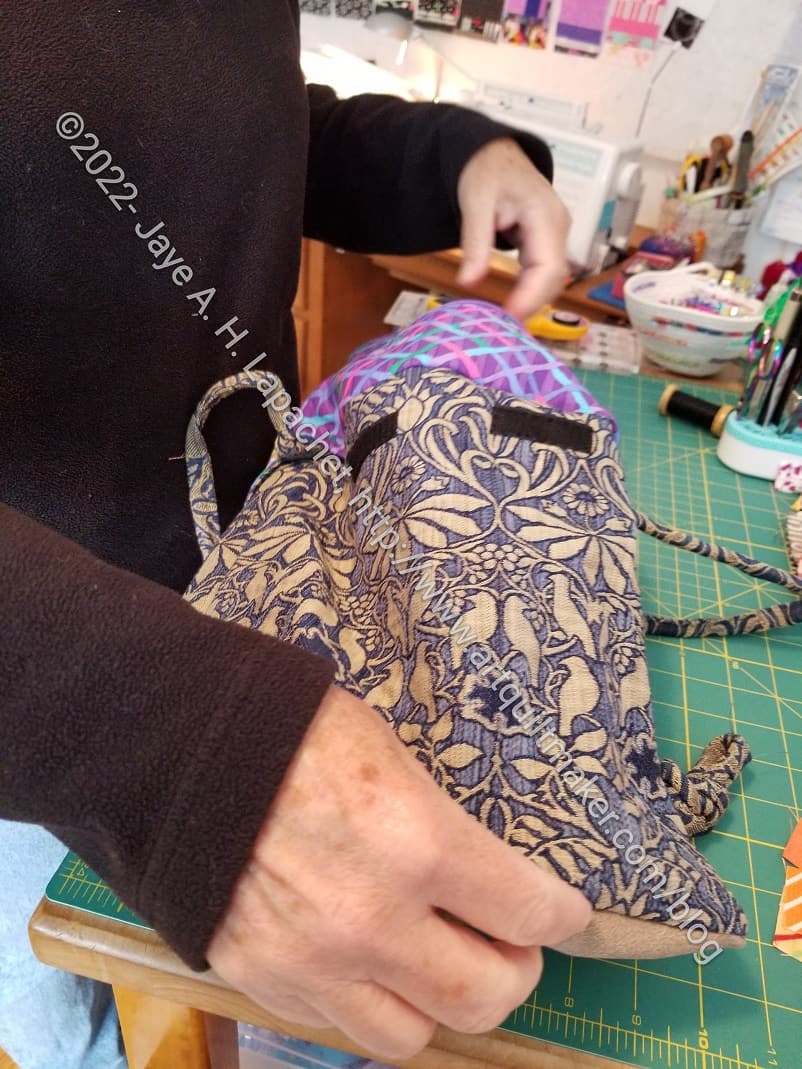
My friend came over to get help making a bag. One of the things she wanted to do was use cording for the handles. I had no idea how to do it, so I searched. I found a tutorial, which makes sense. I had to test quite a bit to get the size right for the rope my friend had, but the process encouraged me to learn something new and now I have another option for handles.

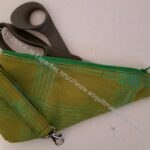
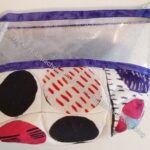
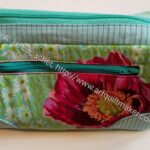
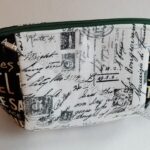
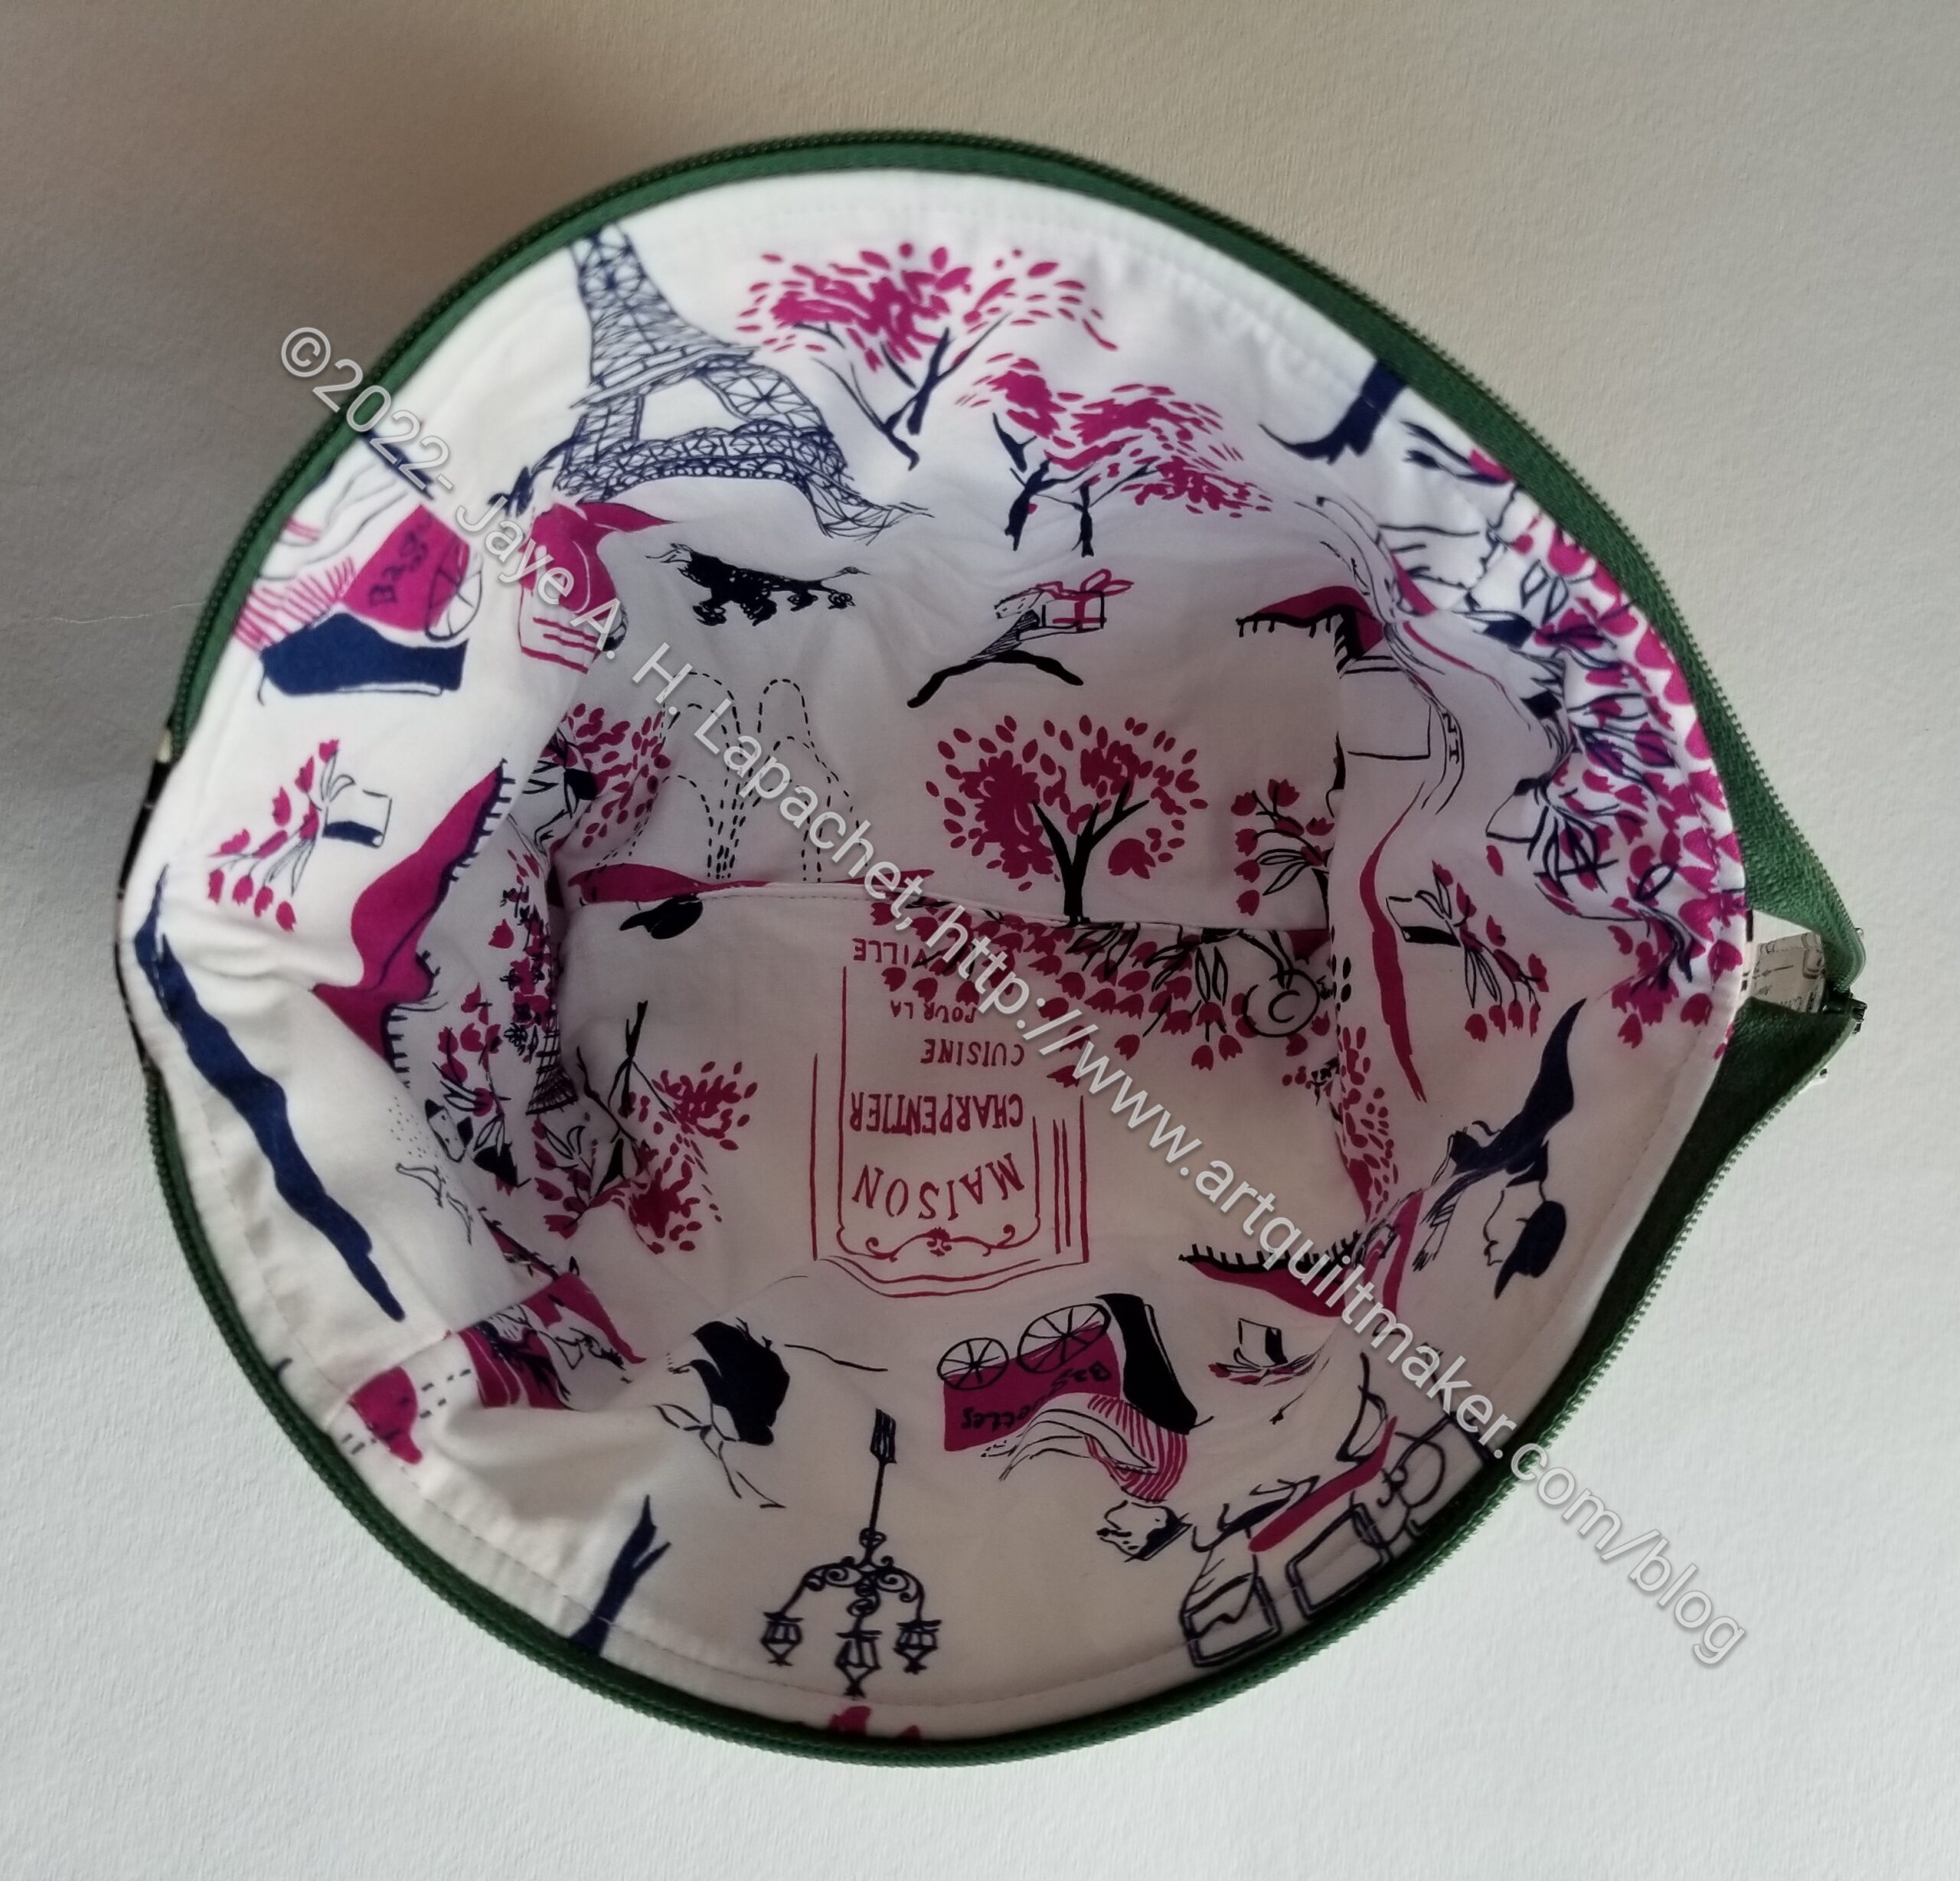
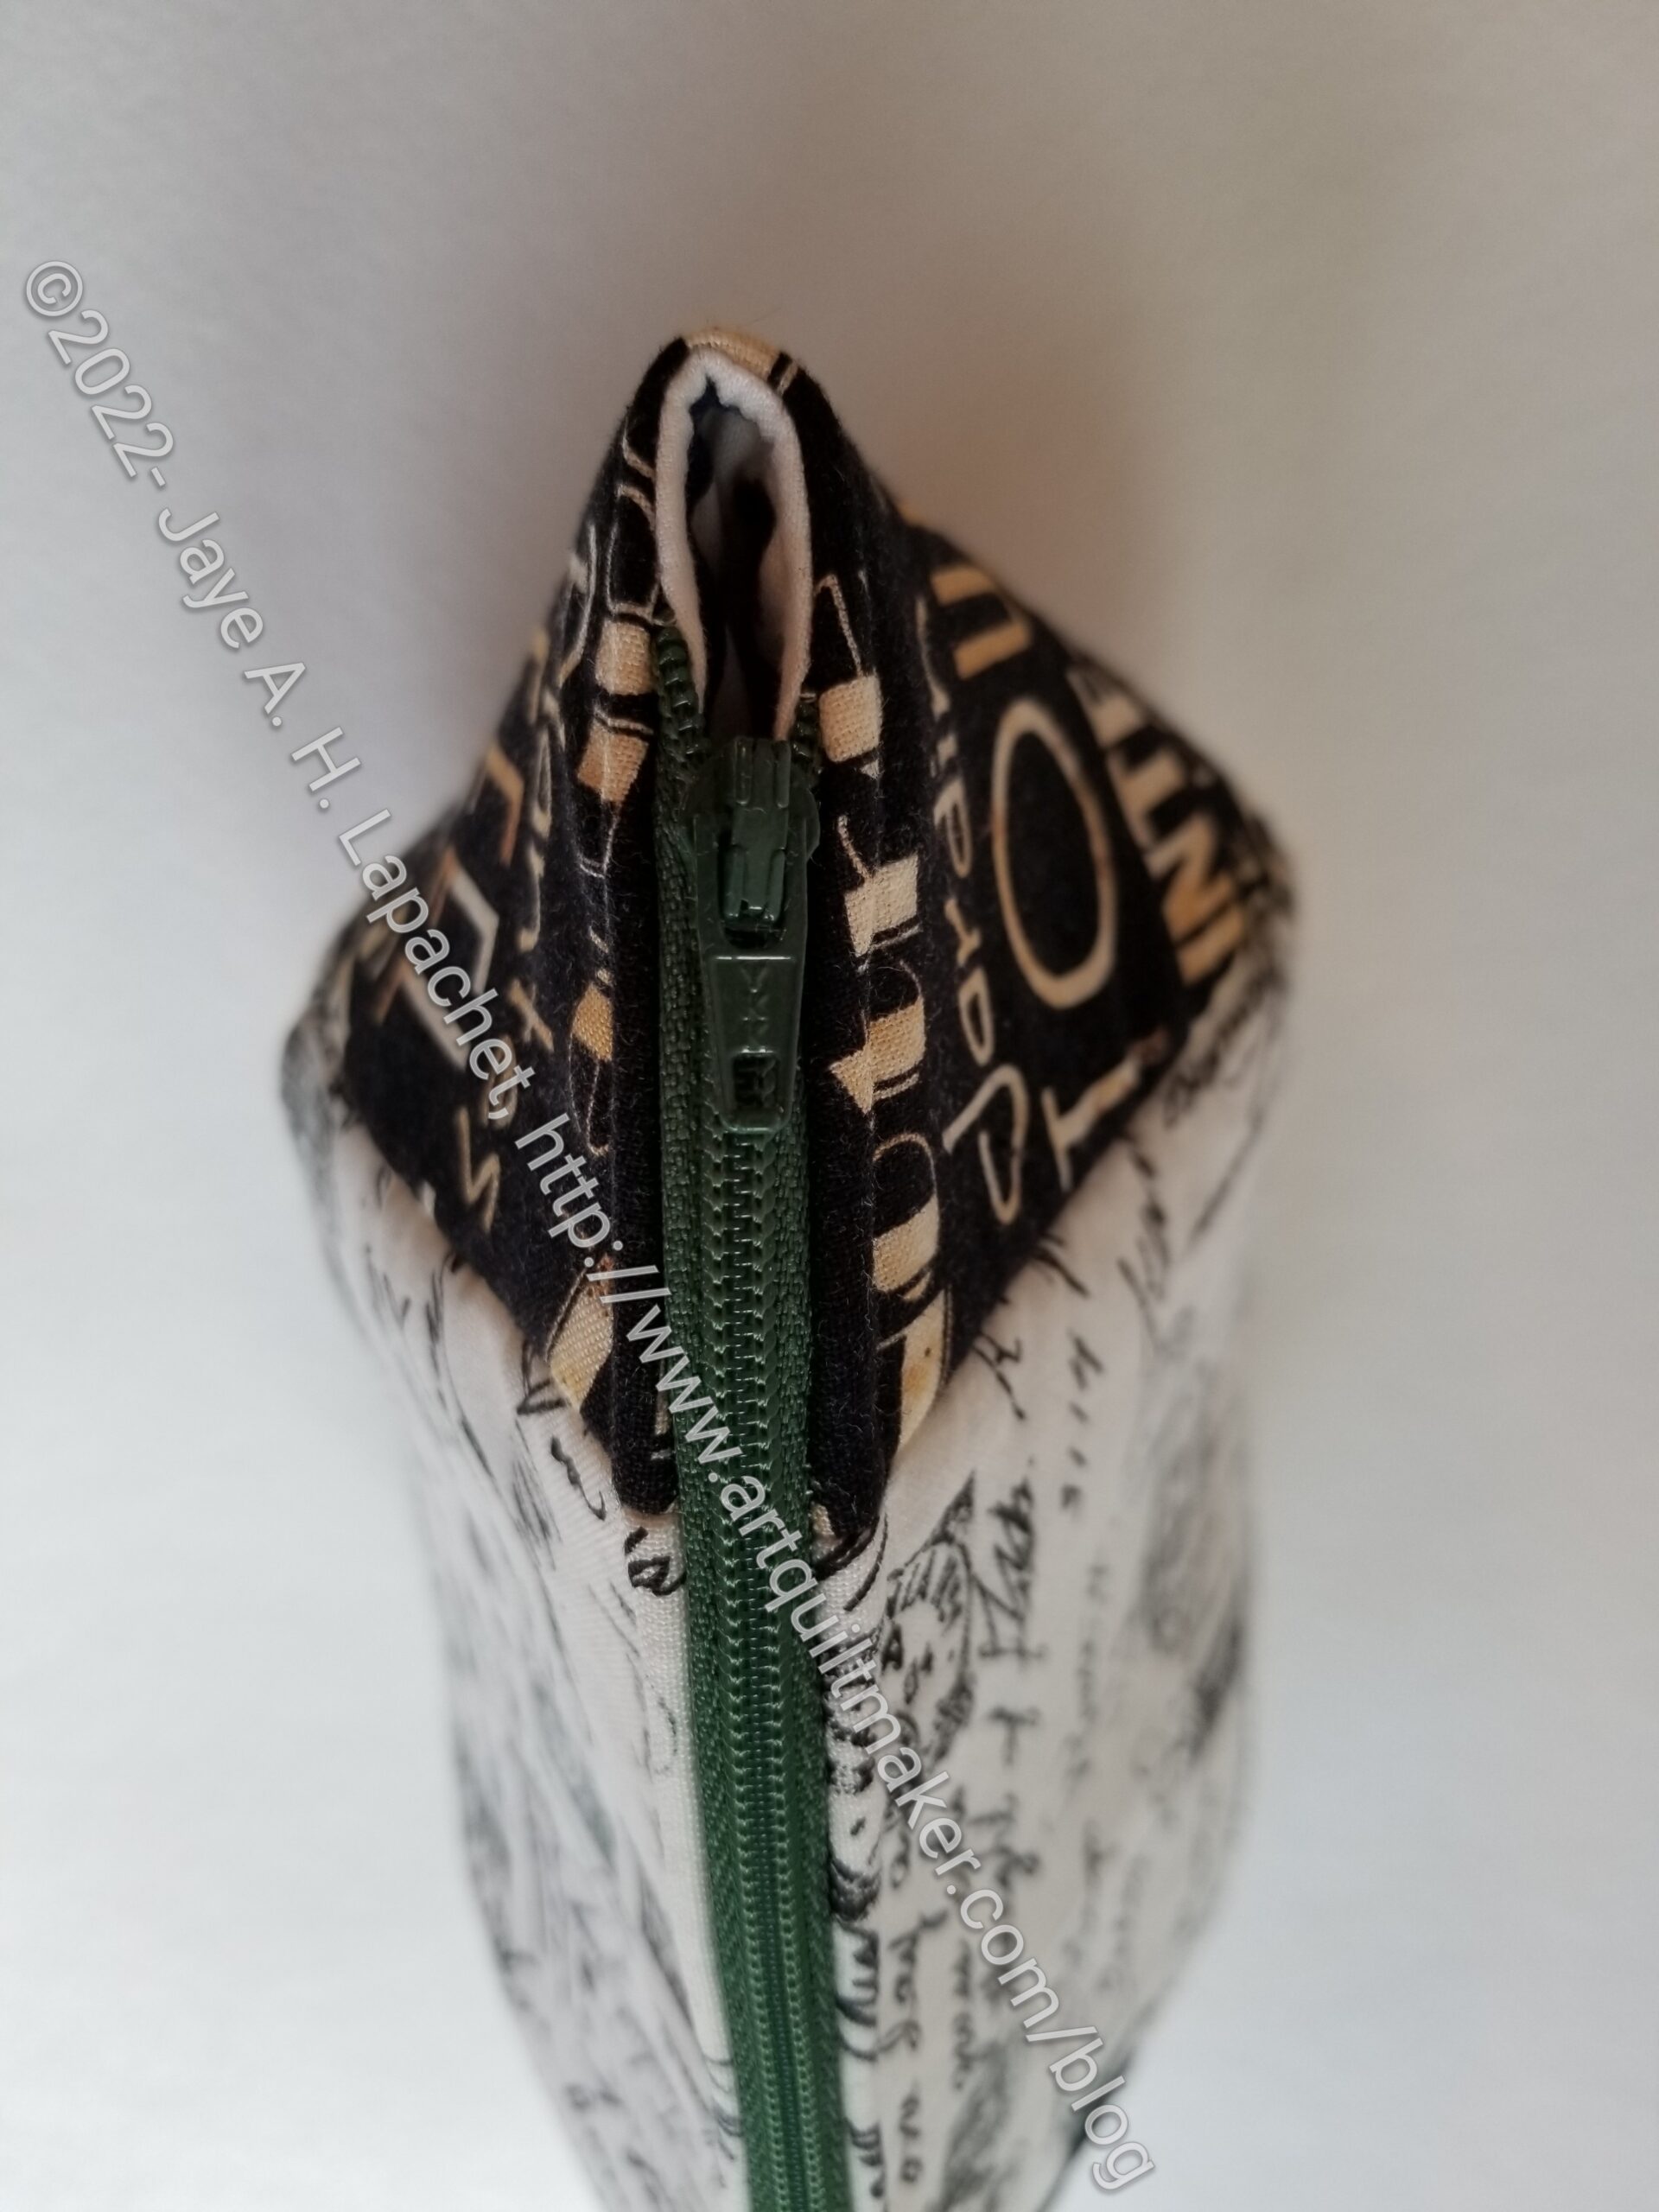
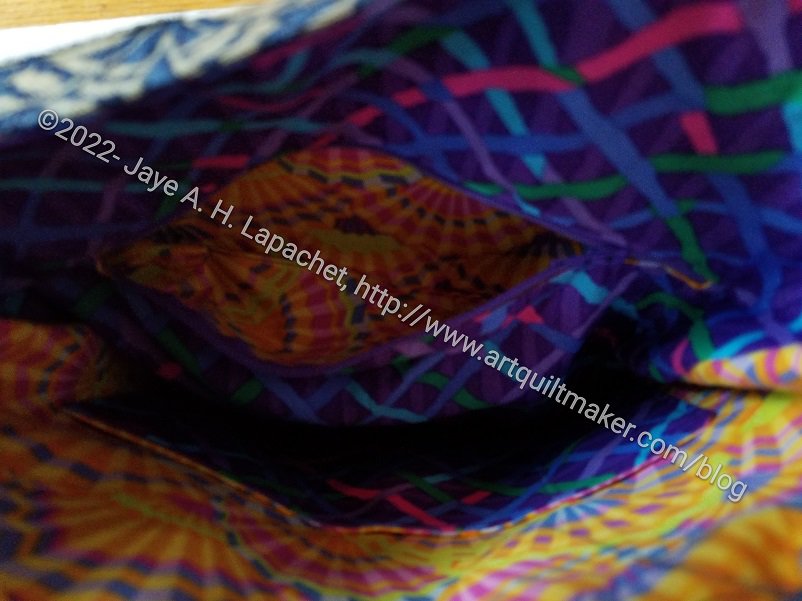
One of the things I wanted to do was turn the bag through the interior zipper pocket. This makes for a cleaner finish. Tim showed me how to do it, but I had to look up a tutorial again. I found one from SewYourTV (???), which was pretty helpful, though I feel like it skipped something between the first sentence in step 8 and the second sentence. Robin of RSIsland Crafts shows how to turn the pocket from start to finish in her video tutorial. It shows the missing parts from the above tutorial, which is finishing the bag by stitching it closed. The tutorial is 8 minutes long, but if you go to the 4 minute mark, you will get the salient details and skip the part about the two different types of pockets you can make to turn your bag.

Do you want to help create a local artist & makers market? Contribute to the GoFundMe campaign for such a space in Pacifica.

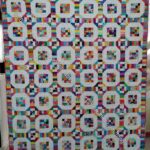
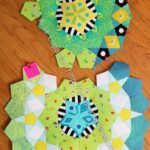
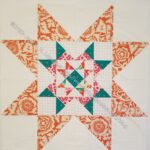
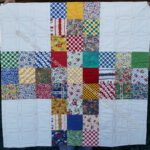
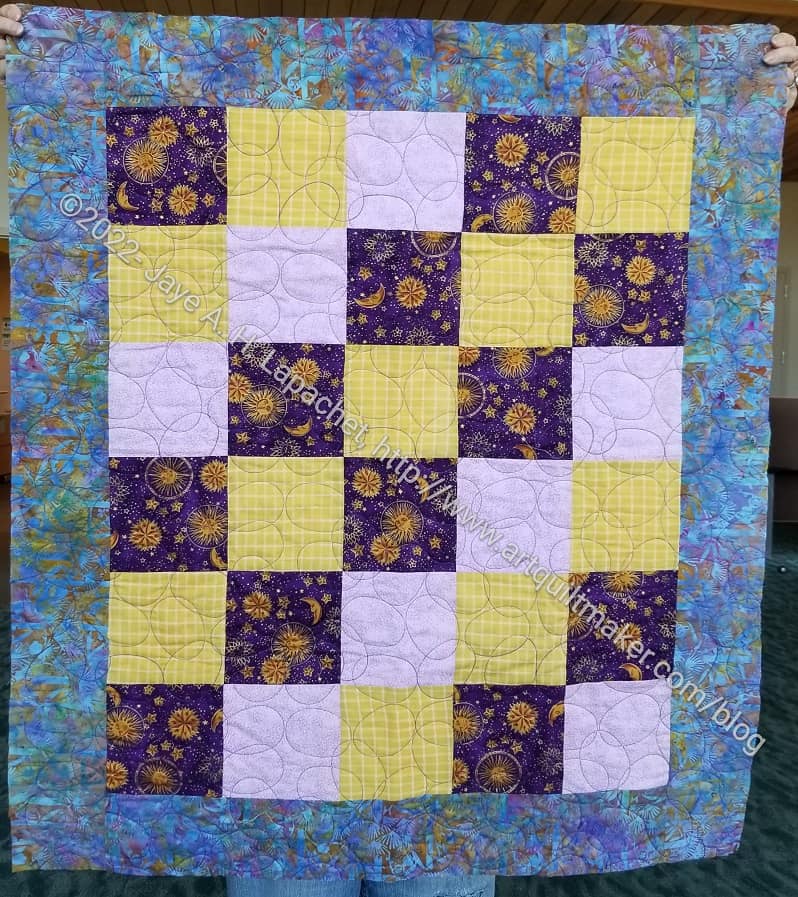
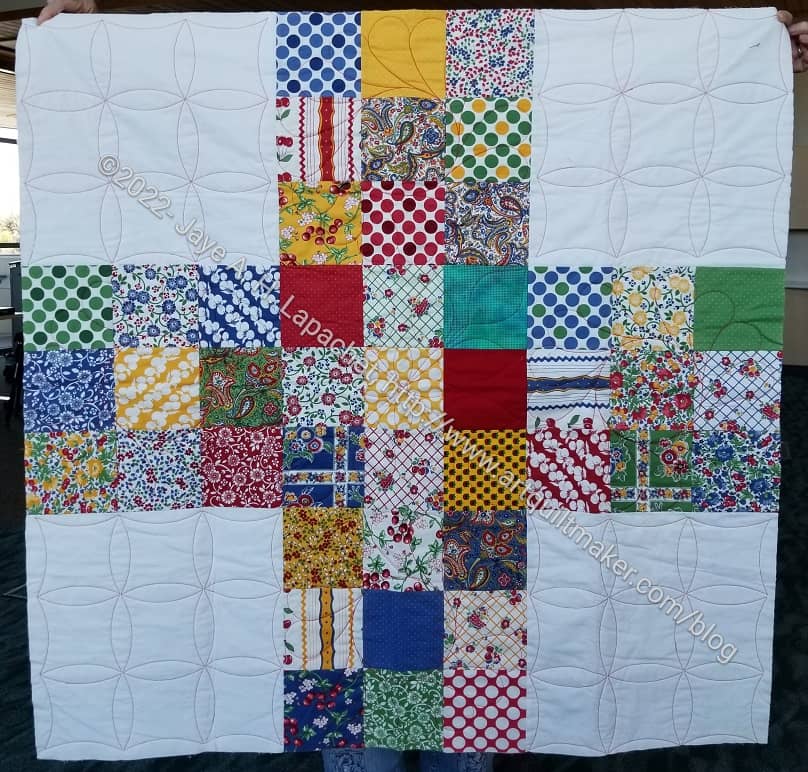
I have gotten quite a few comments on the Diagonal Nine Patch. I have made a file to share with you. It is a PDF file for you to use to make your own. I have an EQ8 file, which I cannot upload, but may send to you, if you are nice to me. ? For those of you who don’t have Electric Quilt**, I highly recommend it.

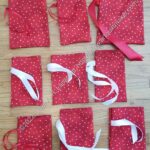
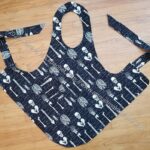
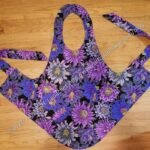
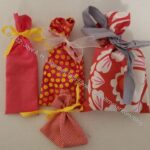
Proceeds from the sale of Ujamaa Baguettes patterns goes to the Grandmothers to Grandmothers (G to G) Campaign of the Stephen Lewis Foundation (SLF). SLF works to address the consequences of the HIV/AIDS pandemic upon families and communities in sub-Saharan Africa. The patterns are regular bag patterns. There is a backpack called the Retreat Backpack, which looks similar to the Sew Sweetness Chickadee Backpack with some small design differences. There is a bag called The Laufey, which is interesting. The Liliput Backpack has some interesting design features, though I would probably make it into a crossbody bag. They also have bags with unique shapes. A couple are round and one is shaped like a saddle. The patterns are all PDF downloads which can be found on the Emmaline Designs website.

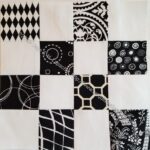
Marie Bostwick has a great pattern that may work for the guild’s 16 patches. Part 2 was just posted and part one can be found as a link in that post.

The Bag of the Month from the Emmaline Designs website is now available for purchase. They also have hardware kits available.

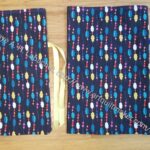
In her monthly Cornucopia post for July, Friend Julie pointed me to a journal cover tutorial that uses a composition book for the journal.

Tools, Books, Fabric, Notions & Supplies

Lauren Moremino of MoreMeKnow has glitter clips! They probably work the same as regular clips**, but GLITTER!!!

Modern Handmade has a revamped subscription box. I subscribe briefly to their previous version until they cancelled it. The latest incarnation is only $12/month, which is eminently reasonable. It still includes a project, but smaller projects like pillows, tablerunners and bags. There is also a private FB group so you can meet other people who subscribe.

Some interesting zipper pulls, zipper heads (I saw a hedgehog!) and interesting zipper tape can be found on the Gigil Zips site. There are a lot of Star Wars and Disney models, but they are not listed by their trademarked names so you have to be a little creative to find them.

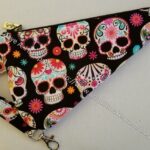
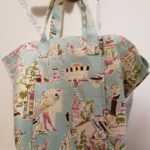
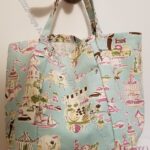
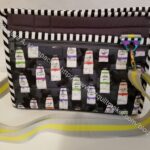
I really like the Essentials Tote available on the Sew Hungry Hippie site. I am tempted to buy the pattern, but think I could make something similar without a pattern, so I have, so far, resisted. I am also afraid I just like the fabric.

Moda had this lavishly illustrated review of Red, White & Blue Star Quilts. (Thanks to Judy Martin’s newsletter)

My friend, Lindsay, shared the New Song Quilt Shop with me. Yes, they have a website. They make quilts and pouches and home accessories for sale.

You might remember that we did a Creative Spark project a few years ago. The last prompt is posted and you can work your way through them now, if you want. This project was based on Carrie Bloomston’s , The Little Spark. She has a follow-up book called The Big Book of Little Sparks Creativity Journal: A Hands-on Journal to Ignite Your Creativity**. It’s described by Carrie in this way: “It’s full of beautifully illustrated pages for you to fill with reflections on YOUR creative process and journey. There are new sparks to inspire you on your journey, as well.” You can join the launch party, if you are in Phoenix, “at Changing Hands Bookstore in Phoenix to celebrate the launch of the book with some bubbles and a conversation about living life wide awake” on Friday, September 9, 2022 at 6pm. If you attend, let me know how it went.

Articles, Tips and Other Information

Tula talks about quilting quilts in a recent video. I like this video, because she talks about all-over quilting patterns vs. custom quilting and I found that I agreed with her philosophy. Check between the 5 and 8 minute marks for the bulk of this discussion if you don’t want to watch the whole video.

Goodbye hideous carpet

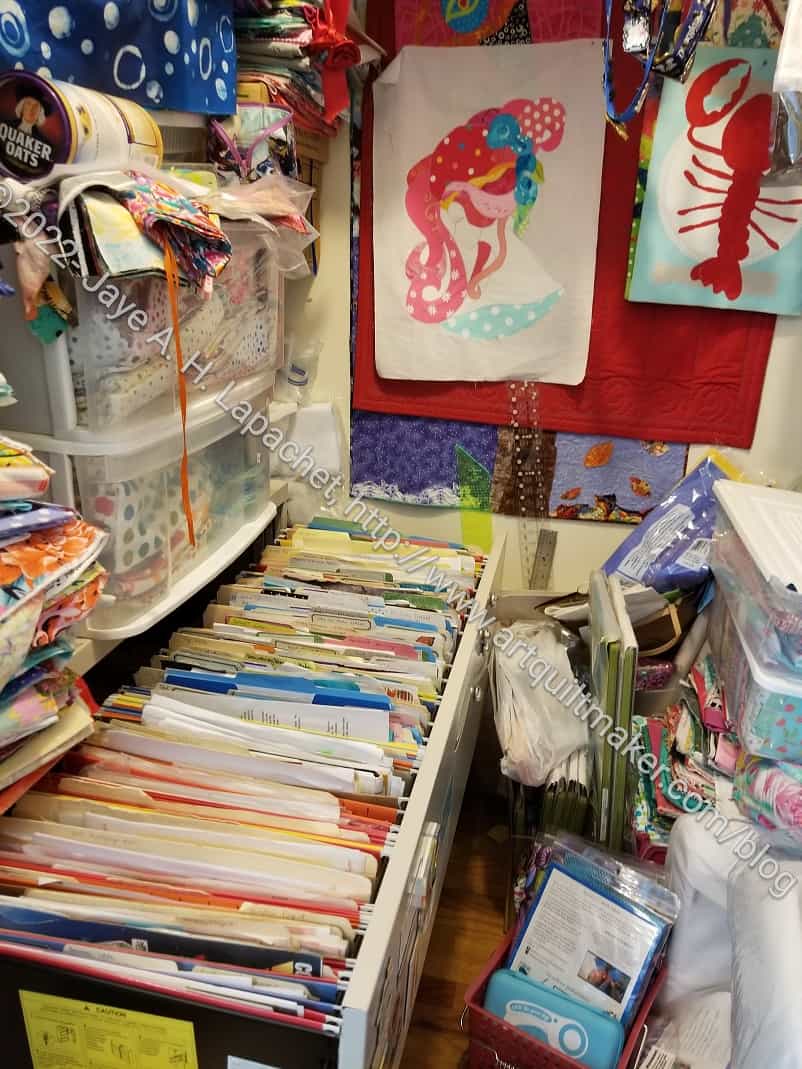
I finally sent DH to the carpet recycler with the old life sucking beige carpet from my workroom. It was hard to find the address and all the guidelines and DH had lost heart. I had time so I found all the information, but made him go and do it. The hardwood floor needs to be redone, but I don’t care. I am so glad that carpet is out of my life.

Media, Exhibitions and Inspiration

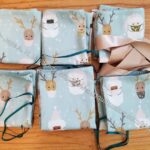
Tula has remade the various bags she likes in her coming soon Moon Garden line. I love these videos where she shows her bags. She mostly uses Byannie patterns, but has branched out this time to a Minki Kim mini iron carrier pattern and the Aneela Hoey Booklet Pouch. I like it that she branched out this time. I did get a good idea for my going to Sew Day problem and that was the Oslo Craft Bag by Sew Sweetness. This is a free pattern given as a thank you if you sign up for the newsletter. The newsletter doesn’t come out very often so it isn’t a hardship. I made one of these for Cyndi. Now I am thinking I may make one for myself and see that will be a good partial replacement for my Going to Sew Day bag.

The one Tula made is the Catch All Caddy by ByAnnie. The bags are essentially the same, though the sizes and features may be different. I find the style of Sew Sweetness bags to be easier to sew, though, as you know, I have made several ByAnnie Bags and they have come out pretty well.

Frances from the QuiltFiction Club shared a video on the Jane Stickle quilt, which is in the Bennington Museum Collection.

Curated Quilts has a post on using neutrals in quilts

Not Quilt Related

Some quilt people are also puzzle people. During the pandemic i might have mentioned that we worked on a 10,000 piece puzzle. It is still in process, but I am working on La Pass at night not a puzzle. DH shared a blog post from the LA Public Library about the history of jigsaw puzzles. The post says that jig saws were related to sewing machines and, thus operated by women.


**Obviously, you should shop at a local quilt shop. However, I use affiliate links and may be paid for your purchase of an item when you click on an item’s link in my post. There is no additional cost to you for clicking or purchasing items I recommend. I appreciate your clicks and purchases as it helps support this blog.

Embracing Beauty

I really struggled with the metadata to apply to this post. It is not about quiltmaking per se, but more about surrounding yourself with beauty to enhance everything you do in that room/workroom/studio.

Secrets of the fabric closet

I had a stack of papers to file. It was a large stack starting from right before the pandemic started – December 2019/January 2020 to the present. I didn’t realize that I hadn’t done any filing since then. It isn’t easy to file, because my fabric closet is so crammed. I have to move a lot of stuff out in order to file. The task was on my to do list, because the giant stack of papers was interfering with my ability to put everything in the closet (that is where the cutting table goes when we guests or I have to clean my workroom for some reason).

That was depressing enough, but when I opened the drawer I was confronted with the terribly ugly horrible green hanging folders (files?). I like green in nature, but it is not a favorite in quiltmaking. I don’t sincerely dislike it; it is just not a favorite. I like icky green and lime, but only as accents. I have only made a few green quilts. I decided that they had to go. I would love to replace them with turquoise hanging files, but I didn’t have turquoise, so the newish yellow, red and blue would have to do. I took out all of the horrible green files I could and replaced them. They all went in the donation pile (now I have to find a box and  put them there. Bleah! if it isn’t one thing, it is another).

I was very clear about what was staying and what was going when we did the workroom refresh last year. DH was a little annoyed with me, because some of the stuff I wanted gone was perfectly serviceable. I didn’t care. When I spend 12 hours per day in a room, it has to be fabulous. The horrible green files were going.

This doesn’t make everything 100% better, but at least I don’t want to barf when I look in my file cabinet. Already a not-fun experience, the fresh new red, yellow and blue hanging files make it better.

I think it is important to embrace beauty especially in small things. I mean who really cares about folders in a filing cabinet? Nobody, but me sees them. That is actually the point. I felt better not having to look at those horrible green hanging files. Maybe next time I won’t wait 2-3 years to file the health insurance receipts.

I think I need to eradicate anything that is ugly or merely functional and replace it with something that doesn’t make me cringe.

Embrace beauty in all things!!


26 Projects 2022 #7

I started this list as reminder of everything I had started or wanted to make, but also to show how much I had a accomplished. I need to remind myself of this fact as I embark on another finishing jag. I may have a lot to do, but I have also accomplished a lot.

Finishing Pies & Points put me back in the black on Fabric usage. After buying background fabric for The Pantone Project, I was in the red. I have finished couple of quilts and am happy to be more into the black for Fabric Usage. Gross usage is 78.75 yards, but new fabric in is 67.50 yards, which means I am only 11 yards in the black.

Finished 2022 Quilt Projects

Finished 2022 Small and Non-Quilt Projects

This category covers bags, toys, aprons and knitting as well as other non-quilt projects.

Doing Good

In Process or To Make
The ‘In Process’ is used to denote projects on which I am actively working or are on the design wall waiting for me to stitch. I am continuing to try not to put away projects. I find putting a project away ensures I never work on them, because I just lose steam.

Quilts

  • The circle quilt is on the design wall waiting for what comes next. Really it is just three circles that may go into the BAM orphan block pile or become a quilt.
  • I have my Orange You Glad blocks back, they are trimmed, cut into quarters and I need to send them off to Friend Julie and Adrienne.

Small Projects

Most of my progress involves thinking or just cutting. I don’t have a bag in process at the moment.

  • Ultimate Project Organizer – another project from the Crafty Gemini Organizer Club, also on my list, but not yet started
  • Retreat Organizer – another project from the Crafty Gemini Organizer Club, also on my list, but not yet started. Recently, I saw one of these made up and I am not so nervous about it
  • Rose Petrillo bag – I found the pieces for this bag cut out, but not sewn.
  • Superbloom tote using Hindsight fabric – not started
  • Westchester shirt – this is a Crafty Gemini pattern. I bought the fabric at PIQF in 2018. I have the pattern pieces cut out and ready to sew. I was held up by the supply list which wanted a Jersey needle. SIL #2. I have finally given up on doing this shirt on my own. Mary C is going to look a her calendar, let me come over and hold my hand while I finish it.

Handwork

I decided that some of my projects are in a different class because they are hand piecing or embroidery or beading. They take longer. Thus I created a new category and have moved some projects here.

  • English Paper Piecing Project– half hexies – I worked on this project again while I was waiting for La Pass Month 11 to arrive. I need to lay it out and figure out the bottom so I can put the border pieces on
  • La Passacaglia – I am up to date on this project and waiting for Month 13 to arrive.

Ready for Quilting

  • Nothing at the moment

In the Quilting Process

In the Finishing Process

  • Nothing at the moment

Still UFOs
I still have UFOs. Who doesn’t, after all? A project in the ‘UFO’ category means I am stalled. A nicer way of saying UFO is a WIP. The list is a lot shorter and the projects are newer, for the most part.

I am annoyed that some of these are still WIPs. I just need to work on them!

  1. Handbag Sampler – this is still the forgotten project. It should be on the UFO list. The blocks were teaching samples when I taught a sampler class some time before I started writing the quilt class sampler tutorials. I found one block recently, but otherwise I don’t actually know exactly where the blocks are hiding. I crawled up in the far reaches of my fabric closet to see if I could find them and they weren’t where I thought. I am sort of mystified as to where they could be. I haven’t even found a picture of all the blocks. WTH?
  2. Lobster – I still want to make this into a tablerunner for the buffet. I think that will be a good and fun use of the piece even if the colors aren’t quite right for the dining room.
  3. Pointillist Palette #4: Fourth is a series of 6 quilts; needs tiny square patches sewn together. No progress.
  4. Self Portrait: started in 2006 at a class at Quilting Adventures in Richmond, Virginia. After a brief burst of inspiration, I am stalled on this again. As one of my oldest (I am pretty sure) UFOs, I put it on my blog and out into the Twitterverse and Diane suggested that I not consider this as a self portrait. I think that strategy is a great idea. I am now trying to think of a new persona for her.
  5. Serendipity Lady – I am still planning to take this piece to be framed. It might need a bit of quilting first.
  6. Who Am I? – This piece is still languishing. Perhaps having a larger design wall will help me regain momentum. The amount of satin stitching I was facing was a problem until I thought of BIAS TAPE. I am going to make the words with bias tape, perhaps different widths, then I won’t have to  satin stitch everything. Red Scribbles and Friend Julie helped me come up with this solution. Now I just have to do it!

July Donation Blocks

I thought I would combine the July and August blocks, because by mid-month I hadn’t made any donation blocks. However, finishing the Diagonal Nine Patch gave me the opportunity to sew some. Not tons, but every little bit helps.

I definitely need to cut more 2.5″ squares to keep up the project.


La Pass Month 12 Progress

La Pass M12-Rosette #1 & 3

I can’t believe it has been so long since I talked about La Pass. It has been at least three weeks since I basted and started.

La Pass M12-Rosette #2

This month should have been a favorite month, but I have struggled the whole time. There is finally quite a bit of pink, but also a lot of the weird animal prints. I switched out lot of the fabrics despite my resolve. Frankly, I switched out some of the fabrics a couple of times. I have also put some pieces in the wrong places necessitating ripping out and redoing or going with the flow.

Also, this month seems to be taking me forever. I don’t know why except for all the ripping and switching.

For now, I am going with what I have. I am not 100% commiting to what I have for M12, but I’ll wait to see how I feel when I have more together. La Pass M12-Rosette #1 & 3 are done and I am working hard on La Pass M12-Rosette #2. M13 will be delayed so I have a tiny bit a breathing room, but I need to be ready for it.

The Tarts Return…Yet Again

The Tarts Come to Tea - July 2022
The Tarts Come to Tea – July 2022

Yes, after YEARS of having this project on my to do list, I have pulled it out of the project box and started to finish the quilting. First, I am obsessed at the moment with crossing things off my to do list. Frankly, I am sick of looking at the same items month after month. Second, I need the project box for something else.

Now that you are back in your chair a second time after being gobsmacked on to the floor, you read that right. I am machine quilting a real quilt. It isn’t a king sized quilt or anything, but it is also not fabric for a bag or a tablerunner. It is real quilting on a quilt.

Tarts: quilting center right

I started working on it last Friday. I started with the frame of one of the blocks. I thought some straight line quilting would get be back in the groove.

The good thing about that red frame is that the quilting would not show if I used red thread.

You are probably remembering the Cha Cha Cha table runner. Yes, I quilted that myself, as well as some fabric for bags this year, so it’s not like it has been 20 years since I actually quilted anything. It has been about 10 years since I worked on this project. Recently, I have decided that UFOs are a bad thing for me and I want to eradicate them, as much as possible from my workroom.

I had the box of thread I used for the other, already quilted Tarts blocks, so I picked out the red (Maderia rayon I used to use for embroidery) and got busy.

Tarts: quilting finished center right

I was pretty pleased with how the process worked. I was a little nervous about doing the frame before the center, but it ended up all working out.

I was particularly pleased that the quilting made the frame flat. It seemed really puffy when I started (first photo, above). I know that I need to work from the center out and I am doing that, mostly. I started with the frame, because I didn’t want the quilting to show while I worked out stitch length, etc.

Tarts: quilted frame detail (center right)

I think the stitching looks ok. It is not Colleen’s stitching, but it is not terrible either.

Onward. Maybe I’ll finally finish this quilt, but one thing at a time.

After the Orange Applique’

I wrote about how I really liked the way some of the bullseyes looked before I added the last circle.

The blocks above were my favorites and I was anxious that they would be ‘ruined’ when I added the other circles.

Orange You Glad faves with 3 circles

The blocks definitely look different after the last orange circles were added. I am excited that they look even better. I still lament the covering up of some of the motifs (like the flowers in the pink and blue plaid circle), but overall, I think the blocks are enhanced by the additional, small circle.

I have to trust the process.

Petrillo Then & Now

Petrillo Bag Complete

I love it when people use and love the items I make for them.

I went to a conference recently, as mentioned, where SIL#4 and I shared an apartment at the resort. She brought the Petrillo Bag I made for her back in 2013.

The bag was beautiful and pristine in 2013. It was probably the first Petrillo Bag I made and may have been the first Sew Sweetness pattern I made.

I was reminded that I am a good bagmaker and the bag looked great when I gave it to her.

Petrillo Bag in 2022

The bag is now well loved and well used. It has been to Australia at least once and maybe even to to Europe. Not sure. It has been through the wash and SIL even Oxycleaned it when the dirt from carrying it on trips got to much.

I am tempted to make SIL#4 another one. I don’t know if I still have some of the same fabric, but I think I might.

French Cotton Candy

French Cotton Candy pouch

I quickly made another Cotton Candy pouch for my sister for her birthday. I am running out of Paris/France themed fabric, so I may have to do something else for her in the future. She likes the turquoise and brown combination and there is no shortage of turquoise around here.

French Cotton Candy pouch open

I have made this pouch a number of times, so it went together quickly. I still had to watch the video for installing the zipper, but for everything else I knew what to do. Something clicked in my mind with this pouch, which is a great feeling. I am very tempted to make some more of them just to cement the knowledge in my mind and to get some gifts for the latter half of the year out of the way.

French Cotton Candy pouch zipper end

One of the things that clicked was the end of the zipper. I understand more about the placement of the veering of the zipper. In this pouch, I didn’t get the ends close enough to the center of the side panel. The pouch is definitely still usable, but that is something I would like to fix in the next versions I make.

Now I have to find something to put inside the pouch and send it off, though by the time you read this, Lil Sissy will have this in her hot little hands.

Zipper Pouch Made

Cyndi B's Zipper Pouch
Cyndi B’s Zipper Pouch

After we finished the bag, my friend decided she wanted to make a pouch as well. I immediately knew what to do.

Sotak Handmade on IG creates short videos about how to make pouches. Remember her? I made the purse organizer from her pattern. She sells patterns, so the IG videos  are very quick and simple. They work for simple pouches. I found one of her videos that would suit our needs.

The beauty of this video was the fabric sizes didn’t matter except in one instance. I cut the leftover fabric in a size that would use as much as possible and we got busy. The pouch turned out pretty well.

The part that was problematic was the zipper tabs. I understand the concept of zipper tabs, but I ran into problems with the size. I made them over large whereas the video showed the pouch having a small space between the end of the zipper tab and the side of the pouch.

Making the zipper tabs over large meant no space for stuff to fall out. It also meant that the closing of the whole pouch was not smooth. The center edges by the zipper were large and lumpy and I couldn’t follow what Sotak did on the video. This is when the light dawned and I understood why the zipper tabs were shorter. Now I know.

None of this fabric was mine, so I don’t get to add anything to my Fabric Usage Report, sadly.

I want to make more quick zipper pouches now. I use the same technique I use with scraps for Journal Covers.

Bagmaking and Designing

If any project required attention to process, this one did.

My friend has been talking with me about helping her make a bag. I have been putting it off because of work and other things. Since I have a break from a lot of responsibilities, I felt it was time to get the bag made.

I had hoped that I could convince my friend to use a pattern, but she was certain she wanted to copy the bag she took traveling. I am a good bagmaker, but beyond cobbling together some basic tote bags or modifying patterns, like the Petrillo hack I created, I have not had a lot of experience creating new patterns. I was concerned about the pitfalls I wouldn’t even know I was facing.

We met a few weeks ago and I was able to get a better idea of what she was thinking. That meeting and seeing the bag allowed me to think about the bag and process before we met the other day. I had a basic plan and figured that I would work things out as I went along.

Cyndi B's bag
Cyndi B’s bag

The worst part was getting started. The best part was that my friend didn’t have many preconceived notions about how the bag would look. We kind of muddled along and resolved issues as they came up.

The first issue was the fabric. She has a limited piece of upholstery fabric that was leftover from recovering her living room chairs. I have done a few things with heavier fabric, but I can’t think of a project I have done with upholstery fabric, including a pencil roll, but this project was different in that I would have to deal with layers of upholstery fabric. I tried to minimize it, but wasn’t always able to.

Next was the bottom. My friend wanted to use a thin piece of leather (maybe suede) for the bottom. This made sense, especially since she wanted to use it for travel. My Microtex** needle was not happy. Shockingly, I had a leather needle**. I have never used these before, but did on the bag bottom and it worked.

Cyndi B's bag: turning the lining
Cyndi B’s bag: turning the lining

The lining was fairly straightforward. I knew what I wanted to do, which included adding an internal zipper pocket that I could use to turn the bag right side out.That worked perfectly, though I had to look up a couple of references to make sure what I had in my mind would work.

The turning of the bag is very satisfying, so I had my friend do it. It was her bag, after all and I thought she would get a kick out of the experience. She did.

Cyndi B's bag: lining and zipper pocket
Cyndi B’s bag: lining and zipper pocket

I used my friend as studio assistant. I asked her to mark the lines for the zipper pocket, press seams open and sew on Velcro. These are all tasks I didn’t want to do. She did a lot of pressing and marking while I did most of the sewing. I also wanted her to be involved and since she had not sewed since junior high, I preferred to do the sewing. It is my machine after all.

When we got to the handles, she brought out the idea of using rope (like clothesline weight rope) for the handles. I wouldn’t normally do that and really didn’t have a clue how to do it. After searching the web, I came up with a great tutorial that expanded my skills. The result was what my friend wanted, too.

I used the Cotton Candy pouch pattern to remind me how to put the outside of the bag together with the lining.

I used the Petrillo bag pattern to make and install the flap.

I used the The Complete Bag Making Masterclass : A comprehensive guide to modern bag making techniques** by Mrs. H for some information on attaching the straps.

I used the RsIsland Crafts video on turning a bag through the internal zipper pocket to remind myself how to do that.

I used the Seaman’s Mom corded handles tutorial to make the handles.

I am pleased with how the bag came out, though it is certainly not perfect and it is not a bag I would use. My friend was happy and that is all that counts.


**Obviously, you should shop at a local quilt shop. However, I use affiliate links and may be paid for your purchase of an item when you click on an item’s link in my post. There is no additional cost to you for clicking or purchasing items I recommend. I appreciate your clicks and purchases as it helps support this blog.

Ends n.14 Quilted

Ends n.14 (Typewriter) quilted

Ends n.14 (Typewriter) was also in the batch that Laura quilted for the guild. It wasn’t very long ago that I put it together.

I saw it Saturday and couldn’t tell whether what I was looking at was the back or front! I had forgotten that I did a lot of small piecing for this top.

Laura did a random meander and it looks pretty good. It doesn’t overshadow the piecing.

Purple and Gold Donation Quilt Quilted

I know many of you are melting in 100+F/35+C heat. I don’t want to taunt you, but it is a grey day here. The fog is in and the light in my workroom is weird. I am really glad I have Orange You Glad on my design wall and not this purple quilt.

Purple & Gold Donation quilt

This quilt by mom is now quilted. I wrote about it a few weeks ago and the speed with which it was done is astounding. Longarming really moves the pipeline along.

At the meeting, Peggy was looking for people to bind.

Before the Orange Applique

After playing with the blocks a little, I am now ready to continue working on the bullseyes.

Then I looked through the bullseye blocks. Some caught my attention and I was sad to cover up the second fabrics with more circles. Still it had to be done.

The blocks above are my favorites after looking through all of them. I know that will change when I sew the last circles on.

Plus Quilt Quilted

AJ Plus Quilt quilted

Peggy took a bunch of quilts to a longarmer, Laura, who quilts some of our donation quilts for practice. One of them was my American Jane Plus Quilt.

It is not yet bound, but having all the small quilts quilted by a longarmer makes the process much shorter. Tim is the only one with a longarm, that I know of, in the guild and he has been busy recently so hasn’t been quilting.

AJ Plus Quilt quilted - detail
AJ Plus Quilt quilted – detail

I like the pattern Laura used for the white and red thread was kind of inspired.