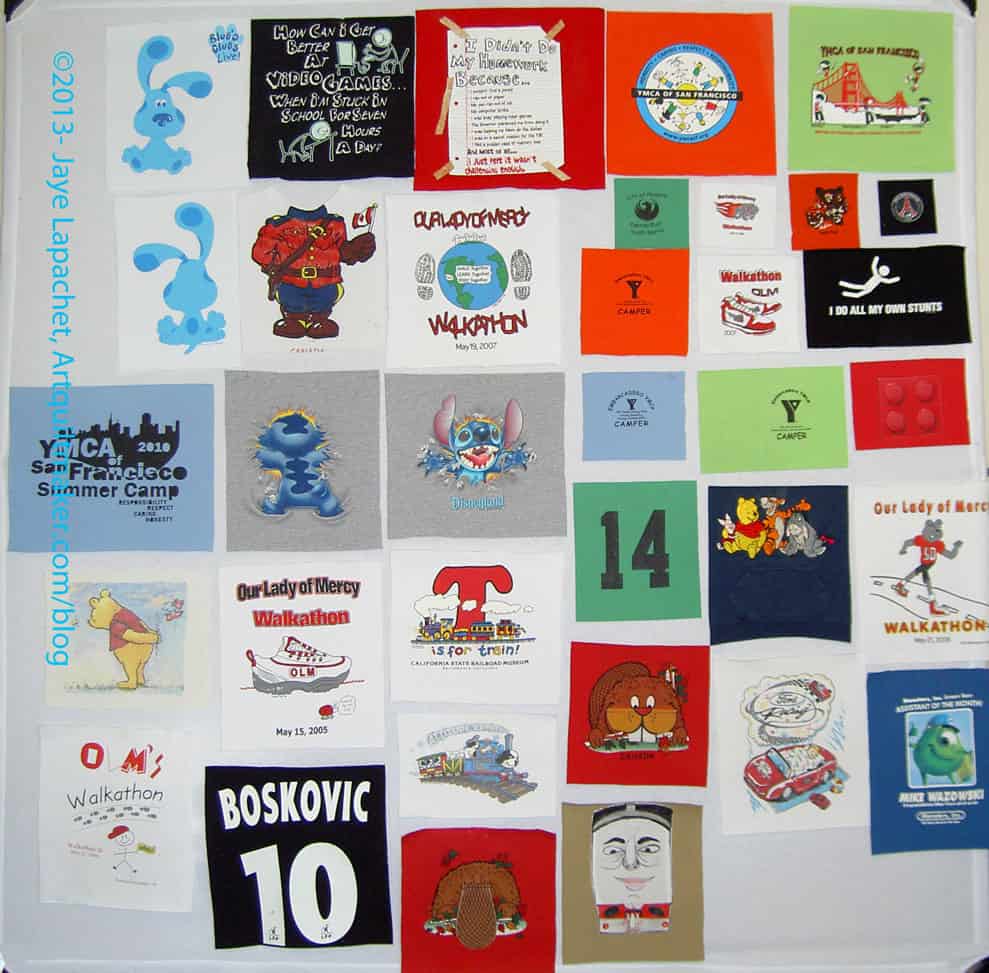
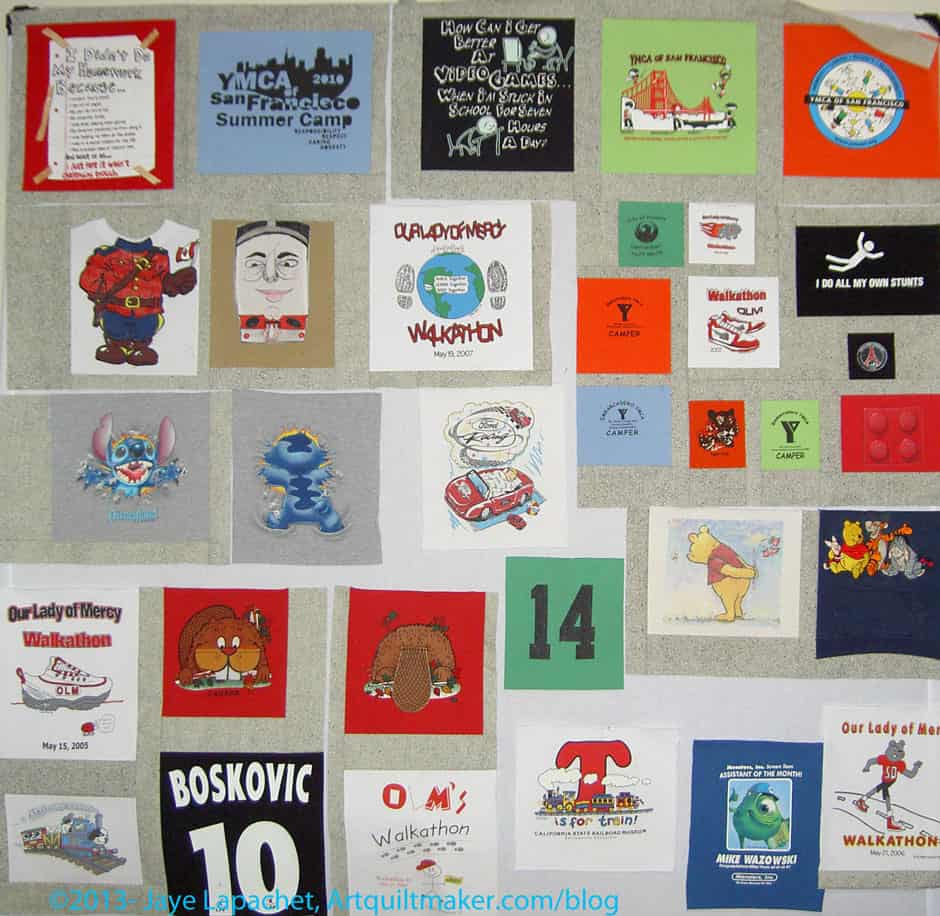
I worked on the border for the t-shirt quilt on Sunday. I have about 8 really long seams left before I can start on the back of this quilt. I really dislike long seams so putting the borders of this quilt together is some kind of torture.
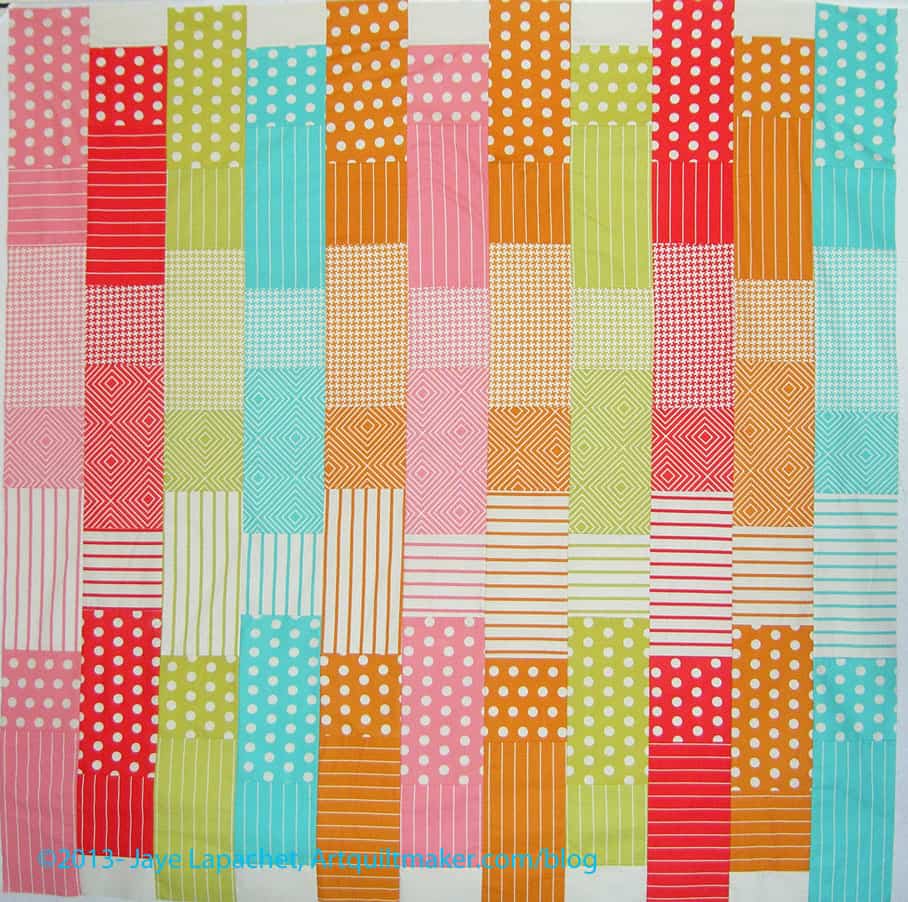
The Young Man designed the border. I was all ready to make a floating square border when the Y.M. told me what he wanted, which was two thin strips of fabric surrounded by the grey.
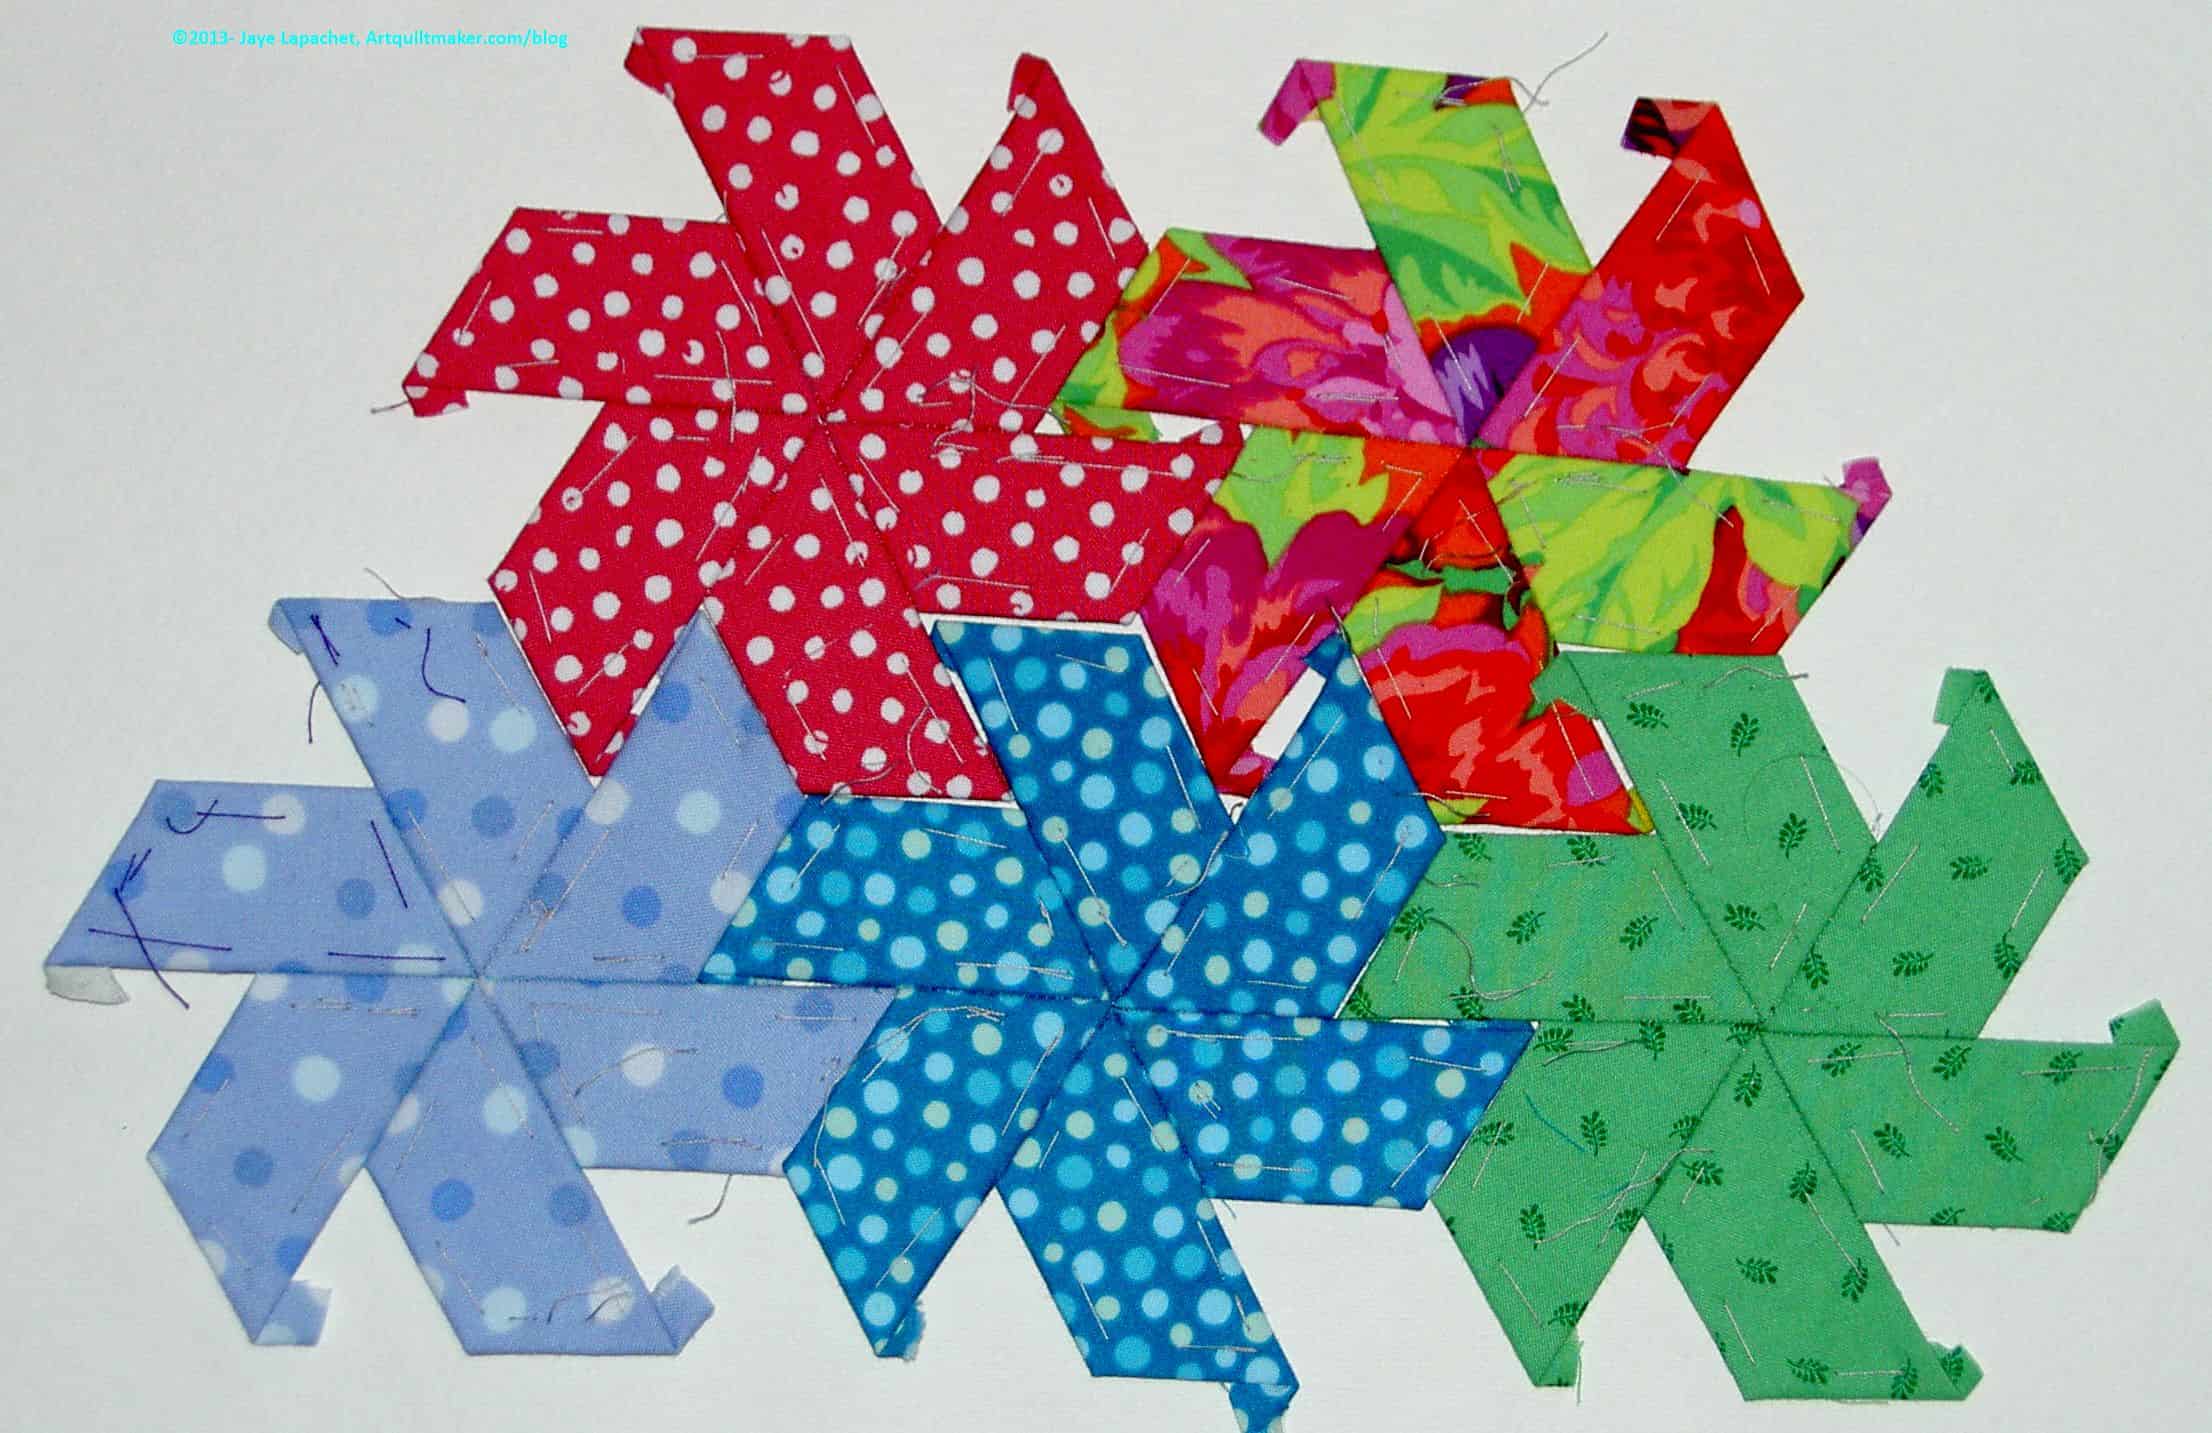
I did a border like this on the Water Kaleidoscope quilt, so I showed it to him. In that quilt, the thin strips are a variety of oranges, pinks and yellows (I don’t have a picture of this quilt. Sorry).
After looking at it (and he really did contemplate), he decided that he would rather have black and green strips alternating than the blues, greens and red that he, initially, selected.
The fickle mind of a creative in action!

The middle photo is a detail of the corner. The piece is very heavy and won’t stick to the design wall, so I have it pinned.
The Y.M. told me he wanted the rows to line up up so the black in the first row touched, but was slightly offset from the black in the second row. I told him that I would use random sizes and see how it went. I think I can, mostly, accommodate his wish, but it won’t be as precise as he imagines.

I gave him my scrap bin to rummage through. This was my way of having him pick out the greens and blacks. He came up with some nice blacks and greens, which were very different than those I would have picked. The greens were all very much in the same chartreuse color line (I am thinking of Joen Wolfrom Color Wheel when I say line, rather than a fabric line). I don’t have enough of the types of greens he chose in the scrap bin for the second colored border. I’ll have him pick some fabrics out of my green bin. I am sure I have more of that chartreuse color.
This quilt feels like it is taking me so much longer than it should. On the other hand, I think I sew faster than most and have higher expectations of myself.
The Young Man is pleased so far. That is what counts.