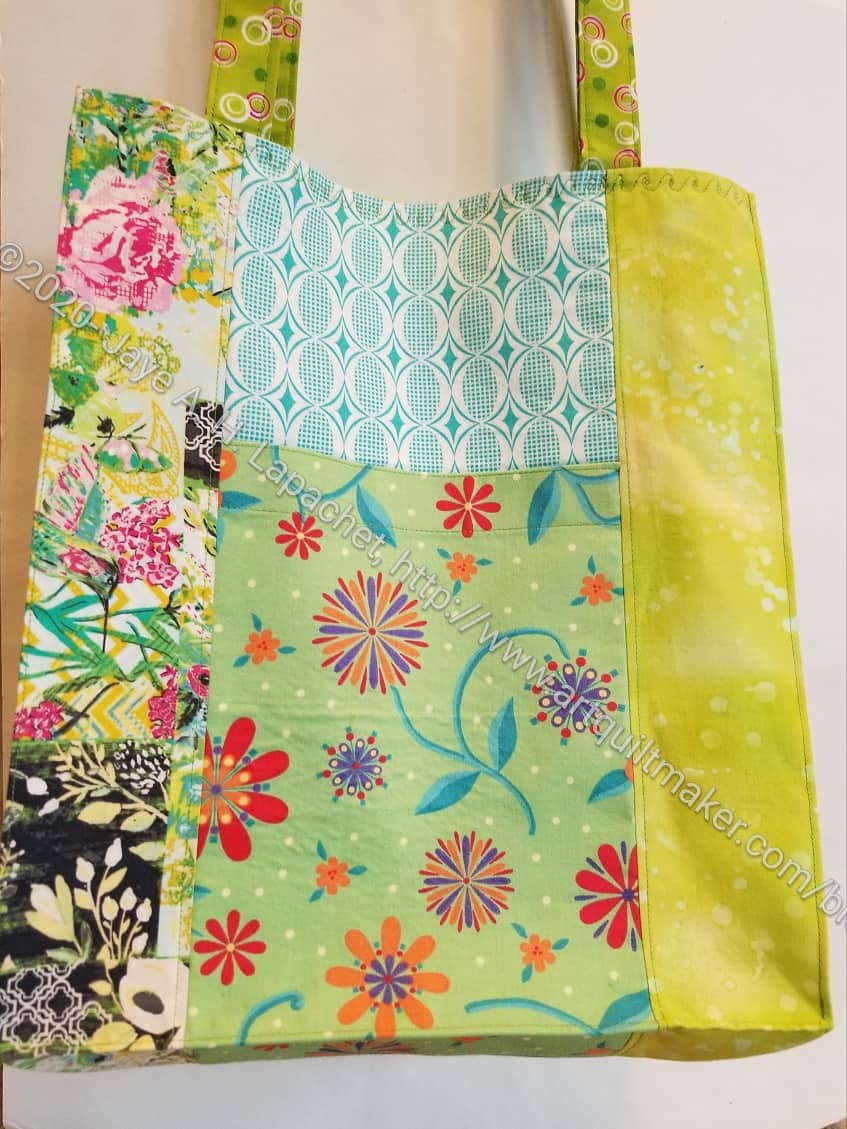
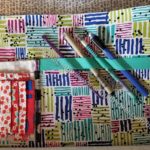
Last weekend I made a bag for the door prize at today’s meeting. I used the Jane Market Tote for the pattern again. This is a practical pattern that isn’t too big and goes together relatively quickly. I spent about 3 hours from finding the pattern to clipping the last thread.
It is scrappy green. I chose green for St. Patrick’s Day. I thought it would be fun to have green/St. Patrick’s Day as a theme.
I chose to make it scrappy so I could use up some smaller pieces of green.
My first attempt at putting the exterior of the Superbloom Tote together was unsuccessful. I was disappointed and distraught. I left the bag for much too long and considered not finishing it.
Briefly, I thought about quitting.
This was a terrible idea, because I have other fabric that I want to use to make another one. AND the fussy cutting I did with the Linework fabric is fantastic. The fussy cutting on those side pockets was fantastic. Finally, after mulling a lot, I realized that I had been working on the bag without the benefit of the video. Many of Sara Lawson’s pattern packs come with the pattern and a video. The video is very helpful. She has improved the videos by tagging them to steps in the pattern. I was able to navigate right to putting the exterior together easily.
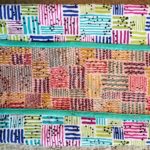
Superbloom Exterior
Watching the video really helped and I was able to get over the hump of adding the side pockets and the straps to the exterior. There was one step I did a little wrong, so I had some ripping to do, but it came out really well.
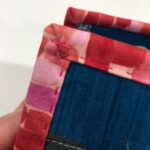
I spent some time on Sunday sewing the Superbloom tote. I am particularly happy with the Side Pockets.
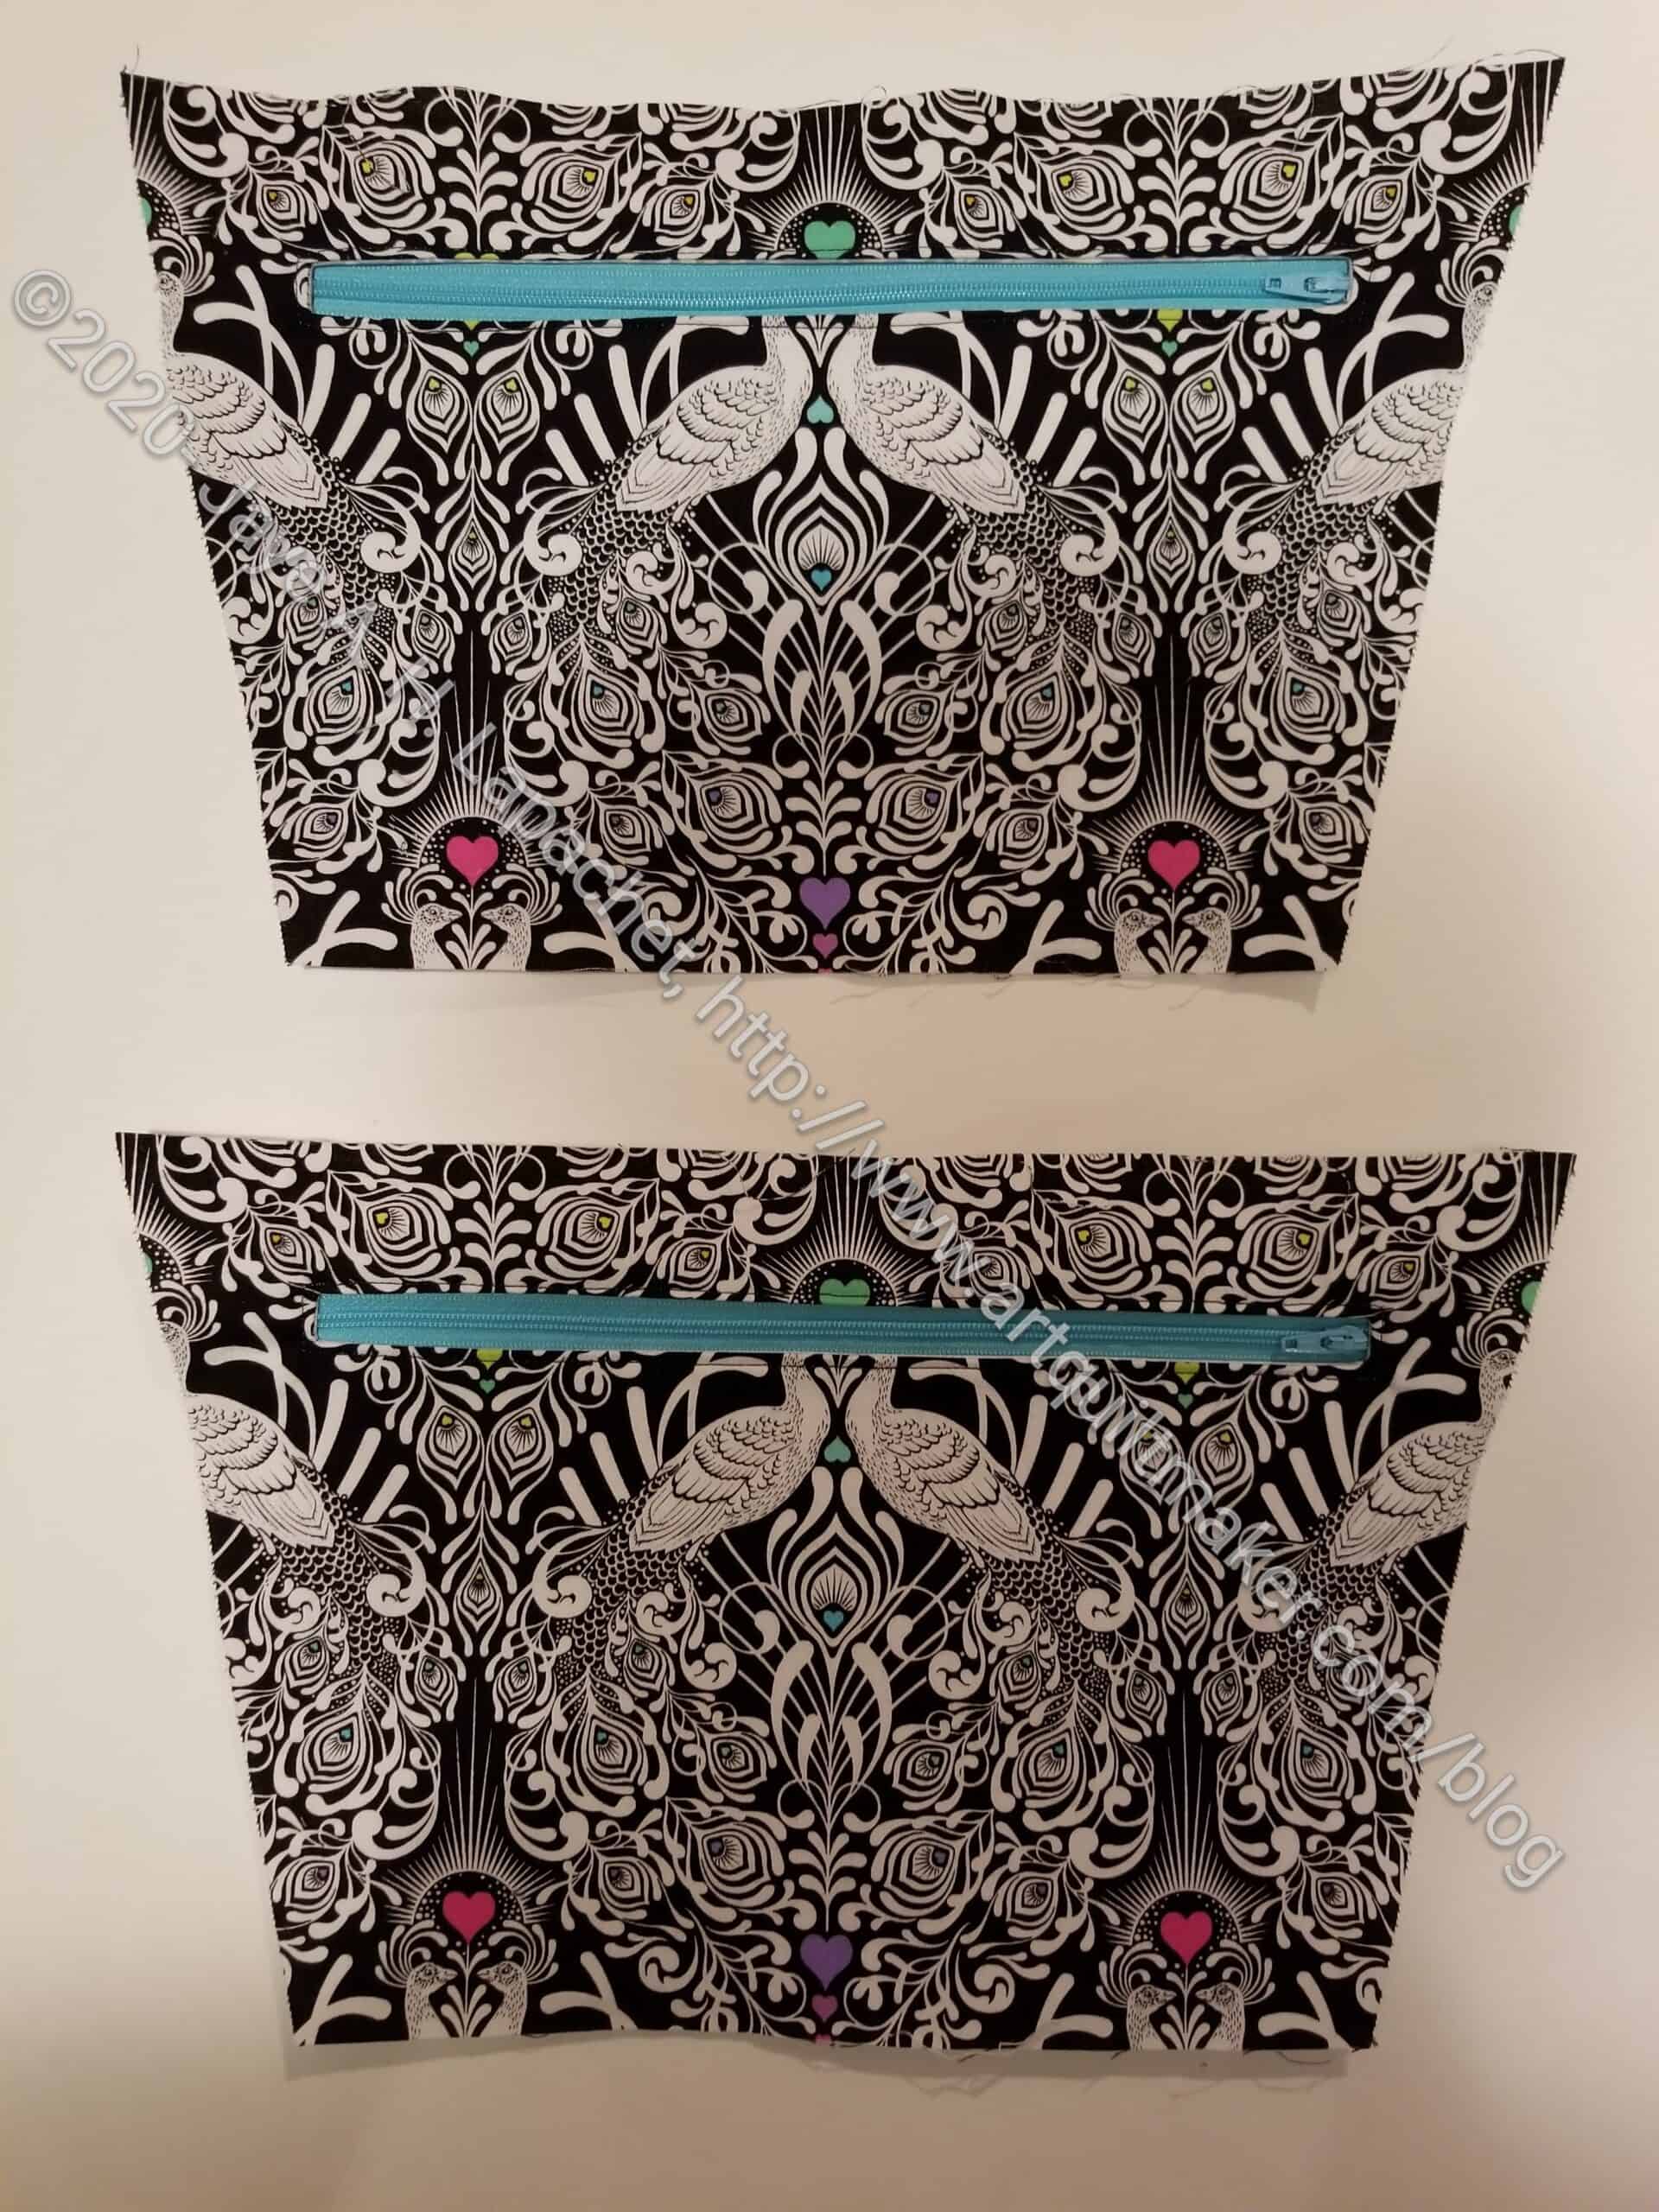
First of all, I always forget how easy those internal zipper pockets are. They really go together smoothly. I always wonder why I don’t just add them to every bag. I should.
Second, I am super happy with fussy cutting. I basically lined up the motifs with the template pieces. My one issue is that the swans heads got cut off when I added the zipper. I plan to add some markers on the template where the zipper is so I know where the zipper for the next time I make one of these.
I started putting the bag together and am excited to see how it will look.
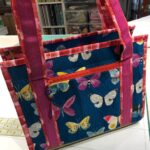
My YM’s girlfriend (YMG??) has a birthday at the beginning of January. I thought I might be a week late in getting her a gift, but here it is a month later and I have not made progress on the tote.
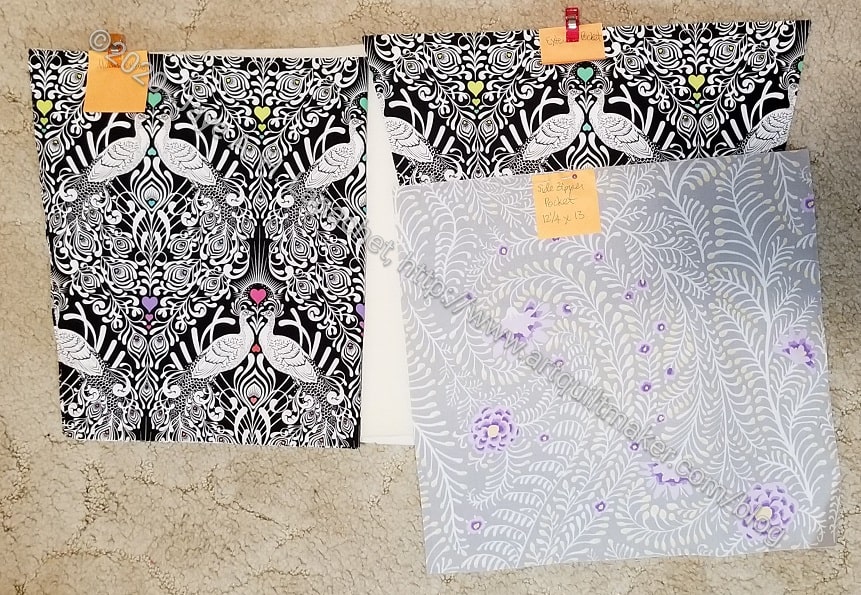
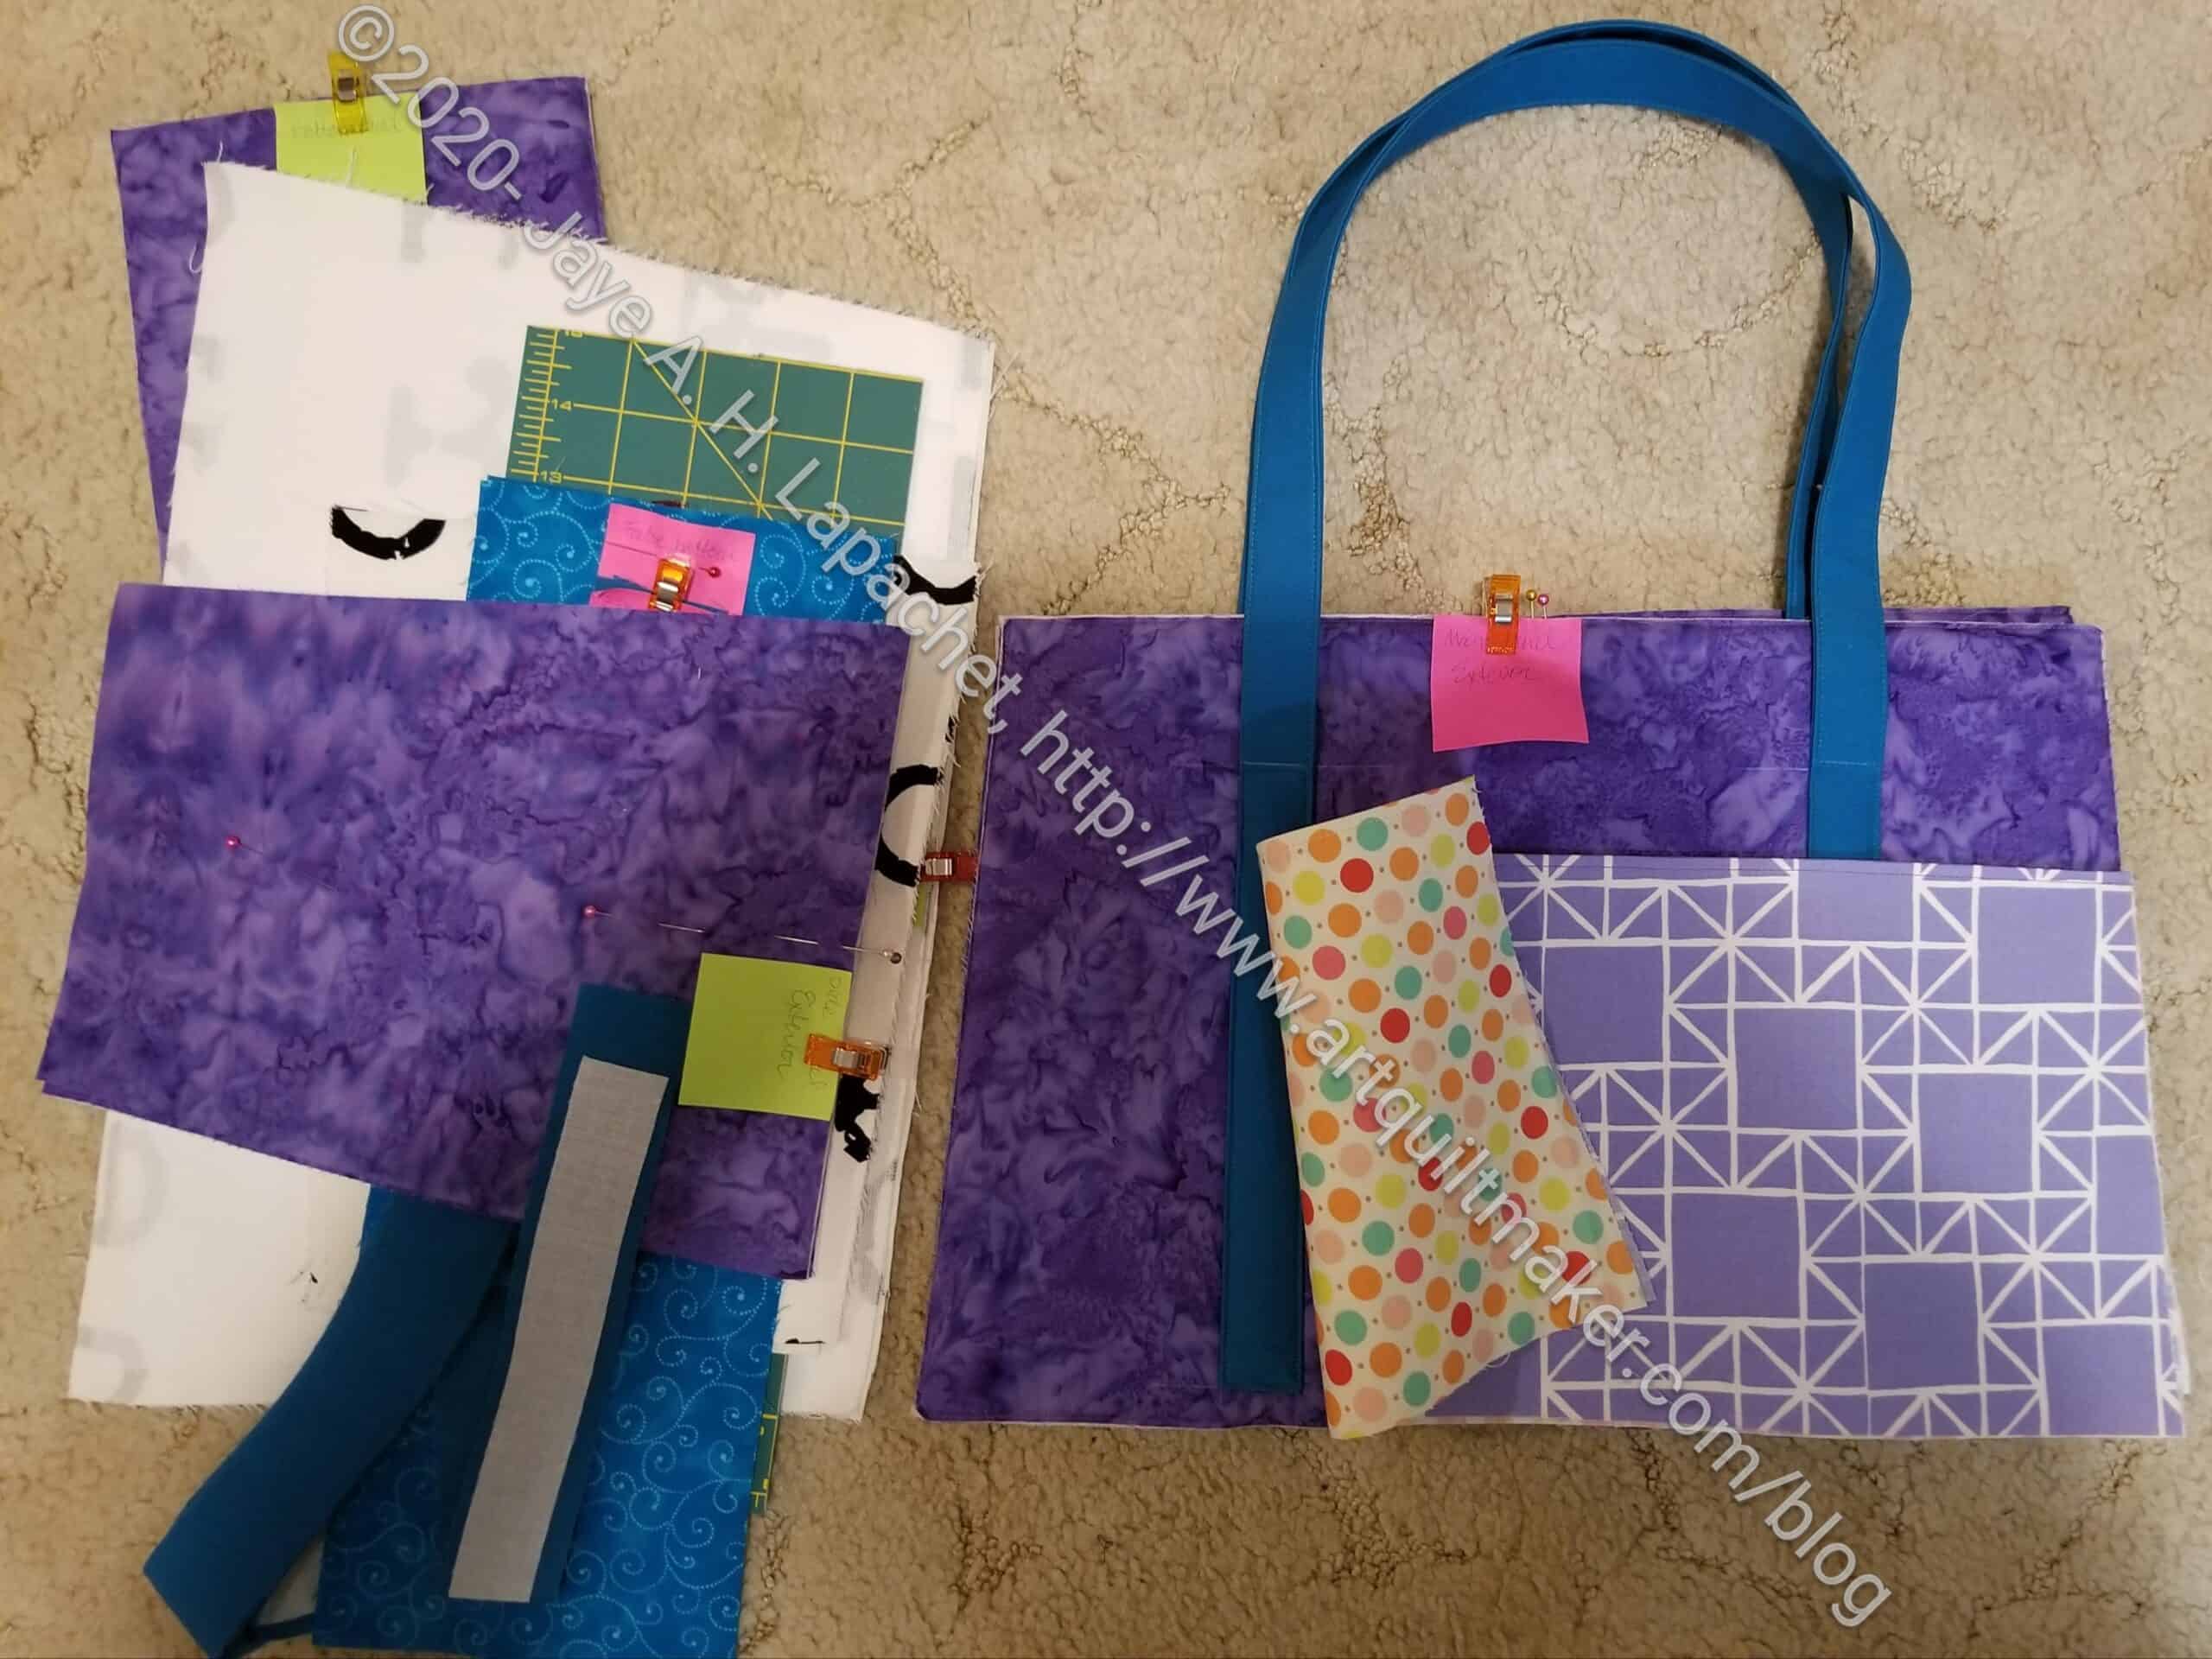
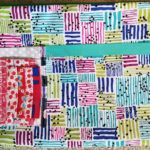
Linework Superbloom Tote pieces cut out
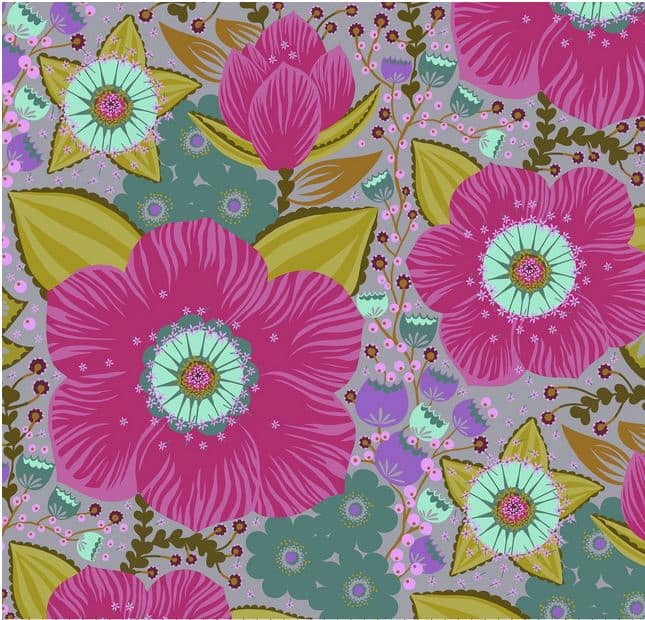
I decided to make her a Superbloom tote. I wanted to try this pattern and her birthday seemed like a good opportunity.
I used some of Tula Pink’s Linework fabric for the outside. YMG likes dark green, which is not a color of which I own a lot (shocking, I know), so black and white it is.
This is a Sew Sweetness pattern (one of the new ones) so I have every confidence that it will go well.
As you can see, I haven’t gotten very far. I still need to get beyond the cutting and hope to work on it this weekend.
I finished the Mini Maker Case in September. I wanted to save the post for after I gifted it. The recipient, Friend Julie, reads this blog on occasion and I didn’t want to spoil the surprise.
The small Oliso irons didn’t arrive until after her birthday, so this ended up as a Christmas gift. I sent it off with the iron and a couple of other gifts last week. I meant to take a photo of my iron inside the case, but forgot. I hope she will take one after she receives it and has a chance to look through her gifts.
I want to make one for myself. It is kind of a talisman for when Sew Days start up again.
I made good progress on Sunday on the Sheffield Bag. There was very little ripping until I got to the zipper installation, which was all ripping all the time.
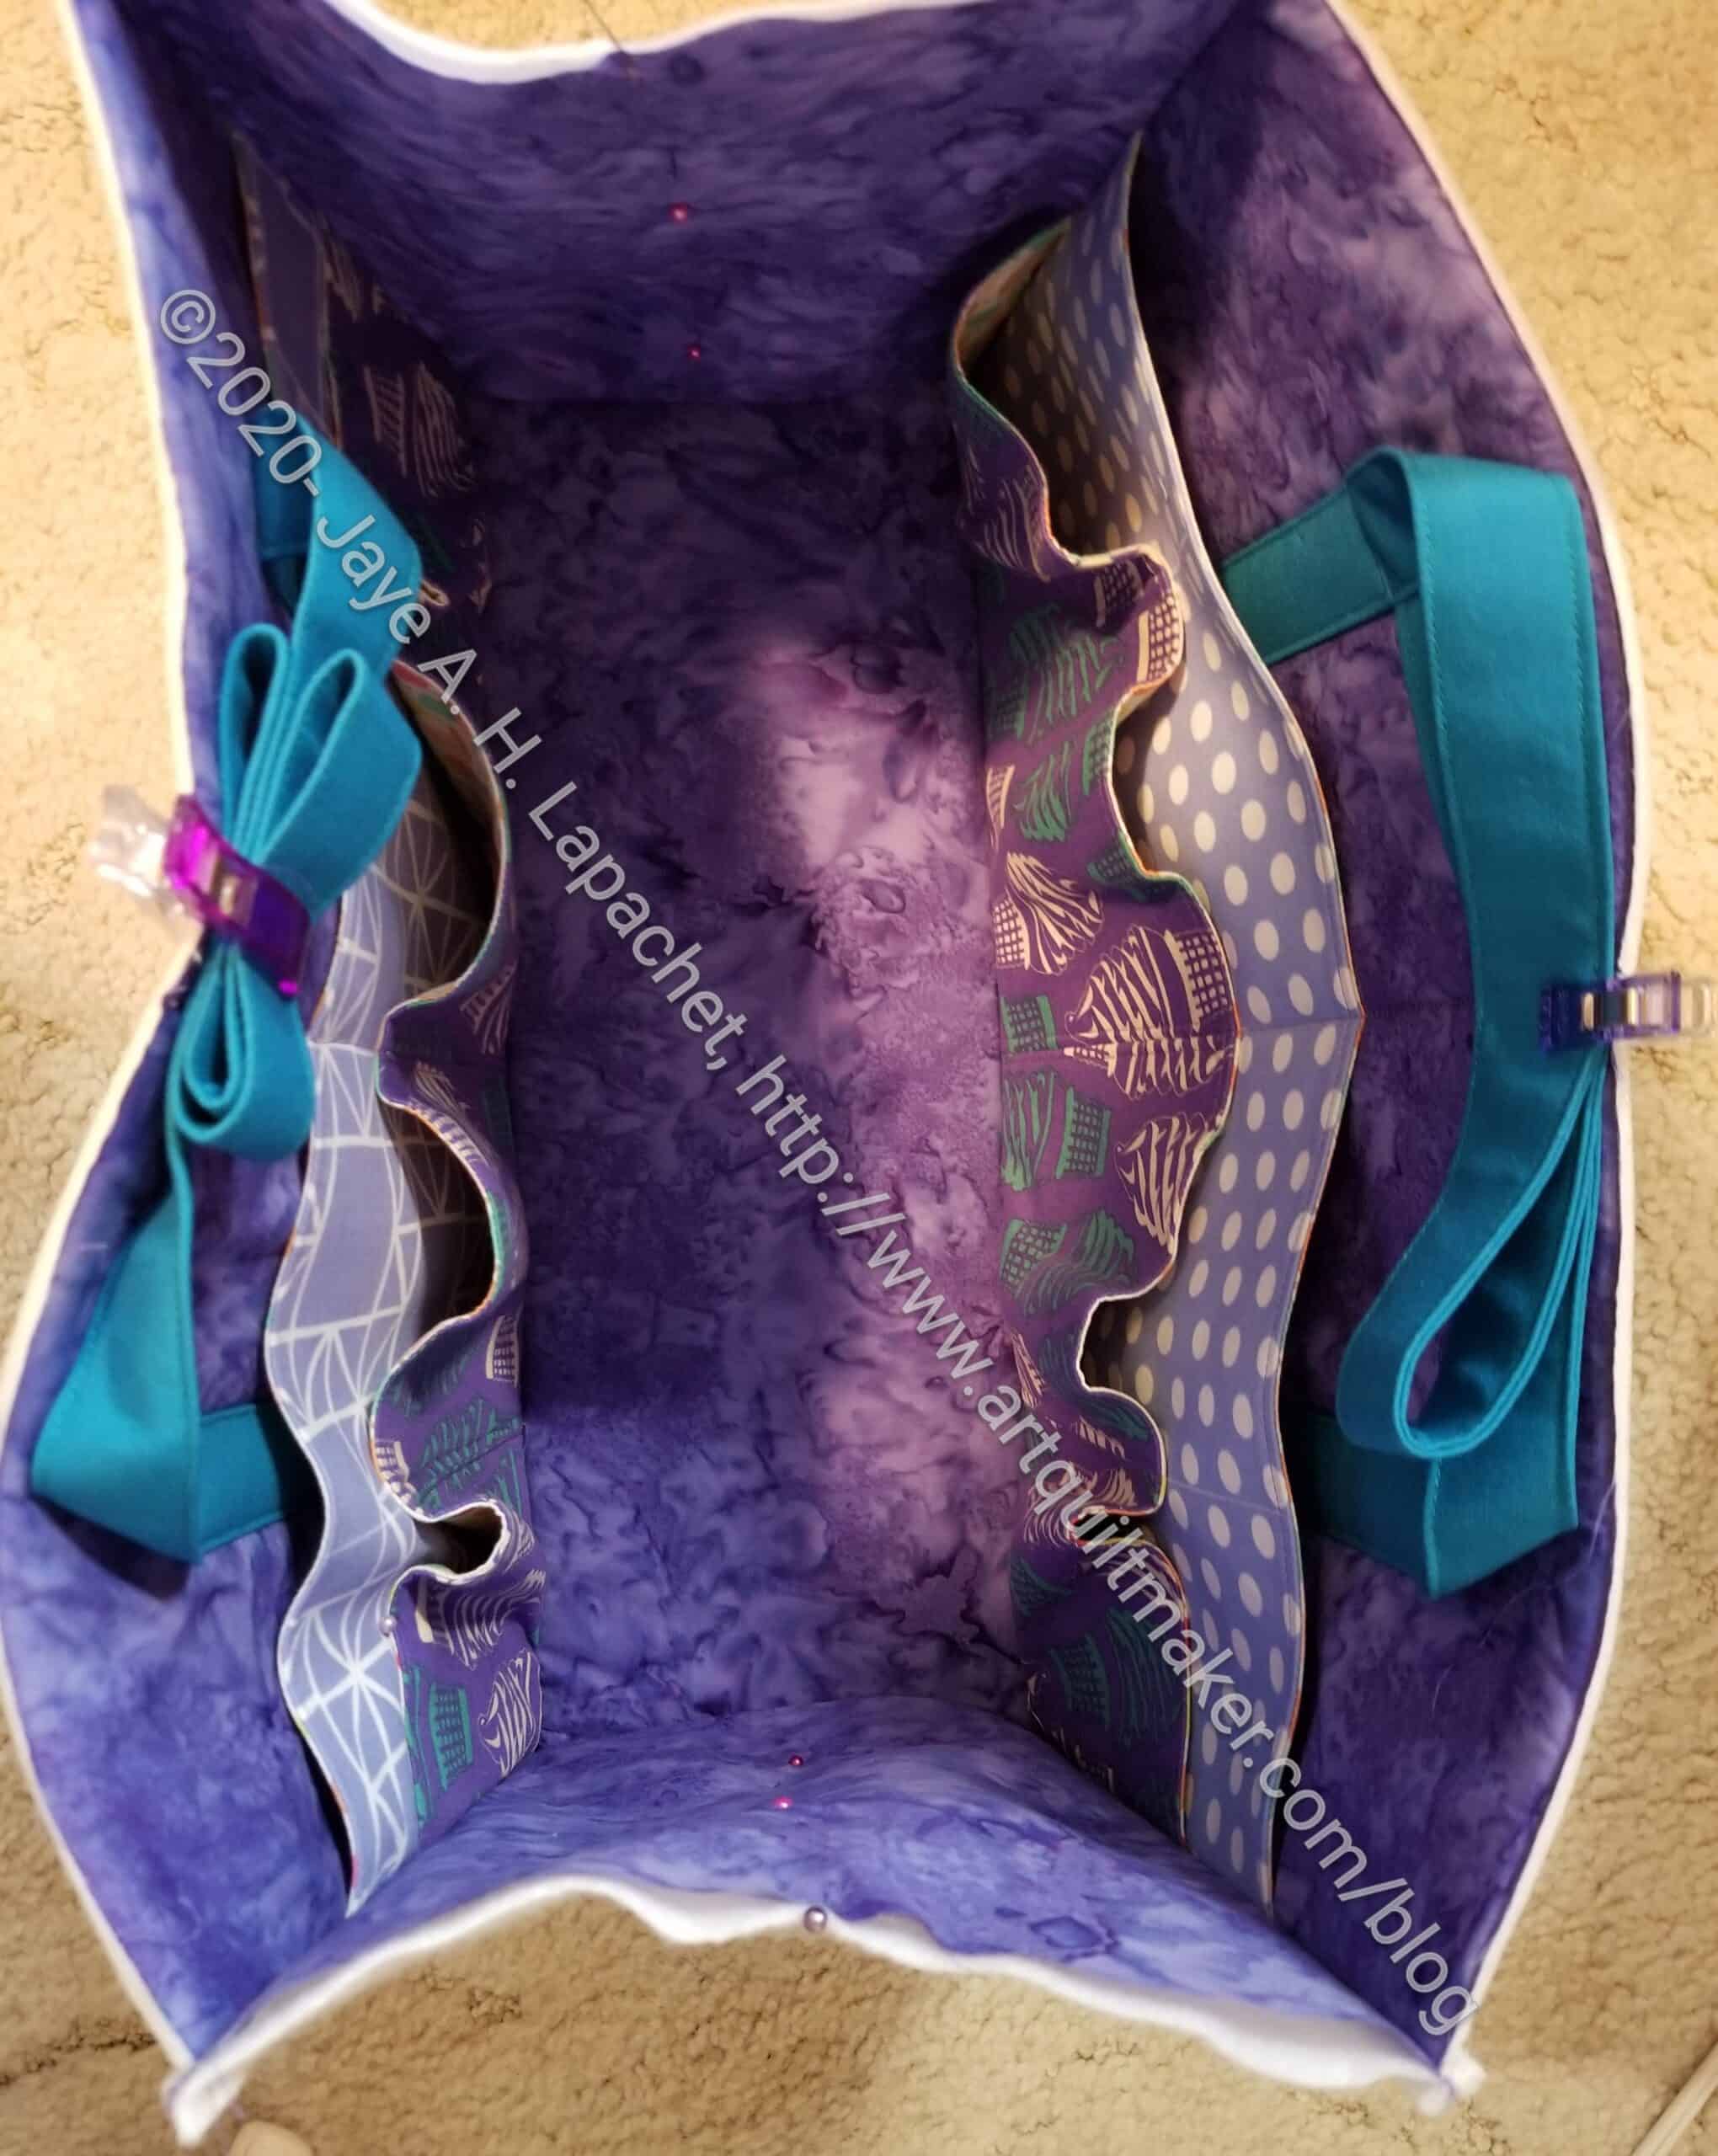
I have the handles clipped so they are out of the way. You can see a good view of the various pockets. I think the pocket construction on the gathered pockets would be much easier than the similar pockets on the Oslo Craft Bag. If I make the Oslo Craft Bag again, I will use this pocket construction.
I am kind of on a Sew Sweetness binge lately, aren’t I? Oslo Craft Bag, Sidewinder Pouches and the Sheffield Bag all within a month. I do have quite a few of her patterns and feel like I need to make my way through them.
I started cutting out the Sheffield Tool Tote last week during Sew Happy Hour. I really got busy on it Friday, which is when I finished the cutting and, then, yesterday I started the sewing. Cutting out projects really makes me feel like I am getting nowhere so making pockets and the exterior made me feel like I was making progress.
This is a pretty structured bag by Sew Sweetness. It is similar to the Quilts Illustrated Tool Tote I made a few years ago (?). I bought it as part of the His, Hers and Furs bundle when that bundle was on sale (no affiliation). This is the first project I have made from that bundle.
I decided that I needed to get busy on the Ultimate Carry All Bag. The BAM Virtual Retreat is this weekend and that would be a good time to finish- or at least make progress- the bag.
Ultimate Carry All Bag Front Pocket
Ultimate Carry All large Pocket #2 back- examples
Ultimate Carry All large Pocket #2
Ultimate Carry All large Pocket #2 back
Ultimate Carry All large Pocket #1
Ultimate Carry All large Pocket #1 back
Ultimate Carry All Bag: Short Front Pocket
The last thing I worked on was the front pocket. I did it wrong and it is still in that state. That is the first thing I need to work on once I get going again. I also want to make one of these for myself, to replace my current Quilt To Go bag, and I am thinking of making the front pocket for that bag at the same time I finish this one. I know I would be skipping a bunch of steps, but at least one piece would be done.
Lynette said that she is working on a different way to add the binding. Since I am scared of that binding based on Cyndi’s and Mary’s experience, I am waiting for her to try it.
Mary’s Ultimate Carry All Bag
Mary’s Ultimate Carry All Bag-binding detail
Mary’s bag looks really good and she went around the binding by doing part of it by hand with some exceptional detailing. Her example is one I am considering. I have done a number of bag bindings by hand when the bag was too unwieldy for me to do it by machine. I also get better results by hand on awkward shapes. I am not scared to sew the binding by hand.
Writing about this project makes me want to work on it. Of course, I have to keep up with the Journey2Nebula as well.
This post should have really been the first one I wrote about the Catch All Caddy class. I should have posted it before the Baseball Catch All Caddy post. I realized that my mom, to whom I planned to gift it, reads my blog and I wanted it to be a surprise.
Paint Tube Catch All Caddy
As mentioned in the Baseball Catch All Caddy, this was the project from my first Zoom class and I really liked the pattern. Lynette taught the class and she did a great job. I was impressed with her overhead camera set up (she used her iPad on a tripod). I need to figure out that kind of setup for when I teach. Things take time.
I used the color scheme of the original, because I really like that slate grey. I used a Cotton Couture solid from Michael Miller. It was easy to work with, though I didn’t like the fact that the holes where the basting stitches had been showed even after I took them out.
Instead of making a scrappy border for the pocket, I used one piece of fabric. It is the paint tube fabric that goes with the set of bags and holders I am making for my mom. I was actually glad to add this one to the group, because I am running out of useful bags to make for her. She really liked t he bag and thought she might use it to carry a project between her recliner and her sewing room
Paint Tube Catch All Caddy
The bag went together pretty easily, which was why I could make two in one day, though I did cut the fabric for this one the day before the class.
I kind of like the simplicity of the bag and the opportunity to highlight favorite fabrics or scraps on the pocket border. I was thinking that I could use ribbon as well. I have some of that Renaissance Ribbon and this project would be a good way to highlight some of it.
I had some trouble with the lining, but was able to fix it when I closed the turning hole. I don’t think Mom will mind.
I spent some time over the weekend working on the Mini Maker Case Sew-a-Long with Lillyella. She sent out more instructions on Thursday and some corrections to the pattern. I was behind. I had work to do, and did some, but also wanted to think about some things, so I spent time on Friday catching up.
I normally don’t use a zipper foot, but decided to try it this time as Nicole, of Lillyella, had some good reasons for suggesting it. After breaking a needle and having the zipper foot go disastrously crooked, I ripped out the zipper and put it in again using my quarter inch foot** and a stiletto**. After sewing in the zipper and top stitching it down, I was super pleased with how it looks. It may be the best zipper I have put in EVER. Maybe.
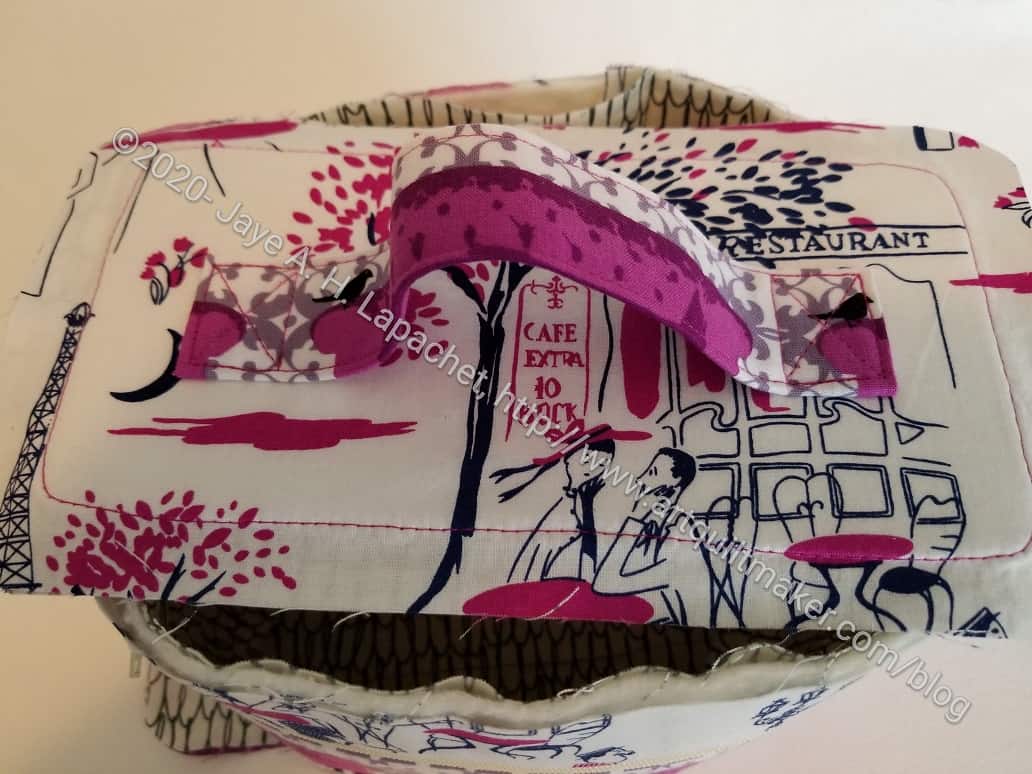
Mini Maker Case – handle detail
The handle was really interesting. I definitely like the look of it, but there were no instructions on holding it in place so it could be sewn. I tried one of the newer super strong Sew Tites**. That worked a little bit, but I had to hold on to it and check the placement until I could get it anchored in place.
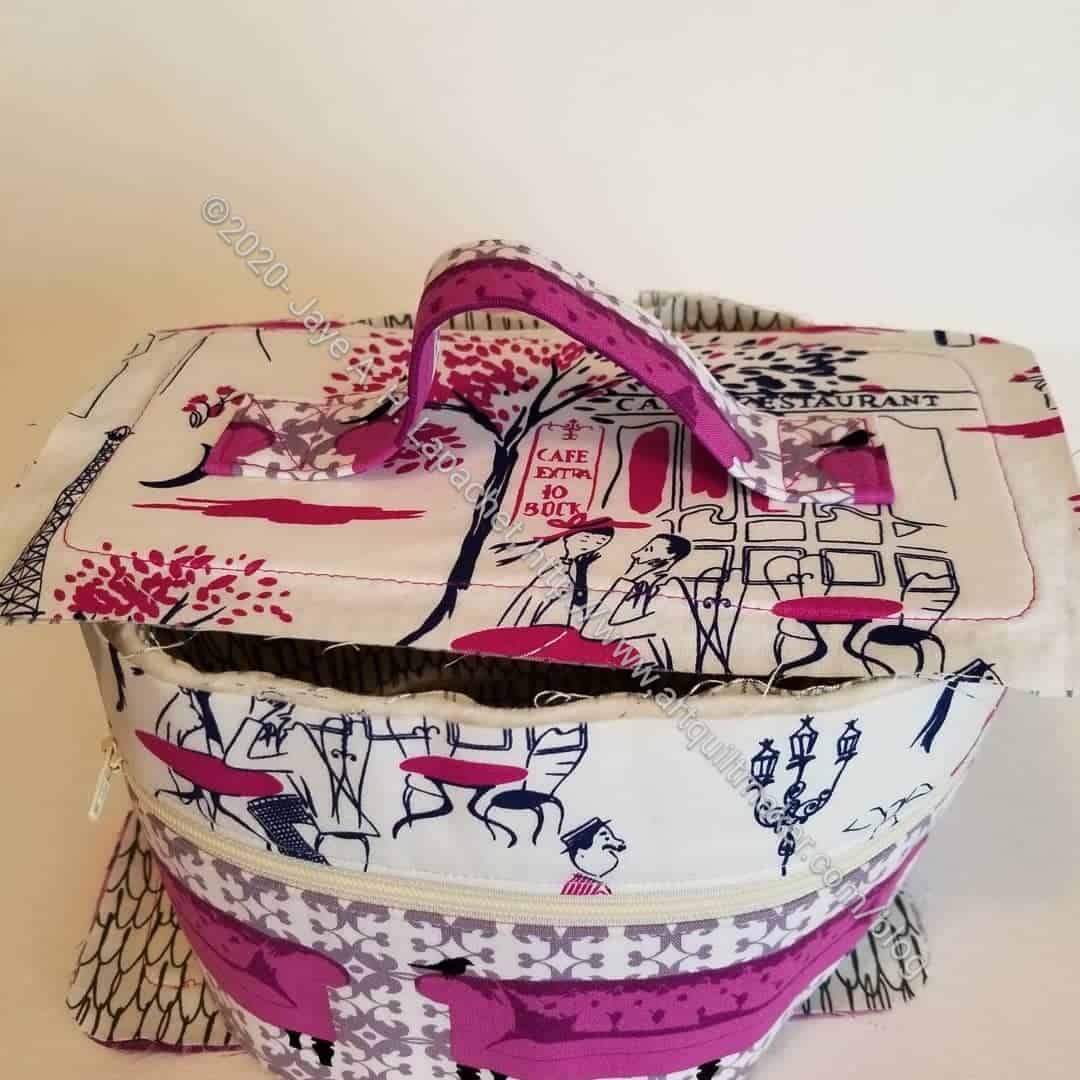
Mini Maker Case – Saturday Progress
On Saturday morning I went to work, having all the flat parts done. The assembly of the body was pretty confusing for me. You know how I am with pattern directions. Again, some ripping went on, but I eventually got the body together.
My next step is to assemble the entire thing. I know I should wait for the SAL, but I may want to keep the momentum going.
**I use affiliate links and may be paid for your purchase of an item when you click on an item link in my post. There is no additional cost to you for clicking or purchasing items I recommend. I appreciate your clicks and purchases as it helps support this blog.
Since it hard for me to access my design wall in the way I like, due to my foot, I decided that I would work on small projects this week. This included the lillyella Mini Maker Case Sew-a-Long. Yes, I am also still doing the Journey2Nebula. I really just want to win the prizes they are offering. Not really, though a little bit. I like the push to keep up and get these projects done.
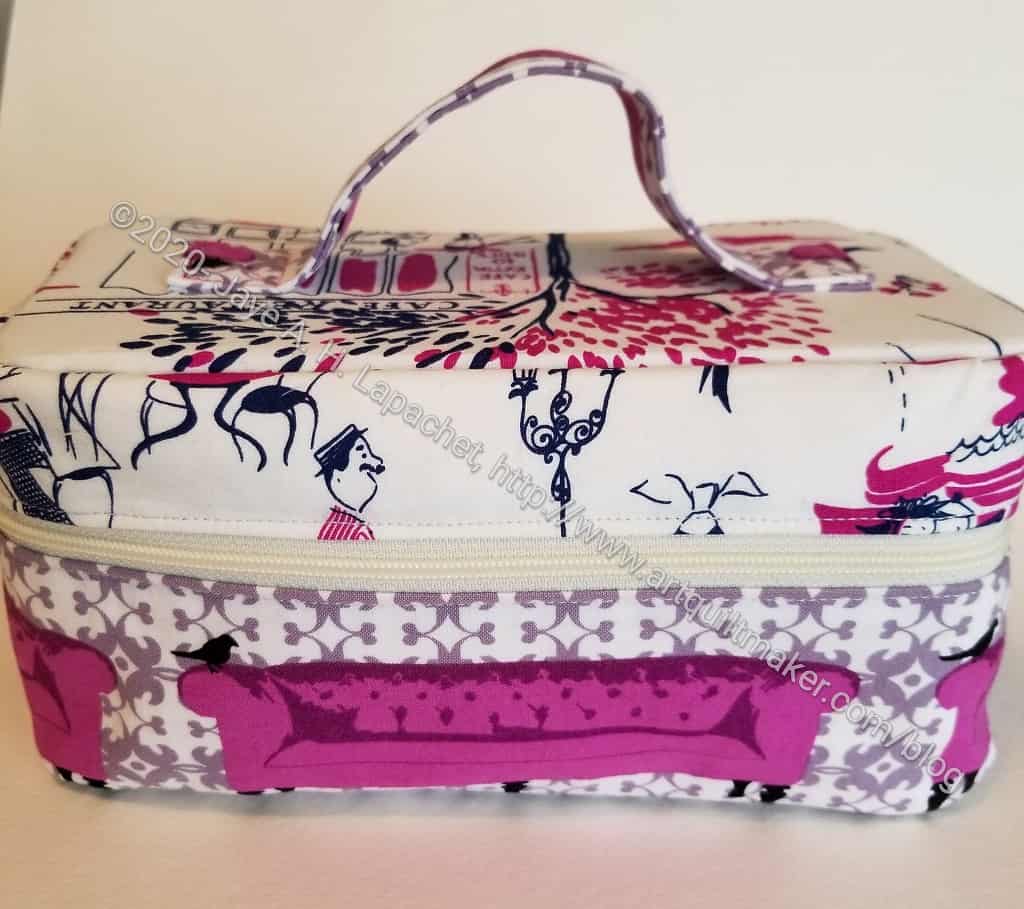
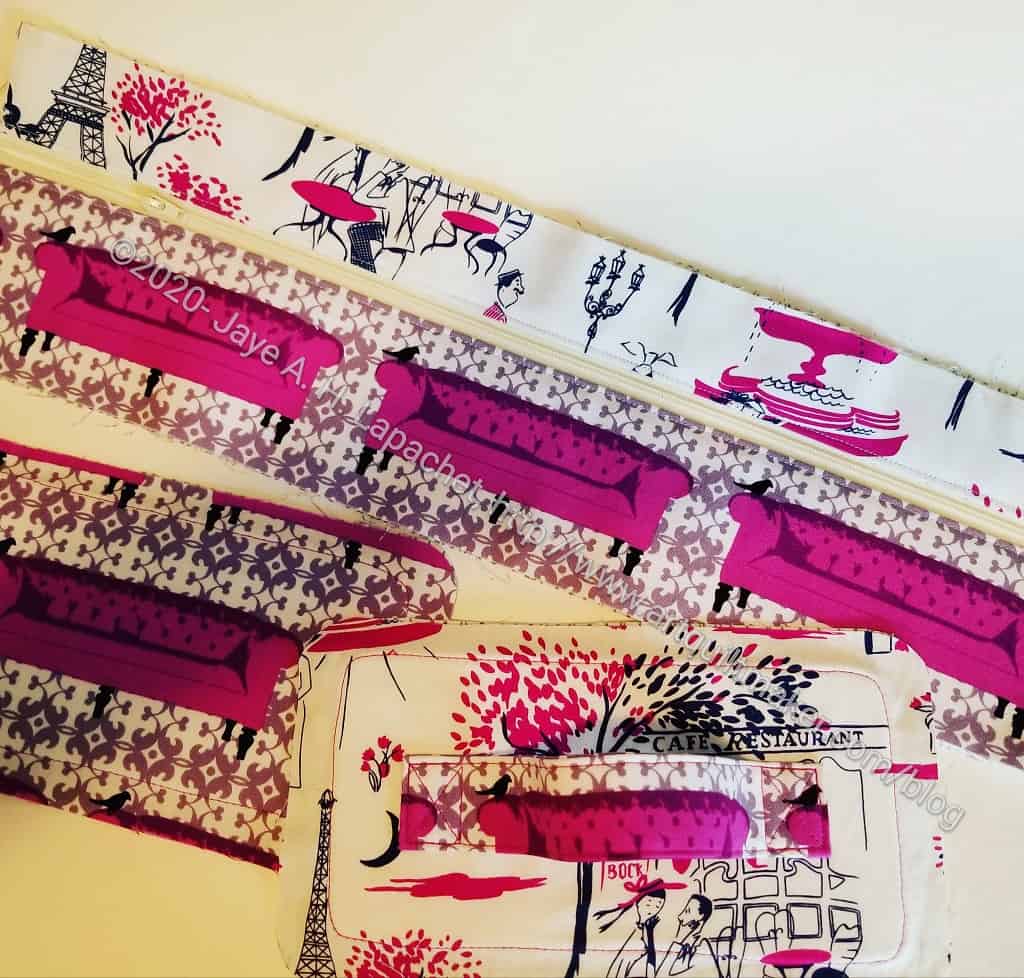
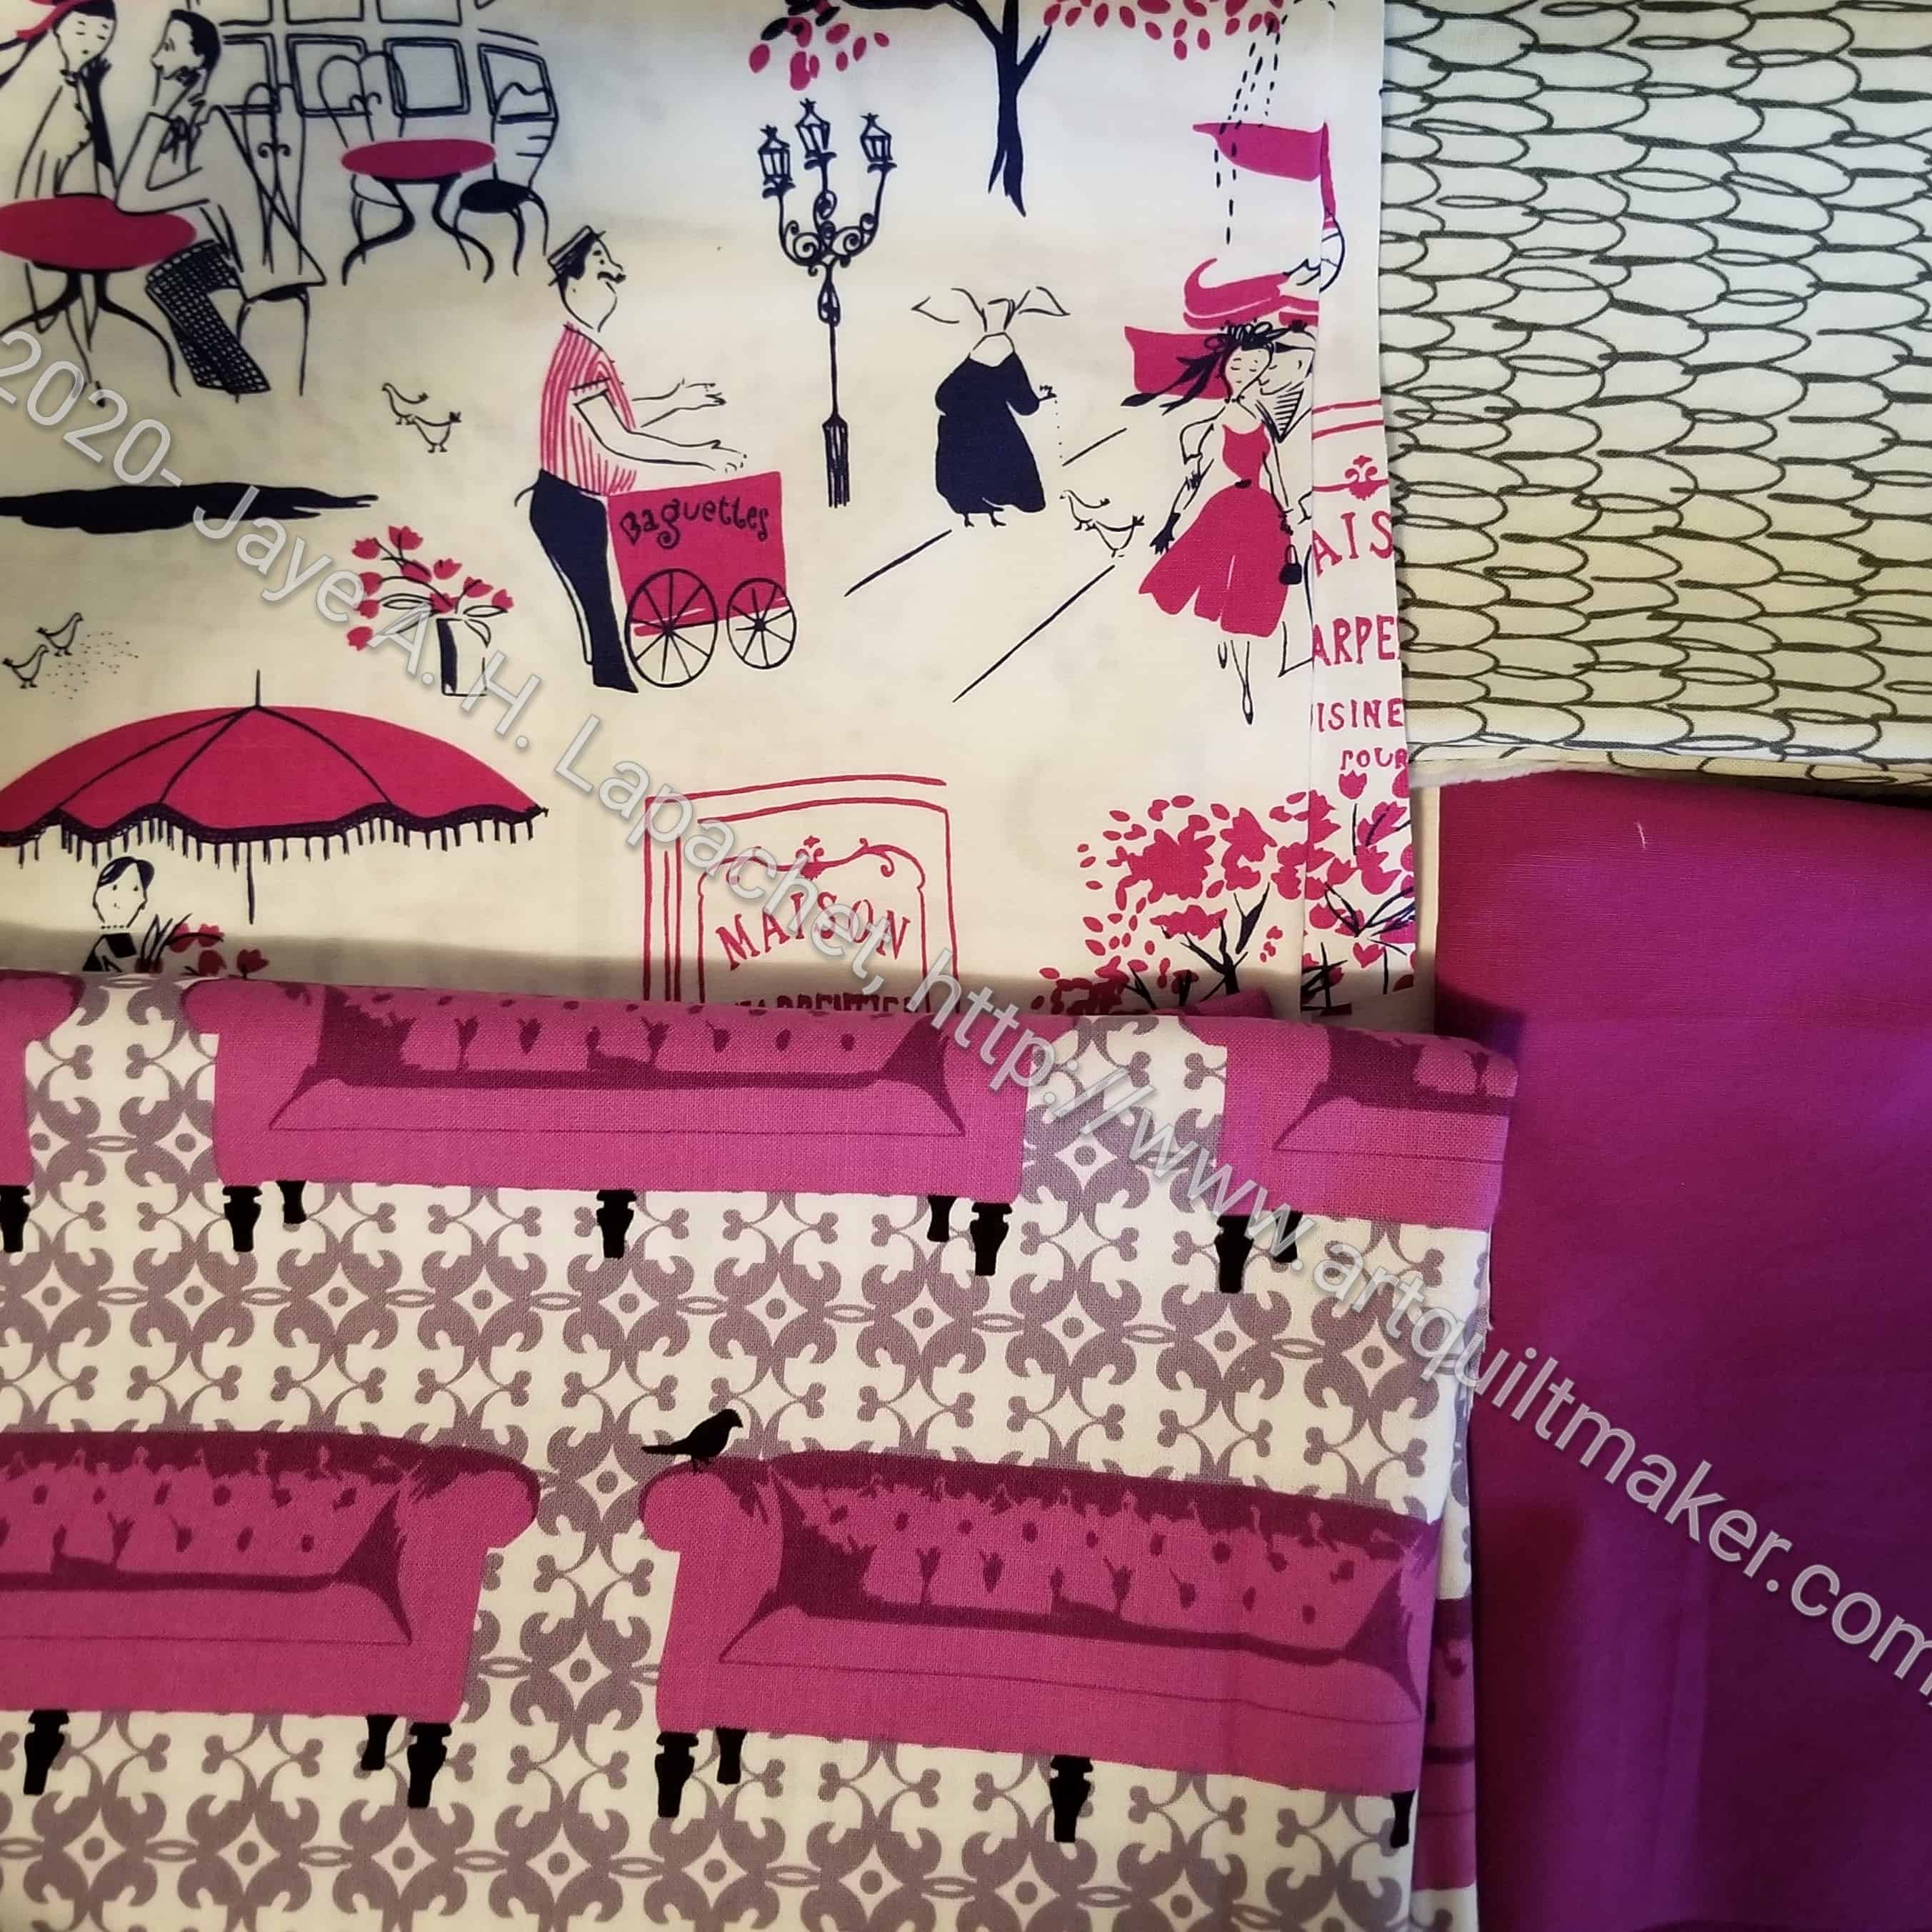
Mini Mkaer Case SAL fabric
This is a cute little train case looking tote. It is designed for the Oliso mini iron, but you can use it for other things as well. I chose the fabric for the project this week.
I started out with the couches fabric and wanted more purples, but the couches fabric is more red-violet, so I found other fabrics to match. I might also make one in the same fabrics as my All Rolled Up Tote.
BAM had its first Zoom workshop the other day and I took it despite some challenges. First, we had to do some prep work, which I did, but I think I went a little beyond, because I had a presentation and wouldn’t be able to join until late.
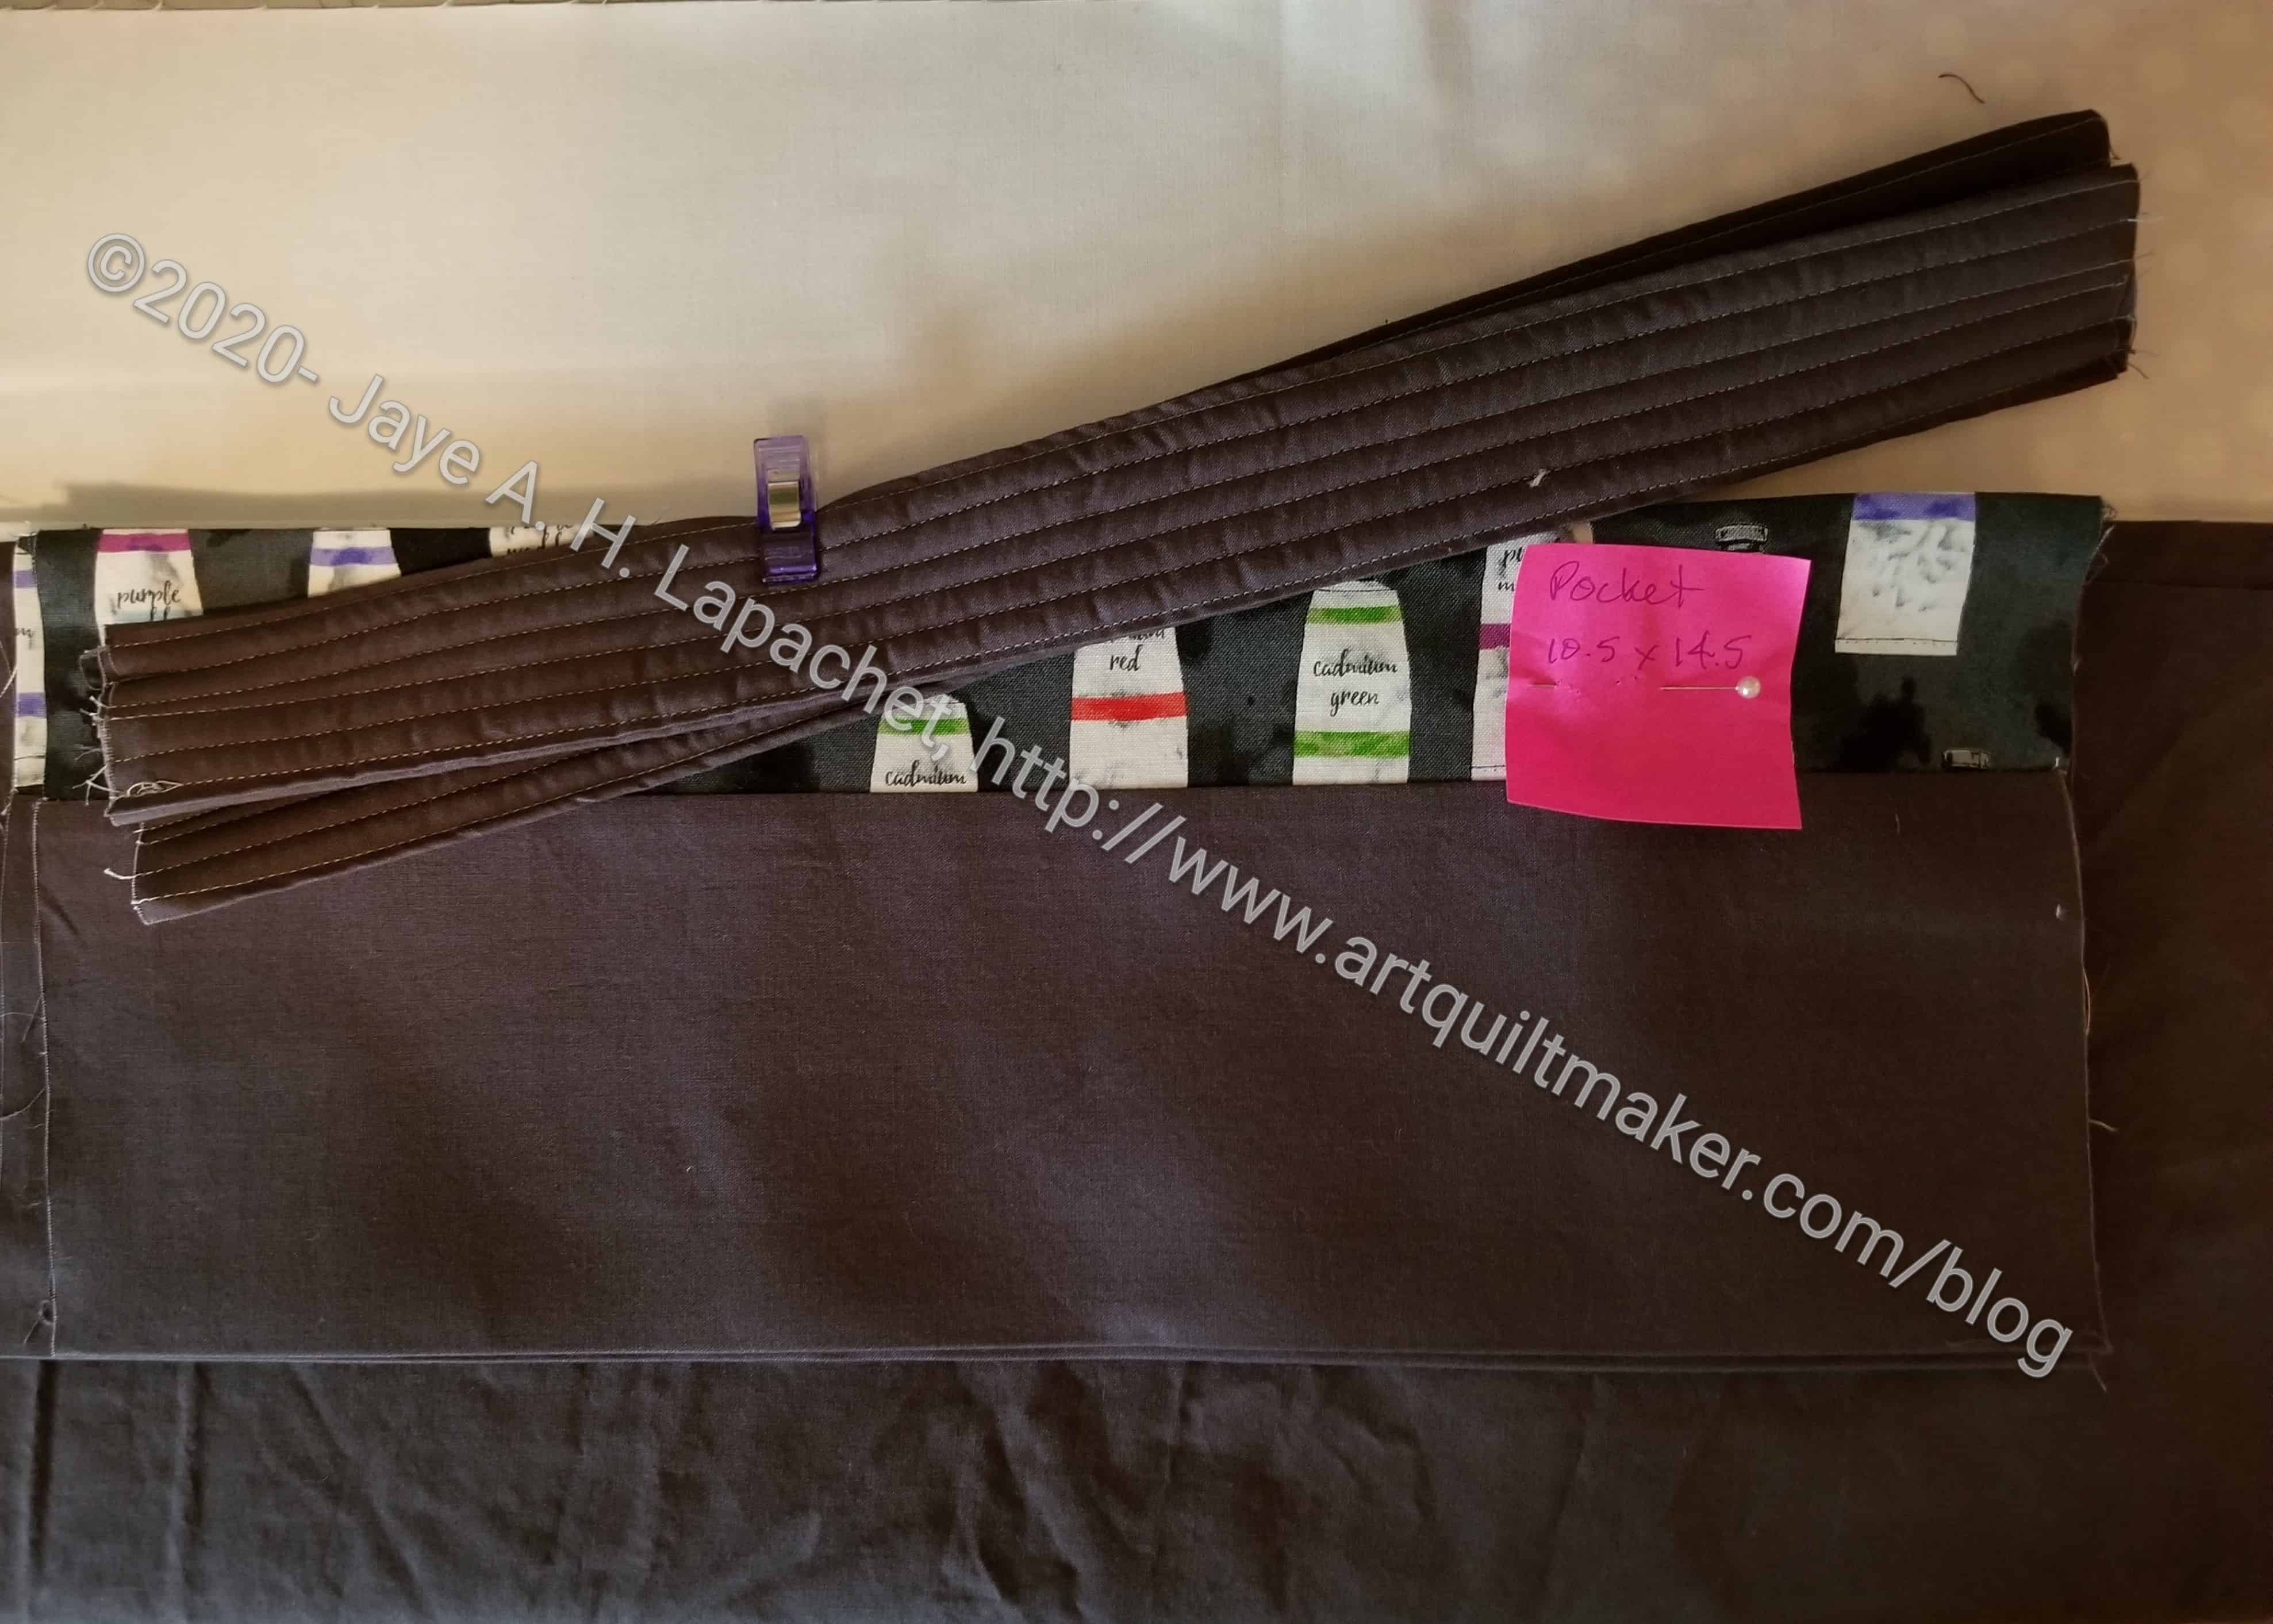
Catch All Caddy prep-complete
The Catch All Caddy was a bag that was given away at the 2013 retreat. I think it was one of the best bags given out when bags were still being made for retreats. Since then people who attended that retreat bring them to Sew Day and workshops, using them to organize tools and carrying their other stuff. Everyone else is envious, thus Lynette decided to teach the rest of us how to make the bag.
I felt good about my progress Friday night when I finished for the evening.
As mentioned, the BAM meeting was on Saturday. I am in charge of the door prizes and we are still choosing a winner despite having the meetings via video chat. Ii have a great team and couldn’t put together such great bags without them.
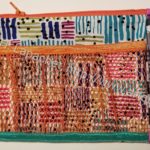
Woven Tote by Carrie P
We first made items to fill the bag, then partway through the year I asked for volunteers to also make tote bags. To date I had been using random shopping bags, which isn’t as nice. Carrie, who is actually a glass artist, made the woven tote I filled on Saturday.
It is different than a quilted/sewn tote bag. The texture is fabulous and I love the detail on the handle straps and the beaded bit hanging down.
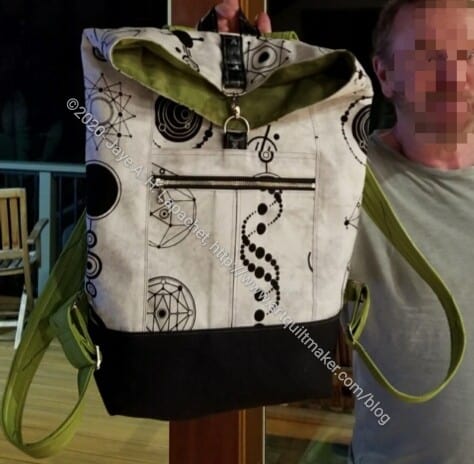
Tim has done great work again. He was inspired by Cyndi, another guildmate, so they are making Range Backpacks in tandem. Tim has made three so far and I am very impressed with his work.
The Range Backpack is a Noodlehead pattern. Tim likes it very much and says it is concisely and clearly written. He made some changes after making the first one such as using only SF101 as the interfacing and using a lobster clip instead of a buckle for the closure.
This is the pattern that spurred our discussion of the Hump Jumper.
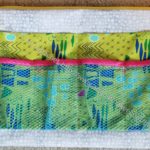
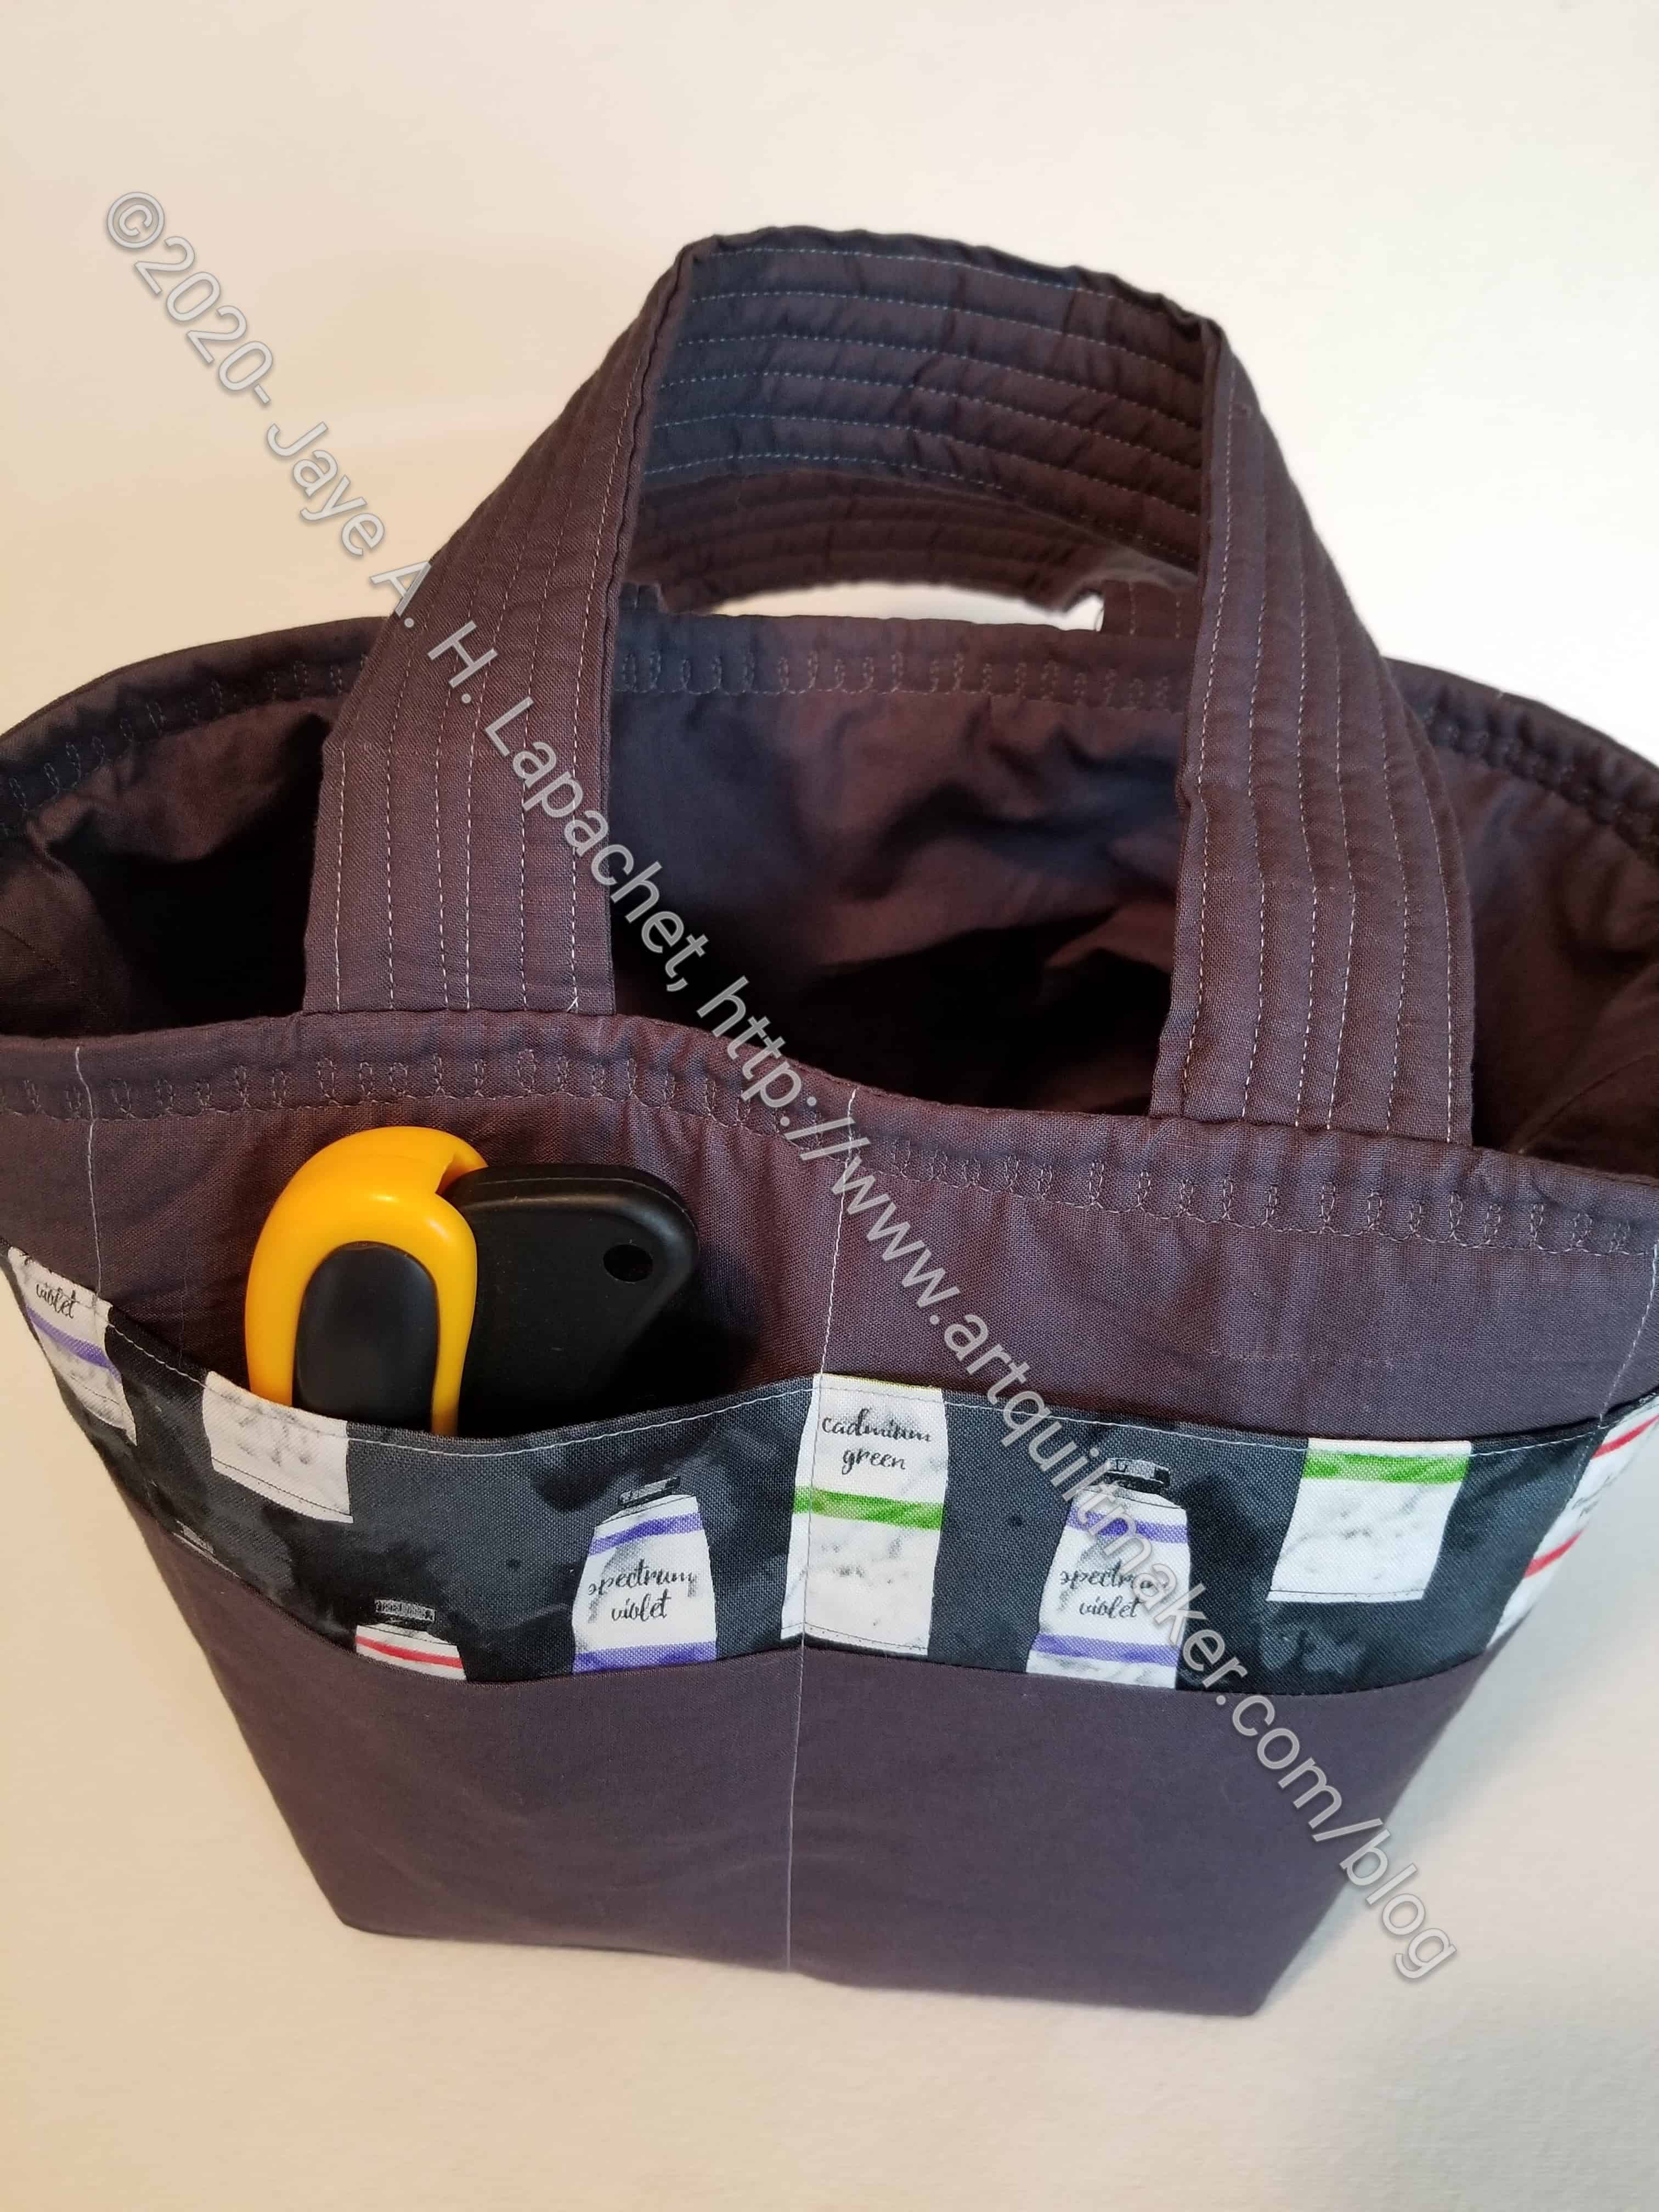
I am working on another Running with Scissors Tote and am heading towards finishing. It is another gift, so I can’t show the whole thing right now.
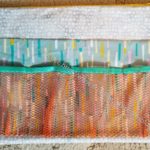
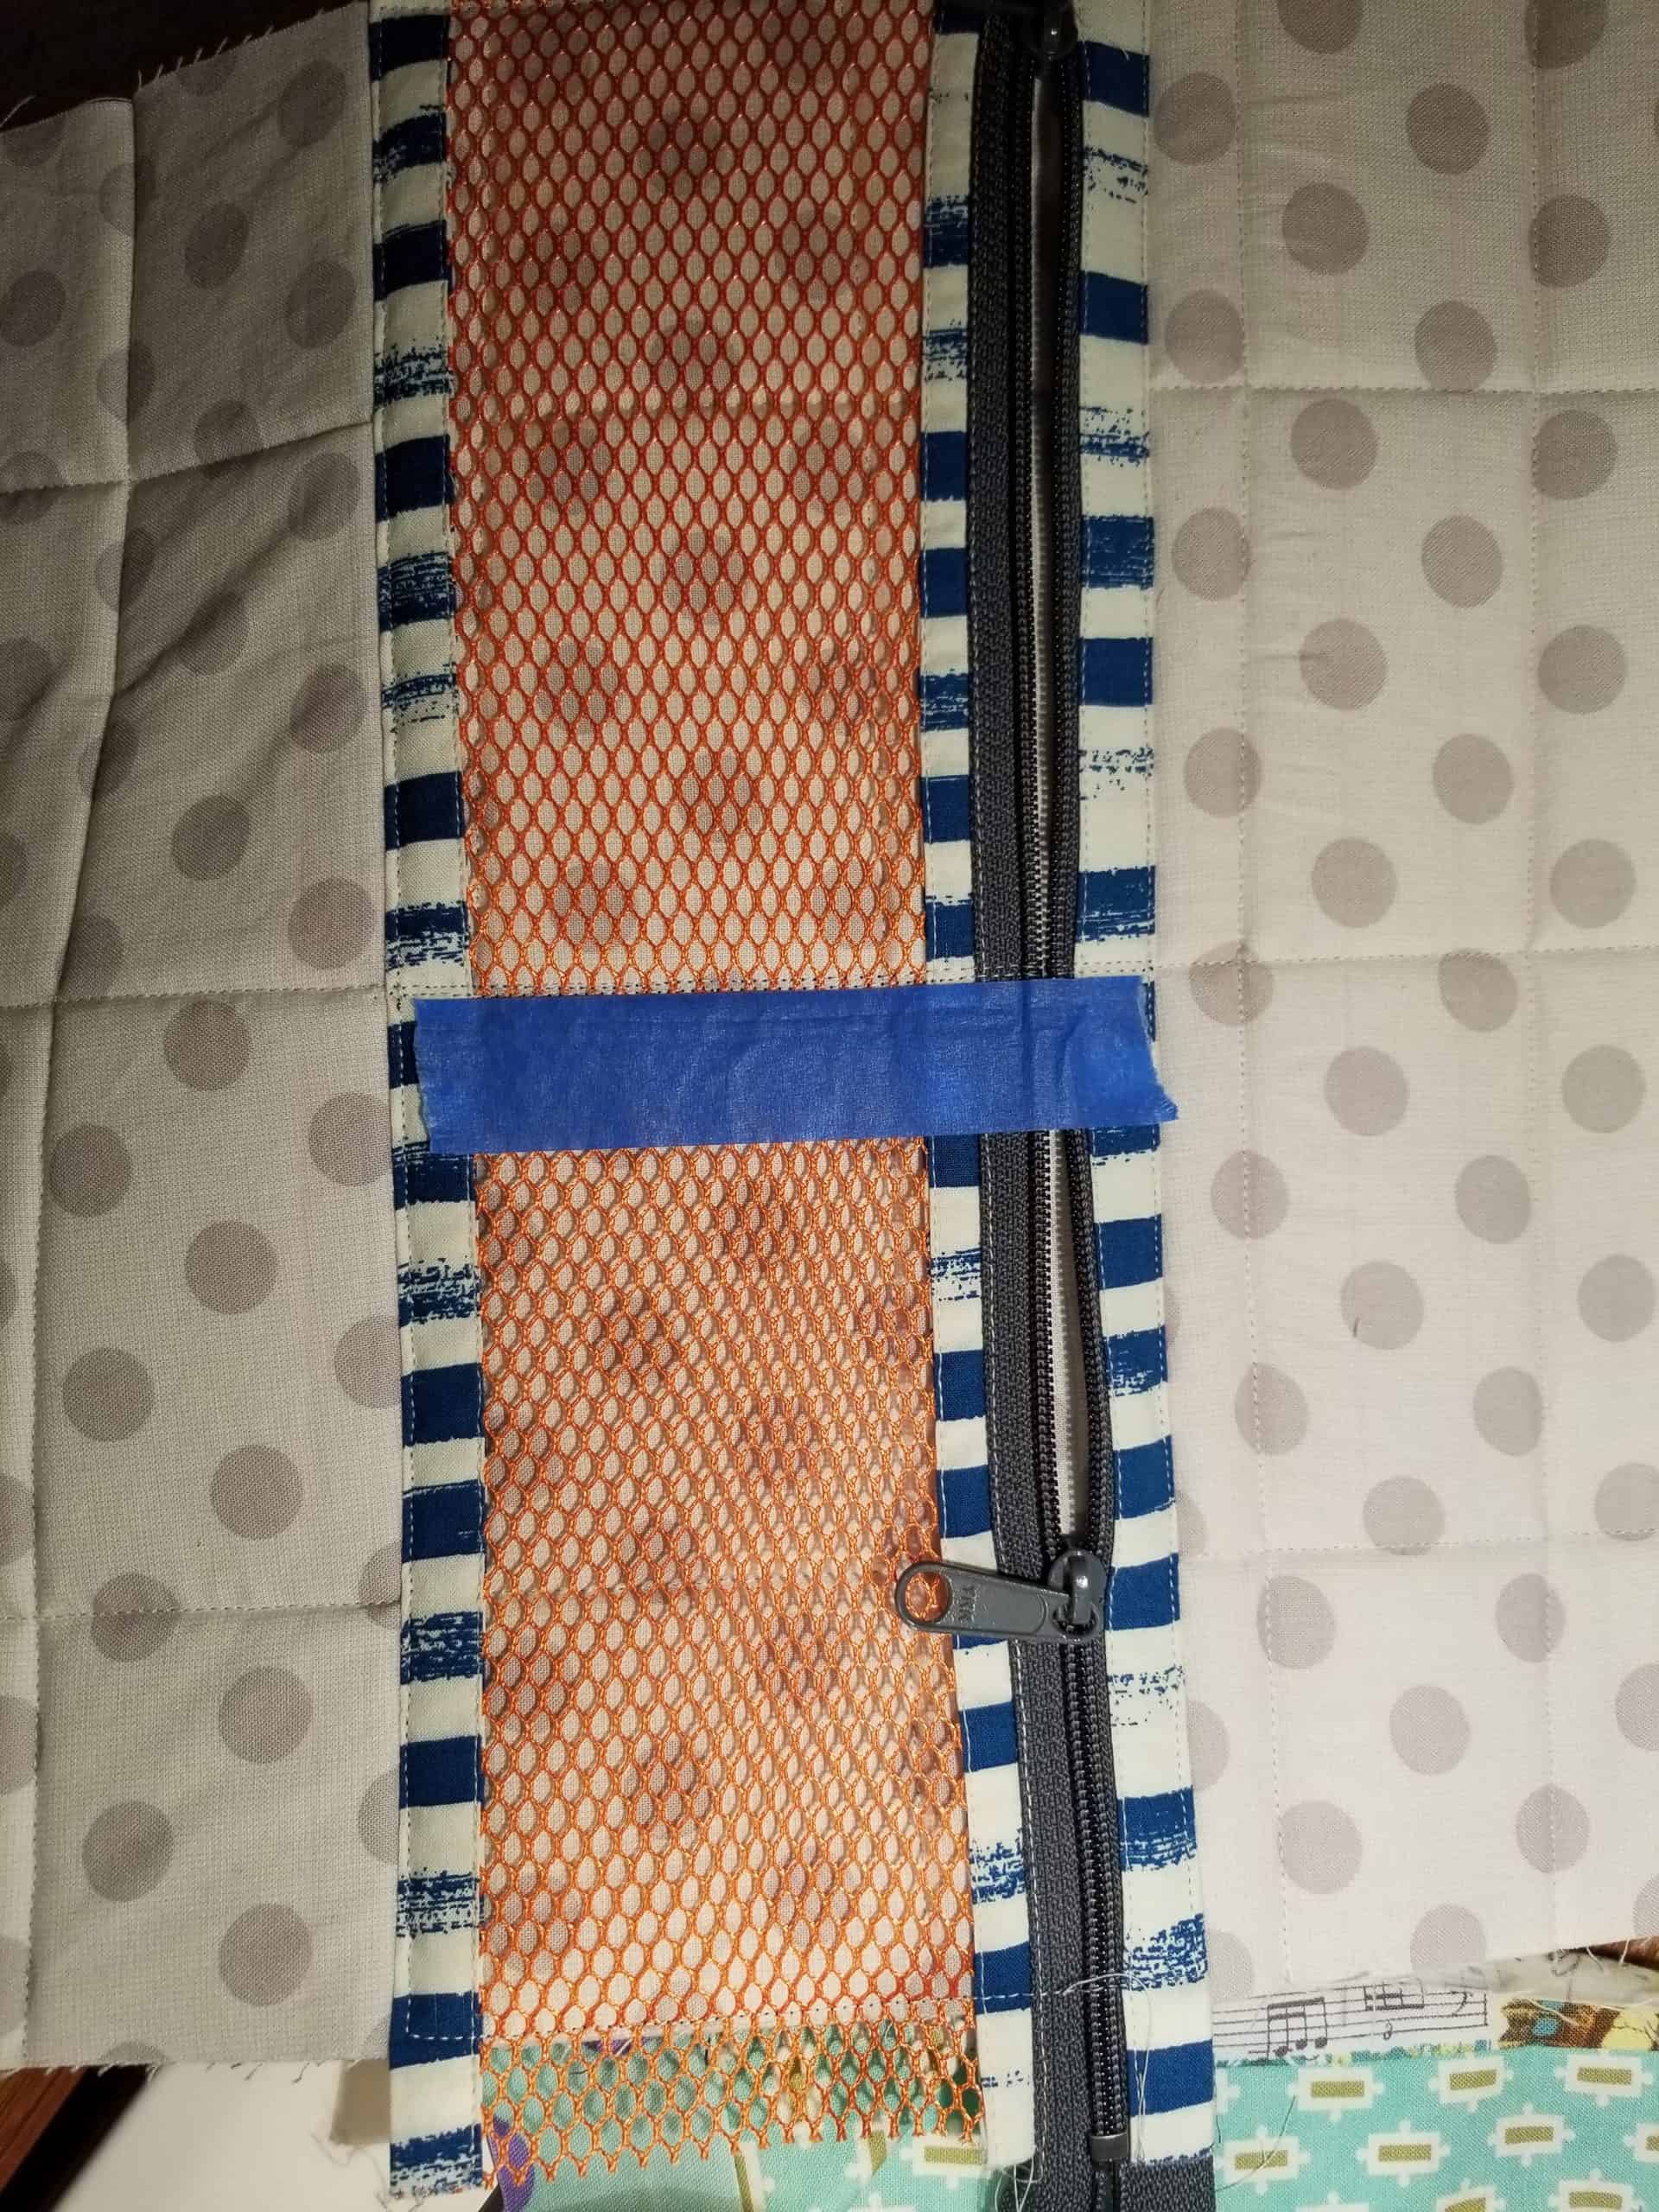
Running with Scissor Tote -Mesh Tape Trick
I did want to show my tape trick, though. The directions say to mark where to sew – to divide the mesh pocket in half. It is difficult to mark mesh, so I had a brainwave and used blue tape.
I did not sew through it, but sewed next it, where I would have marked a line on regular quilting fabric.
I am kind of proud of myself for this little idea. I hope you can use it, too.