Face Masks Again

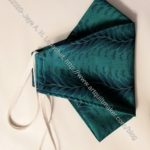
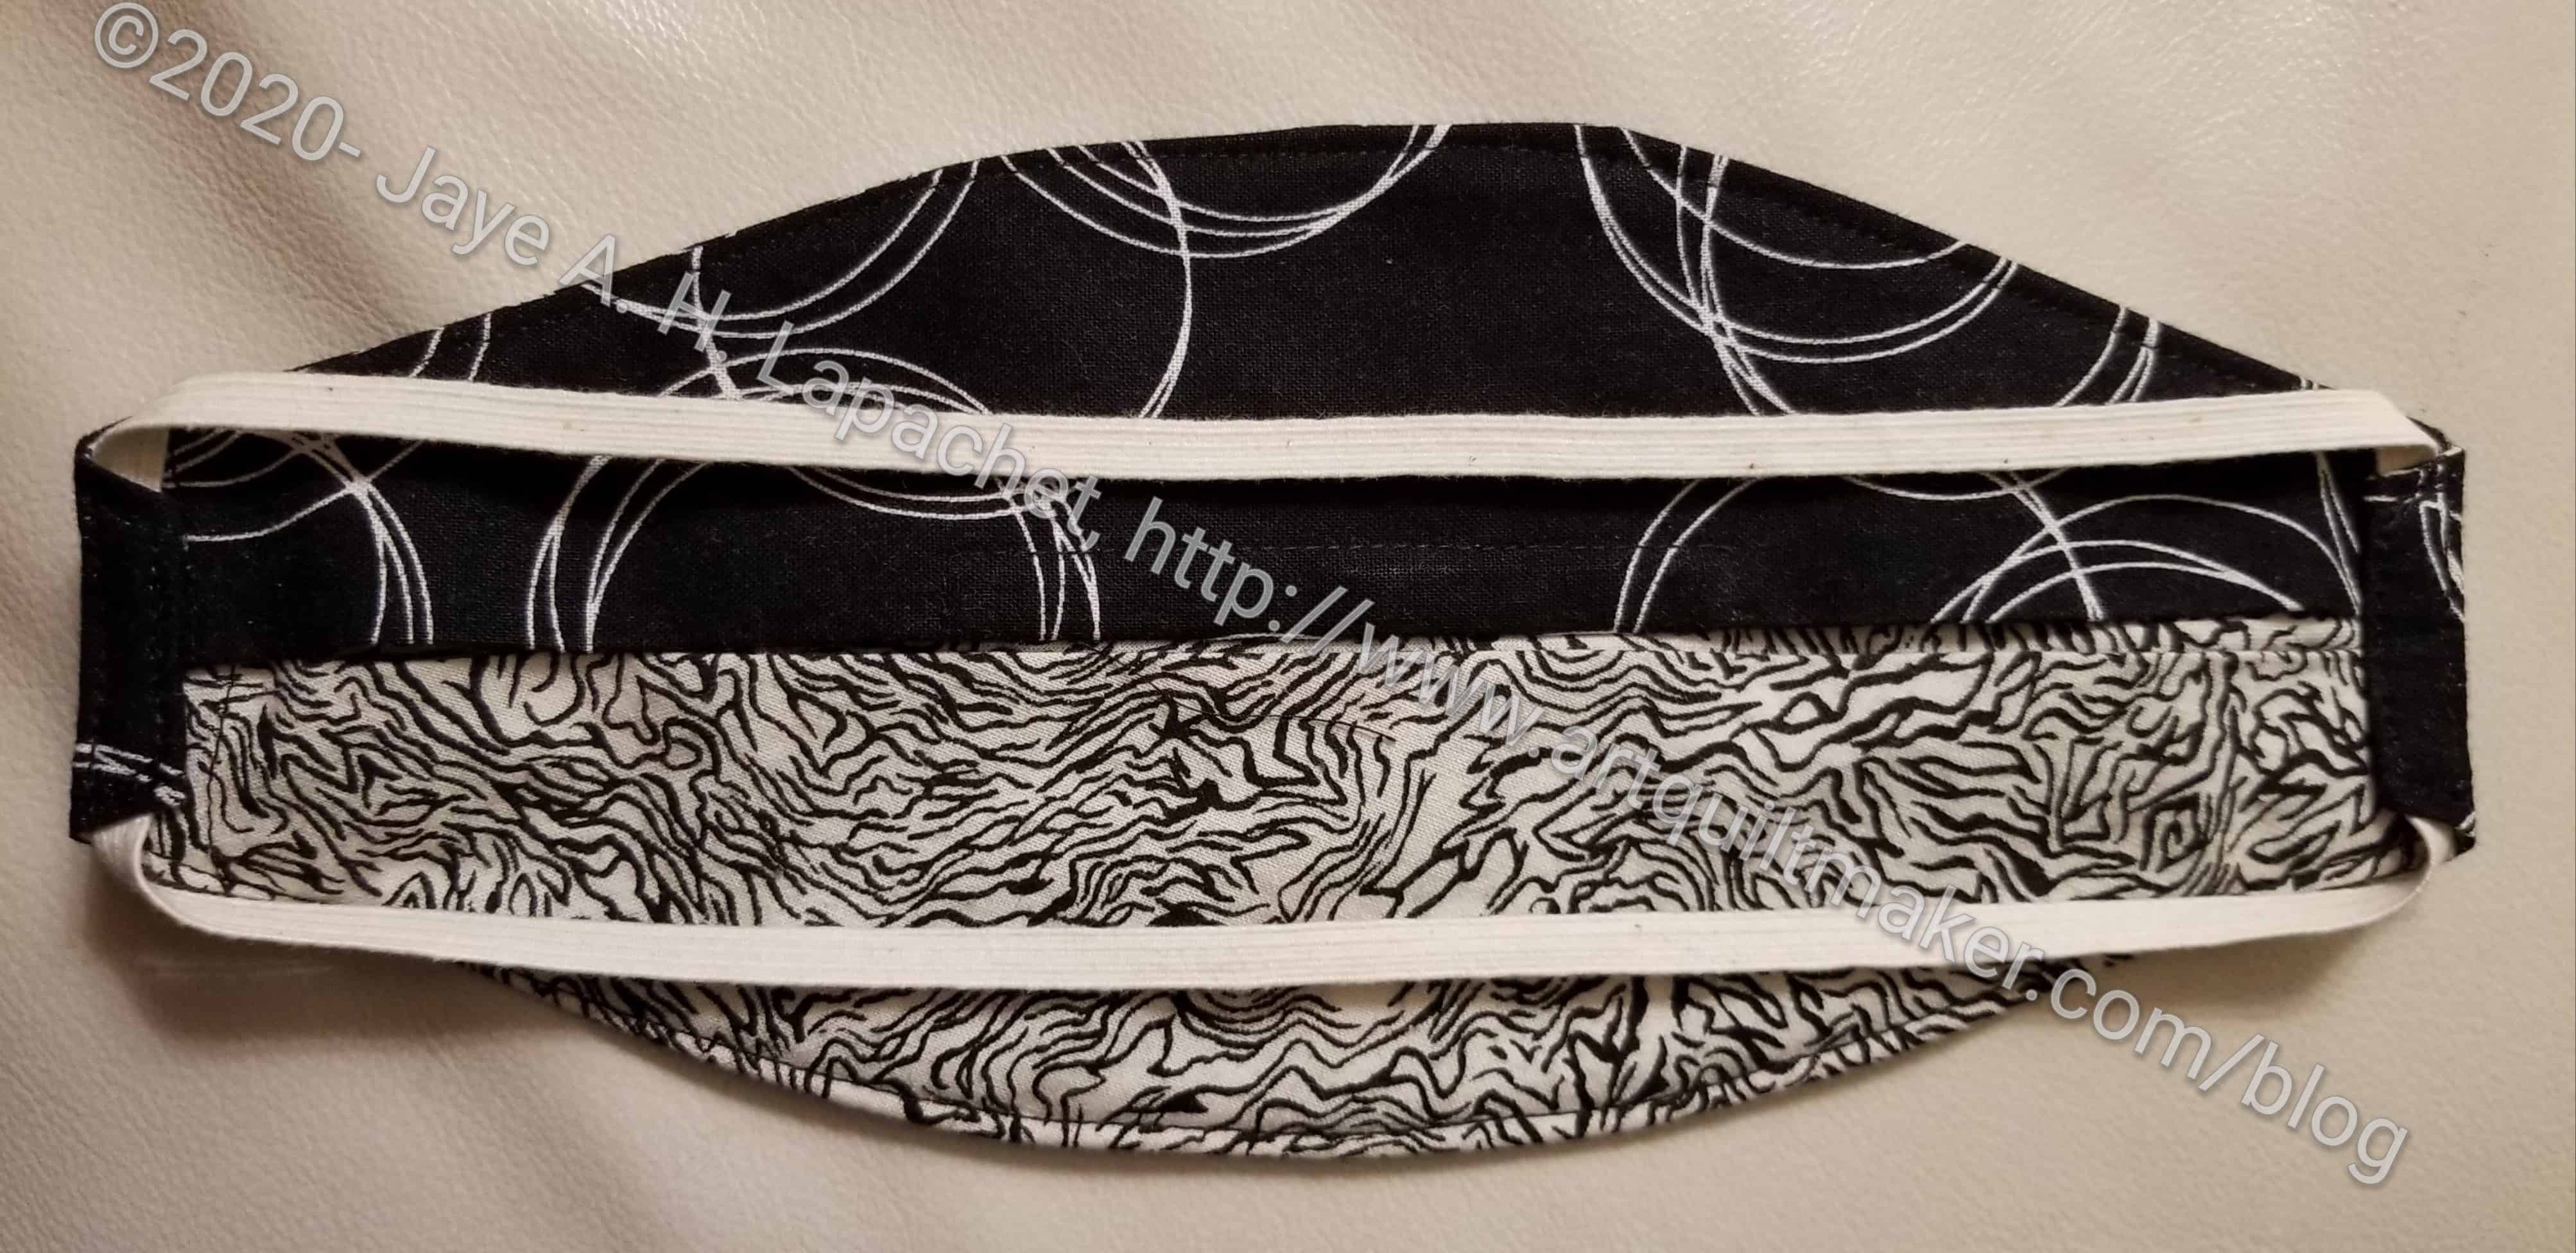
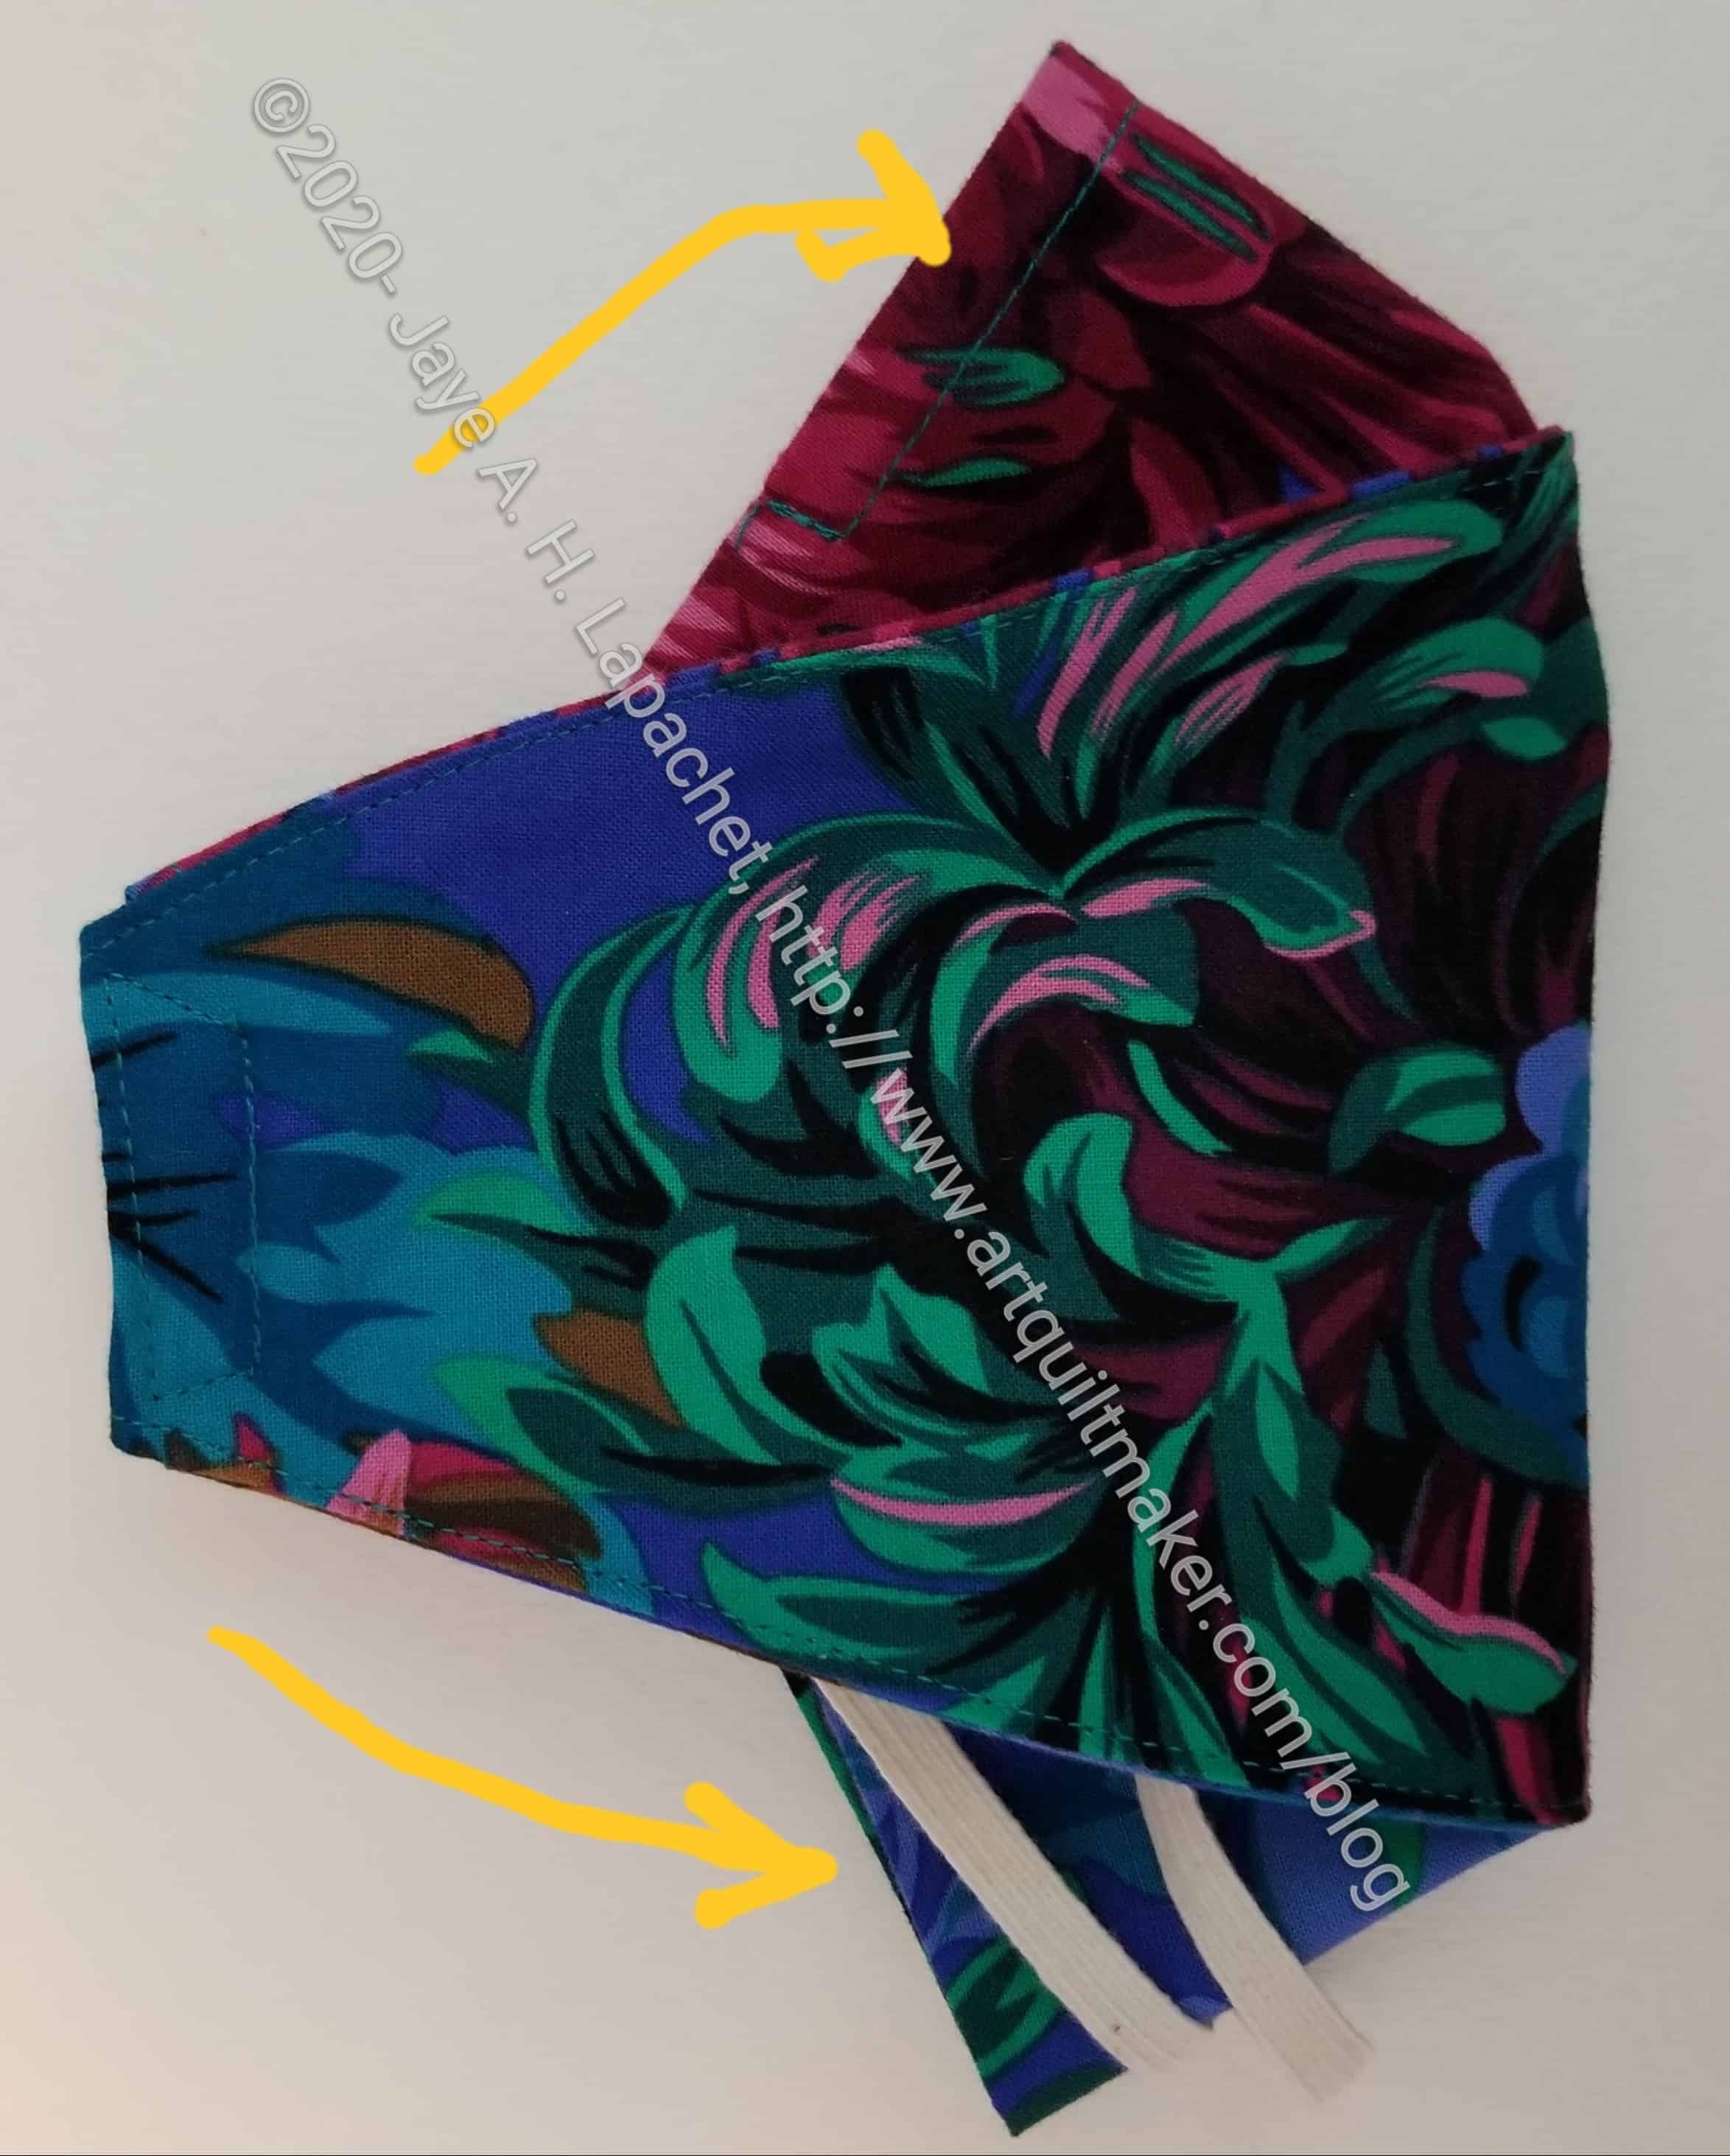
Mask #3 - front
Mask #3 – front

Push came to shove this past weekend. I couldn’t put off making masks any longer. I had a dentist appointment in the City. The City requires that N95 masks be covered, if you wear that kind of mask. That is the mask I have been wearing on the few occasions I go out. They have to be covered since your breath goes out the filter (meaning I could breath on someone). Thus, I had to have something else. DH’s mask is more like one you would wear so you don’t breath in dust and it is getting a little worn, so I had to make two.

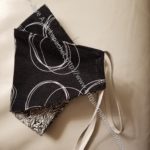
Mask #3 - back
Mask #3 – back

Before I did any other sewing I got down to business. I had printed out a new pattern from Madeeveryday.com. It was laying on my desk and looked easy enough, so I went for it. Except for the bottom elastic length, these came out pretty well. They are not excellent, but better than my first effort.

I made DH’s mask first. He has been great at trying masks on and providing kind feedback.

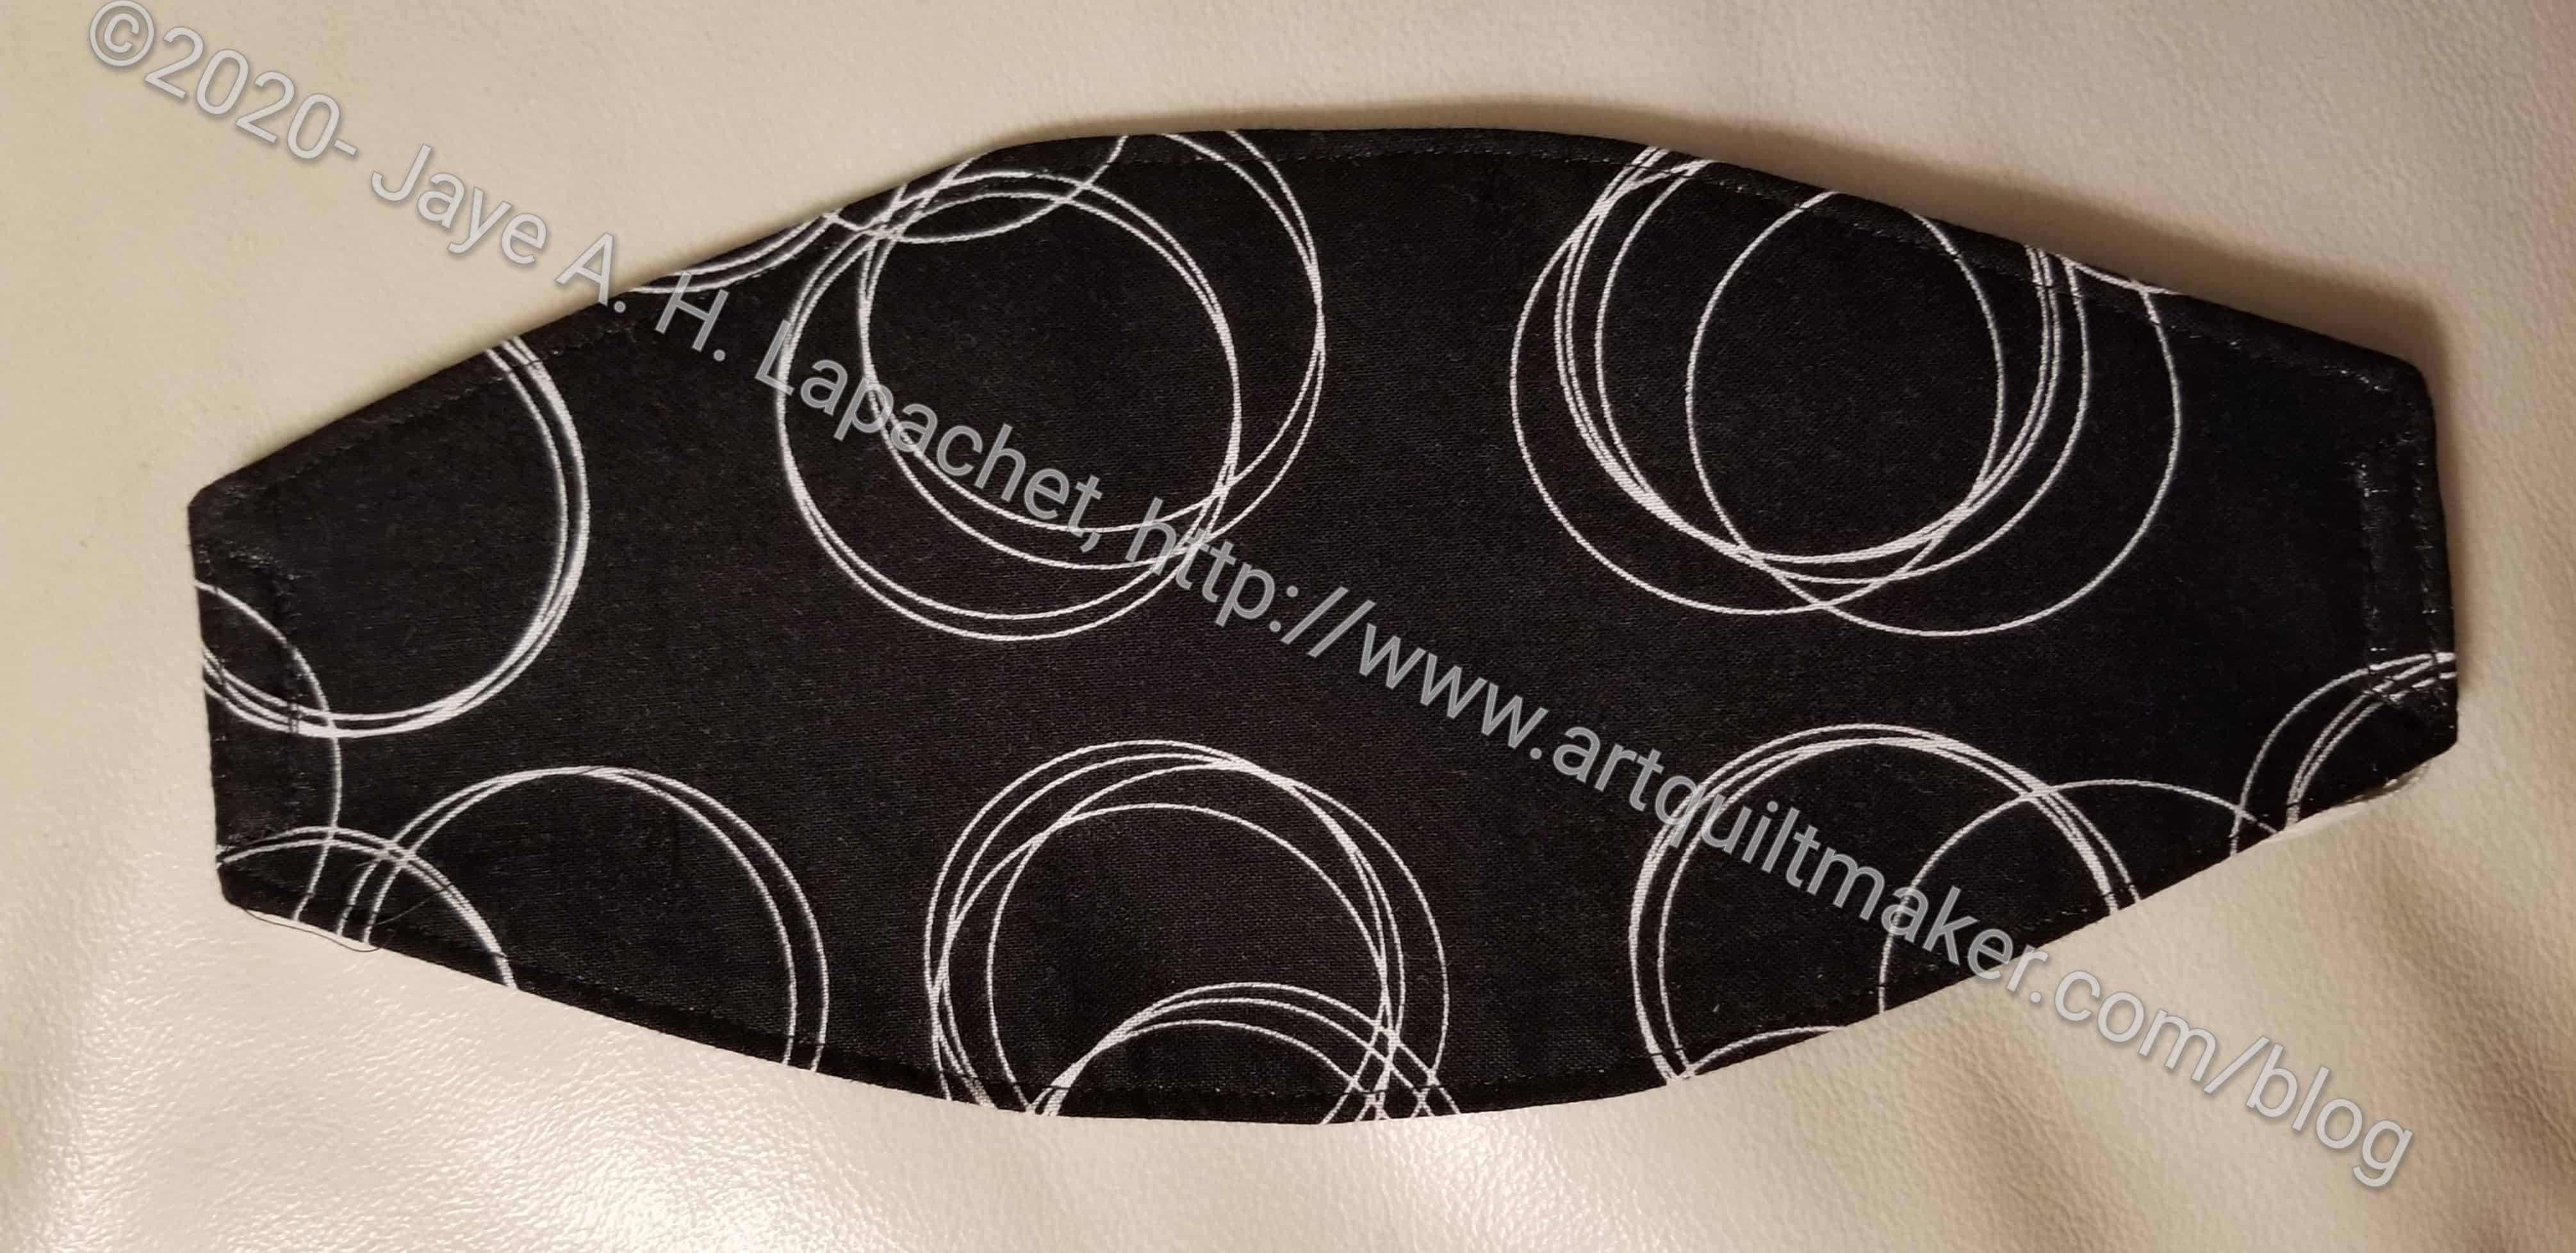
DH's mask
DH’s mask

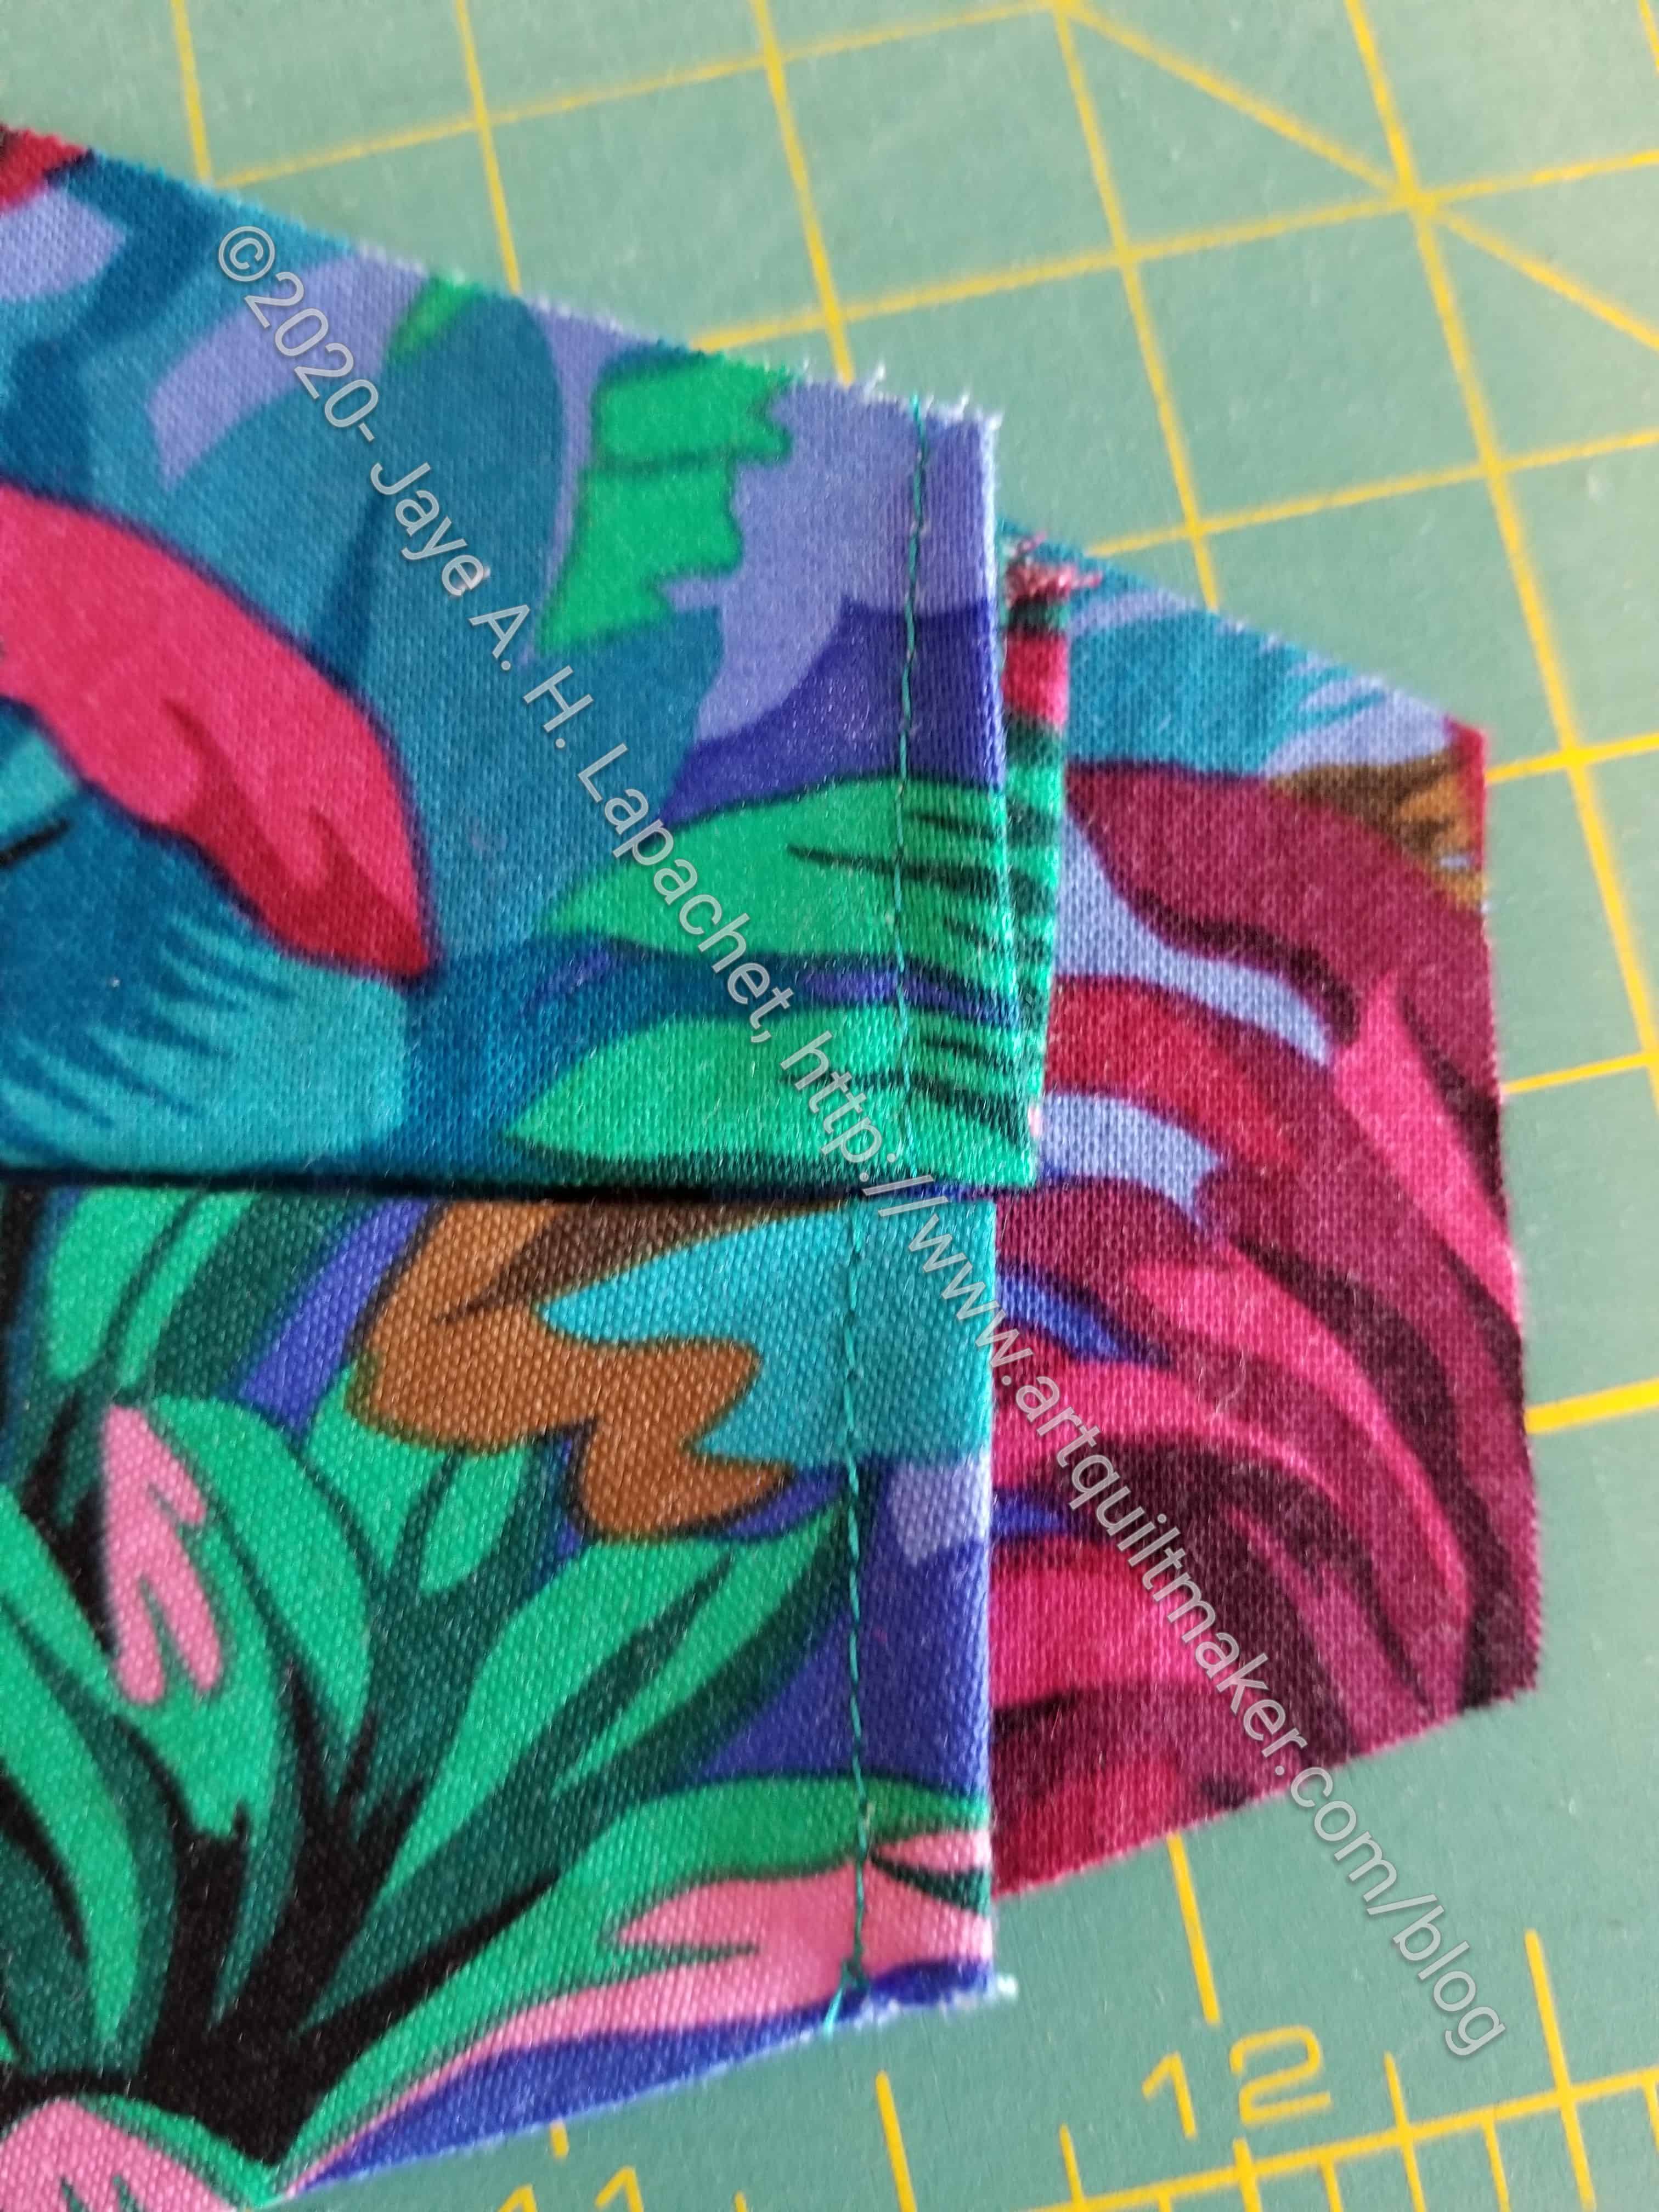
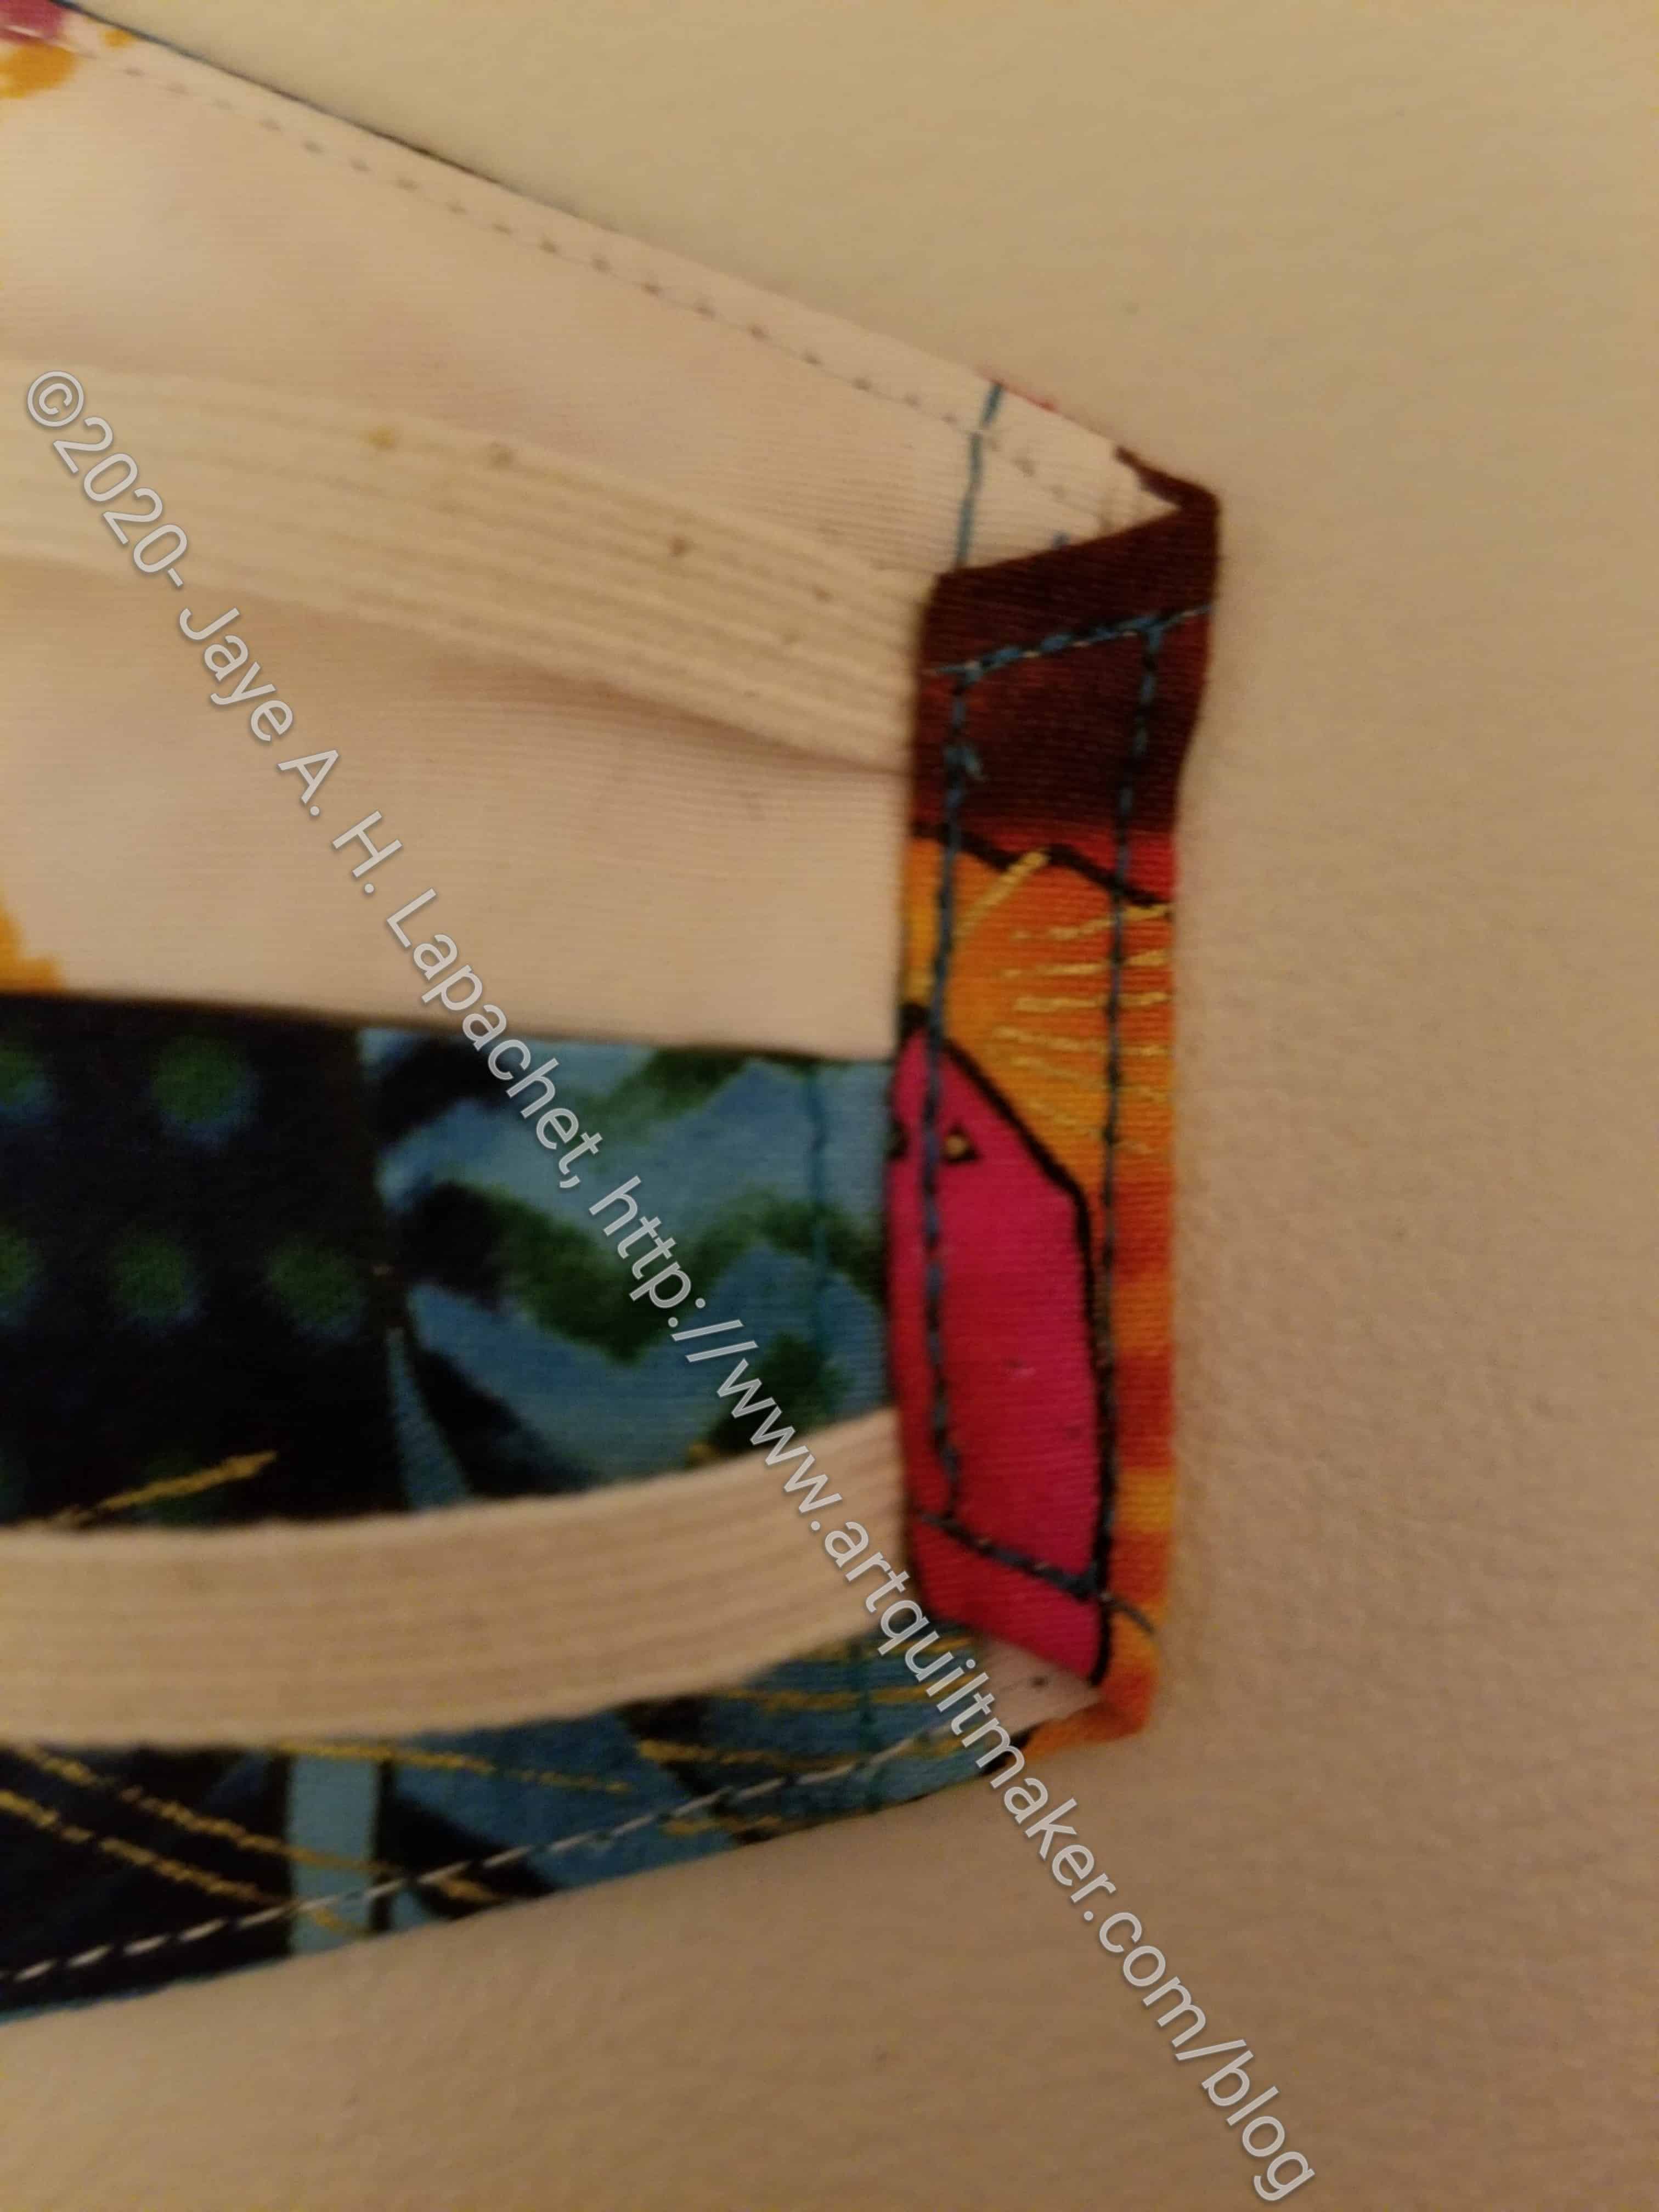
After making his, I decided to use a 1/4 inch seam allowance instead of half as suggested on the pattern. I also rounded the corners of mine using a 2.5 inch rotary cutting circle. I think I need a new blade for my small rotary cutter, because it did not roll as smoothly as my regular rotary cutter. Still, I added the rounded corners so I could just zoom around the whole thing without having to deal with corners. Also, I thought it would reduce bulk. I might cut little darts in the seam allowance of the curves on the next one.

DH's mask
DH’s mask

At least we are set for this week. I promised my ‘mature’ neighbor a mask, so I’ll make one for her this week.

I might have to create a blog hashtag for face masks, but for now, I am filing these posts under accessories. I have a feeling we may be making face masks to match our outfits in the not too distant future. I also think gloves will come back into fashion.

Flying Around Finished

Flying Around Finished

I know you thought you would never see the finished product. It took me awhile to get a photo of it, but Sunday was the day.

I cleared off my design wall and hung up Flying Around. I had to work quickly as finished quilts are heavy. I wasn’t sure if the design wall could handle it.

I might need to make this design, or a similar one again. I think the Friendship Star wreaths need to be farther apart, so they can be more staggered. That means a larger quilt. I know my friends will sigh at that.

The quilting is magnificent. Colleen did a fabulous job. I want to enter this in a big show, but looking at it today, I am not sure it is ready for prime time. Also, are all the shows cancelled?

Arty Running with Scissors Finished

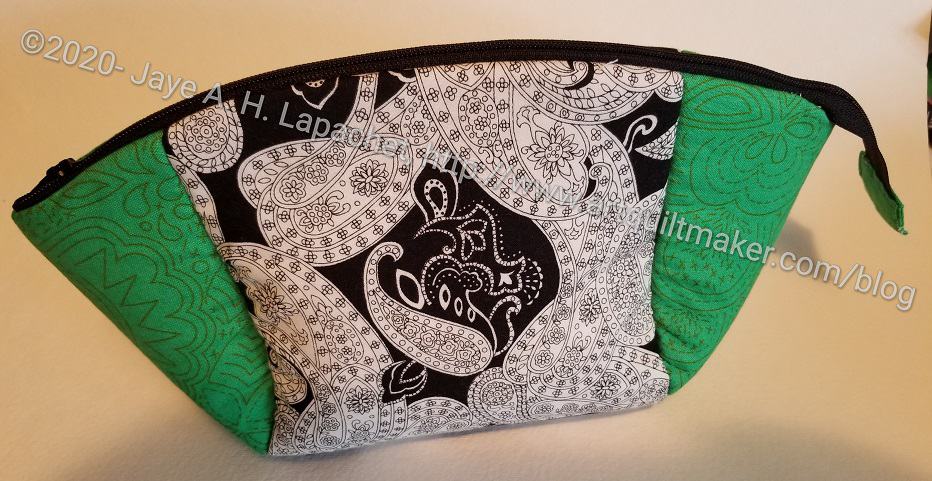
Arty Running with Scissors Tote

As I mentioned, I made another Running with Scissors tote. As you can see, it is for my mom and made with the paint tube fabric I bought last year. It will go with the rest of the set (Poolside Tote, Persimmon Pouch, Mega Pinnie and Scissor Cozy).

This version is an improvement on the previous version, but still not where I want it to be in terms of quality of sewing.

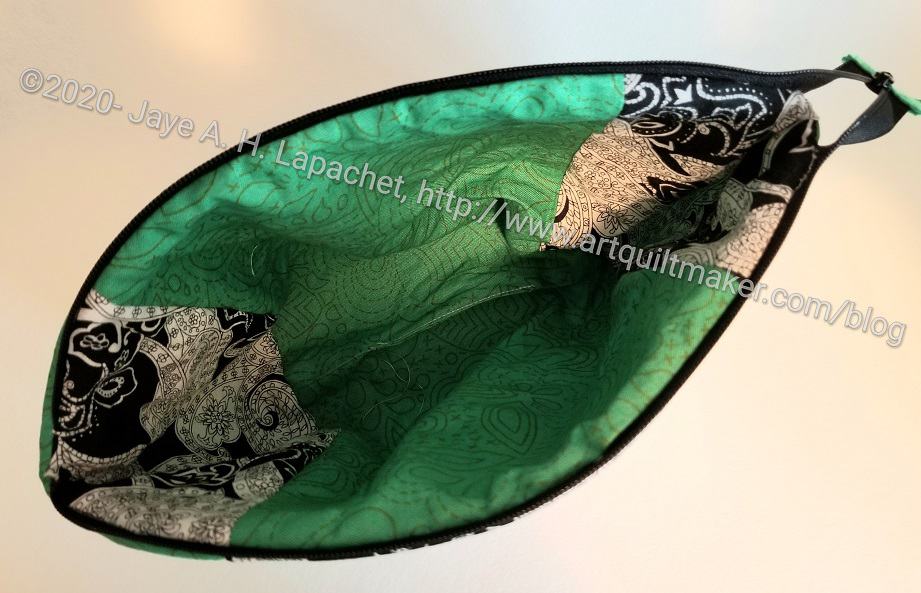
Arty Running with Scissors Tote-inside

The best part is that I think the binding looks great. I am also pretty pleased with the inside. I made an effort to make the stitching really even and consistent. I think I succeeded, but we’ll see what mom thinks.

I have, actually, had this done since March. It was killing me not to talk about it every step of the way. However, my mom reads the blog and I wanted to surprise her. As soon as she saw the fabric, she would know it was for her, so I had to keep quiet.

I can’t wait to see what she puts in it and whether or not she uses the ironing pad.


Warm Windmill n.2 Sewn

Warm Windmill n.2 - blocks sewn
Warm Windmill n.2 – blocks sewn

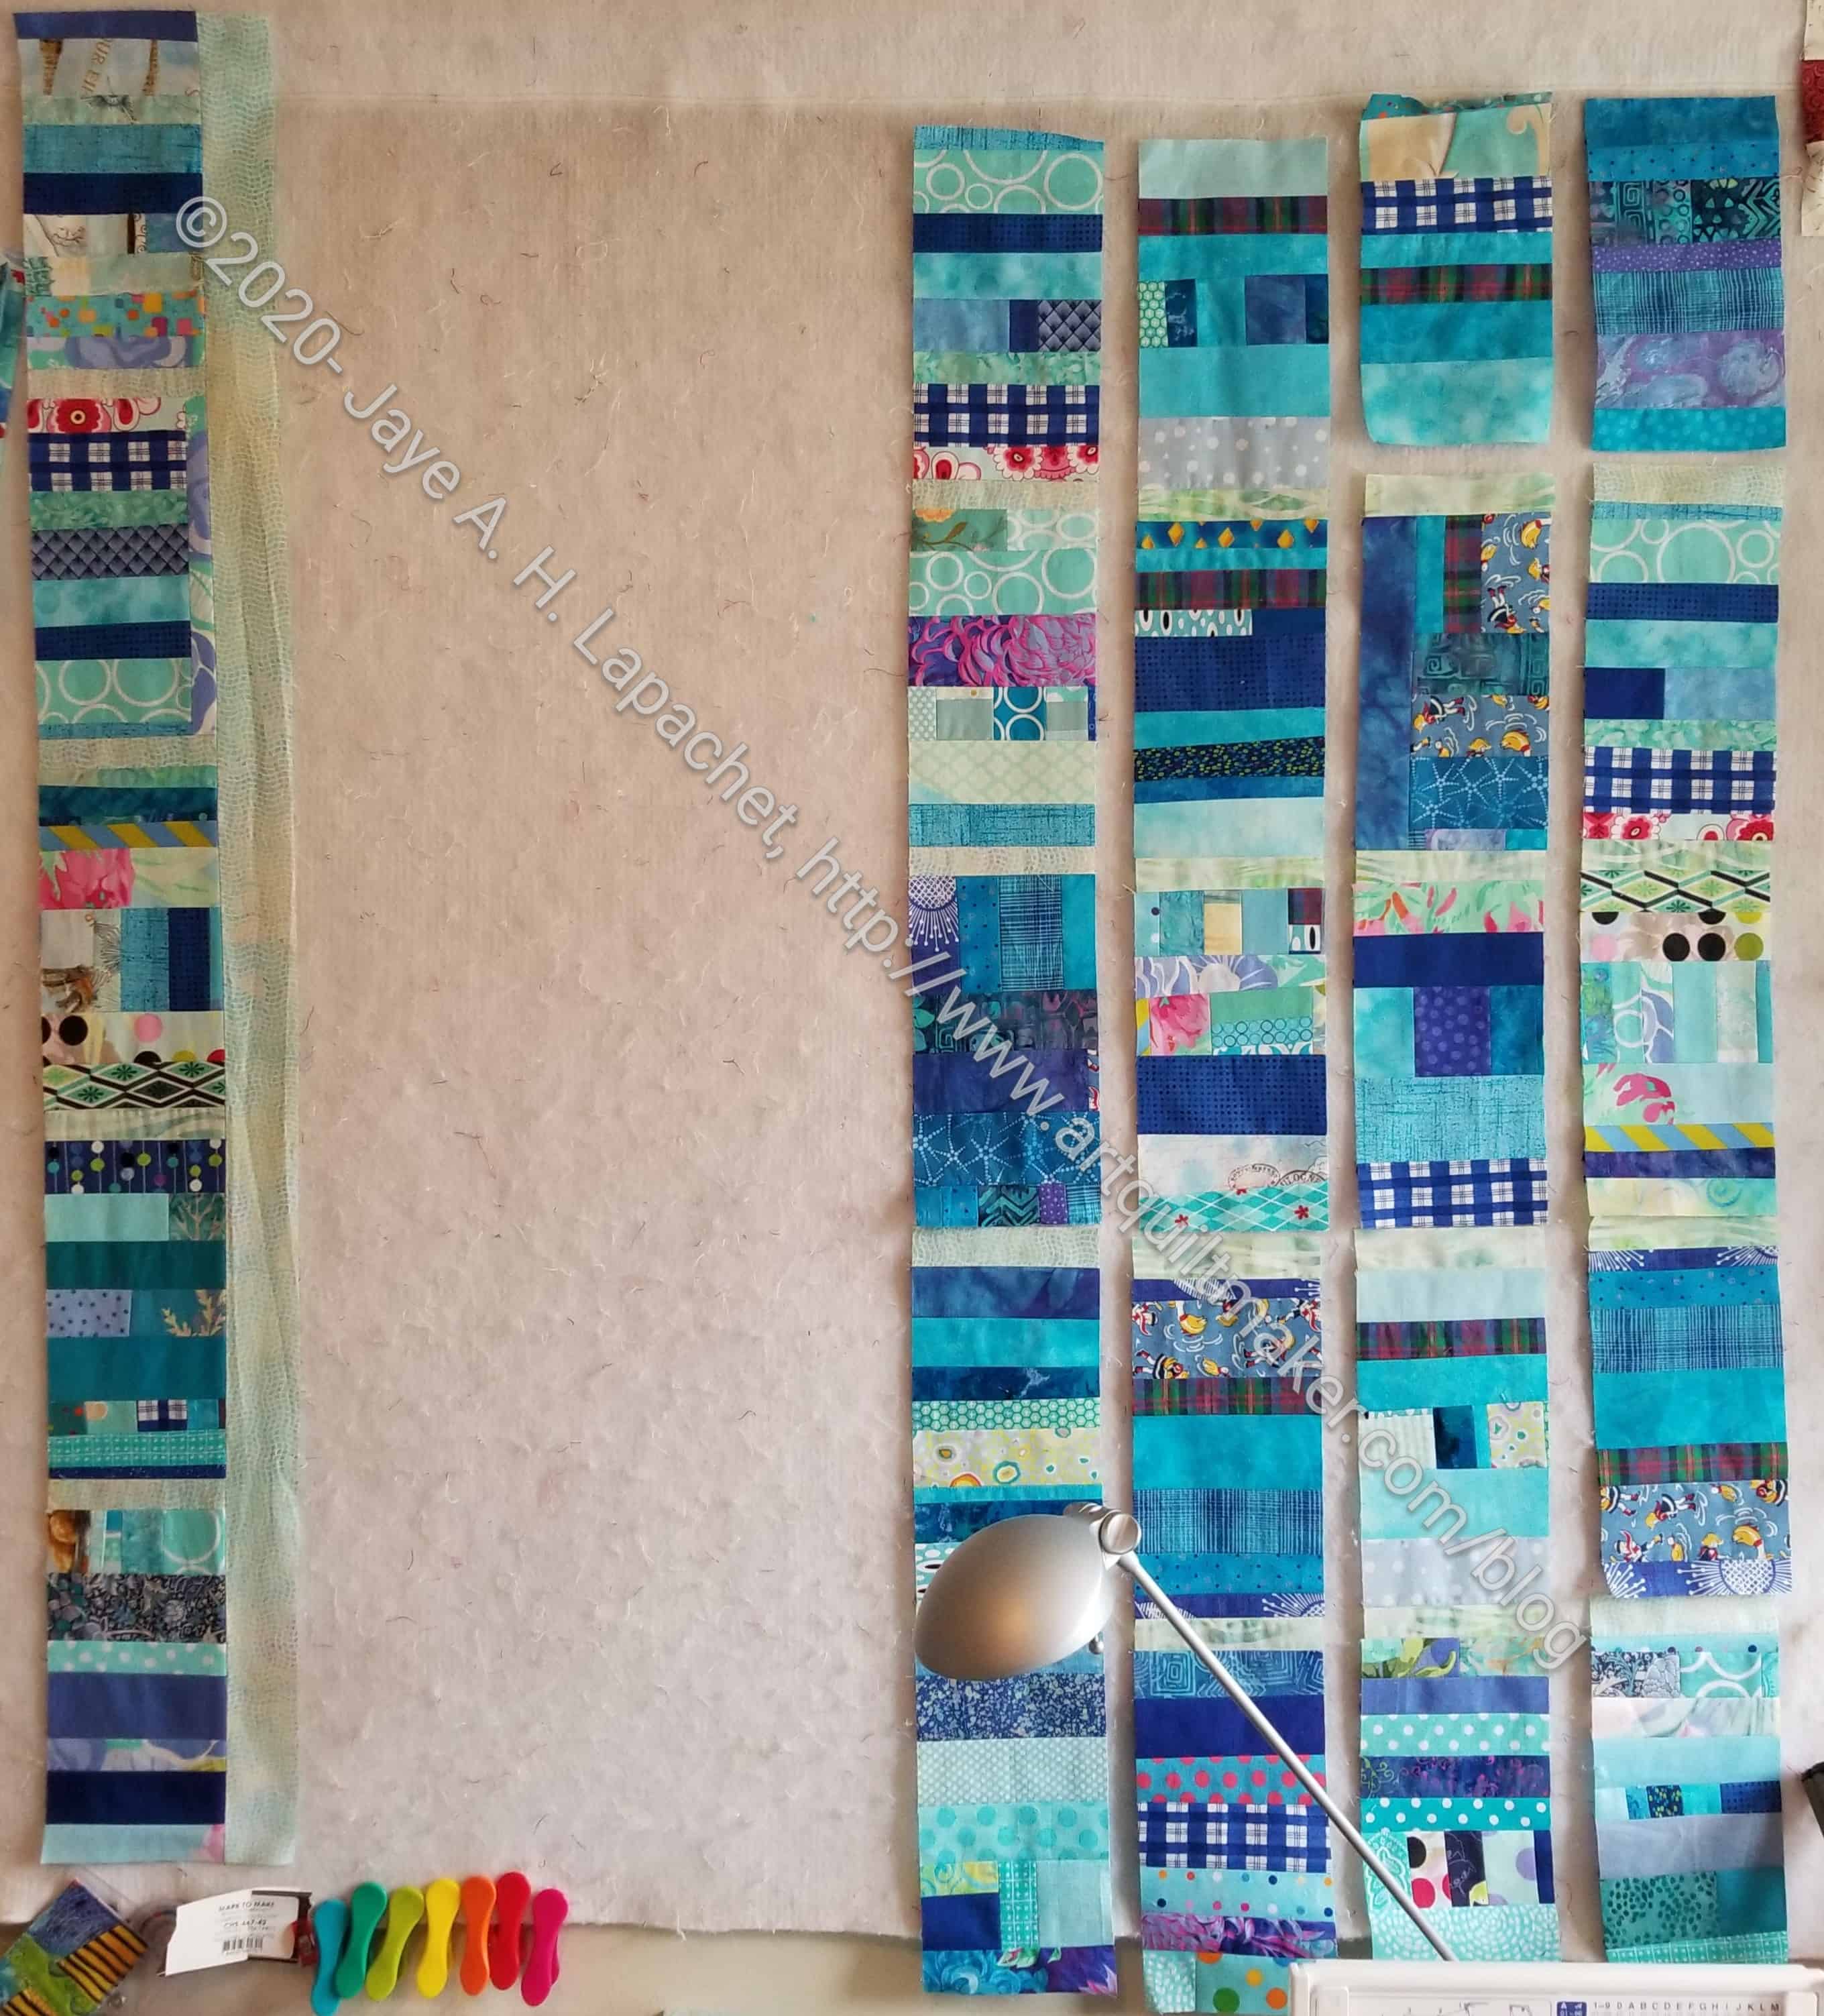
Well, at least the blocks are sewn together.

 I am working hard at making this a top not because I want a product, but because I need to free up the design wall. I am still being careful about the colors.

I spent several lunch hours and time after work sewing to get this done. From what you see in the photo, I need to finish sewing all the blocks together.

I found a GREAT binding fabric by chance and am excited about that.

15 Years of Artquiltmaker Blog

Today is my 15 year Blogiversary. 15 YEARS!!!I’d love to have a party, but since we are sheltering in place, it will have to be virtual.

5 years ago I wrote my 10 year anniversary post and can’t believe another 5 years have elapsed. I guess I blinked.

Have you been with me the whole time?

I started Artquiltmaker Blog because I had hit a big milestone and I wanted to start something new and send my life in a new direction and practice writing. My first post was not stellar. I remember being distinctly uncomfortable and not knowing what to write. I got better though and even later in May 2005, I was posting real content. Short, not every day, but real content. Now I just blather on at ease and start to get twitchy if I don’t write regularly.

At the end of 2008 I moved the blog over to WordPress.

In 2008 and 2009, I started trying to post every day. It took some time to work up to that schedule. I still try to post every day and mostly succeed, though sometimes I forget, get busy or have nothing to talk about.

This forum has really helped me to move forward in my work. Writing this blog has forced me to make lists of projects and stick to working on those projects. I have enjoyed seeing comments from people, getting to see the work of different quiltmakers via Instagram and Twitter and even meeting a few in person.

I really enjoyed looking through the photos to pick the ones I wanted to add to the gallery when I wrote my 10 year post. I decided to look through the last 5 years worth of photos and pick some of that work for you to review.

To see all of my work, check out the Year in Review tag.

Thanks for reading and commenting for 15 YEARS!!!

Journals on the Shelf

Journals with Covers in the wildI was ironing fabric the other day and looked up to see my journal covers staring back at me. I had been thinking about making a journal cover from some leftover fabric from the Frolic! back and the journals on the shelf caught my eye. They sit on a shelf at about eye level. Since I have cleared off some of the books on my shelves, I can see things I didn’t see before.

Looking at these journal covers has made me think about beauty and fabric. I am much more careful now about choosing fabrics to purchase. Some of the fabrics above reflect some, if not poor, ill advised combinations of poor fabric choices. Something appealed to me about the fabrics, but the combinations and how they appear on the shelf do not all appeal.

I don’t plan to remake the journal covers, but I do plan on paying more attention to how the new ones come out. I have several that need covers and journal covers are a good use of scraps.

This is part of the process. I probably made the covers I no longer like a long time ago. I have evolved in my color choices and the way I put colors together since then. I also realized that I can see these journal cover, so I need them to be pretty. I need to take more care in choosing fabrics.

I use a medium gridded Leuchtturm journal now, so I don’t need journal covers. I still like the Miquelrius journals. I plan to use up the blank  journals I have and to make journal covers for them. I find that the Leuchtturms fit in my purse and seem more compact. I can also put a spine sticker on them saying which month is contained within.

Process vs. Product…Again

A bunch of things came together this past week or so to make me think about process vs. product.

For at least a month, I really wanted to finish the Frolic! top and back and get it ready for quilting. I felt like it was taking me too long to piece. However, when I looked at the blocks, they did have a lot of pieces (63? 68? I counted, but can’t remember). Bonnie Hunter, the designer of the quilt, gives the steps, but she doesn’t estimate the time each step takes. I am an experienced piecer, so I expect things to take a shorter period of time. I forget to take the looking, ripping, re-pressing and other parts of the process into account.

Of course, Frolic! might be a particular case. I spent a good portion of last year piecing Flying Around. When I started Frolic! I wanted and needed a quick and fun project. Frolic!’s outcome is fantastic, but it wasn’t quick and there were some frustrating bits. It was a process. I forget that. I really should have done the Windmills before starting Frolic!, but I didn’t know how involved it would be. I have only done one other Bonnie Hunter Mystery quilt, so the complexity of Bonnie’s designs wasn’t in my mind.

I looked through my process posts to find the one I was thinking of and came across one to read over and contemplate again. Sometime ago I pondered on process, but thought more about creating a habit and continuing to improve rather than exactly process vs. product. There is the implication of process vs. product in that post. The other day, I read a NYT times article** about activities in which people were engaging during Shelter-in-place and found the following quote:

“In the 19th century, intellectuals like Johann Wolfgang von Goethe and others started to expand on the positive psychological benefits associated with a concept now known as mastery: practicing an activity at which you have no previous level of expertise, and experiencing gradual improvement over time.”

I know I want to improve over time, so perhaps I need to ponder what Frolic! gave me in terms of skills beyond the finished product. One thing that comes to mind is the way Bonnie Hunter mimicked 8 pointed stars with HSTs. How do I feel about that?

I like the NYT article. It gives examples of non-digital projects people are pursuing, but it talks a lot about the time it takes to improve. I have always been annoyed at ‘quick quilting projects’. Quiltmaking is not a fast process. There are a lot of steps and they take time. I understand the desire for instant gratification, especially since that seems to be what I am talking about in wanting Frolic! done faster. I rely on my knowledge and experience in quiltmaking to finish projects quickly rather than continuously choosing easy patterns. Another conundrum to contemplate.

N.B. There is nothing wrong with easy patterns!

I also came across a Creative Spark post about process, which reminds me of my hopes and dreams within process. This post is part of the Little Spark project we did a few years ago. You can go through the posts again. I am sure you’ll get value.

The post I was actually looking for talked more about product vs. process. Product is very seductive. I like finishing. I try very hard to be more mindful of the process, to enjoy the process and be engaged with the process, to have my quiltmaking be about the process. It can be difficult, because I like to finish things. I also want to use 100 yards of fabric, I want to clear out my fabric closet so I can fit more of my tools and supplies in there and not have them all over the workroom. I want to be more organized. How does the finishing of a quilt contribute to my goals? Does it contribute?

It is possible that how I am feeling has nothing to do with product vs. process. Perhaps Frolic! wasn’t the right project for the time? Perhaps I needed a much easier project to alternate with Flying Around. I needed some mind sorbet. Perhaps my brain needed a rest? It is possible that I will always struggle with that concept when I get tired of piecing something. I do notice that my efforts to teach myself to keep working through problems with projects stuck. I didn’t put Frolic! away. I kept working on it. Did I work on other things? Yes. I worked on the Running with Scissors Tote and I did some work on the UCAB as well as donation blocks and quilt tops, but my primary project was Frolic!.

So, am I stuck on products? Have I not evolved to enjoy the process? Perhaps this is a stepping stone in the path of mastery and I have to work through it. I really think that the biggest issue was that I should have picked an easier project before I started Frolic!


** If you don’t have a personal or work subscription to the NYT, check your local library. They may be able to provide you with access.

First Face Mask

First Face Mask
First Face Mask

I finally made a face mask.

I am ashamed to say that I have only been encouraging/enabling others to make masks. One thing I did was post a list of face mask patterns. This is the first one I have made. I don’t know why I haven’t been able to get it done. I have planned to, but this is the first one.

I used the Fat Quarter Shop pattern and didn’t like it. The mask came out terribly. It is too small lengthwise and too long width-wise. I think it will fit someone; it just doesn’t fit us.

Mary sent me elastic and I am determined not to waste it. I am going to try another one; I just haven’t done it yet.

Finishing Frolic! Top

Finished Frolic! Top

Yes! I finished the Frolic! top. The borders were not painful. I was sure the top and bottom borders would cause me problems. I had to ease a bit more on the top and bottom than I did on the sides. Other than that they went on smoothly. I am really pleased.

I thought about adding another plain border, but decided I couldn’t face it.

Frolic! Back
Frolic! Back

I also made the back and the binding so the whole piece is ready to be quilted. For the moment, I am not planning on doing a drive-by at the moment, but we will see.

This quilt used about 11 yards of fabric, which put my total up. I am thrilled about that and thrilled that the piece is really for quilting. Really thrilled!

Frolic! Top finished- corner detail

I can’t decide whether I like working on quilts for so long. I did other projects after I started this, but no quilts except donation tops. It is the second project I have worked on recently that took me ~5 months to piece. I am trying to decide if I like those types of projects. I definitely don’t mind the piecing. I think the problem is not having things to show at meetings, feeling like I am making progress and the process being slow. I have to find a balance between impressive, complex projects and speed.

26 Projects 2020 #4

So far this year I am well on my way to using 100 yards of fabric. I have used 44.75 including Frolic! so far this year. Of that, 26% was used for charity projects.

Finished 2020 Quilt Projects

Finished 2020 Non-Quilt Projects

This category covers bags, toys, aprons and knitting as well as other non-quilt projects.

Doing Good

In Process
The ‘In Process’ is used to denote projects on which I am actively working or are on the design wall waiting for me to stitch. I try not to put away projects, because that will ensure I never work on them.

  • English Paper Piecing Project– half hexies – I have been making slow, but steady progress. I am adding another dots on white row to the piece to make it larger. I am getting a little sick of it and thinking that I will just accept the size, square it up and finish it.

Small Projects to Make or in Process

Most of my progress involves thinking or just cutting.

  • One Hour Basket for organizing my decks of cards – Creative Strength, mindfulness, etc.
  • Retreat Organizer – another project from the Crafty Gemini Organizer Club, also on my list, but not yet started
  • Running with Scissors tote gift
  • Ultimate Project Organizer – another project from the Crafty Gemini Organizer Club, also on my list, but not yet started
  • Officer gifts for January 2021 – have the pattern and the supplies. Need to start so these are ready and I am not scrambling at the last minute

Ready for Quilting

  • Frolic! – I haven’t shown the finished piece yet, but it is ready for quilting.

In the Quilting Process

In the Finishing Process

nothing now

Still WIPs
I still have WIPs. Who doesn’t, after all? A project in the ‘UFO’ category means I am stalled. A nicer way of saying UFO is a WIP. The list is a lot shorter and the projects are newer, for the most part.

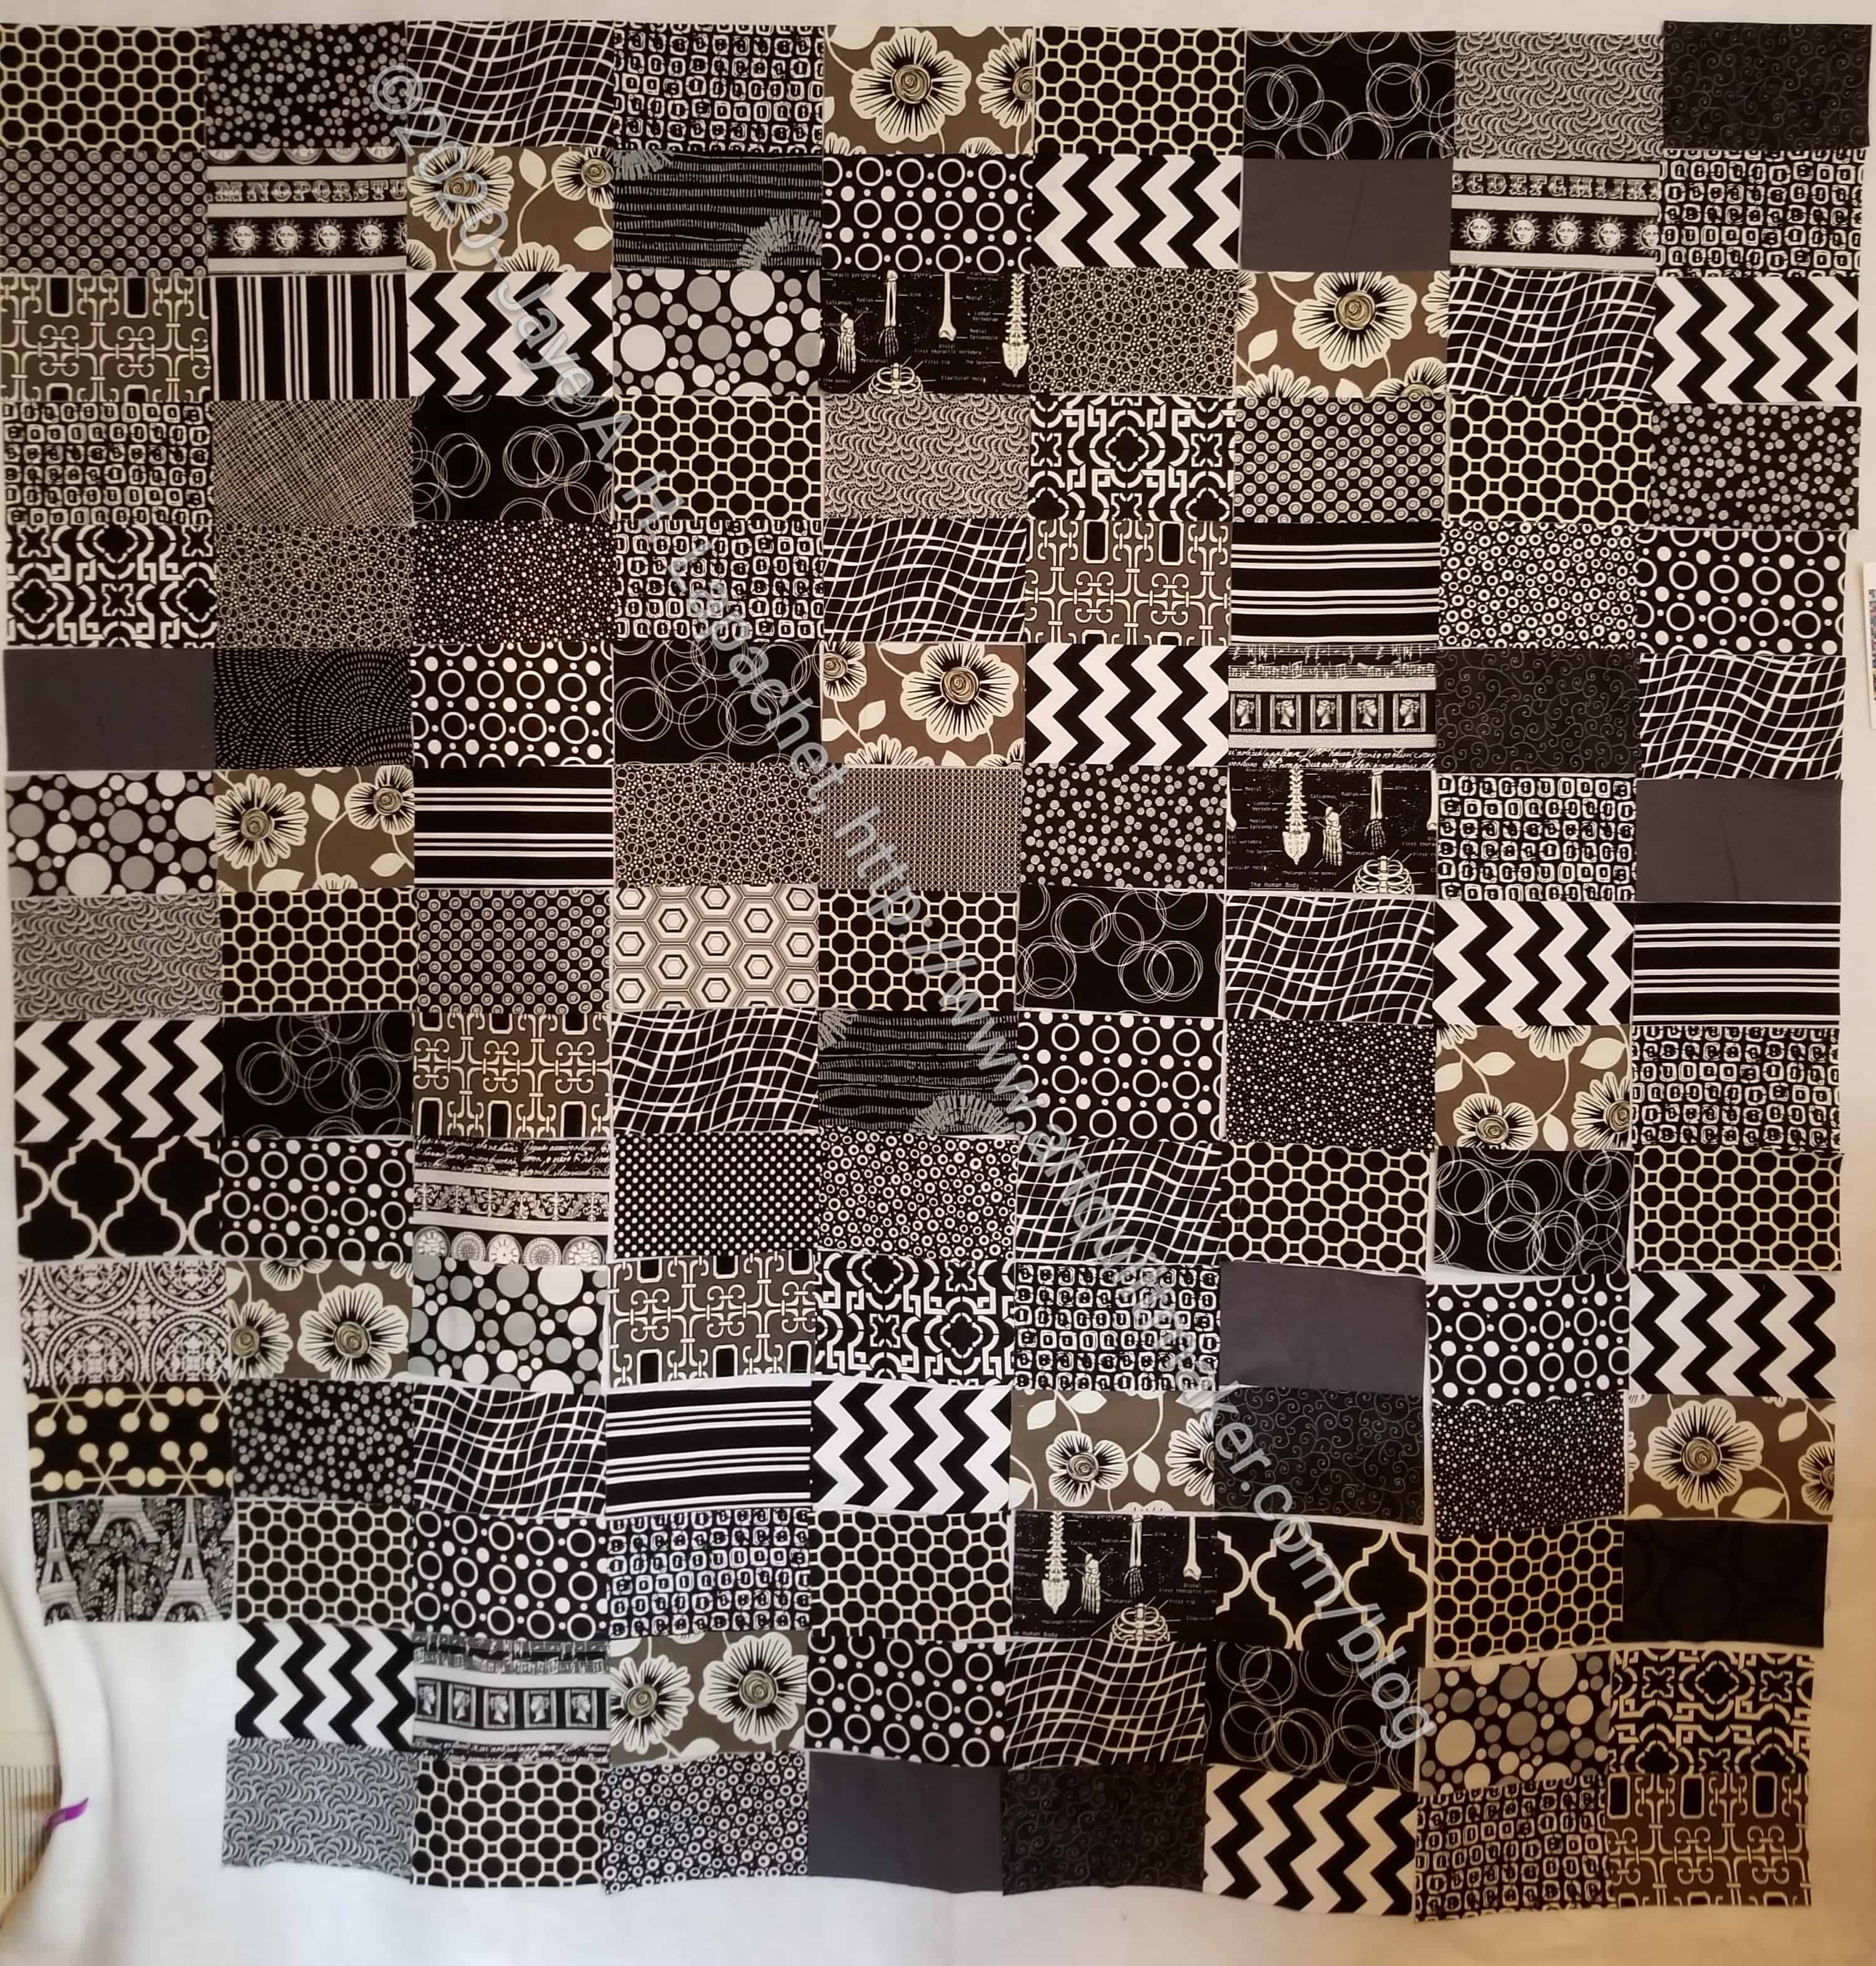
  1. FOTY 2018 – this has to be on the list now as I have cut a ton of squares and need to arrange and sew it together. This is next on my quilt list. I cut a bunch of black 2.5? squares so now I can get started.
  2. FOTY 2019 – this is now on the list since 2019 is over and I have the squares,theoretically, ready to sew.
  3. Handbag Sampler – this is still the forgotten project. It should be on the UFO list. Too bad I don’t have one. The blocks were teaching samples when I taught a sampler class the time before I started writing the quilt class sampler tutorials. I found one block recently, but otherwise I actually don’t know exactly where the blocks are hiding. I have an idea and still have to crawl up in the far reaches of my fabric closet soon and see if I can find them. I haven’t even found a picture of all the blocks. Sad.
  4. Lobster – I finished the stitching. I plan to back it and overlock or satin stitch the edges. Even though I don’t need anymore cushions, I may turn this into a cushion.
  5. Pies and Points from 2016 Victoria Findlay Wolfe class. The last time I worked on it was when Julie and I had a playdate in April 2018. I brought this piece with me so I could cut more elements (Julie has a Sizzix). I lost my excitement about this piece shortly thereafter and still have to get it back. Thus, I had to move this to the WIPs area.
  6. Pointillist Palette #4: Fourth is a series of 6 quilts; needs tiny square patches sewn together. No progress.
  7. Self Portrait: started in 2006 at a class at Quilting Adventures in Richmond, Virginia. I am still stalled on this again. As one of my oldest (I am pretty sure) UFO, I put it on my blog and out into the Twitterverse and Diane suggested that I not consider this as a self portrait. I think that strategy is a great idea. I am now trying to think of a new persona for her.
  8. Serendipity Lady – I am still planning to take this piece to be framed.
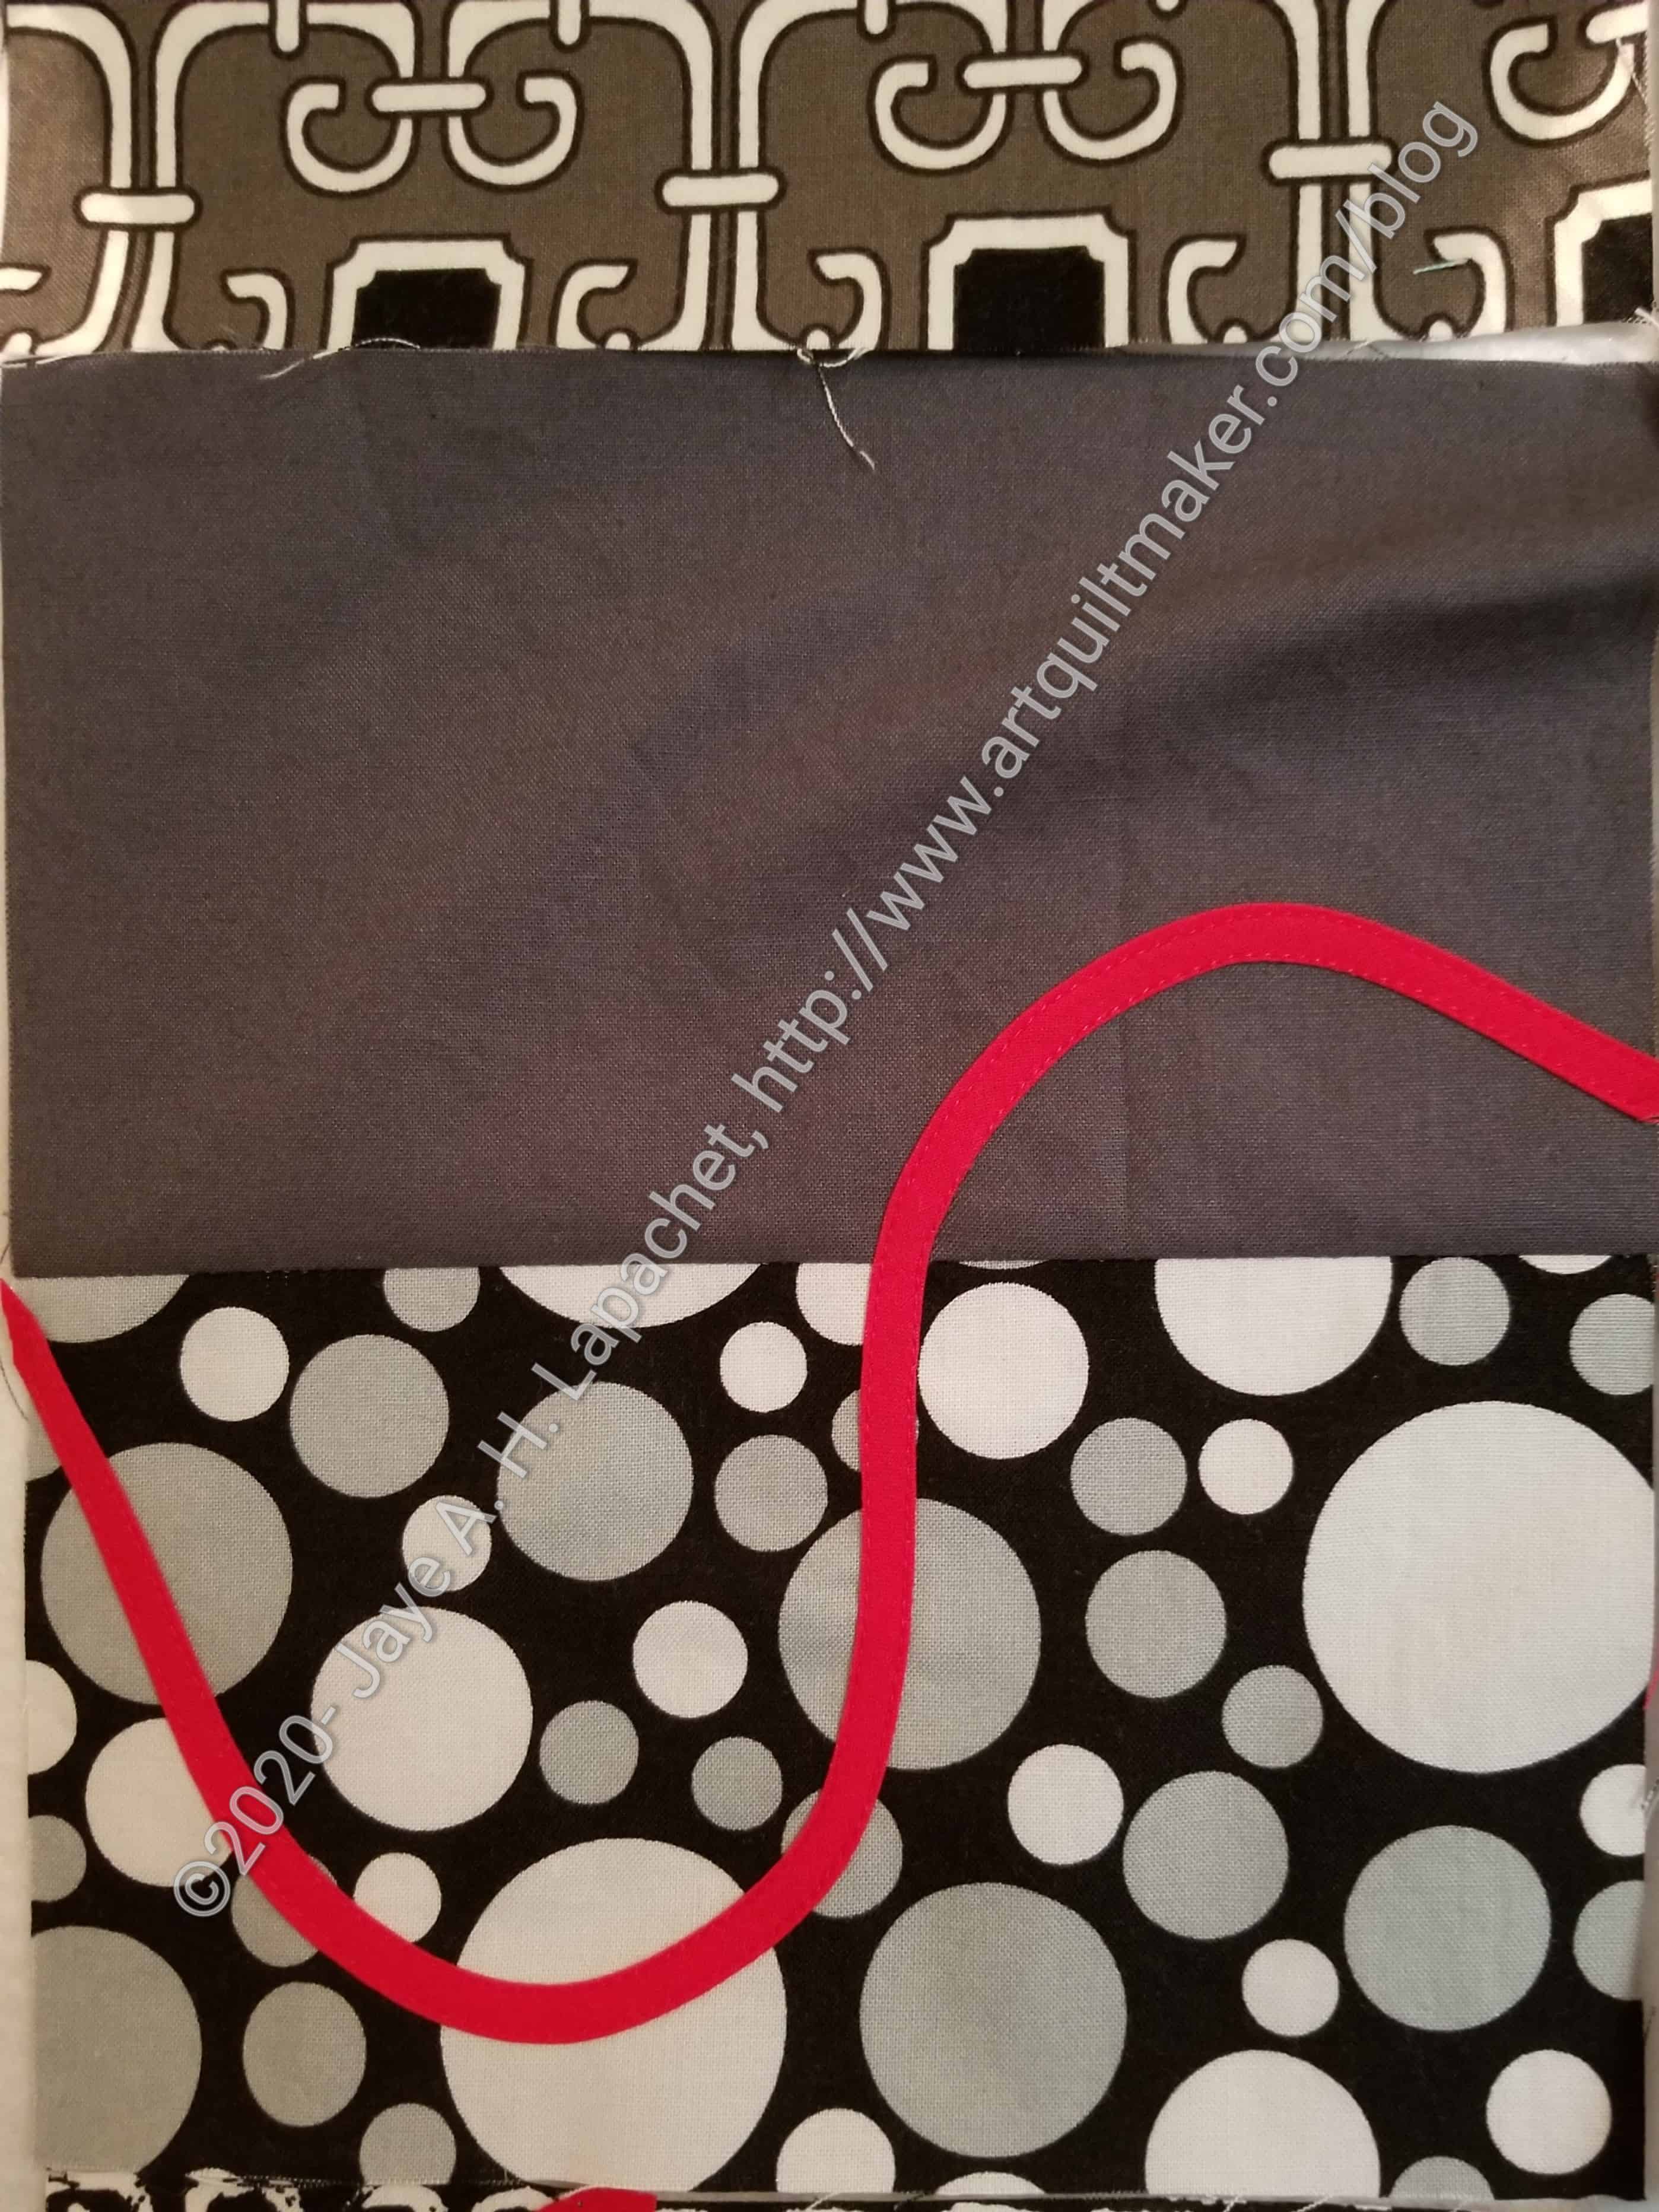
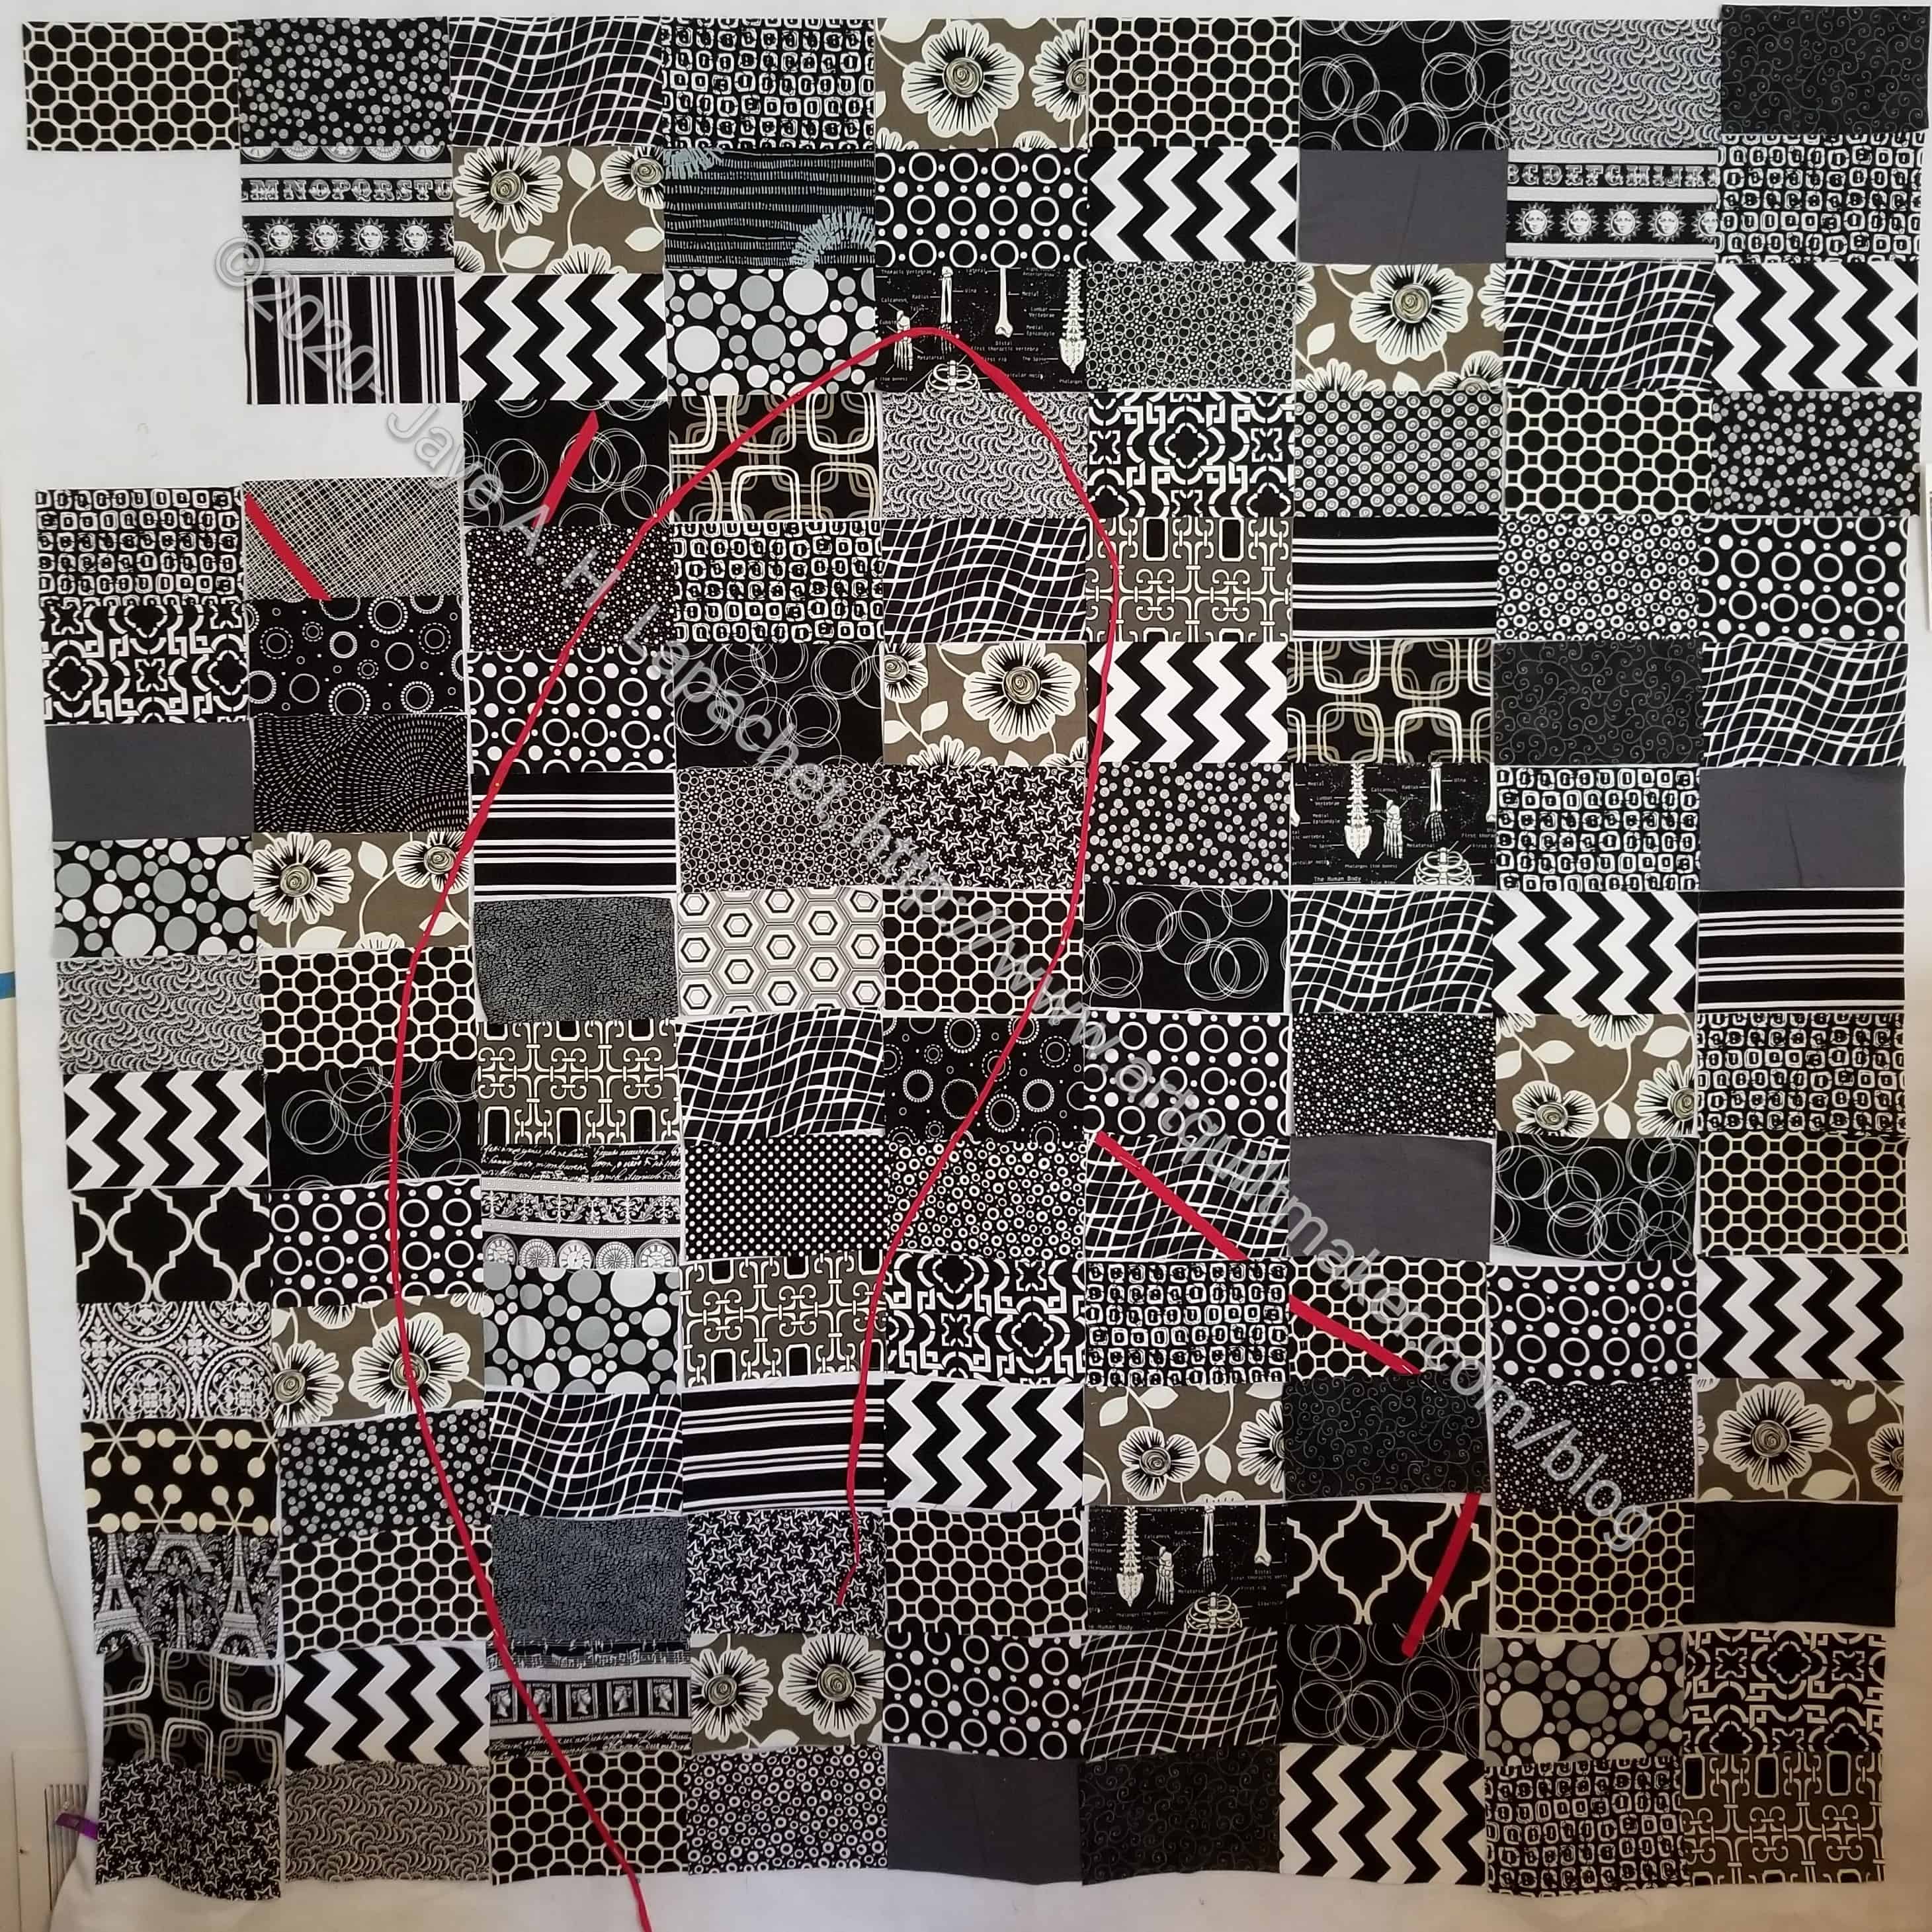
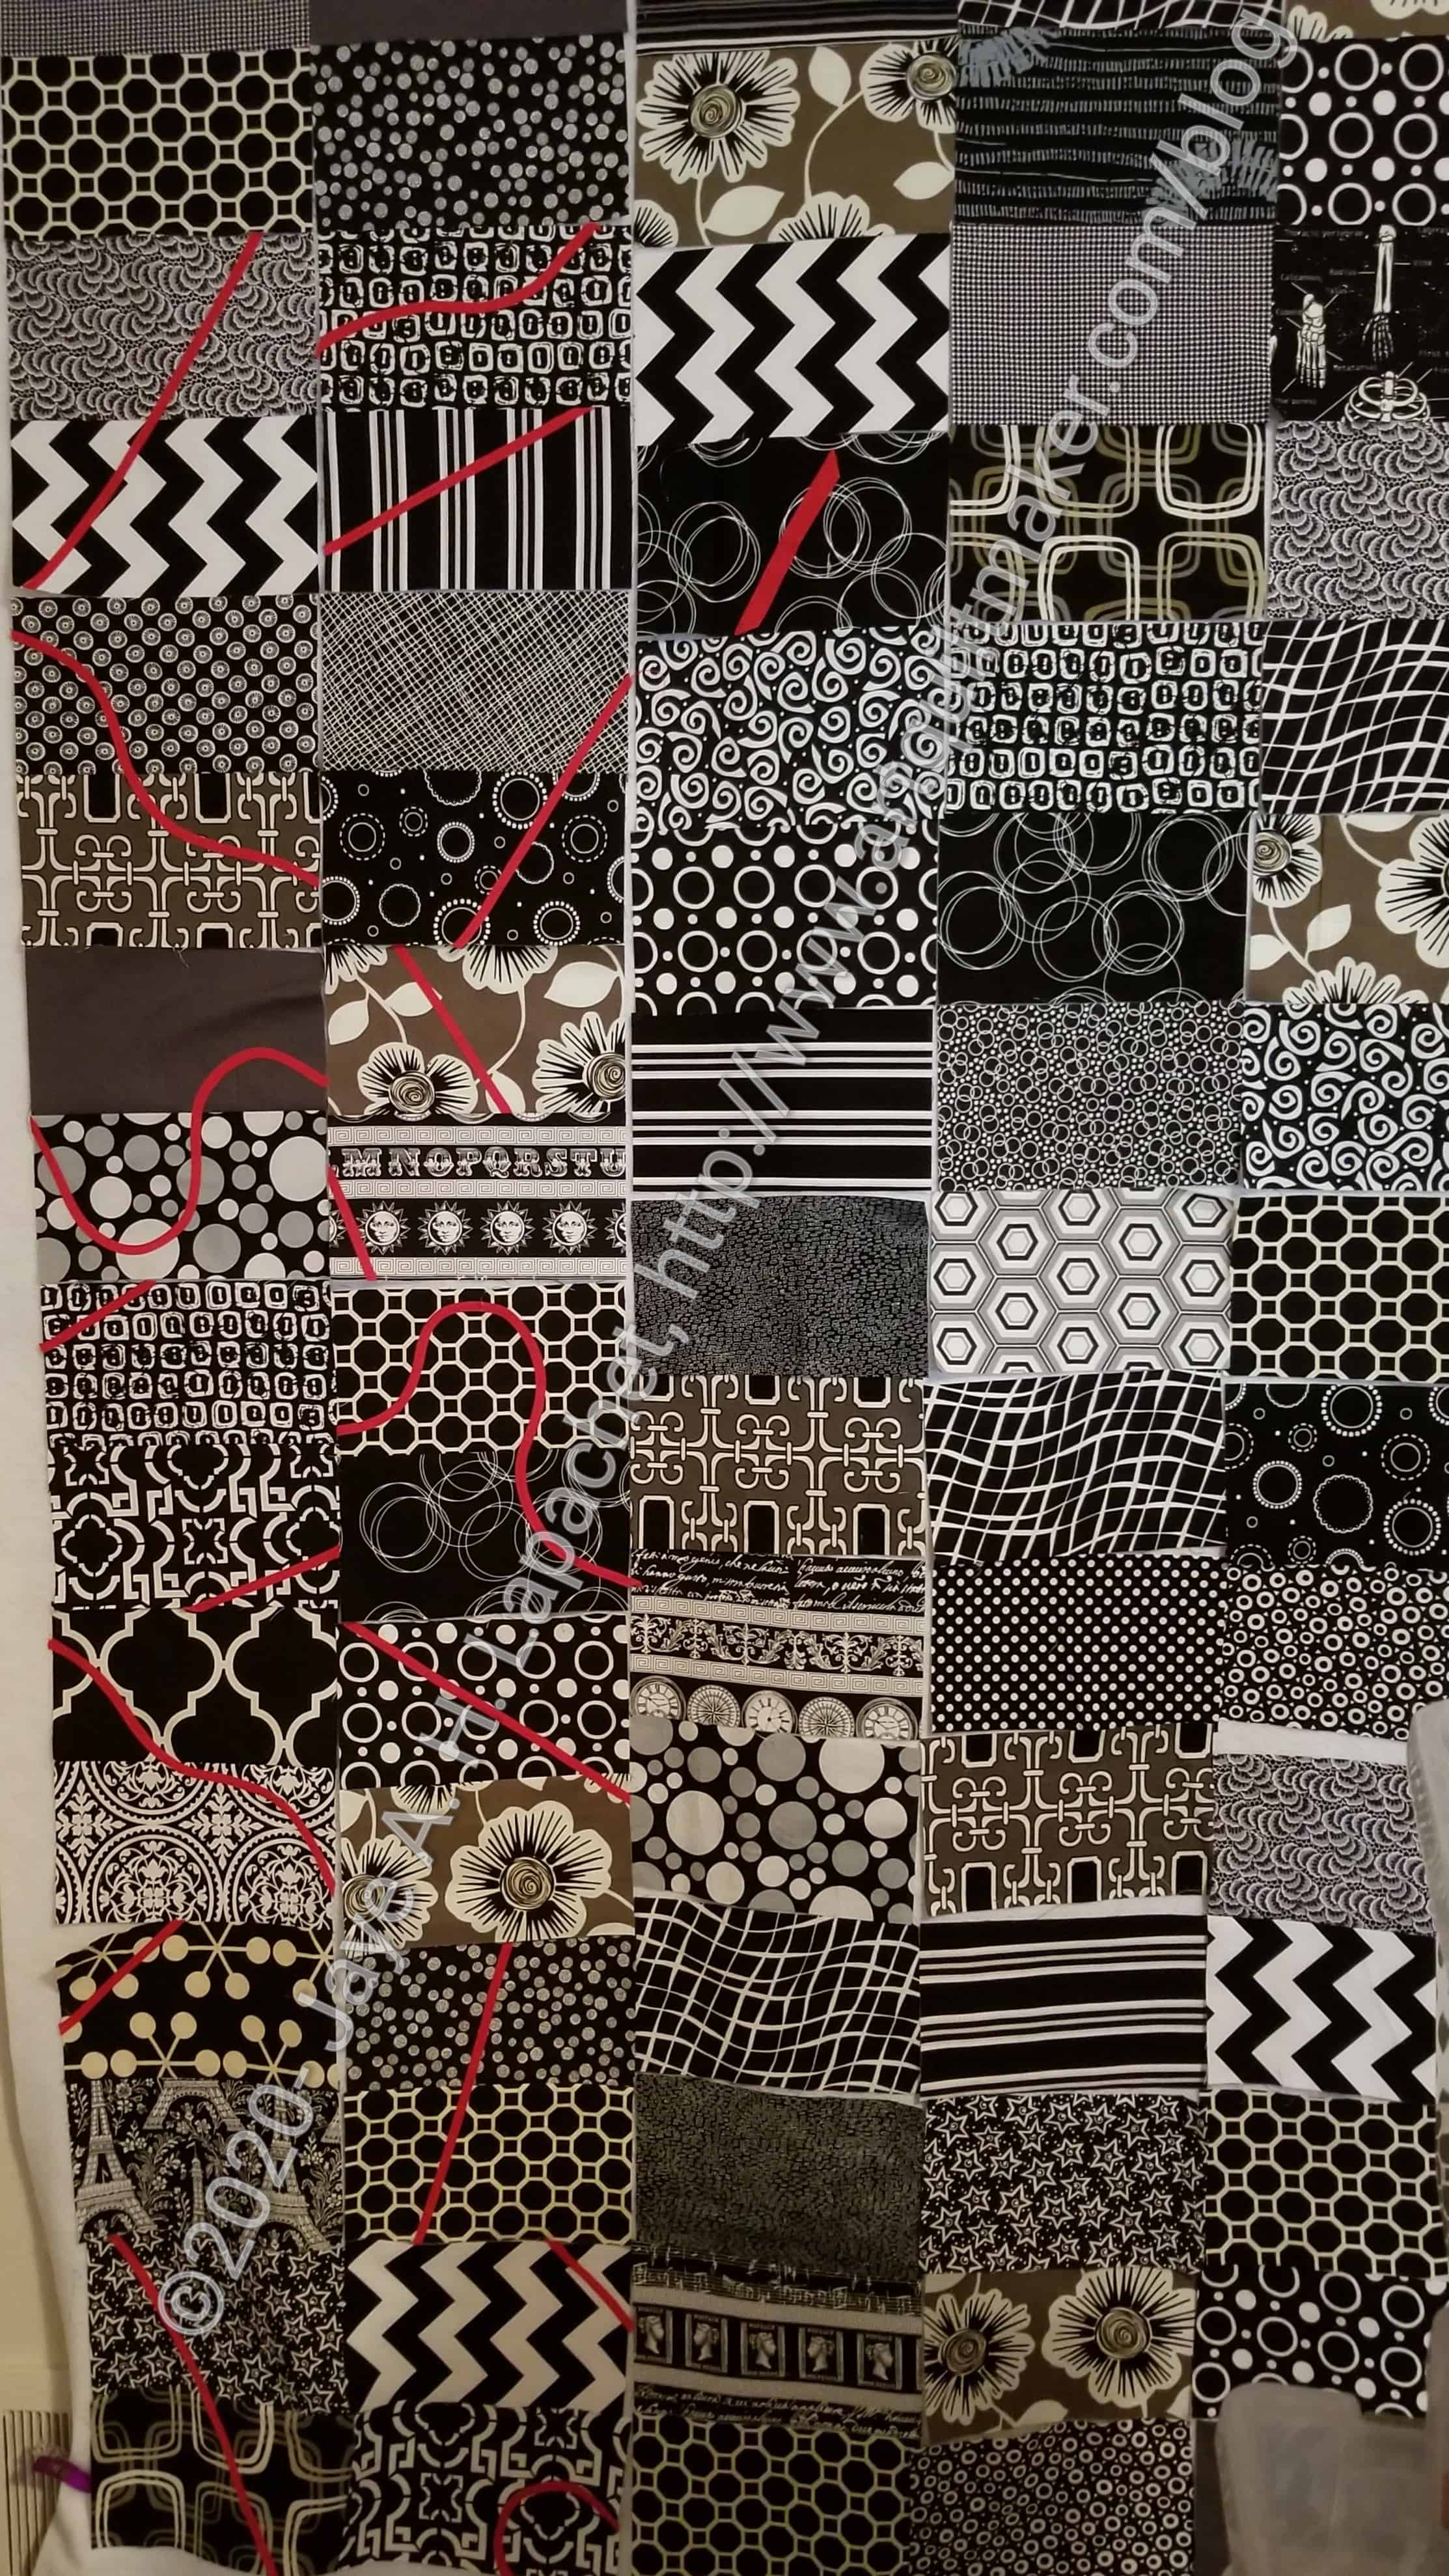
  9. Black and Red quilt – This project is creeping into my mind, so it might be up for work soon. The project originally came about because of two other projects. I made a whole bunch of bias tape as part of my failed attempt at doing the Mighty Lucky Club a few years ago. Another part of the inspiration came from my class with Tina of Little Blue Cottage fame. This was going to be for a nephew, but I think it will be for one of my SILs and BILs. I have rectangles cut and some bias tape ready. My next step is to sew the bias tape to the rectangles like pickup sticks. I don’t have any photos of this, so you’ll have to use your imagination.
  10. Who Am I? – This piece is off my design. I have lost momentum, but I think that just has to do with the amount of satin stitching I am facing.

April Donation Blocks

Here are some blocks I made during April. During April we were still under a statewide Shelter-in-Place order. DH and I are fortunate enough to continue to be employed. I didn’t have time off work and I didn’t take any time off work. As a result, I didn’t have much extra time to sew, but since I wasn’t going out to lunch or shopping, I had a little extra time. I worked on everything you’ve seen this month in the various posts, mostly Frolic! and also some donation blocks.

I am tempted to make a donation quilt out of these random blocks.

The two Spiky 16 Patches are from Flame, but I forgot to include them in the tally for last month. The third one is an extra I made that I will send off to Sue S. We are doing a donation quilt collaboration.

My bin of 2.5 inch square patches that was overflowing is now getting a little pathetic looking. I am kind of scraping the bottom of it to make blocks.

Frolic! HST Border n.2

Blue HST Frolic! Border in process

I started on the blue/turquoise HSTs. I can’t say much more.

I do have more blues/turquoises/aquas, which should come as no surprise to anyone. It makes for a more entertaining piecing experience.

I still have to make sure I don’t put two of the same fabrics next to each other.

Progress.

Frolic! HST Border

The first set of borders is finished. The HSTs are sewed together, but the strips are not sewn to the quilt.

The photo shows the border strips hanging over the top of my design wall. I worked hard at not putting the same print next to each other. They are controlled scrappy and I am pleased with the way they came out.

I didn’t have as many red-violets as I have other colors, but I do like that color. Not quite pink, not quite purple.

I know it is hard to see the borders, but, trust me, they are fabulous. 🙂 Click on the photos to see them larger.

Frolic! center with first border (detail)

I will start working on the blue HSTs soon.

I don’t know if I will keep this quilt or give it away.

Frolic! Border

Frolic! Corner with Border

I talked about trimming Frolic! the other day. I spent the weekend working on the pouch, but was able to sew the first border on to Frolic! as well. This corner detail shows the border up close and personal.

It was a BIG hassle, because the entire edge of Frolic! is on the bias. If I have any advice for you it is: DON’T MAKE YOUR EDGES ON THE BIAS. It is doable, as you can see, but a lot of easing went into adding the border. You can’t just sew and extra 10 inches on to the edge and trim it off. Bias stretches. By adding a longer border and trimming it, you will get waves and I didn’t want a wavy border.

N.B. I wouldn’t dare question Bonnie Hunter’s reasons for telling me to make the quilt this way. She had good reason (math craziness) for make the quilt this way. I just suggest that YOU not design a quilt this way.

Also, if I had been thinking, I would have sewed a mitered corner. I wasn’t thinking and I don’t think it will matter in the long run.

Frolic! center with first border

As usual, though I didn’t design this quilt, as you know, this quilt is larger than my design wall. Thus, it is hanging off the design wall a bit and might be hard for you to see in the second photo (right).

I have the HSTs for the next two borders, so I need to get sewing.

New Blue Spiky 16 Patches – Again

Design Wall: Spiky 16 Patches

I finished the 4 blocks I need to make another Spiky 16 Patch donation top.

In the image you can see the extra pink/red/orange one I didn’t use in Flame. It is a lone, sad orphan right now. I don’t know what to do with it. I could combine it with the blues and make another 5 block quilt, like Spiky 16 Patch n.3. I can’t seem to generate much enthusiasm for veering away from my monochromatic road. I should lash out, but so far I haven’t.

Another idea is to send the pink/red/orange Spiky 16 patch to another guild member to build upon. That is very appealing. I don’t sincerely dislike the idea of including it with the New Blue blocks.

Since I haven’t done anything with the blues yet, I can still decide.