Various & Sundry 2023 #13

Admin

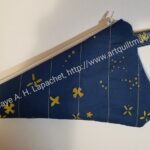
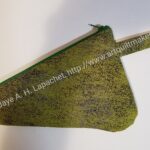
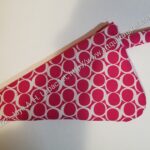
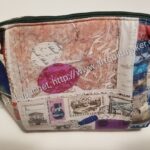
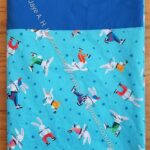
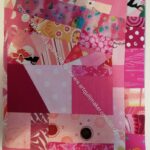
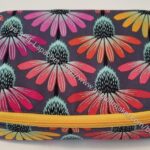
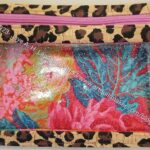
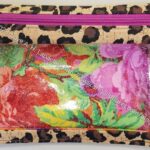
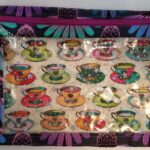
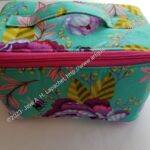
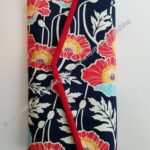
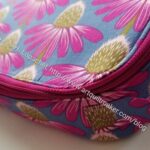
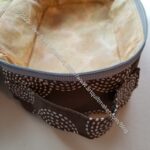
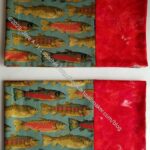
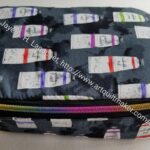
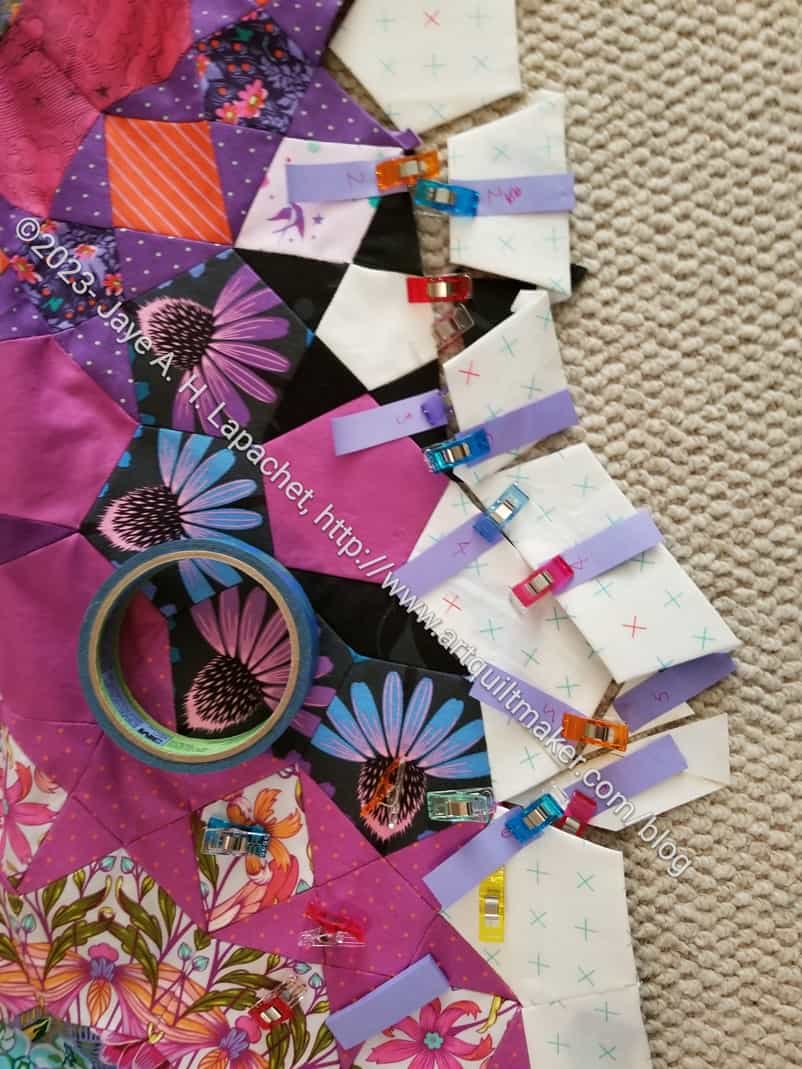
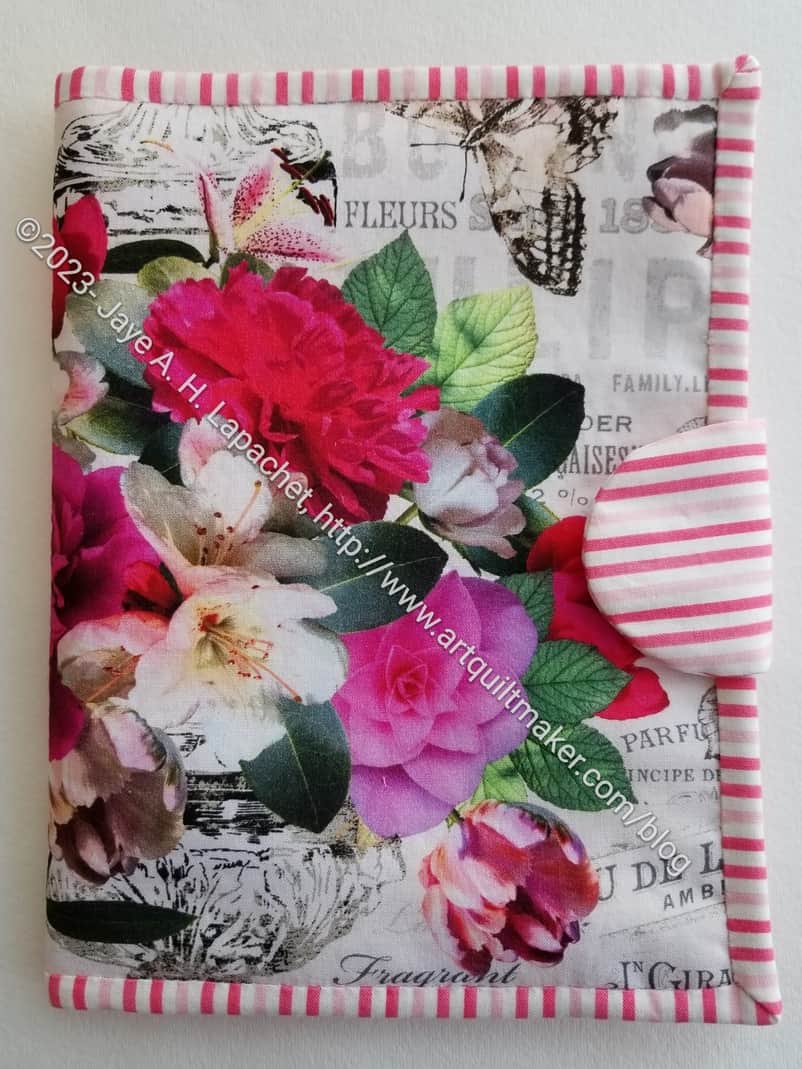
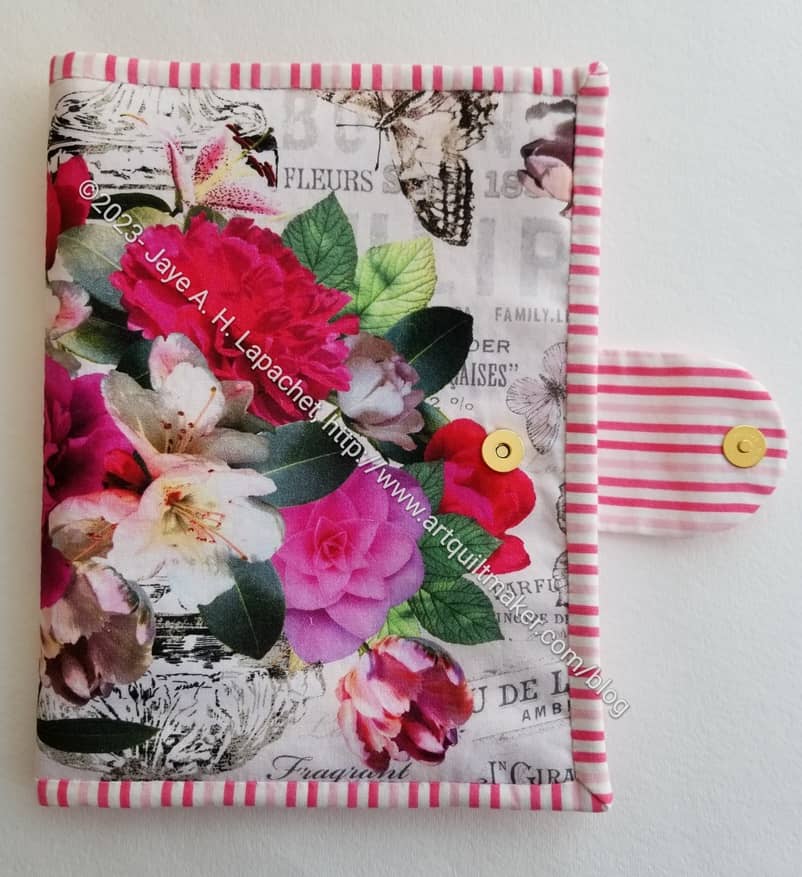
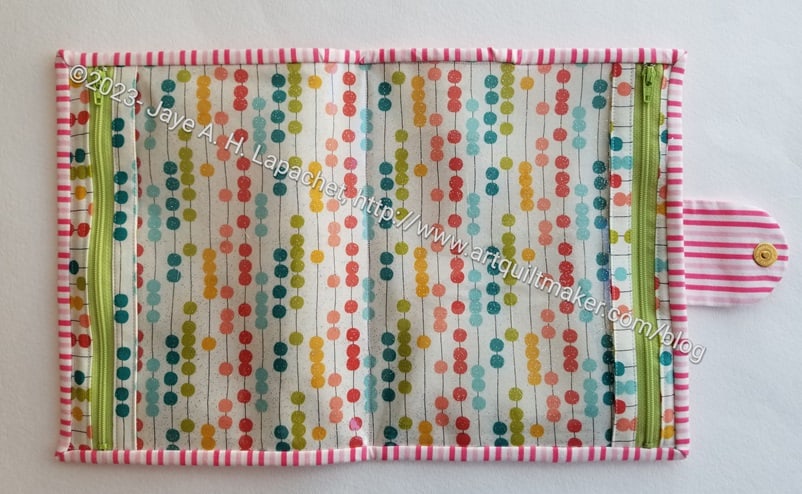
If you care about pouches, I updated the Minikins page again.

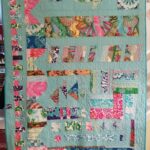
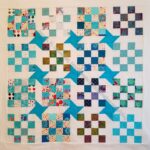
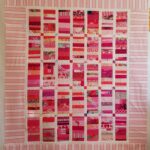
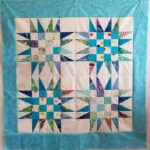
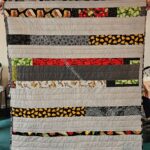
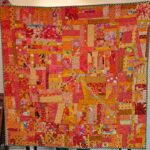
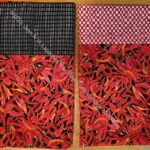
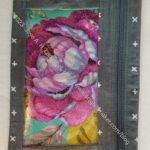
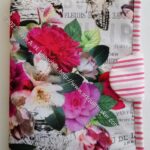
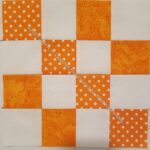
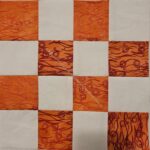
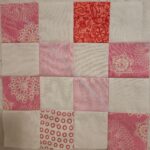
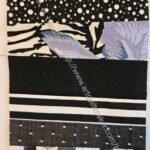
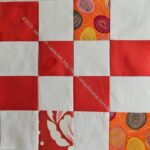
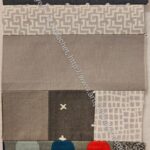
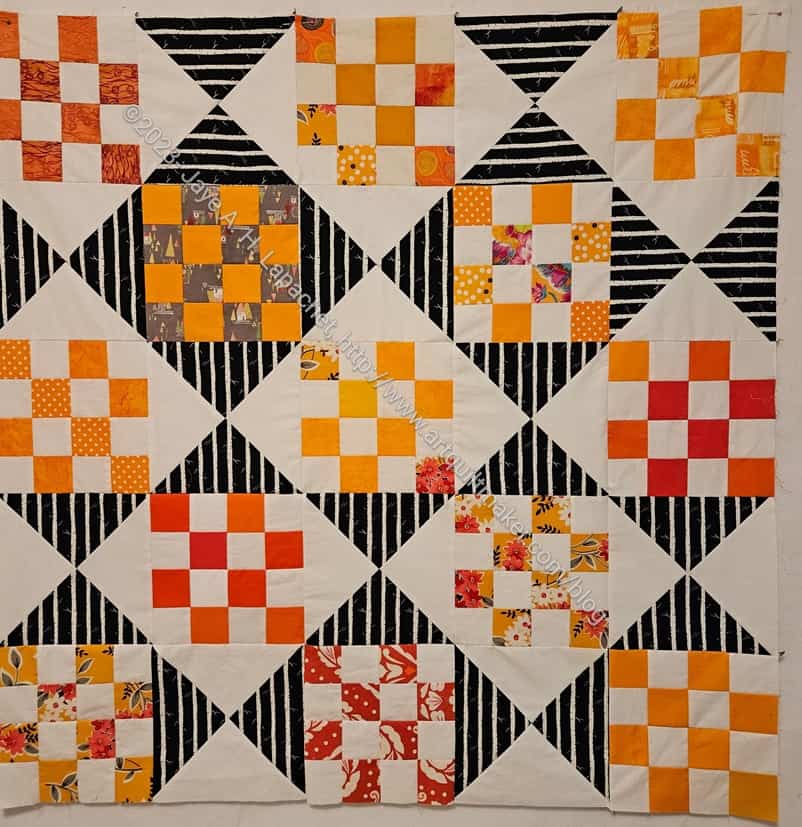
I am tempted to put all of my donation quilts on one page and all of my other quilts on a different page.

Tools, Books, Fabric, Notions & Supplies

Janome came out with the Continental M17. I was sort of interested when Sarah talked about it. She also wrote a post about the embroidery function, specifically. I saw that the price is almost $20,000. I am not going to do enough machine embroidery to justify that price. The M7, I thought was the same, but the non-embroidery version. It isn’t the same, but is ‘only’ $8000. The M8 is $9000 and also not what I was thinking about. Hhhmm. Maybe they don’t sell the one I was imagining. Or maybe I imagined it! Or I don’t need a new machine.

Ironing board as desk

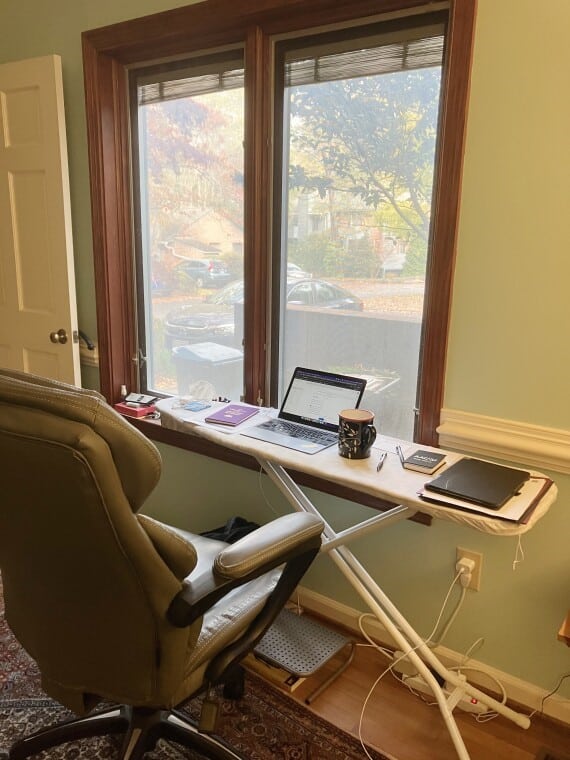
I do not recommend using your ironing board as a desk. How would you be able to iron your quilt projects? The good thing is that you can raise and lower the height to suit your body’s needs.

Projects, Classes, Patterns & Tutorials

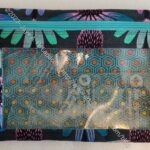
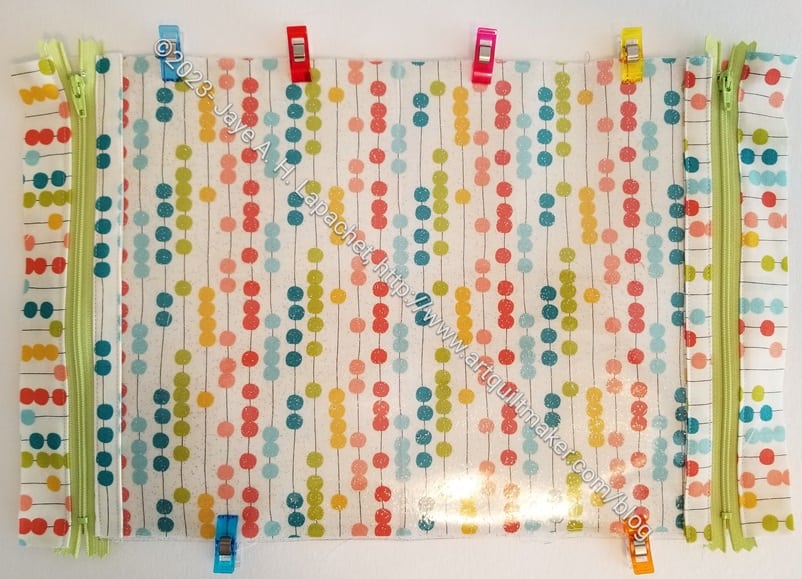
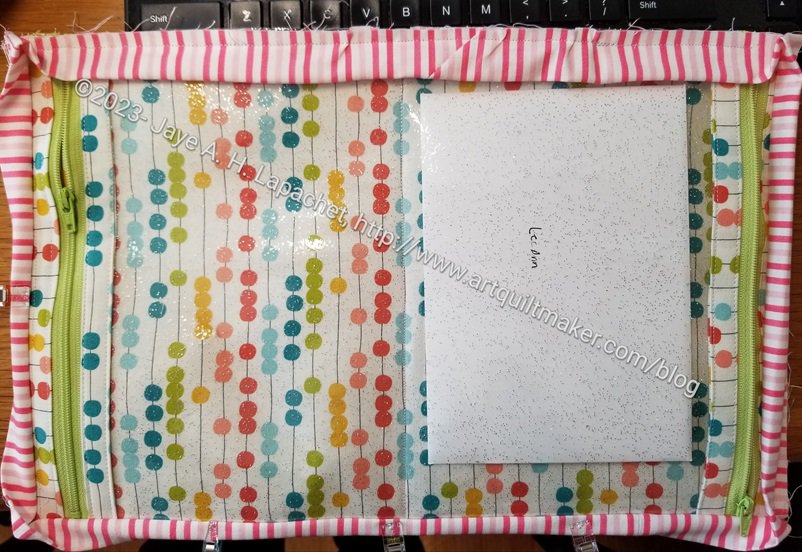
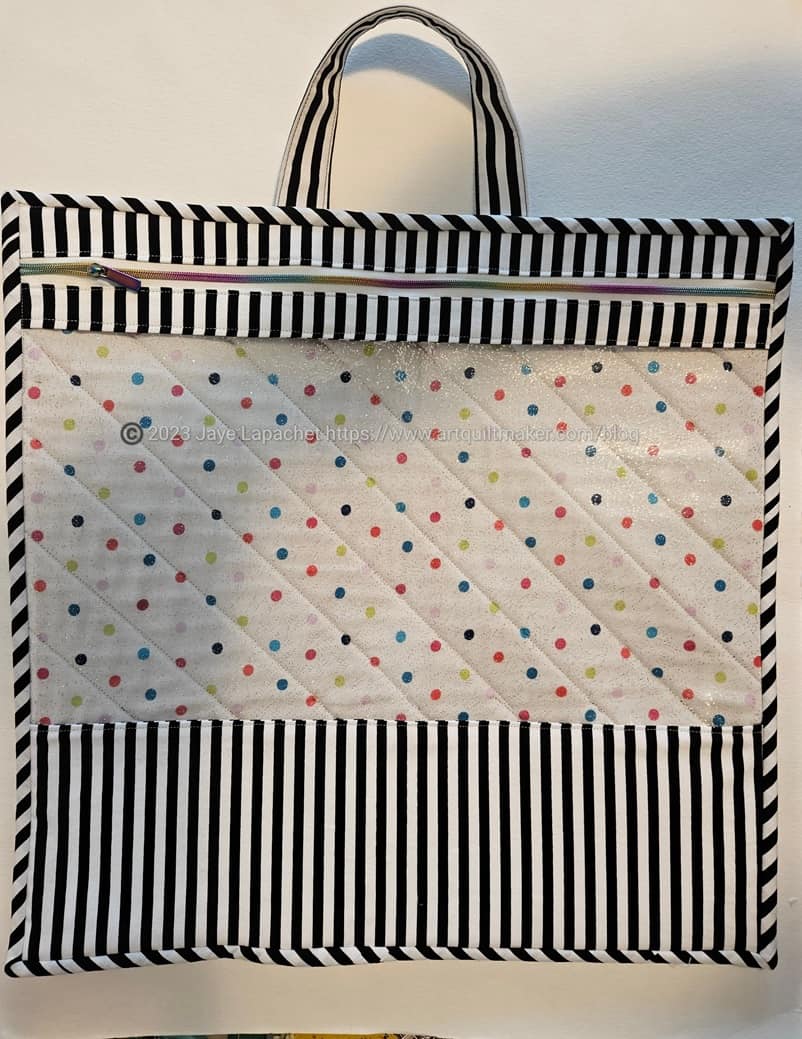
Natalie from Sew Hungry Hippie has a tutorial on using the printed vinyl she sells, like the glitter vinyl I swooned over.

Check out Sarah’s tutorial for Lapped and Felled seams.

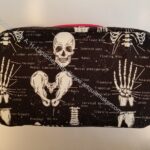
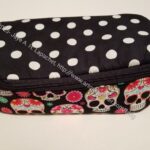
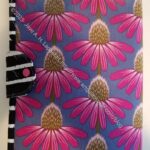
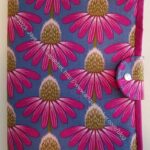
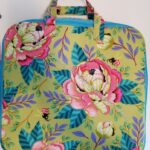
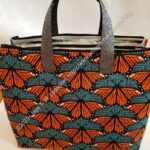
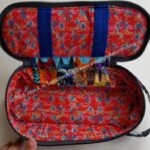
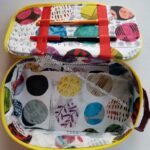
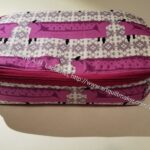
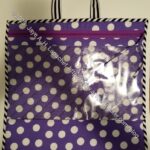
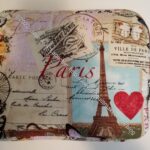
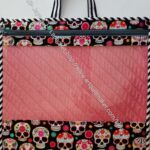
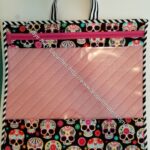
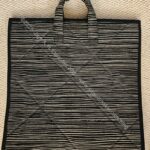
Sweetseamz has a great version of the Retreat Bag from Emmaline. Her modifications make it much more useful! The Retreat Bag is a free pattern, though you do need to buy the frame, if you don’t make your own. I have made a few of these, like the Sugar Skull version, and like the open wide design.

If you want to learn rotary cutting, a video that Carrie shared with me is pretty good. Jennie at Clover and Violet talks about using Creative Grids** rulers and the same kind of Olfa rotary cutter** I like. Her point about not using the cutting mat lines to measure is excellent. Please note that pressing your fabric before you cut improves accuracy

Bonnie Hunter has started her annual mystery quilt again. Check out the tab on her blog or go to Part 1.


**N. B. : Obviously, you should shop at local quilt shops and small businesses. However, if you are too busy or can’t find what you need there, I use Amazon affiliate links and may be paid for your purchase of an item when you click on an item’s link in my post. There is no additional cost to you for clicking or purchasing items I recommend. I appreciate your clicks and purchases as it helps support this blog.

26 Projects 2023 #11

We are nearing the end of the year! Can you believe it?

Finished 2023 Quilt Projects


Finished (for me!) Donation Quilts

I don’t quilt much and I enjoy the collaborative effort of making a top and allowing someone else to quilt it. Thus, the quilts below are mostly tops, but I will include a finished quilt once someone else finishes it for the group.

It would be great if I was able to make one more donation top before the end of the year. 12 quilt tops = 1 top per month, though some of them I didn’t make this year. Regardless, the blog symmetry is good.

Finished Bags and Small Projects

This category covers bags, toys, aprons and knitting as well as other non-quilt projects.

In Process or To Make

The ‘In Process’ is used to denote projects on which I am actively working or are on the design wall waiting for me to stitch. I am continuing to try not to put away projects. I find putting a project away ensures I never work on them, because I just lose steam.

Quilts (machine work)

Quilts (Handwork)

I decided that some of my quilts are in a different class because they are hand piecing or embroidery or beading. They take longer. Thus I created a new category and have moved some projects here.

  • La Passacaglia – The rosettes are all assembled. I am working on the border.

Ready for Quilting

In the Quilting Process

    • Nothing at the moment

In the Finishing Process

    • Nothing at the moment
  • Ultimate Project Organizer – another project from the Crafty Gemini Organizer Club, also on my list, but not yet started. I did pull the fabric, supplies and reviewed some finished photos that others posted, so I am one step closer. FINISHED!
  • Retreat Organizer – another project from the Crafty Gemini Organizer Club, also on my list, but not yet started. Recently, I saw one of these made up and I am not so nervous about it. I did pull the fabric, supplies and reviewed some finished photos that others posted, so I am one step closer.
  • Rose Petrillo bag – I found the pieces for this bag cut out, but not sewn.
  • Superbloom tote using Hindsight fabric – not started. I did pull the fabric, supplies and found a photo I plan to use as inspiration that others posted, so I am one step closer.

Still UFOs
I still have UFOs. Who doesn’t, after all? A project in the ‘UFO’ category means I am stalled, it hasn’t been worked on in awhile or it is waiting its turn to be worked on. The list is a lot shorter and the projects are newer, for the most part.

I am annoyed that some of these are still WIPs. I just need to work on them!

  1. Handbag Sampler – this is still the forgotten project. I found one block in the not-too-distant past, but otherwise I don’t actually know exactly where the blocks are hiding. I crawled up in the far reaches of my fabric closet to see if I could find them and they weren’t where I thought. I am sort of mystified as to where they could be. I haven’t even found a picture of all the blocks. WTH?
  2. Self Portrait: started in 2006 at a class at Quilting Adventures in Richmond, Virginia. After a brief burst of inspiration, I am stalled on this again. As one of my oldest (I am pretty sure) UFOs, I put it on my blog and out into the Twitterverse and Diane suggested that I not consider this as a self portrait. I think that strategy is a great idea. I am now trying to think of a new persona for her.
  3. Serendipity Lady – I am still planning to take this piece to be framed. It might need a bit of quilting first.
  4. Fabric of the Year 2020
  5. Fabric of the Year 2021 – I may combine 2020 and 2021 into a COVID edition.
  6. Fabric of the Year 2022 – yes, I added this one to the list, but this is the last one I plan to do.

November 2023 Donation Blocks

I am getting to the part of the year where I cannot show all of my progress on various projects. It simply means I need more time to sew! Here are some donation blocks for this month. I might make another QST 16 Patch quilt with some of these. On the other hand, I have an overflowing black scrap drawer that needs some attention, so I am back to making more color strip blocks in blacks and greys.

I am trying to organize the patches in the gallery above so they don’t look as random and weird.

Stay tuned

Red Improv Donation Quilt Finished

Red Improv donation quilt finished

Also thanks to Erin, the Red Improv donation quilt is done. This one is also more than 4 years old.

Along with the Orange Improv version from the other day, seeing this quilt finished reminds me of how great this process is. It makes me want to make more

The other color versions that I have made over time are really awesome as well and add to the idea of making more.

Right now my black, grey and brown drawer is overflowing. I have made a few black strip blocks, the first step in my process, but not enough to clear out my drawer. I talked about it with guild members the other day about cheerful quilts. Black is not always a cheerful quilt color like pink or orange. Someone suggested doing a two color version. I don’t think I am ready to branch out from the monochromatic parameters of the project so far.

La Pass Border Methodology

Labelled La Pass border

I decided I needed a way to keep the border pieces in order. There is no pattern for the border, so I am creating as I go along. I have shown you some photos of what I am doing in recent weeks.

I added some pieces to another part of the border, which is a multi-step process:

    • Figure out how to put the pieces together
    • Baste pieces
    • Sew pieces

From the basting to the sewing, I was finding that the pieces I had basted didn’t fit, thus I needed a system.

You see what I came up with above. I put a Post-it note** with a number on the quilt, then I put a corresponding post it note with the same number on the border pieces I will be adding.

You see WonderClips** in the mix as well.I don’t want those Post-its to fall off and they don’t stick long term to fabric, thus the WonderClips.

So far, so good. I’ll let you know how it turns out.


**N. B. : Obviously, you should shop at local quilt shops and small businesses. However, if you are too busy or can’t find what you need there, I use Amazon affiliate links and may be paid for your purchase of an item when you click on an item’s link in my post. There is no additional cost to you for clicking or purchasing items I recommend. I appreciate your clicks and purchases as it helps support this blog.


Finished: 2-in-1 Case #4

2-in-1 Case #4 exterior - closed
2-in-1 Case #4 exterior – closed

Hooray, I finished the 2-in-1 Case (#4)!

I am pleased with how it looks. I like the fussy cutting of the flower fabric (I bought that flower fabric at the Quilt Loft). It is sweet looking, though not modern at all.

I am a sucker for striped binding. I think it works. I think black and white would have been classic, but too much of a contrast with the flowers.

2-in-1 Case #4 exterior - open
2-in-1 Case #4 exterior – open

The magnetic snap is gold. I am not sure why I had a gold one. I don’t usually buy gold, but the brand was one carried by Joann, so maybe I bought it there on ‘spec?

I was able to line up the stripes pretty well on the snap tab. Honestly, it was a happy accident. 😉

2-in-1 Case #4 interior

The inside looks pretty good as well, though the contrast between the outside (sweet and flowery) and the inside (modern) is very obvious. At least the user can’t see the flowers when the case is open.

I am looking forward to seeing the last two. The photo below shows the ones I have so far.

2-in-1 Cases - closed
2-in-1 Cases – closed

Joelle made the red version. Cyndi contributed the blue example in the center and mine is on the right. They look so different!

I’m Done! Oh No! I’m Not

QST 16 Patch #2 - wrong!
QST 16 Patch #2 – wrong!

I sewed this top together quickly the other night. I thought I was being super careful to keep everything in the right place.

WRONG!

Not only did I mess up the dark and light triangles, but I also put blocks with the stripes going in the wrong direction in the wrong place. I can live with the stripes, but I have to fix the secondary pattern.

Yes, I’ll be ripping.

2-in-1 Case Continues

I continued to work on the 2-in-1 Case (#4) and have decided that making at least two of each bag is the best way to go. This one is so much easier than the others. Still, I am taking my time.

2-in-1 Case #4 - zipper stop
2-in-1 Case #4 – zipper stop

I forgot that I thought I should use a longer zipper than the one the pattern calls for and broke a needle.

The pattern calls for 8″ zippers. Inevitably one or other of the stops gets in the way and I break a needle. ERGH!! I wrote myself a note to use a 10″ zipper or continuous zipper tape. It doesn’t matter if the stops get cut off as the binding acts like a stop anyway.

2-in-1 Case #4 interior

Besides breaking a needle, the case is coming together.

I changed zipper colors right before I sewed them to the vinyl. The ones I chose match the light green in the fabric pretty well. I was going to use a brighter green, but like these better.

I followed the seam allowance directions, but the section with the vinyl and the zippers was still too big. I could have ripped it out and done one part over, but decided just to center the section with the vinyl and cut off the extra. Maybe lame, but it will look fine.

2-in-1 Case #4 with binding

The binding is on and I will hand sew it to the back.

Almost there!

Finished: My Jumbo Project Bag

My Jumbo Project Bag

I was able to finish my Project Bag while I listened to a presentation at work the other day. You might think I was cheating on work, but I find that if I do some handwork, I can pay better attention to the presentation.

I was going to make Mom another one for Christmas, but decided on something else and made this one for myself with some of the fabric Colleen quilted for me. It is already in use for the EPPic bag pieces I cut out at Sew Day some time ago.

A New 2-in-1 Case

2-in-1 Case interior

I decided that 2-in-1 Cases would be great to use for the gifts going to the guild officers. I am, once again, in charge of organizing that effort. I think it is important to thank the officers, but I seem to be one of the few who wants to organize the effort. Sue and Carrie are helping, which is great. they are sensible friends who offer excellent advice.

2-in-1 Case #3 size test
2-in-1 Case #4 size test

In the past I have made large bags and then had people make small gifts to fill the bags. I didn’t have time for that this year, so I am gathering cash and gift cards. I needed something to hold cards and gifts and the 2-in-1 cases are the thing. They are useful for sewing supplies, but also the right size for cards and gift cards. I am gathering quite a hoard, so I hope they are large enough.

This strategy also means I do not have to cajole people into making large bags or small gift items. I was prepared to make all of these 2-in-1 cases, but a few people volunteered. I was very grateful for the others efforts. I am making one, as you see.

I had to take a break for some seam ripping on the Kit Supply Tote and do some handwork on the other bags I worked on over the weekend. That meant I was able to start sewing this bag. I cut it out at Sew Day earlier this month. It is going together much more quickly than the first ones.

2-in-1 Case #4 magnetic snap

One of the things I did was try a magnetic snap, which is recommended in the pattern. These are different than the other snaps, installed with a Snap Setter, that I used before.

Except for being quite large, I think the magnetic snap came out pretty well. The instructions in the book for installing it were a little vague, but I used some pliers to bend the arms of the snap down. That worked for me.


La Pass Border Again

La Pass border side
La Pass border side

I finally dragged La Pass out again and started working on the side of the border I talked about before. I haven’t worked on it lately because I was gone, then the cleaners were coming, and [ add in a bunch of other excuses ]. I meant to work on it last weekend, but only had one day to do my own projects at home and just didn’t get to it. I regretted it and determined to, at least, baste a few pieces during the immediate past weekend. I made good progress and followed up with some basting during Craft Night.

La Pass Border again

The section, left, is about halfway down the side. I plan to add in that purple dot star point so it sticks into the border a little. I like that rosette with the orange striped diamonds and think it will look good finished.

I am going back and forth with combining pieces and adding a lot of single pieces. It should have been obvious, but I am finding that a weirdly shaped piece is harder to baste than single pieces and the mess ends up looking weird in the end. I am back to combining some shapes, but not as many as I thought I would.