Zipper Pouch Made

Cyndi B's Zipper Pouch
Cyndi B’s Zipper Pouch

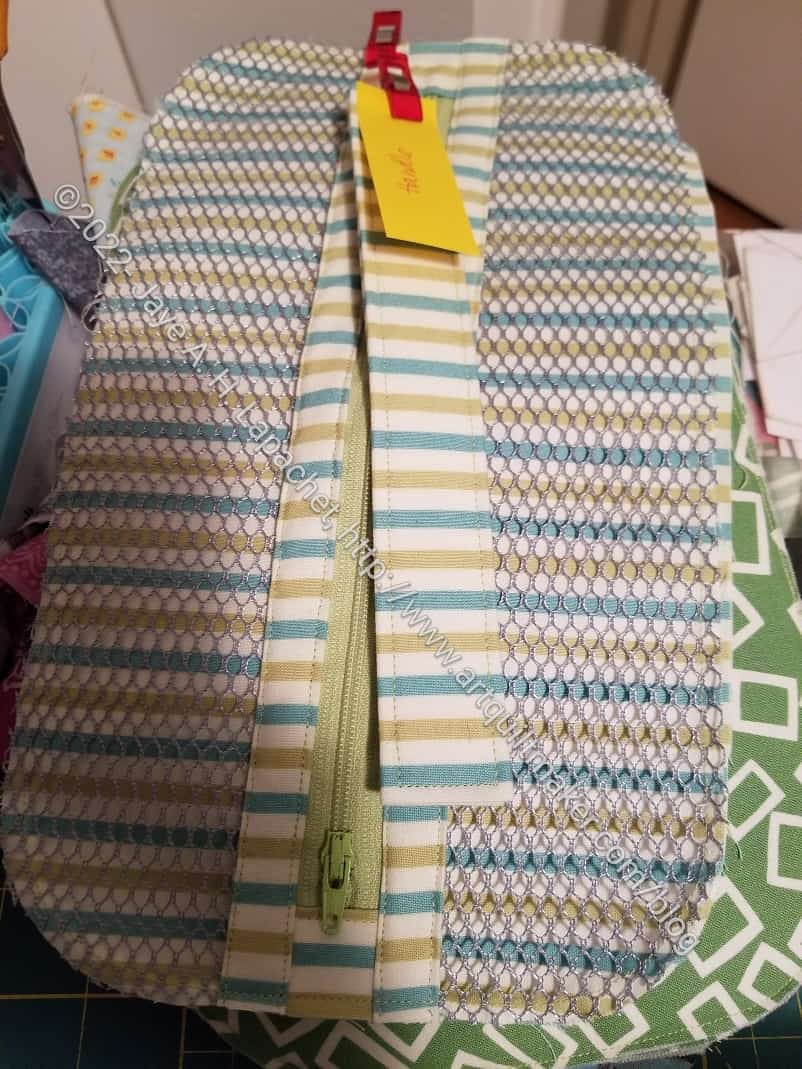
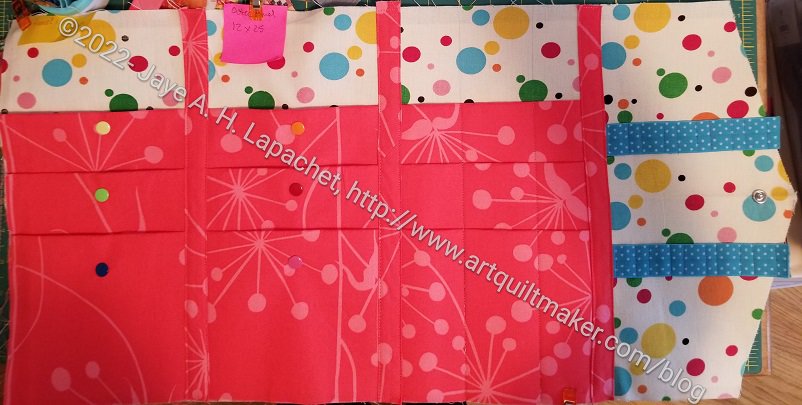
After we finished the bag, my friend decided she wanted to make a pouch as well. I immediately knew what to do.

Sotak Handmade on IG creates short videos about how to make pouches. Remember her? I made the purse organizer from her pattern. She sells patterns, so the IG videos  are very quick and simple. They work for simple pouches. I found one of her videos that would suit our needs.

The beauty of this video was the fabric sizes didn’t matter except in one instance. I cut the leftover fabric in a size that would use as much as possible and we got busy. The pouch turned out pretty well.

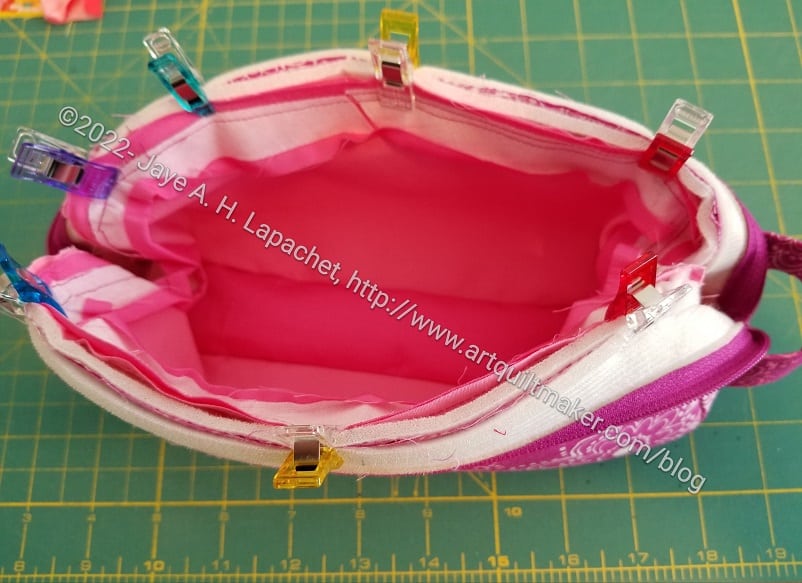
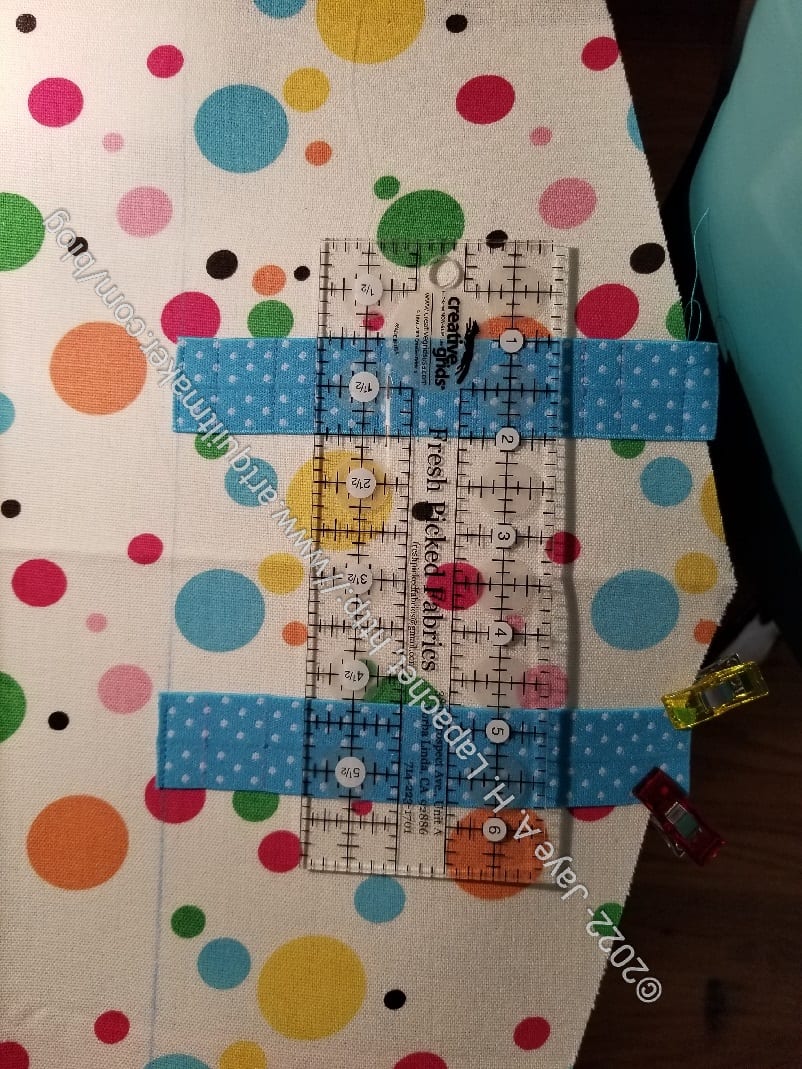
The part that was problematic was the zipper tabs. I understand the concept of zipper tabs, but I ran into problems with the size. I made them over large whereas the video showed the pouch having a small space between the end of the zipper tab and the side of the pouch.

Making the zipper tabs over large meant no space for stuff to fall out. It also meant that the closing of the whole pouch was not smooth. The center edges by the zipper were large and lumpy and I couldn’t follow what Sotak did on the video. This is when the light dawned and I understood why the zipper tabs were shorter. Now I know.

None of this fabric was mine, so I don’t get to add anything to my Fabric Usage Report, sadly.

I want to make more quick zipper pouches now. I use the same technique I use with scraps for Journal Covers.

Bagmaking and Designing

If any project required attention to process, this one did.

My friend has been talking with me about helping her make a bag. I have been putting it off because of work and other things. Since I have a break from a lot of responsibilities, I felt it was time to get the bag made.

I had hoped that I could convince my friend to use a pattern, but she was certain she wanted to copy the bag she took traveling. I am a good bagmaker, but beyond cobbling together some basic tote bags or modifying patterns, like the Petrillo hack I created, I have not had a lot of experience creating new patterns. I was concerned about the pitfalls I wouldn’t even know I was facing.

We met a few weeks ago and I was able to get a better idea of what she was thinking. That meeting and seeing the bag allowed me to think about the bag and process before we met the other day. I had a basic plan and figured that I would work things out as I went along.

Cyndi B's bag
Cyndi B’s bag

The worst part was getting started. The best part was that my friend didn’t have many preconceived notions about how the bag would look. We kind of muddled along and resolved issues as they came up.

The first issue was the fabric. She has a limited piece of upholstery fabric that was leftover from recovering her living room chairs. I have done a few things with heavier fabric, but I can’t think of a project I have done with upholstery fabric, including a pencil roll, but this project was different in that I would have to deal with layers of upholstery fabric. I tried to minimize it, but wasn’t always able to.

Next was the bottom. My friend wanted to use a thin piece of leather (maybe suede) for the bottom. This made sense, especially since she wanted to use it for travel. My Microtex** needle was not happy. Shockingly, I had a leather needle**. I have never used these before, but did on the bag bottom and it worked.

Cyndi B's bag: turning the lining
Cyndi B’s bag: turning the lining

The lining was fairly straightforward. I knew what I wanted to do, which included adding an internal zipper pocket that I could use to turn the bag right side out.That worked perfectly, though I had to look up a couple of references to make sure what I had in my mind would work.

The turning of the bag is very satisfying, so I had my friend do it. It was her bag, after all and I thought she would get a kick out of the experience. She did.

Cyndi B's bag: lining and zipper pocket
Cyndi B’s bag: lining and zipper pocket

I used my friend as studio assistant. I asked her to mark the lines for the zipper pocket, press seams open and sew on Velcro. These are all tasks I didn’t want to do. She did a lot of pressing and marking while I did most of the sewing. I also wanted her to be involved and since she had not sewed since junior high, I preferred to do the sewing. It is my machine after all.

When we got to the handles, she brought out the idea of using rope (like clothesline weight rope) for the handles. I wouldn’t normally do that and really didn’t have a clue how to do it. After searching the web, I came up with a great tutorial that expanded my skills. The result was what my friend wanted, too.

I used the Cotton Candy pouch pattern to remind me how to put the outside of the bag together with the lining.

I used the Petrillo bag pattern to make and install the flap.

I used the The Complete Bag Making Masterclass : A comprehensive guide to modern bag making techniques** by Mrs. H for some information on attaching the straps.

I used the RsIsland Crafts video on turning a bag through the internal zipper pocket to remind myself how to do that.

I used the Seaman’s Mom corded handles tutorial to make the handles.

I am pleased with how the bag came out, though it is certainly not perfect and it is not a bag I would use. My friend was happy and that is all that counts.


**Obviously, you should shop at a local quilt shop. However, I use affiliate links and may be paid for your purchase of an item when you click on an item’s link in my post. There is no additional cost to you for clicking or purchasing items I recommend. I appreciate your clicks and purchases as it helps support this blog.

Ends n.14 Quilted

Ends n.14 (Typewriter) quilted

Ends n.14 (Typewriter) was also in the batch that Laura quilted for the guild. It wasn’t very long ago that I put it together.

I saw it Saturday and couldn’t tell whether what I was looking at was the back or front! I had forgotten that I did a lot of small piecing for this top.

Laura did a random meander and it looks pretty good. It doesn’t overshadow the piecing.

Purple and Gold Donation Quilt Quilted

I know many of you are melting in 100+F/35+C heat. I don’t want to taunt you, but it is a grey day here. The fog is in and the light in my workroom is weird. I am really glad I have Orange You Glad on my design wall and not this purple quilt.

Purple & Gold Donation quilt

This quilt by mom is now quilted. I wrote about it a few weeks ago and the speed with which it was done is astounding. Longarming really moves the pipeline along.

At the meeting, Peggy was looking for people to bind.

Before the Orange Applique

After playing with the blocks a little, I am now ready to continue working on the bullseyes.

Then I looked through the bullseye blocks. Some caught my attention and I was sad to cover up the second fabrics with more circles. Still it had to be done.

The blocks above are my favorites after looking through all of them. I know that will change when I sew the last circles on.

Plus Quilt Quilted

AJ Plus Quilt quilted

Peggy took a bunch of quilts to a longarmer, Laura, who quilts some of our donation quilts for practice. One of them was my American Jane Plus Quilt.

It is not yet bound, but having all the small quilts quilted by a longarmer makes the process much shorter. Tim is the only one with a longarm, that I know of, in the guild and he has been busy recently so hasn’t been quilting.

AJ Plus Quilt quilted - detail
AJ Plus Quilt quilted – detail

I like the pattern Laura used for the white and red thread was kind of inspired.

Diagonal Nine Patch Finished

Diagonal 9 Patch back

I finished the back of the Diagonal Nine Patch Saturday morning before I drove to the BAM meeting. I found a piece of fabric that comprises the main part of the back (top left). The large print works well for a back and I am glad I didn’t cut it up for the front.

I used up a number of pieces of fabric that have been hanging around for awhile, which is always a good feeling.

Diagonal 9 Patch top

I am pretty pleased not only that the whole package is ready to go to Colleen, but also that there were no tasks hanging around for after the meeting. It felt like a clean finish.

I chose a black and white stripe for the binding.

I worked on the back for 20 minutes or so on Friday after cleaning out the garage and that 20 minutes put everything in place for finishing on Saturday. Every minute counts!

Back to Orange

Orange You Glad stack

I dragged out the bag of bullseyes yesterday that had been languishing because of my travel and life. I wanted to look at them and match up the last circles, but instead I started appliqueing them to the blocks.

I did look at them all. Then, I did match up the small orange circles with the rest of the block, but I didn’t do as much looking and rearranging as I thought I would. I really just wanted to sew. I wasn’t lax, I was just faster than I thought I would be. I have never been much of an agonizer where it wasn’t necessary, especially with quiltmaking.

Orange You Glad example

I thought I would try and finish the top and back of this quilt and take it to Colleen as well, but then (head to desk and a big DUH) I realized that I need to wait for the parts of Julie and Adrienne’s blocks before I can go farther. Not a problem! I will use this quilt to make up the second batch of quilts I plan to take to Colleen in a few weeks. I am on another finishing mission.

Julie has a Picking favorites blog post on her blocks.


Diagonal Nine Patch Continues

Diagonal 9 Patch in process

This is a pretty easy quilt so as soon as I finished all the bits and pieces required to make Pies & Points ready for quilting, I turned my attention to the Diagonal Nine Patch. I talked about the size in my last post and, as you can see, I increased the size. I think this size will be fine, but am still reserving judgement.

With 7×7 blocks, the quilt top will be about 42 inches square and my hesitation is whether that is a large enough quilt. I think it is on the verge of being large enough, but I may want to add another column and row.

I have about 7 more blocks to go in this configuration. The issue is that I am eager to get this quilt done and move on to Orange You Glad. I also want to bring this quilt to Colleen.

Airport Art

Airport Art: description

On my way back from a recent trip, I saw some quilt art in the airport. Yes this was my first airline trip since 2019. I actually don’t remember my last airline trip.

I am always pleased when textiles get their day in the sun. While the Phoenix airport is not the Met, it is still a venue that has a lot of possibilities for people to view the artwork.

In this case, I saw a quilt and a chair with quilted and embellished elements in this exhibit.

Airport Art: Globemallow Kaleidoscope

The quilt has photos printed on it. This is not a favorite technique of mine, but I applaud the work the artist, Margit Kagerer, did on this quilt.

N.B.: sorry about the reflection. The quilt was under glass and, although I tried a lot of different angles, I could get rid of the reflection. I was playing with some photo manipulation, but haven’t succeeded in getting rid of the reflection.

Airport Art: Globemallow Kaleidoscope detail

Getting some detail shots helped and also made it easier to see what was going on in the quilt.

This quilt has a lot of detailed machine quilting.

You can also see that the piecing looks like a kaleidoscope in the flower photo, left.

Airport Art: Globemallow Kaleidoscope detail 2

I am pretty sure this is piece is not longarm quilted.

Again, this photo has a reflection, but you can see more detailed quilting in the bottom of the photo.

I am interested in what Margit’s original photographs looked like. In order to answer that question, I would have put the original photographs on the back of the quilt. I had no way to see if she did that and I don’t see more information about the quilt on the web anywhere.

This work really reminds me of the fearlessness of Friend Julie‘s work.

Get Set - Coloring Outside the Lines
Get Set – Coloring Outside the Lines

I was more interested in the chair that also has some quilted elements. I have been interested in reupholstering chairs with quilts or quilted panels since I made the Tuffets and also since I saw Tula’s Elizabeth chair* as well as her Monkey Wrench chairs.

The chair was well protected, so I had some trouble getting detail shots.

Get Set - Coloring Outside the Lines detail
Get Set – Coloring Outside the Lines detail

This chair is definitely art and not seating. The seat had beading in the flower, which I don’t think would be very comfortable.

I really like the idea of upholstering furniture in patchwork. I think it would give the furniture a unique appearance.

Get Set - Coloring Outside the Lines back detail
Get Set – Coloring Outside the Lines back detail

The artist used the entire chair for her artwork, including the back. The sun reminds me of the sun in Beach Town. I really like the thistle-like flowers. The background texture kept me looking at the piece for awhile.

I have mixed feelings about airport art, but I did enjoy seeing these pieces.


*N.B. 12 July 2022: I wasn’t able to find a photo of the Elizabeth chair, but you can see it some of her Tuesday videos. I will add the link if I am able to find one.

Last Happy Box

July 2022 (last) Happy Box arrives

I am sad to say that Natalie is ending the Happy Box subscription due to supply chain issues. I am sad even though I don’t really need most of the things that come in the box. It was really fun to receive the boxes and see what was included. I really liked the make-up/skincare products she provided. I don’t often buy those types of things to try, but when I have them in my hands, I use them.

Happy Box: Opening box

This month’s box arrived slightly smashed, but everything inside was ok.

The theme was strawberries. Natalie didn’t include an info sheet this time as I guess it wasn’t needed. Everythign was pretty self explanatory.

The first think I saw was a mini lunchbox. As you can see the front has a tomato pincushion with the little strawberry attached, so definitely sewing themed.

Happy Box: opening the lunchbox

Everything was in the little lunchbox and the various items are all strawberry themed.

Happy Box: contents
Happy Box: contents

I am thrilled with the coin purse project, because I have wanted to try creating using the metal clasp frame, but have never spent the money to buy a frame.

The pen is a smelly pen, but it smells of some strawberry like fragrance, which I kind of like. I am smelling it right now.

The strawberry fabric in the middle is actually a microfiber cleaning cloth and the fabric on the left is the fabric for the coin purse. The card, as usual, will come in handy.

I look forward to seeing what Natalie comes up with next.

Diagonal Nine Patch Baby Quilt

Peggy's Diagonal Nine Patch
Peggy’s Diagonal Nine Patch

I got this idea from Peggy at the June BAM meeting. It was so simple that I slapped my head and wondered why I didn’t think of it.

Peggy is font of good ideas. The quilt she showed was scrappy and had a rose background. It was great and made me start thinking about my newest great niece-phew. S/he is expected in October.

I wanted to make the new baby a quilt, but nothing was generating any excitement. I wasn’t finding the mix of interesting patterns, ease of construction and appeal in the millions of patterns I have. When I saw this one, I felt a flicker of interest.

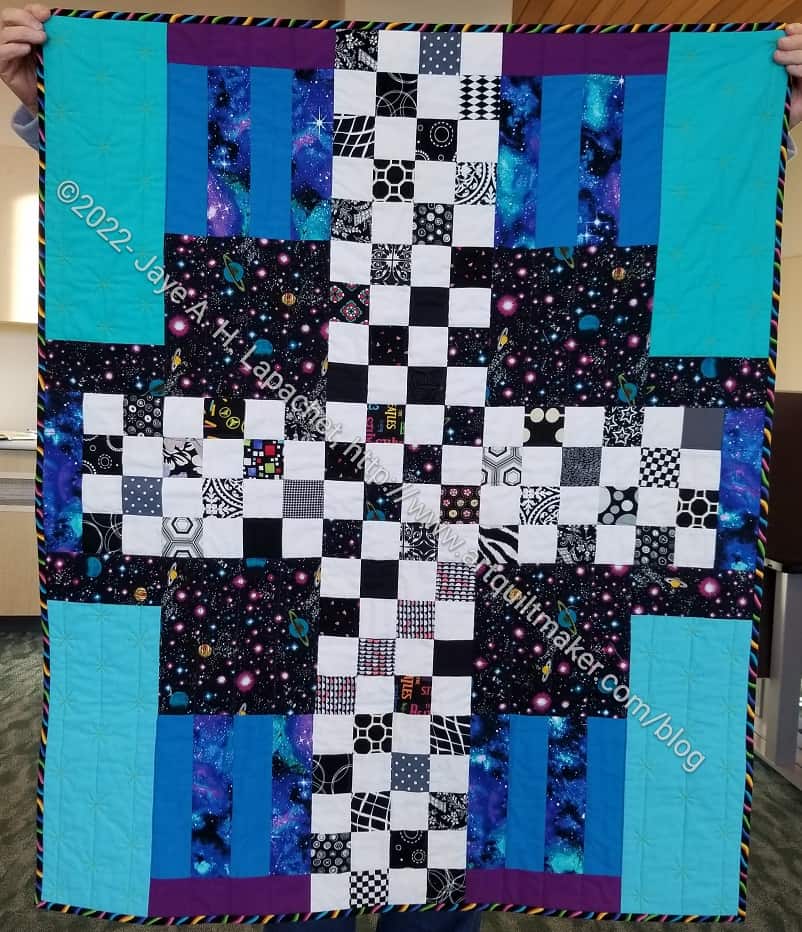
B&W Diagonal 9 Patch

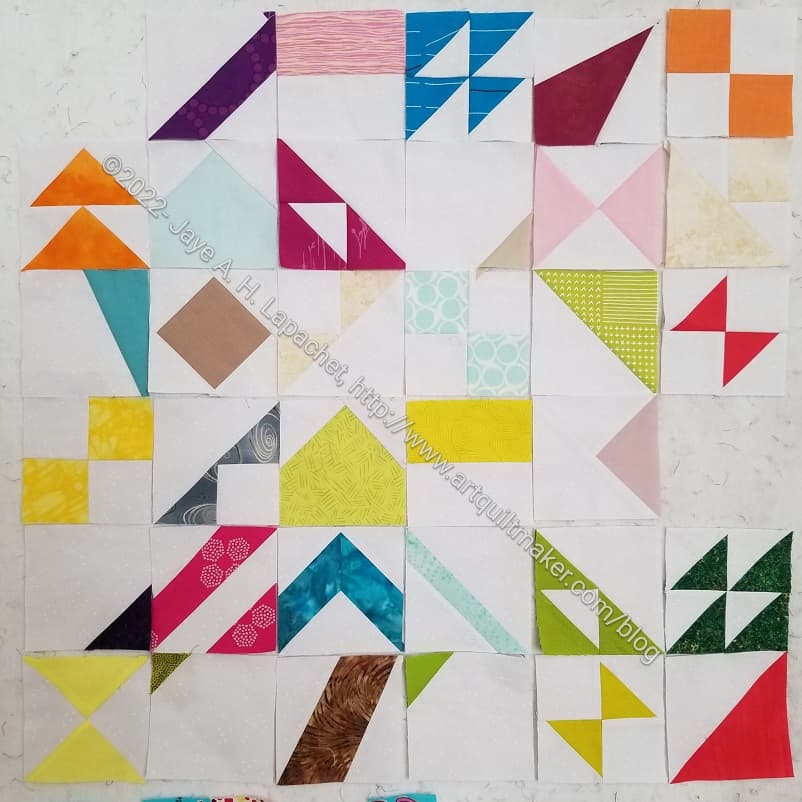
I decided to try some blocks in black and white and see what happened. I made them while working on Pies & Points.

I am really pleased with how they look. Most of the fabrics came from my bin of white on black dot fabrics. I got those out after I rummaged through my 2.5 inch square bins and pulled out all the white on black squares. Recently I have pulled out another bin of white on black fabrics to make more blocks. This is a great quilt for scraps, as you can see from Peggy’s version. Also, my black and white blocks are a controlled scrappy.

I started with the idea that I would make 18 A and 18 B blocks. I made most of the 18 blocks using the leaders and enders method while I worked on Pies & Points. Once that baby was finished, I put the Diagonal Nine Patch blocks up on the design wall. The blocks aren’t sewn together, but I decided I needed more blocks. I need to make at least one more column and one more row, but maybe two. I like generous baby quilts.

B&W Diagonal 9 Patch - A and B blocks
B&W Diagonal 9 Patch – A and B blocks

Once the blocks were pointed out to me, I could see how easy the quilt could be. The A block is highlighted on the left and the B block is in the middle. 

You can certainly use all squares, but I decided to save myself some time and figured out the size of strips I needed to use for the A blocks. It makes those blocks sew up a little bit more quickly.

The beauty of this design is that it can be made with 2.5 inch squares, 5 inch squares or any size really. One inch finished would take a lot of blocks unless you were making a doll quilt, but would be a great leaders and enders project. If you used blocks that were larger than 5 inches, it would be a great way to make a large quilt quickly. I am not sure if the design would show up very well, however.

Finished Pies and Points Top

Pies & Points top finished

The Pies & Points top and  back are done! I really could have used TFQ’s help with the piecing, but I am pleased with the overall design. Quilting won’t solve all of it’s little piecing challenges, but quilting will flatten it out and give it some structure.

I used all the blocks I made and am happy with the look. I like the Points blocks and how they look like flags. The Pies blocks and half blocks add a bit more interest and give the piece a kind of pink circus feel.

I am also happy I used a non neutral background. I like that look and need to get back to doing it more.

Pies & Points back
Pies & Points back

The back is done, too. I should have done yoga that day, but instead I pulled fabric off the background stack and made the back.

I plan to give this away so I didn’t choose any of my Philip Jacobs fabrics. I did pull some fabrics from Queen Street. I have some leftover after the BAMQG IRR and thought they would work.

The Pantone Project

Friend Julie and I started a project together. This isn’t the first project we have worked on together. We have worked on Bullseye quilt projects together, the Windmill quilts and Julie’s Tumbler quilts. I enjoy working on projects with her.

Pantone Postcards
Pantone Postcards

This project started with me asking for the Pantone Postcard Box for a gift. Friend Julie got it for me, then we started talking about doing something quilty with it.

We threw ideas back and forth, but recently we got together for lunch and laid out our guidelines. It was a lot easier to make the list when we were together, though I suppose we could have done it on the phone as well.

Pattern Play by Doreen Speckmann

We decided we would use the units Doreen Speckmann recommends in her Pattern Play book. I LOVED Doreen Speckmann’s classes. I have had the book for a long time, but Friend Julie bought it recently. It is a technique book, though there are a few patterns. Doreen shows readers how to make and use different units to make quilts look more personalized. These were the types of books that were written in the past whereas now people just write books that tell you how to make a certain quilt with certain fabric. I don’t see that I have written a book review on this book, but it might be time.

That being said, this is a block based book and, thus The Pantone Project will be a block based quilt.

“Supplies” Needed:

Decisions to Make:

    • Size of units (blocks)
    • Type of units to make
    • Timeframe for making the project
    • Timeframe for sending postcards

Every week or so we send each other a postcard. The interval is pretty random, but we aren’t letting months go by. I was on a trip recently and didn’t send any that week, but sent one as soon as I got back.

The postcards have a certain Pantone color. From the color we will choose a solid, tone-on-tone or ‘reads as solid’ fabric to use for the block.

Blossom by Christopher Thompson for Riley Blake

We decided to use the same background and bought some together the other day. We bought a cool grey called Blossom by Riley Blake. Christopher Thompson is the designer. I don’t know why it is called Blossom since there is not one blossom-y color on it. Some of the other fabrics in the line are more blossom-like. Anyway, this is a really good grey, which is now washed and waiting to be incorporated into blocks. You can see more of the design of the fabric on Julie’s blog.

Our units will be 4 inches finished (4.5 inches unfinished).

We will make two blocks, plus cut two squares and send one block and one square to the other person. At the moment, I am behind and won’t be able to get started until later this week or next week. Julie has a nice picture of the postcards I have sent on her blog. She also made one block already. I need to get busy, and will soon.

I hope you find a friend and play along.


Resources:


**Obviously, you should shop at a local quilt shop. However, I use affiliate links and may be paid for your purchase of an item when you click on an item’s link in my post. There is no additional cost to you for clicking or purchasing items I recommend. I appreciate your clicks and purchases as it helps support this blog.

Book Review: Simply Modern Patchwork Quilts

Carina Gardner's Simply Modern Patchwork Quilts: 12 Posy Garden Quilts and Sewing Projects for the Beginning QuilterCarina Gardner’s Simply Modern Patchwork Quilts: 12 Posy Garden Quilts and Sewing Projects for the Beginning Quilter by Carina Gardner

I received this book for free as an affiliate of Creative Fabrica. It is a self-published ebook, which you can find on the Creative Fabrica site. I was able to download it as a PDF, which opened with no problems in my normal PDF viewing software.

The table of contents contains an Introduction, Guest Pattern Designers and then Patterns in Section 1 and Finishing in Section 2 (pg.4).

In the Introduction, Ms. Gardner talks about how she came to quiltmaking and relays that she designed a fabric line for Riley Blake which debuted in 2016 at Quilt Market in Salt Lake City. She names the guest designers who are all new to me. There are brief bios of these designers on page 6.

Patterns start immediately with a design called Modern Granny Pillow. This design, made with larger squares, could be a donation top design really easily. The pattern is 3-4 pages long. The page numbers disappear when the patterns start.

An eBook makes it hard for me to flip through and decide on my favorite pattern. I like the first pattern for the possibilities. The second pattern, however, a Sawtooth Star mini quilt, appeals just because I love Sawtooth Stars. Gardner calls the pattern “Clean Star”.

The patterns use a variety of different techniques. The Starburst Paper Pieced Pattern is paper pieced and the paper piecing patterns to make the project are included right with the text, not at the end of the book, as with most commercial publications. That is a nice feature. I notice that there is no ‘square’ included with the paper piecing pattern to help readers figure out the size. Of course, you can make it whichever size you want.

Some great quilting is shown in the Garden Prairie Mini Quilt by Christine Cook. This is the last pattern in the book and does not include instructions for quilting.

All of the patterns are fairly easy and very appealing, especially when using bright fabrics contrasted with bright whites or cool greys. More traditional calicos and even Civil War prints would look good, too.

Section 2 about finishing starts immediately after the patterns. The first part talks about backing. The author discusses how much is needed depending on the type of quilting. She also talks about how to finish pillows and discusses challenges with ending up with different sized projects.

The Binding subsection follows. Ms. Gardner makes clear that she cuts all bindings on the straight of the grain. She mentions bias binding and how it stretches, but does not compare the two types of bindings or enumerate the benefits of bias binding. In the book, they are considered equivalent.

Ms Gardner shows how to bind a quilt including creating a mitered corner and creating an invisible join. The Finishing section also talks about piping. I have not seen piping included in very many books I have reviewed. She uses width-of-fabric (WOF) strips whereas I might use bias strips. Clearly WOF strips have worked for the author.

There is no supply list for this section and I think that might be helpful because she springs the fact that the reader needs a zipper foot midway through the process. Still, the instructions are basic, but clear and make me want to try piping again.

There are two full quilt patterns in the book as Easter Eggs (like in video games). Both are expanded from other projects in the book.

If you need quick, satisfying and relatively easy patterns, this book will satisfy your desire. Pull some favorite fabrics out of your stash and any loss of sewing mojo will be quickly restored.

View all my reviews