This bag has taken a long time to finish. I am not sure why, because it came out really well and I really like it.
It is quite a large bag, for one with a handle. The finished size is 12.75 inches in length x 6 inch tall by 5.75 inches deep.

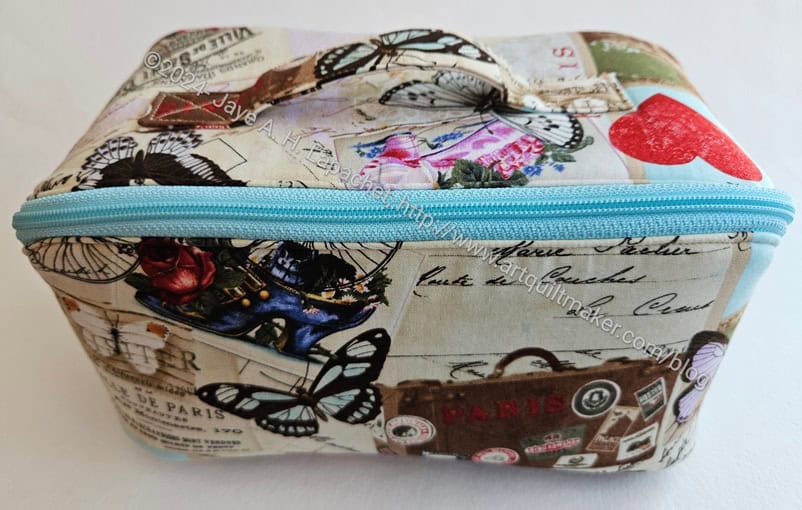
I am pretty pleased with my fussy cutting. The fabric I chose, a Heather Bailey print called Aflutter in pink. I find it very cheerful. It is from an old line, so I don’t know if you can find it again.
I worked really hard on lining up the birds on the top and in the front panel. I can’t remember doing that kind of fussy cutting before. Sara models fussy cutting on her sample in the pattern.

I think the little bit of top stitching on the back looks really good as well. I used pink for most of the topstitching, but there is also a bit of white as well.
I like the plethora of birds on the back.

Remember I said that I thought the dividers were unnecessarily complicated? They weren’t. They now seem super useful. I am glad I took the time to follow the directions and make them. I wonder if I could (should?) put another mesh pocket on the other side of the divider?
I don’t often use Velcro and this application went better than expected. I seem to remember sewing Velcro in the past and having it stick to the bed of the machine or the foot or something. I had no trouble sewing it this time, which was a relief. I think the design using the movable dividers, works very well.

I found a good place for my label, as well. It is not really hidden at all. I like the placement.
I also like how open this bag is. It is like an ‘open-wide/wide mouth bag. I am able to see everything inside.
Side note: when I went to get a label for this bag, I realized I only had two Wunderlabels left. Another thing for my To Do list.

I was pleased with the way the front pocket came out. I think the elastic technique worked out very well. I haven’t tried using it for thin tools, but I will. One thing I was thinking about the design is that the tools stored in this pocket would be available without opening the main zipper. I think that would be a good thing.
I plan to use this bag for notions to take to Sew Day and Retreats. I plan to place it inside the Crafty Carrier . I am not sure how I will use this large open space with the movable dividers. I need a lot more space for long thin tools like pencils, tweezers, etc. Rotary cutters will go well in the mesh pockets, I think.