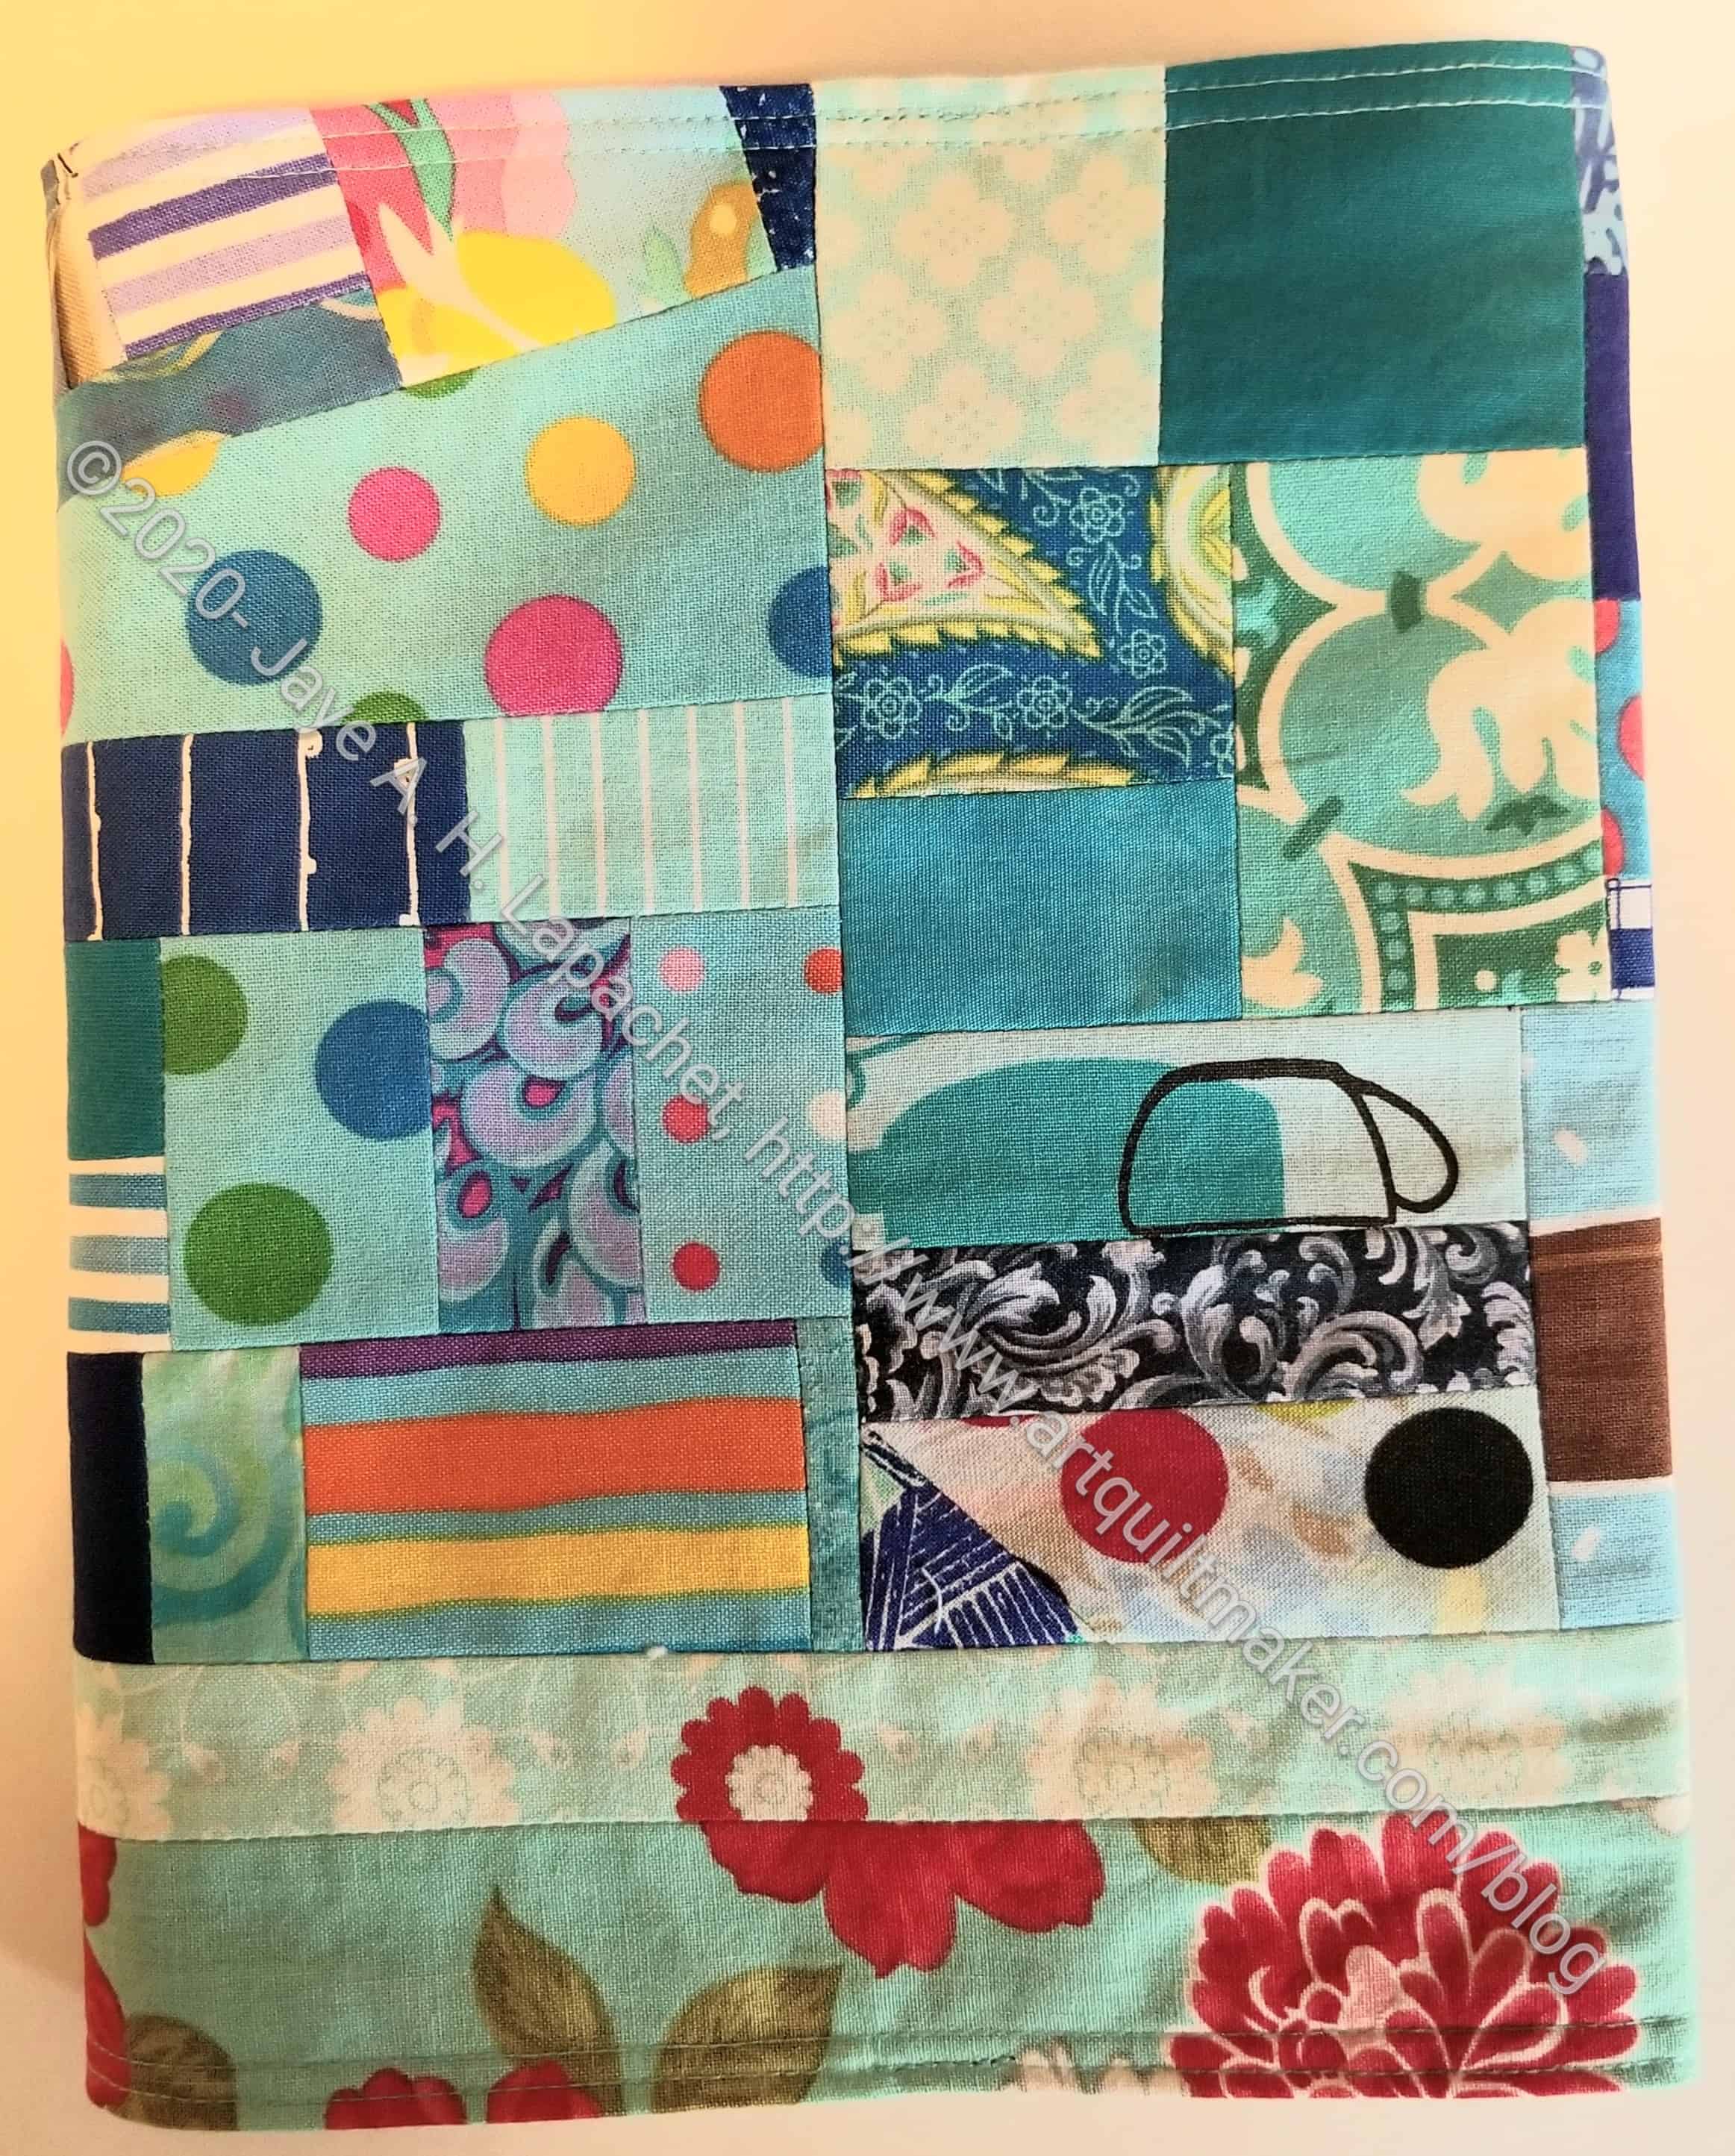
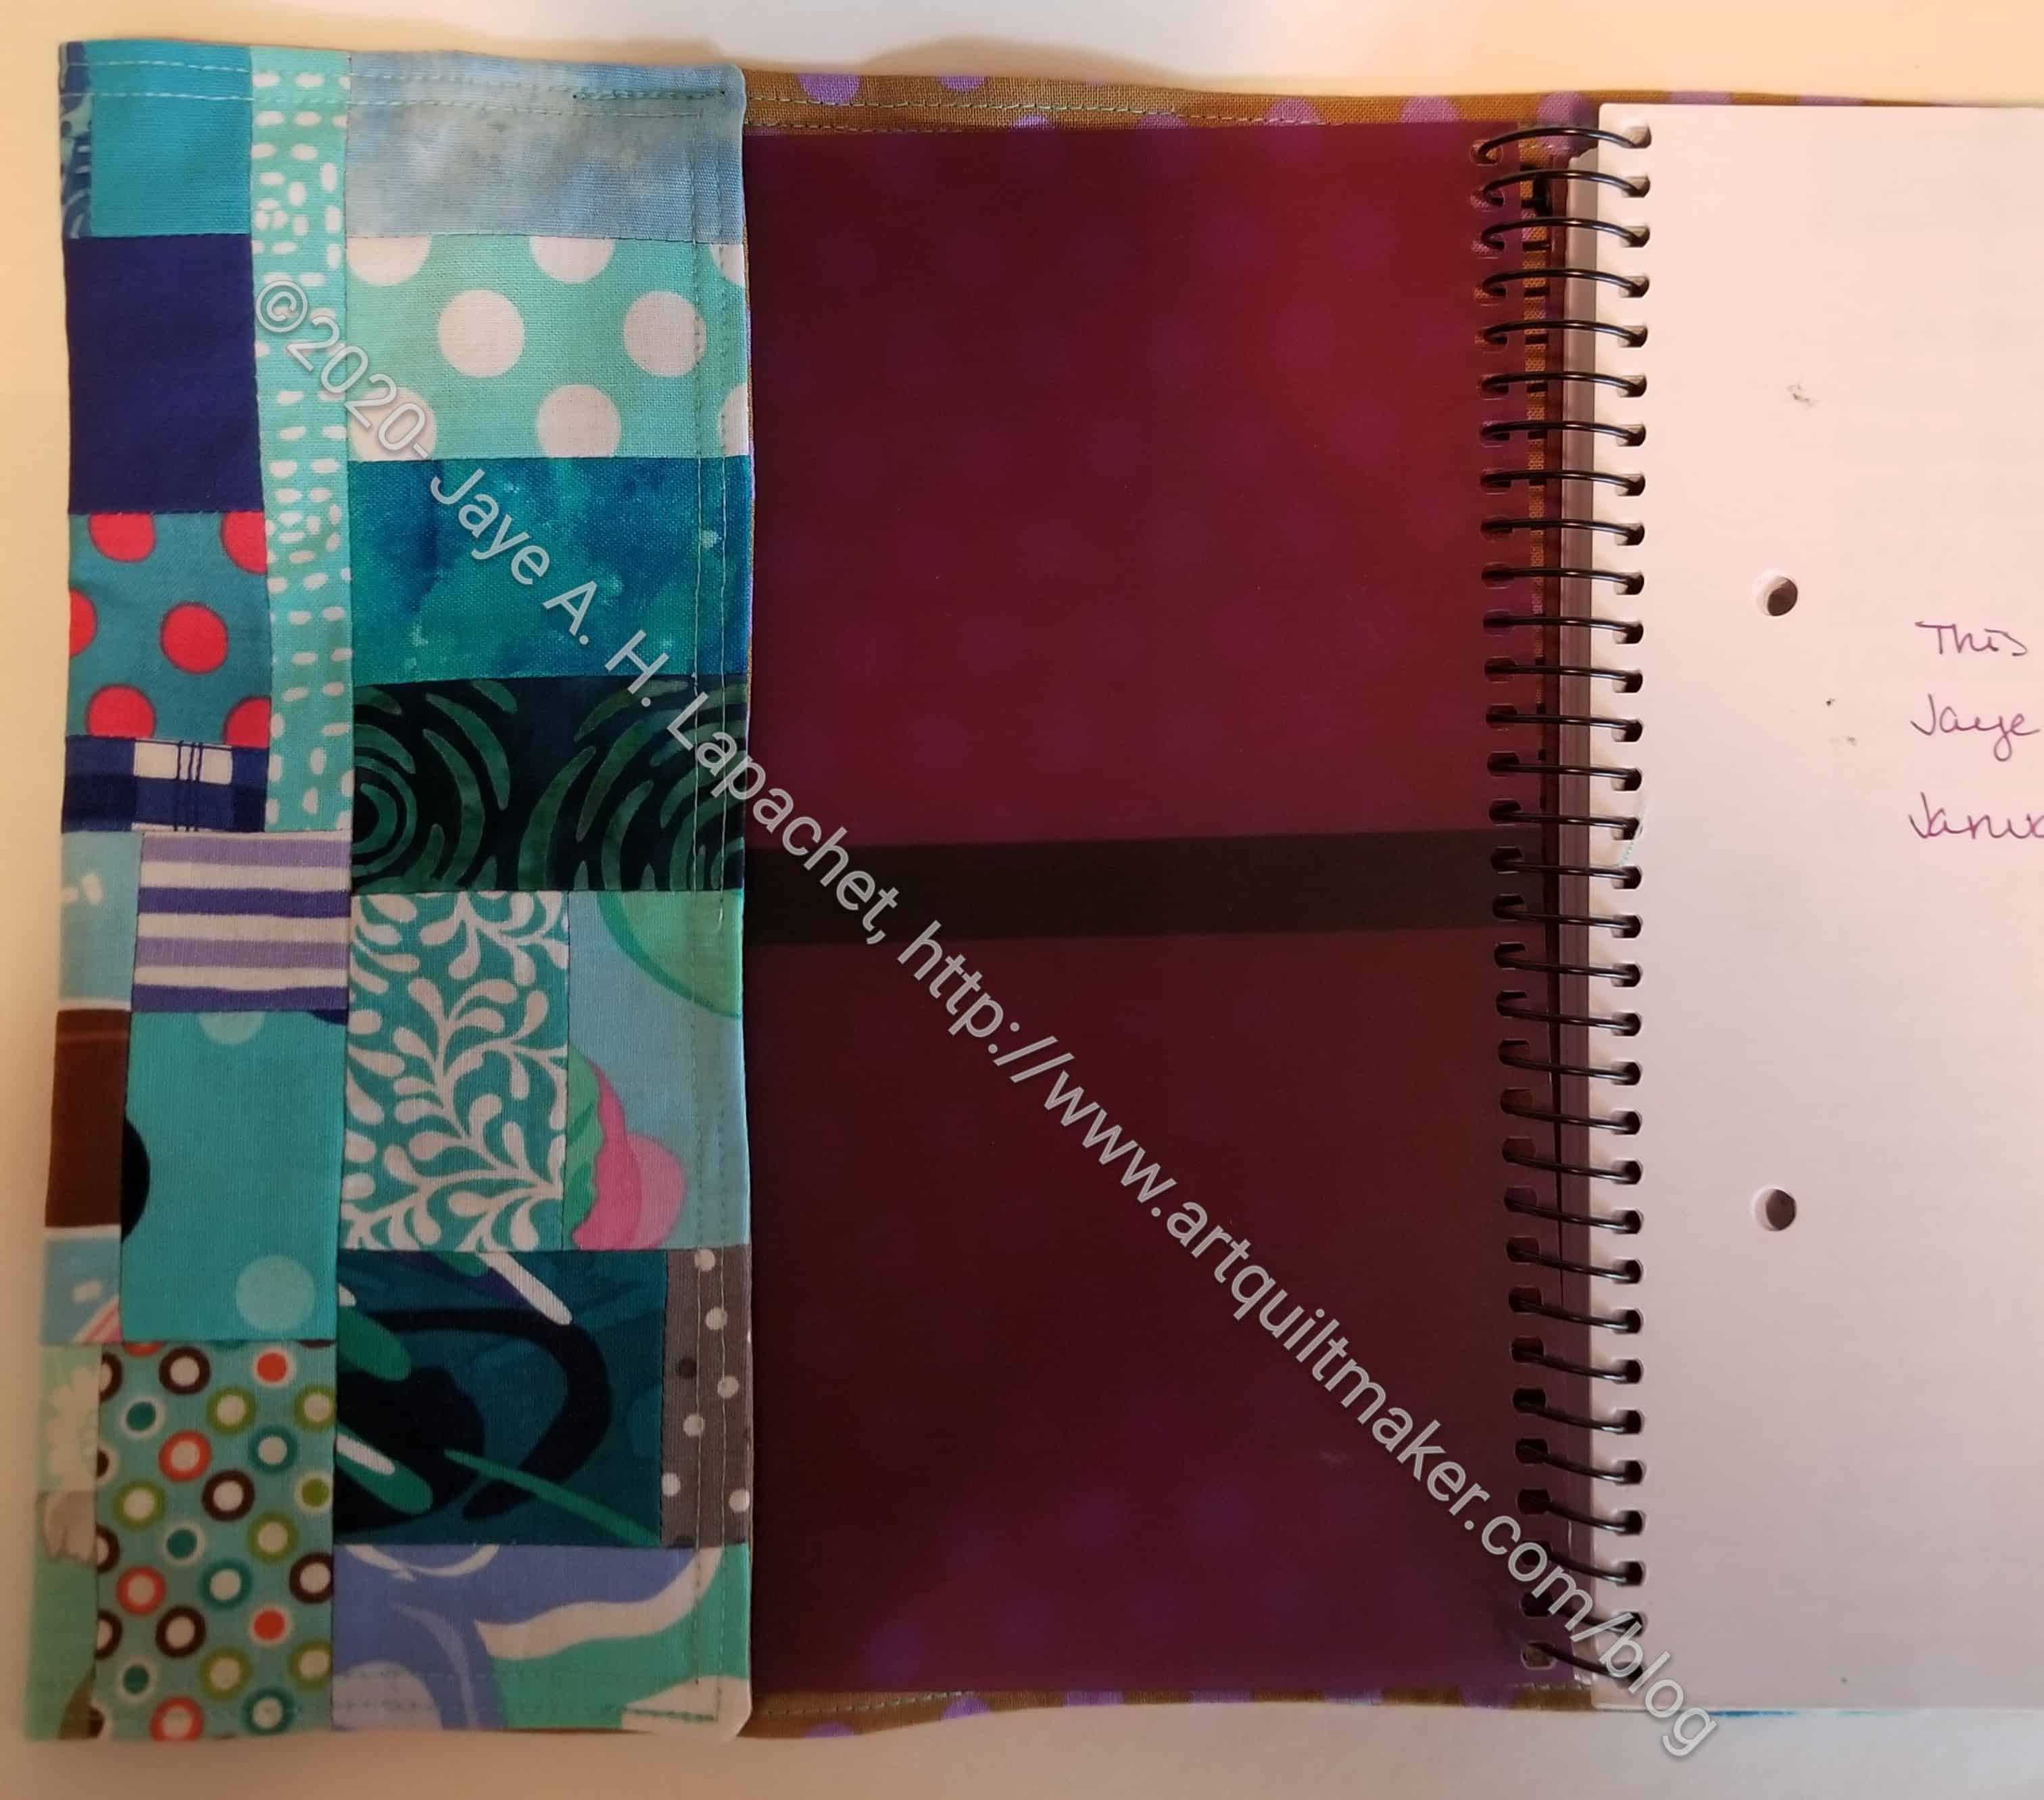
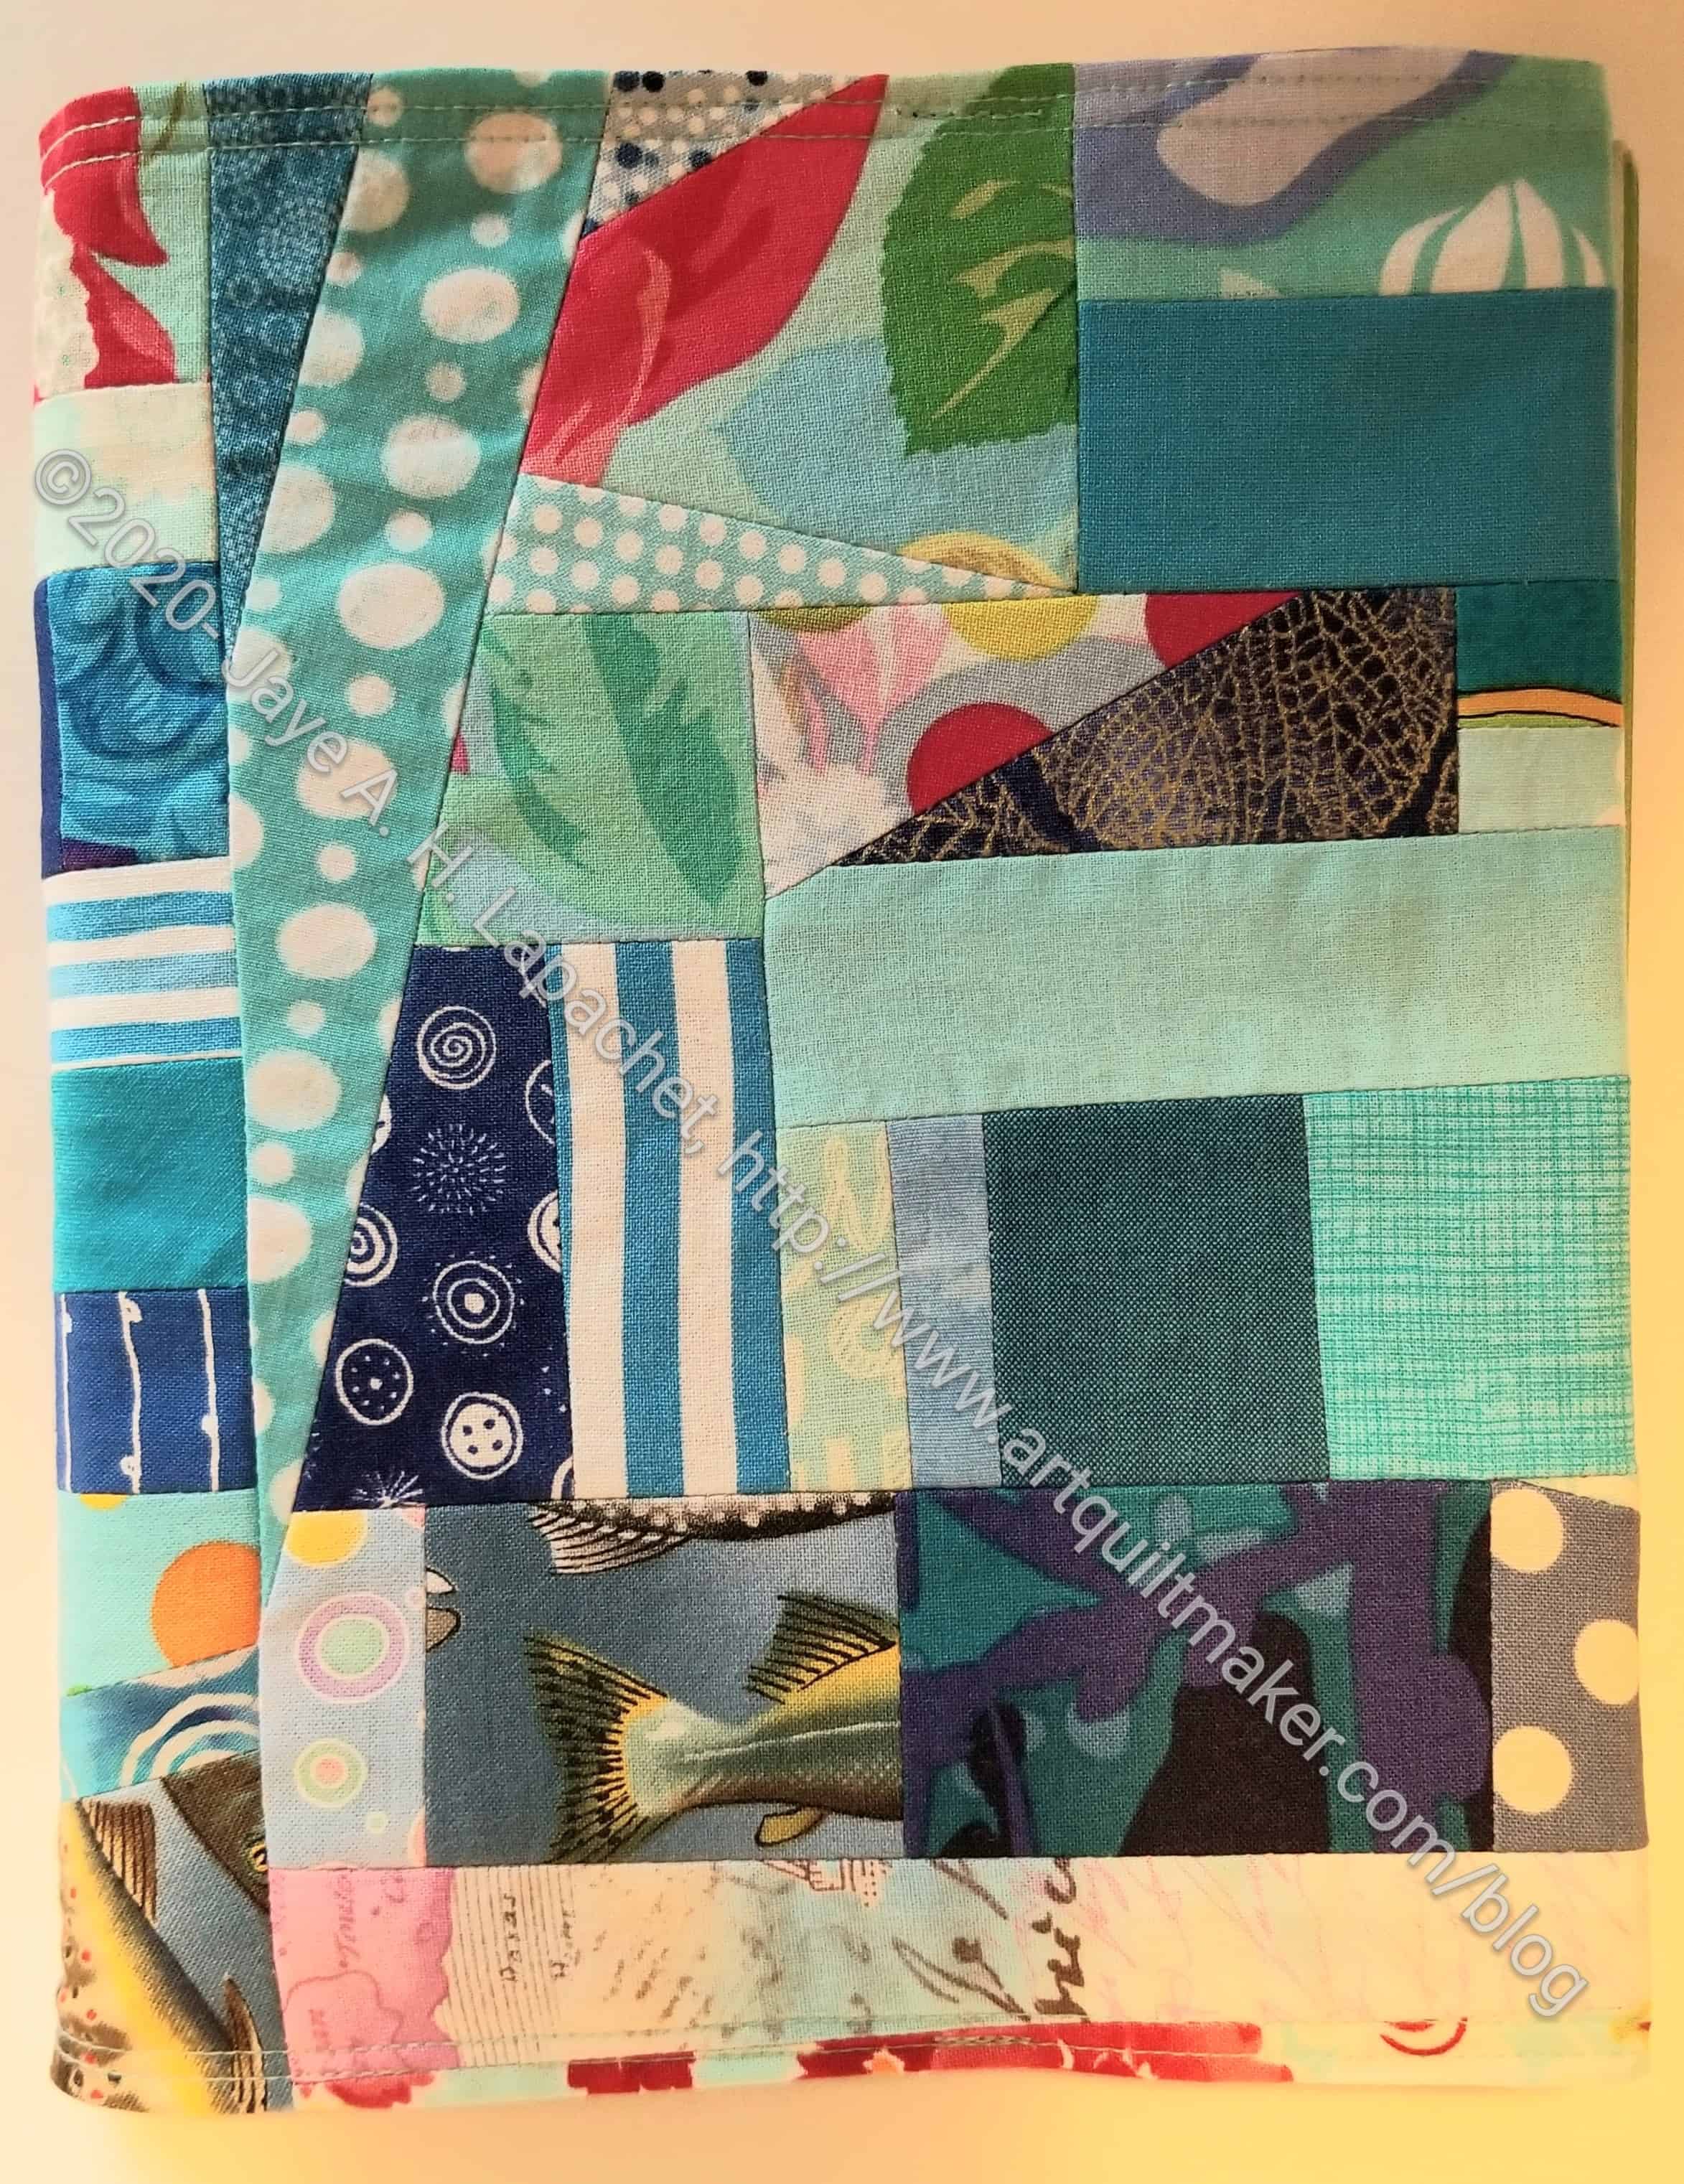
More Raffle Items

I have said before that my guild Raffle Team is awesome. They continue to show their amazing willingness to continue to make things for the raffle baskets.

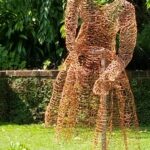
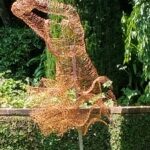
Carrie's Raffle Bags
Carrie’s Raffle Bags

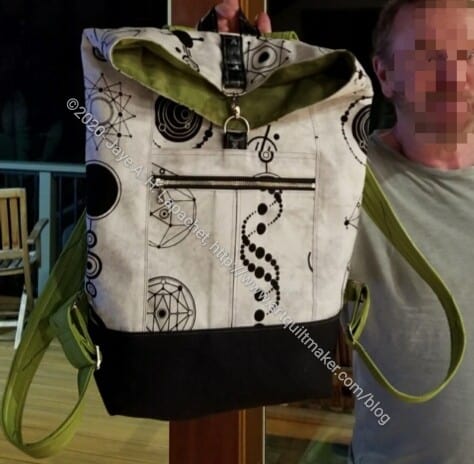
Carrie sent me a photo of two bags she made for the team last week.

I will fill these, when I receive them, with the other goodies and the whole package will be given to two lucky winners.

I haven’t seen these bags in person, but they look like they have wonderful texture.

Inside Outside Pouch

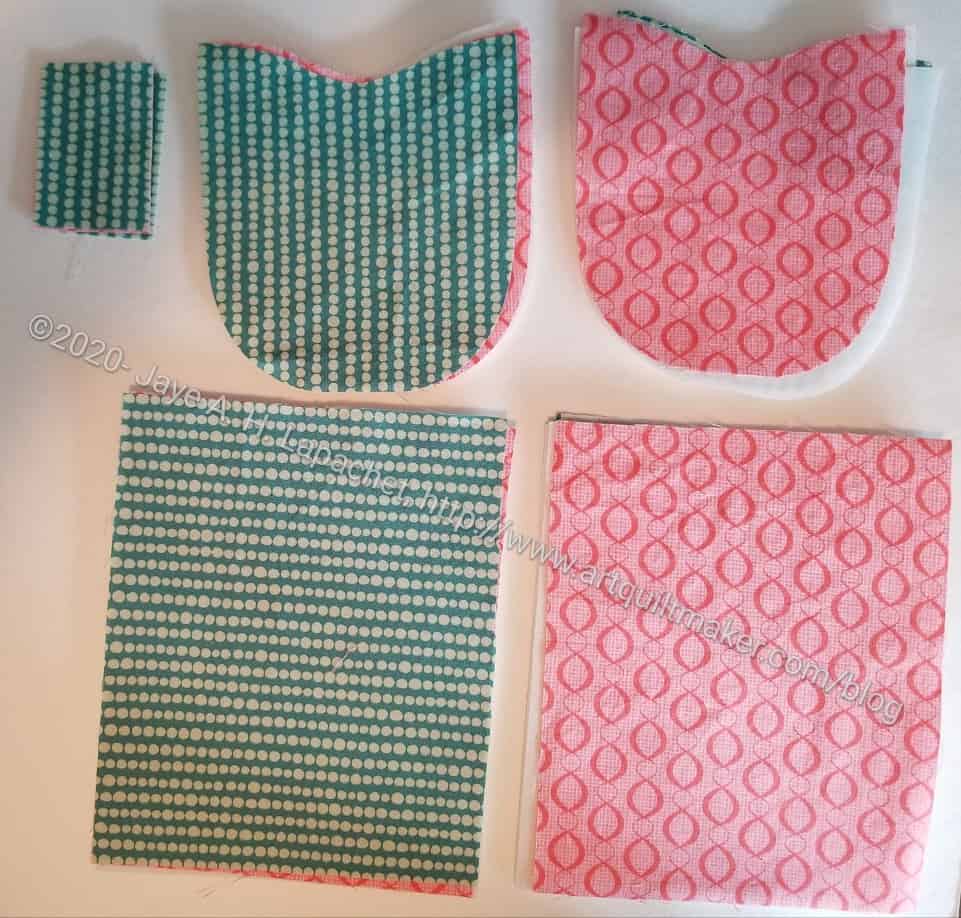
Inside Outside Pouch in process

After making the Boxy Clear Pouch, I decided to try the Inside Outside Pouch. I was so pleased with how quickly the Boxy Clear Pouch went together that I thought 2 additional zippers wouldn’t be so bad. I am still working on small projects while I wait for my design wall materials to arrive.

I cut the pieces out during Virtual Craft Night on Monday and felt like it didn’t take much time at all. I think I felt like I was cutting out similar pieces to the ones I cut for the Boxy Clear Pouch.

On Tuesday night, I started sewing right after work and spent about an hour on the project. I really got a fair way into the process before I stopped because it was getting late.

There are many aspects of this project that are the same as the Boxy Clear pouch so it feels like I am reinforcing skills or pattern steps that I did the other day. also, I think I am used to working on the complicated (but fabulous!) ByAnnie patterns and this one is much easier, though just as effective.

I did not want to stop working on it. I was having such a good time and making such good progress that I wanted to keep the feeling going. I may be able to finish tonight. Then I may have to start working on a second version!!!

Boxy Clear Pouch pt.2

Boxy Clear Pouch
Boxy Clear Pouch

I talked about the Boxy Clear Pouch yesterday. I realized I had more to say about this project, which surprised me since it is a small project.

Boxy Clear Pouch - zipper end detail
Boxy Clear Pouch – zipper end detail

One of the things I liked was the finishing on the zipper.  On the stop end, the designer, Aneela Hoey, has the maker stop 5/8 inch from the end. I didn’t know why, but realized that it was to accommodate the zipper draping over the end of the pouch.

Boxy Clear Pouch - inside detail
Boxy Clear Pouch – inside detail

In general, I try to avoid zippers hanging over the end of a pouch, but this pattern’s design makes me realize what the designer is trying to do.  Utilizing a long zipper makes the pouch into one that opens wide. This means that things can’t get hidden inside. Somehow I didn’t realize it or realized it only briefly and then forgot.

Boxy Clear Pouch - zipper detail
Boxy Clear Pouch – zipper detail

I could have done a bit better job on the beginning of the zipper, but, again, Ms. Hoey does a great job with the design. The beginning of the zipper is far enough back so the binding doesn’t get in the way and there is no issue with sewing through a million thickness layers on the end.

My one criticism, which is the same criticism I had with another one of her patterns, Speedy Pouches, the binding ends. The designer doesn’t really say what she does to tuck in the ends. I cut them off and tucked them in as well as I could to make them even with the top edge of the pouch, then I handstitched them down. I’ll have to take a look at her website to see if she ever talks about it.

The one thing I did wrong, which ended up not mattering much, was switch the lining and the exterior fabric. The pieces were fairly uniform and the pouch ended up looking fine with the lining fabric on the outside.

I am pleased, as I said, with how this project turned. The pouch was larger than I expected even though I made the small size. I would have liked an even smaller version

Boxy Clear Pouch

Boxy Clear Pouch
Boxy Clear Pouch

I finally broke into my stash of Aneela Hoey patterns. I have one of her books, Stitched Sewing Organizers** and a couple of her patterns. I hadn’t made anything from any of them. Recently I started thinking about the various patterns I have that I have not made. I decided, while I am waiting for the parts for my design wall, to concentrate on some small projects. Since I had been talking about the Aneela Hoey patterns with Angela, I decided to make the Boxy Clear pouch.

This whole project took me about 4 hours of work. I didn’t rush because I didn’t expect to get this project done in one sewing session. However, I was able to finish it!

The directions are very clear and the drawings help a lot. I did have to read over the directions a few times as I made the pouch, but everything was pretty clear as long as I went slowly.

The pattern comes with two sizes and I made the small size as I thought I might want to use one for my bias tape makers. It turned out to be larger than I thought it would be, though I may still make one for the bias tape makers. I have to put them somewhere, after all!


**I use affiliate links and may be paid for your purchase of an item when you click on an item link in my post. There is no additional cost to you for clicking or purchasing items I recommend. I appreciate your clicks and purchases as it helps support this blog.
Face Mask Pseudo Success

DH Plaid mask
DH Plaid mask

I finally had some success with face masks over the weekend. This has been an ongoing problem for me. Not because we don’t have masks, but because I feel bad that I haven’t been successful.

I think I needed to find the right pattern. This one seems like it might work for me.

Mask Testing
Mask Testing

The pattern I used is a video pattern and was recommended by a quilting friend. She has the same glasses problem that we have. While I still have some things I want to adjust, this is the most successful I have been with masks so far.

One thing I need to play with is the edges where the elastic attaches. I am not convinced the raw edges are sufficiently closed. I played around with different ways of dealing with them and still have not found the best method.

The one above with the purple plaid on the top has a nose piece in it. I was annoying DH with trying on masks (they are for him after all) and he wanted to play around with the nose piece before he pronounced judgment.

Thanks to Friend Julie for the nose pieces.

Plaid Top Finished

Plaid Top Complete
Plaid Top Complete

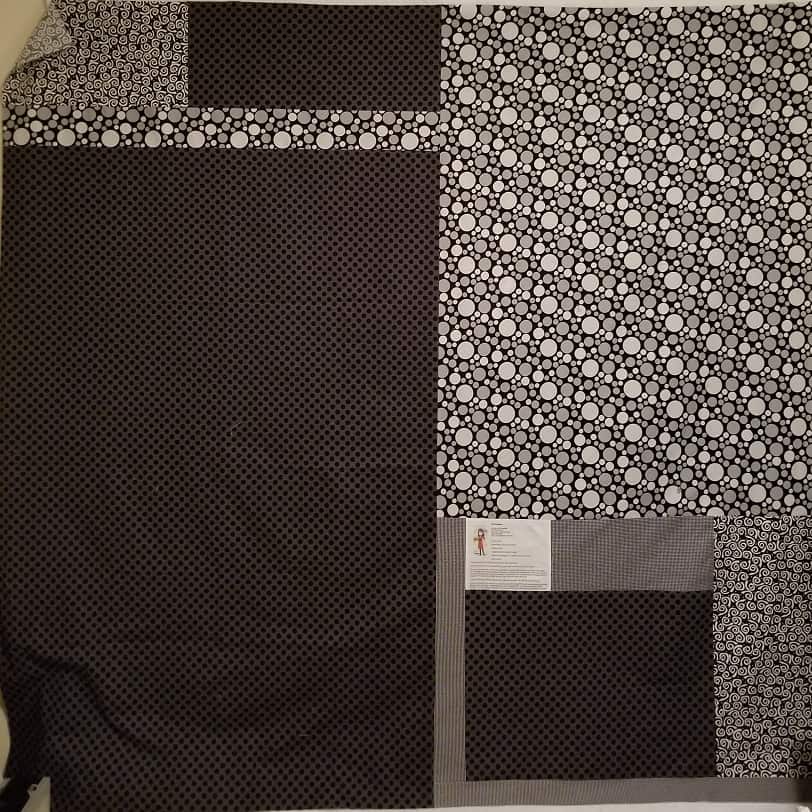
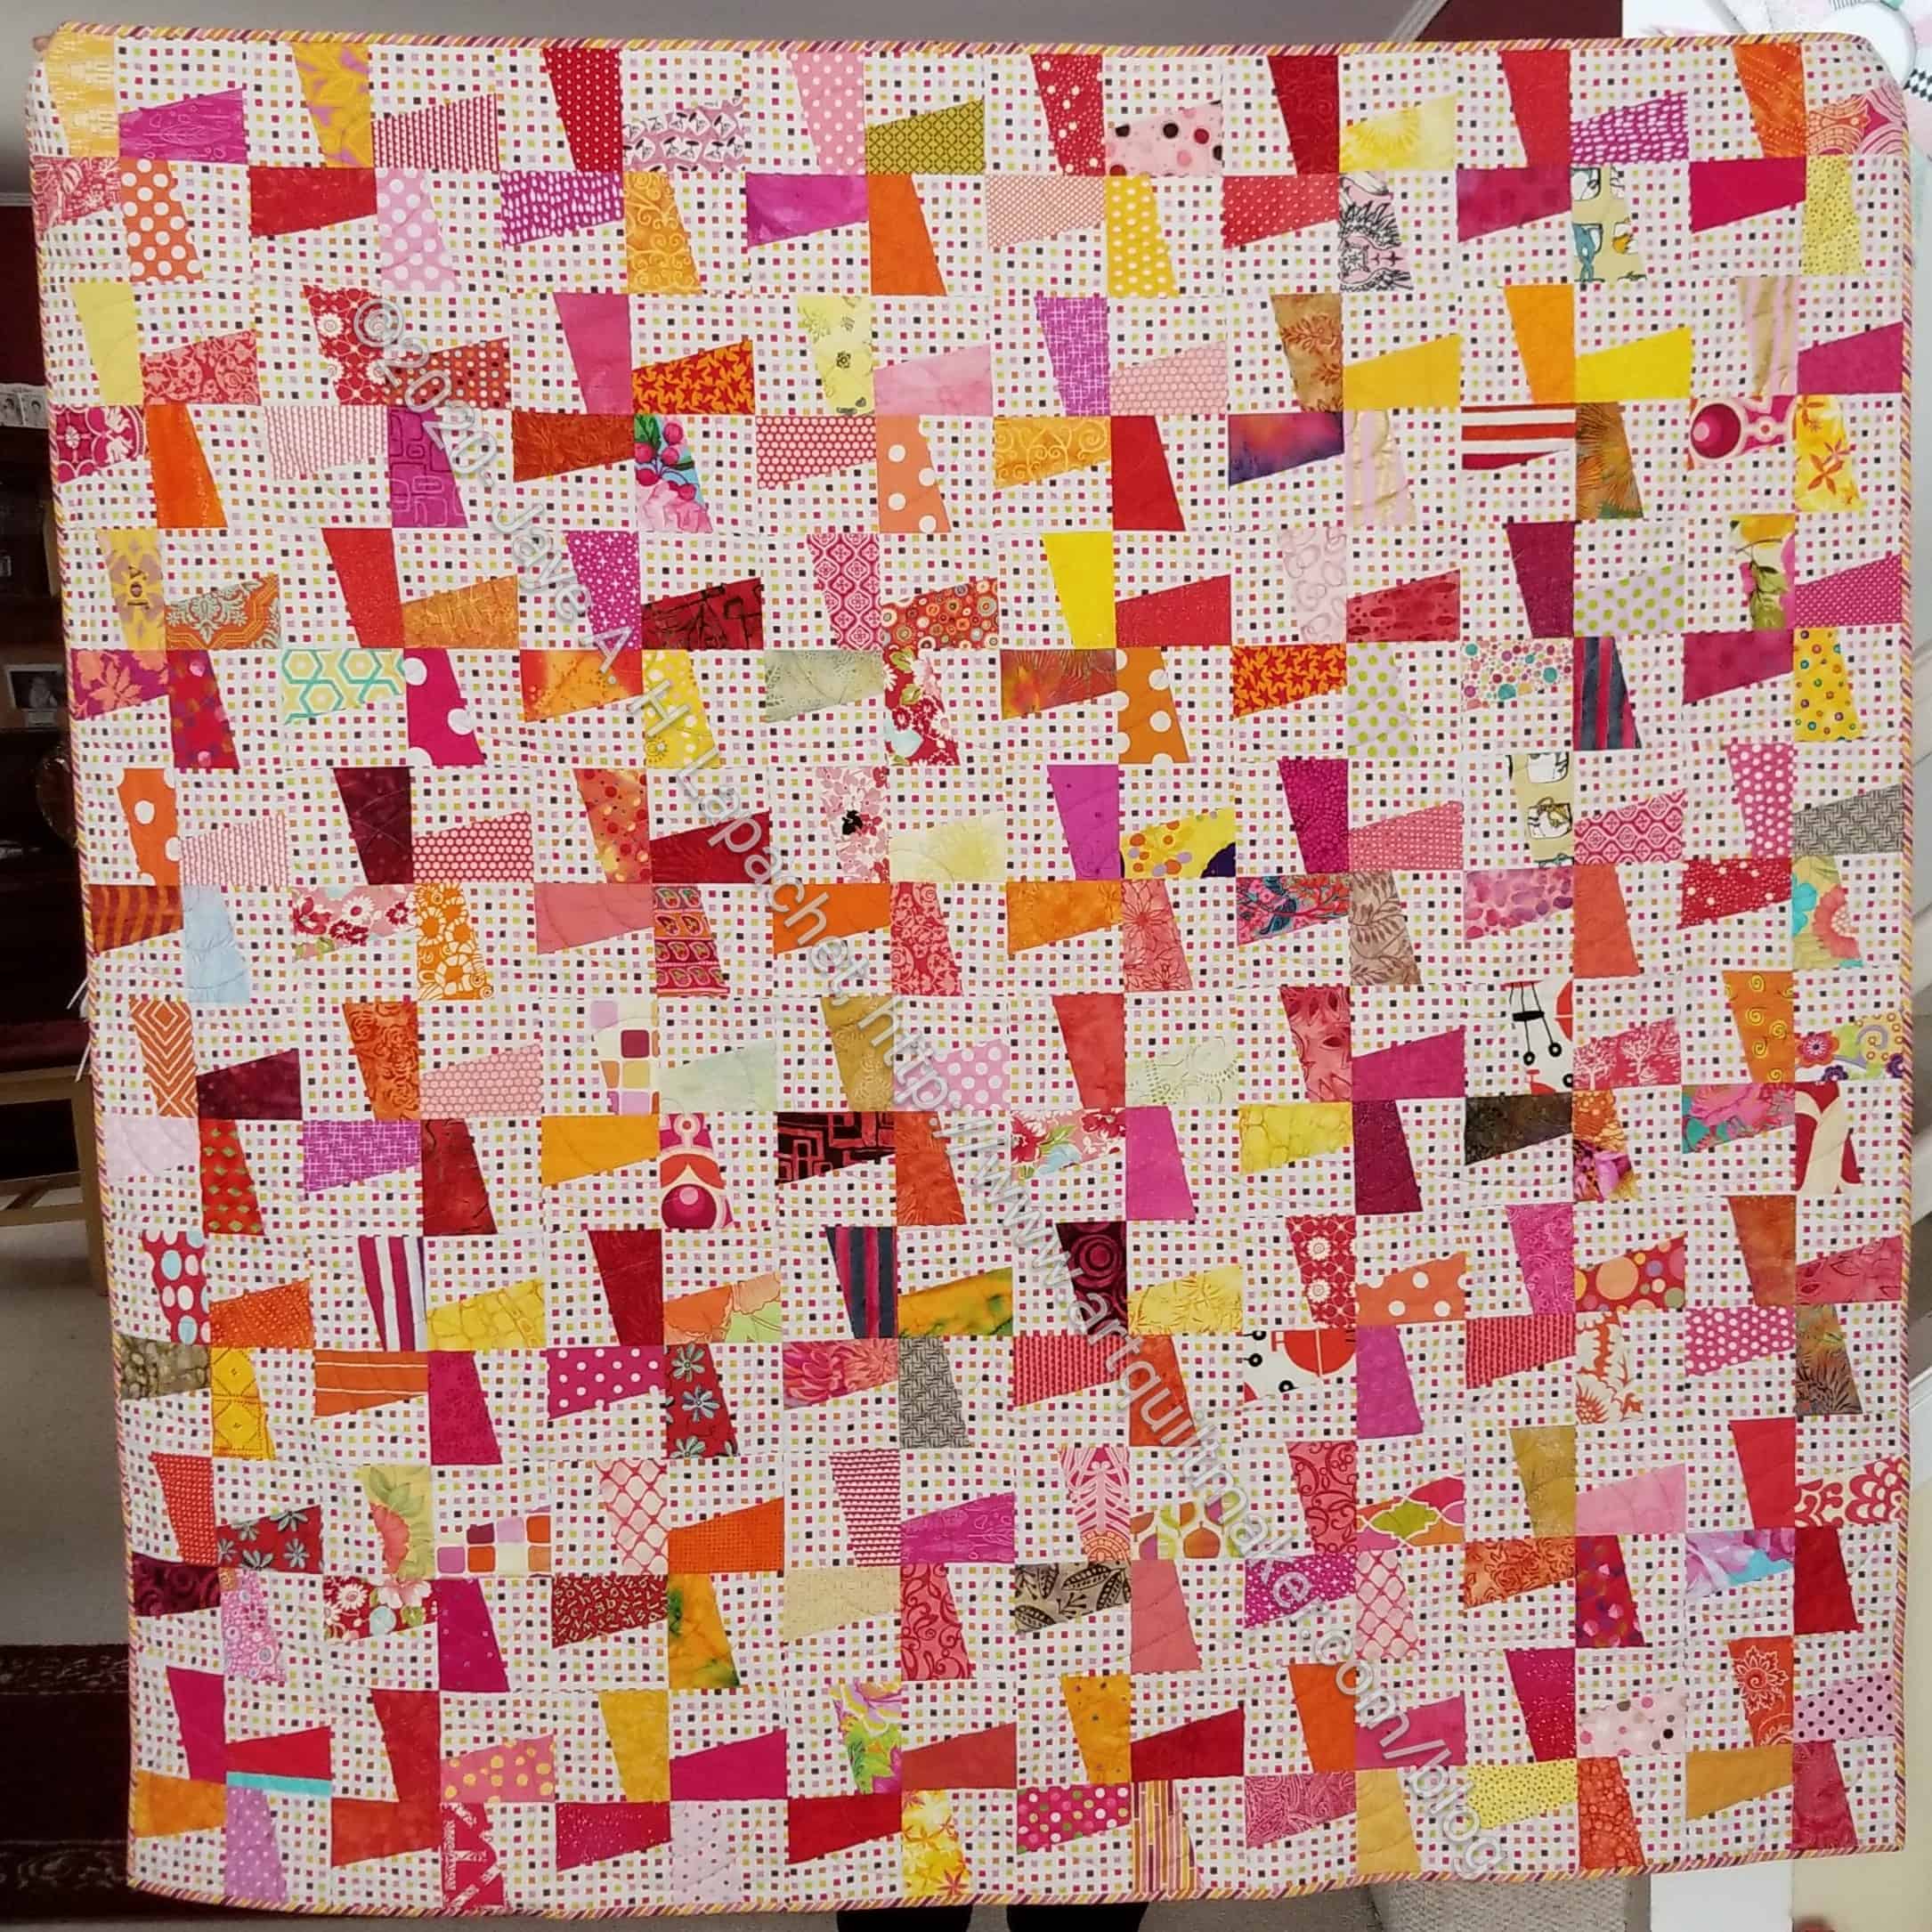
I spent some time working on sewing the plaid blocks together. I was able to finish the top with only a minimal amount of irritation. There are a few places where I would have changed the blocks if I had been able to see them on the design wall, but didn’t and am not unsewing.

In general, I am pretty pleased with how the piece looks. The yellow is pretty well distributed over the top, so it helps the eye to move around. Now on to back and binding!

More Plaid

6 Plaid Blocks
6 Plaid Blocks

I am well on my way to having the top of the Plaid Quilt finished.

I spent concentrated time last weekend sewing these blocks and finished all I need for the quilt top.

5 Plaid Blocks
5 Plaid Blocks

As mentioned, these blocks are quick to put together, but a binding and back also need to be done.

We’ll see how I do without a design wall. My felt is still in transit and will arrive next week.

My Creative Type

The Maker Creative Type

Friend Julie posted a quiz to tell creativity types. I am always curious about what these quizzes say about me.

Apparently, my type is The Maker. The image associated with The Maker looks a bit geezerly. It moves on the website, which is kind of cool.

Some of the questions forced me to think hard. I often had to select something that might have been more of an ‘it depends’ answer, if that had been a choice.

In reading the essay associated with my creative type, I think that what it says is true. I do like to focus on my own process. While I enjoy events like Sew Day, I plan carefully so my task fits in with my creative goals.

The Maker

I do think what the test says about my biggest challenge is true: “Your biggest challenge? To connect more deeply with your intuition and emotions in order to bring forth ever more authentic and original work. Productivity is only half the equation of doing great work—the other half is inspiration. Creating the space to dream, imagine, and play can keep your work from becoming rote and mechanical.” I often want to make a pattern. My normal process would be to make the pattern as close to the original as I could. As I make the piece, it becomes more a part of me, or I become more engaged in it and find things I would like to change. I have a lot of things on my to do list, so I don’t always make a second or third version. Looking that this essay, I might have to consider rethinking and moving towards making projects multiple times more often.

Of course, this test could just be made up bull&*^% trying to get my information. I like to think there is some truth in it.

26 Projects 2020 #5

I am still doing well on my goal to using 100 yards of fabric. I have used 42 yards so far this year. I bought a few yards last week, so that is keeping me from being at 50 yards halfway through the year.

I decided to include quilts, like Frolic! when they are completely ready to go to my longarmer. In reality, that is when I am pretty much finished with a quilt. Of the total used, 32% was used for charity projects.

In looking at some of the projects, especially the gifts, it seems like such a long time ago that I made them. I guess this is what people are calling ‘pandemic time’ when March had 5,8270 days and April had 8,322.

Finished 2020 Quilt Projects

Despite adding non-quilted projects to my fabric usage tally, I am not adding them to this section. This section will continue to be for completely finished quilts. To date, I have two ready to go to the quilter, but I don’t know when that will be. I am pretty sure I will have 3 ready pretty soon.

Finished 2020 Non-Quilt Projects

This category covers bags, toys, aprons and knitting as well as other non-quilt projects.

Doing Good

In Process
The ‘In Process’ is used to denote projects on which I am actively working or are on the design wall waiting for me to stitch. I try not to put away projects, because that will ensure I never work on them.

Small Projects to Make or in Process

Most of my progress involves thinking or just cutting.

  • One Hour Basket for organizing my decks of cards – Creative Strength, mindfulness, etc.
  • One Hour Basket for my stuff that tends to accumulate on the dining room table
  • One Hour Basket for DH’s stuff that tends to accumulate on the dining room table
  • Retreat Organizer – another project from the Crafty Gemini Organizer Club, also on my list, but not yet started
  • Ultimate Project Organizer – another project from the Crafty Gemini Organizer Club, also on my list, but not yet started
  • Officer gifts for January 2021 – have the pattern and the supplies. Need to start so these are ready and I am not scrambling at the last minute
  • Ultimate Carry All Bag – Bag-a-Long for BAM – I have the pockets made and need to figure out the next step, which is the front pocket and work on it.

Handwork

I decided that some of my projects are in a different class because they are hand piecing or embroidery or beading. They take longer. Thus I created a new category and have moved some projects here.

  • English Paper Piecing Project– half hexies – I have been making slow, but steady progress. I am adding another dots on white row to the piece to make it larger. I am getting a little sick of it and thinking that I will just accept the size, square it up and finish it.

Ready for Quilting

In the Quilting Process

In the Finishing Process

nothing now

Still WIPs
I still have WIPs. Who doesn’t, after all? A project in the ‘UFO’ category means I am stalled. A nicer way of saying UFO is a WIP. The list is a lot shorter and the projects are newer, for the most part.

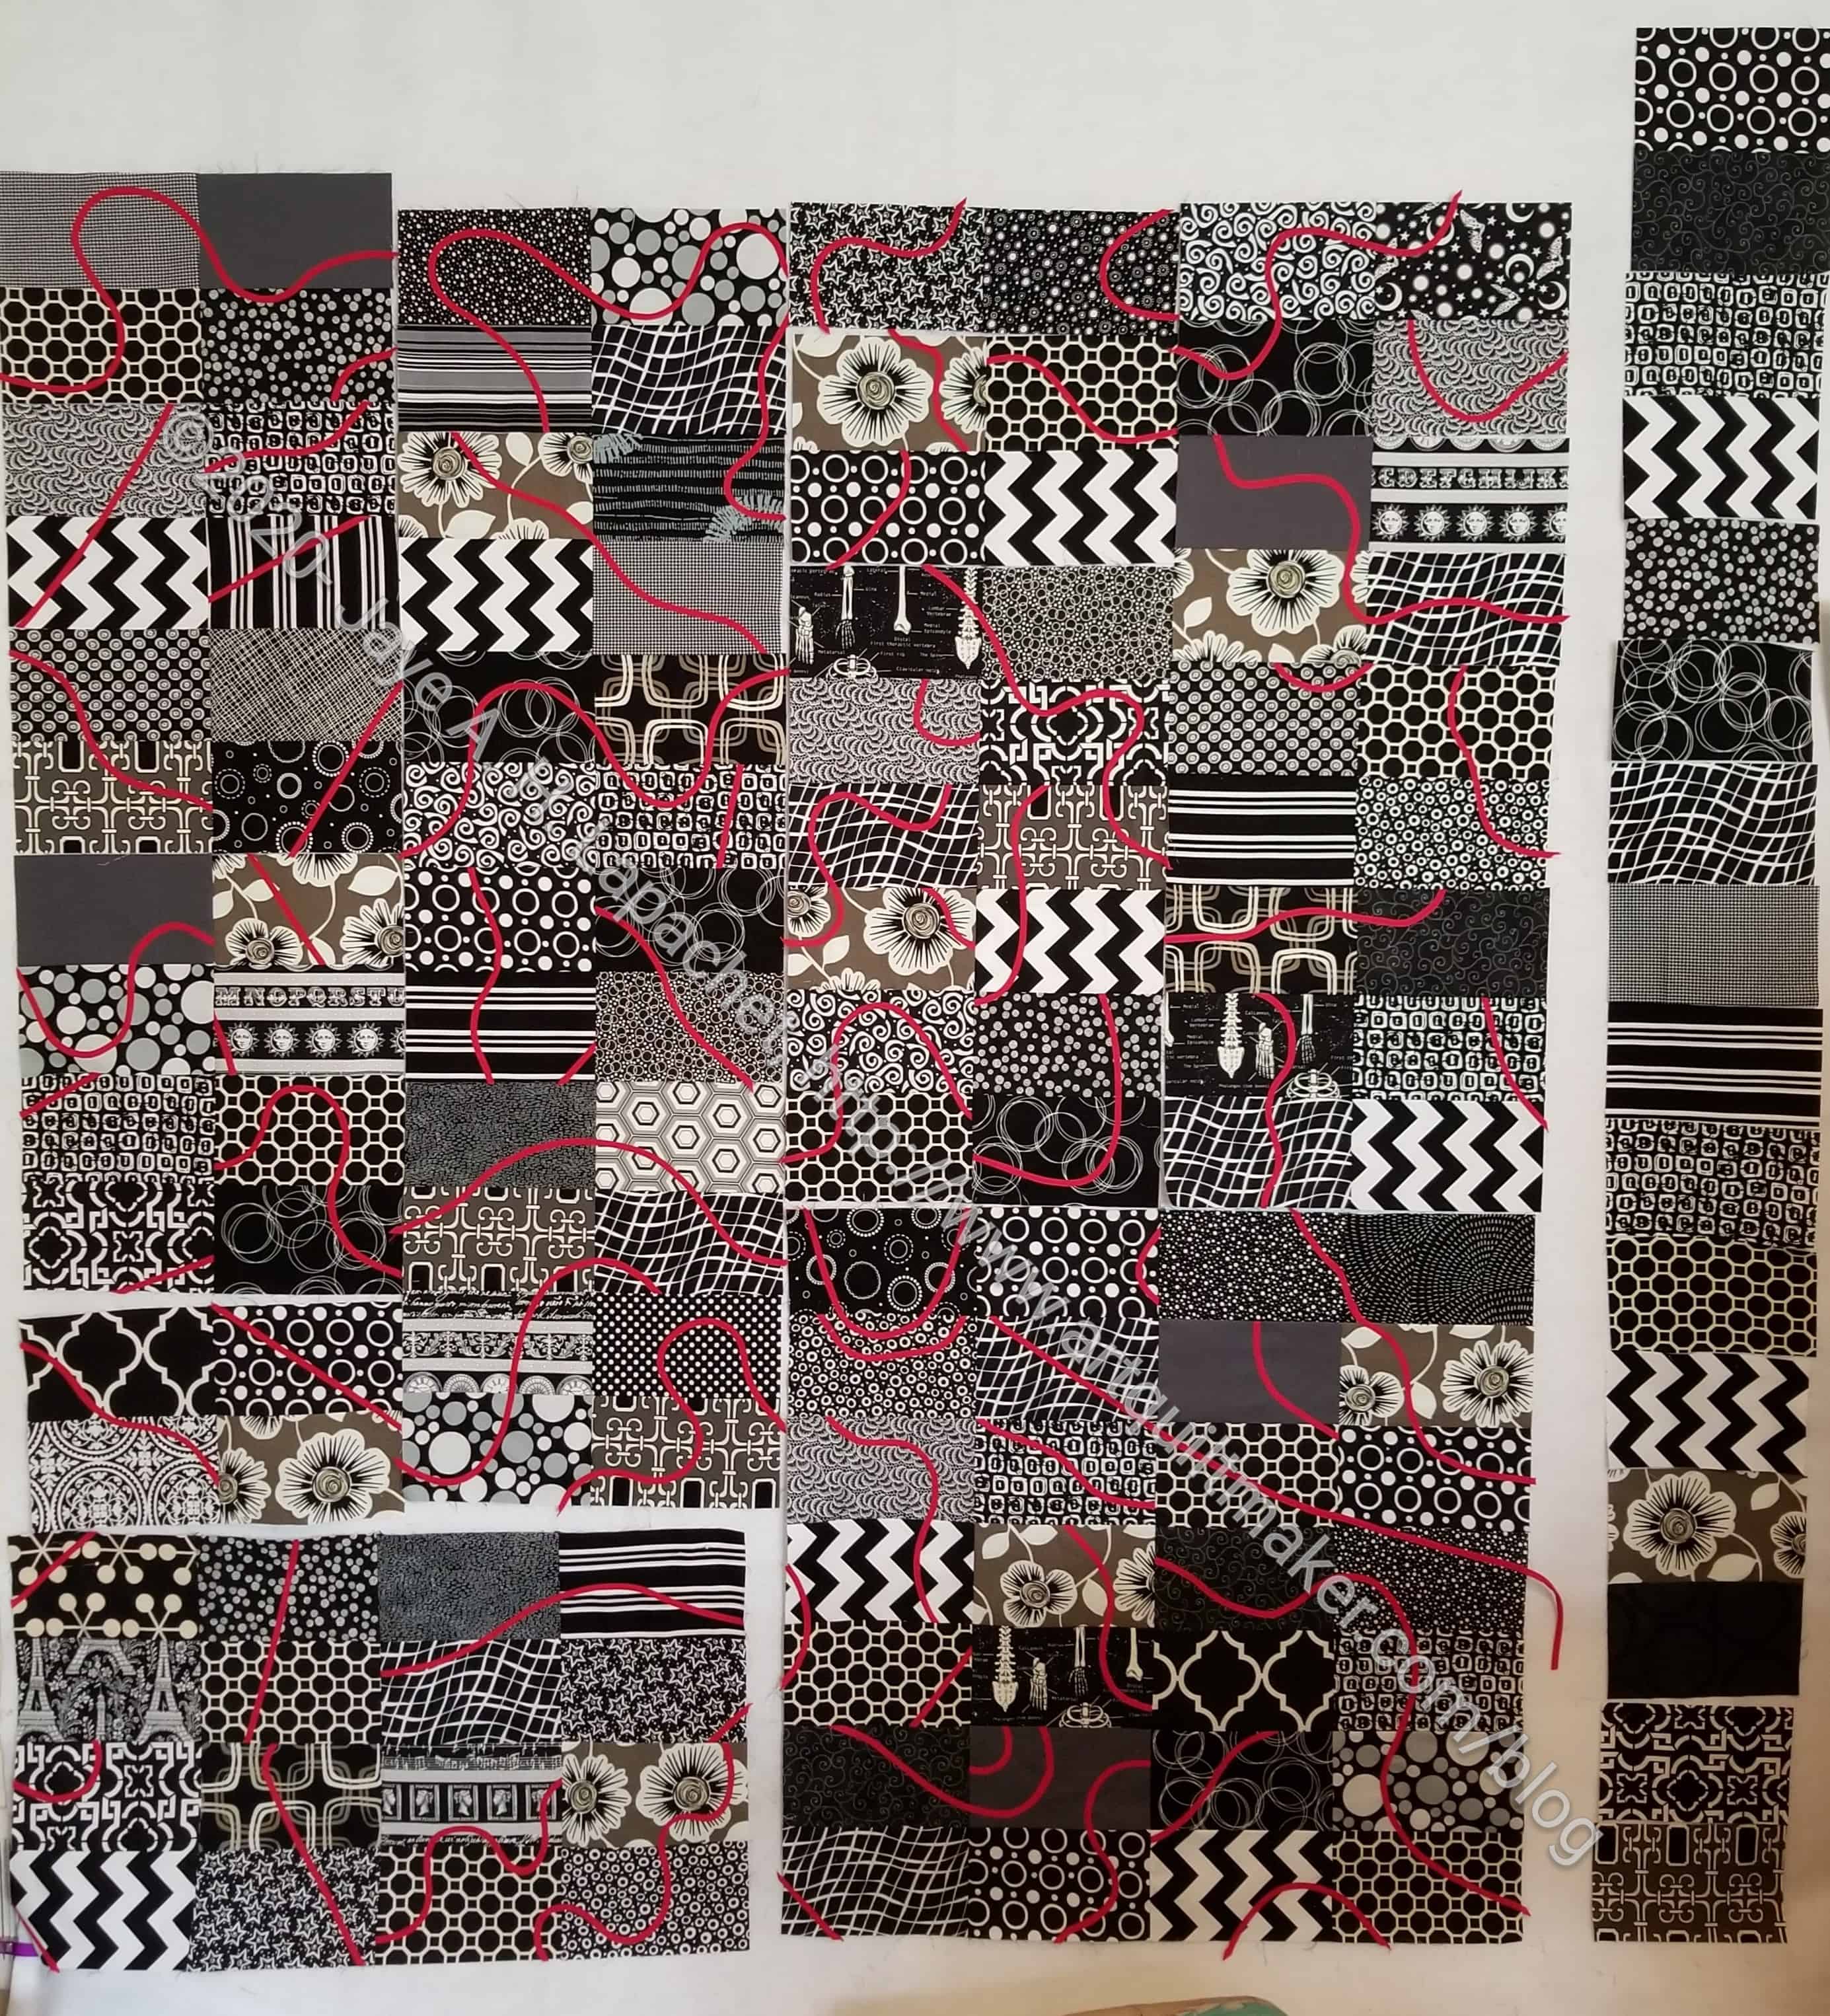
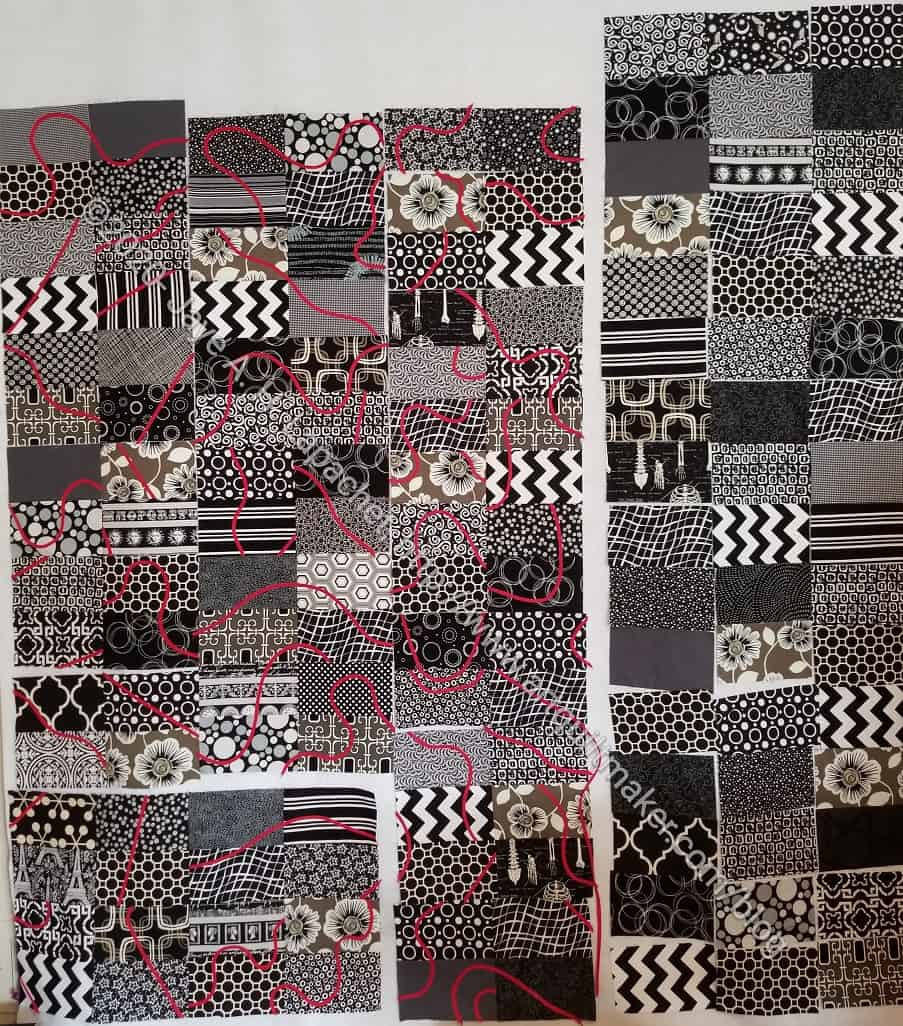
  1. FOTY 2018 – this has to be on the list now as I have cut a ton of squares and need to arrange and sew it together. This is next on my quilt list. I cut a bunch of black 2.5? squares so now I can get started.
  2. FOTY 2019 – this is now on the list since 2019 is over and I have the squares,theoretically, ready to sew.
  3. Handbag Sampler – this is still the forgotten project. It should be on the UFO list. Too bad I don’t have one. The blocks were teaching samples when I taught a sampler class the time before I started writing the quilt class sampler tutorials. I found one block recently, but otherwise I actually don’t know exactly where the blocks are hiding. I have an idea and still have to crawl up in the far reaches of my fabric closet soon and see if I can find them. I haven’t even found a picture of all the blocks. Sad.
  4. Lobster – I finished the stitching. I plan to back it and overlock or satin stitch the edges. Even though I don’t need anymore cushions, I may turn this into a cushion.
  5. Pies and Points from 2016 Victoria Findlay Wolfe class. The last time I worked on it was when Julie and I had a playdate in April 2018. I brought this piece with me so I could cut more elements (Julie has a Sizzix). I lost my excitement about this piece shortly thereafter and still have to get it back. Thus, I had to move this to the WIPs area.
  6. Pointillist Palette #4: Fourth is a series of 6 quilts; needs tiny square patches sewn together. No progress.
  7. Self Portrait: started in 2006 at a class at Quilting Adventures in Richmond, Virginia. I am still stalled on this again. As one of my oldest (I am pretty sure) UFO, I put it on my blog and out into the Twitterverse and Diane suggested that I not consider this as a self portrait. I think that strategy is a great idea. I am now trying to think of a new persona for her.
  8. Serendipity Lady – I am still planning to take this piece to be framed.
  9. Black and Red quilt – This project is creeping into my mind, so it might be up for work soon. The project originally came about because of two other projects. I made a whole bunch of bias tape as part of my failed attempt at doing the Mighty Lucky Club a few years ago. Another part of the inspiration came from my class with Tina of Little Blue Cottage fame. This was going to be for a nephew, but I think it will be for one of my SILs and BILs. I have rectangles cut and some bias tape ready. My next step is to sew the bias tape to the rectangles like pickup sticks. I don’t have any photos of this, so you’ll have to use your imagination.
  10. Who Am I? – This piece is off my design. I have lost momentum, but I think that just has to do with the amount of satin stitching I am facing.

New Modern Quilter’s Box

Modern Quilter's Box - May 2020
Modern Quilter’s Box – May 2020

As I mentioned when I received my first subscription box, Modern Handmade is one of my favorite shops. Because of shipping delays, I received another box a few days ago. I really wanted it to come and couldn’t really wait. I don’t know how I will wait until the end of June.

I am much more enthusiastic about this box than the first one. As soon as I opened it, I saw the coneflower fabric and was excited. I loved the previous version of that fabric, especially in flannel for receiving blankets. The fabrics are from Anna Maria Horner’s Conservatory and Hindsight collections. The colors are mostly, not colors I would choose, but I like them. I especially like the combination and may need to add some solids or tone on tones to use them together.

Contents of May 2020 Modern Quilter's Box
Contents of May 2020 Modern Quilter’s Box

2 3/4 yards of fabric must be added to my spreadsheet, but I like this fabric and am already trying to think of a use for it that I will enjoy. Perhaps I will center one of the coneflowers on a Cotton Candy pouch? It is a good pattern for showcasing large motifs. I need another pouch like I need a hole in my head, but at the moment I can’t think of another project that would showcase the fabric.

I usually drink hot cocoa in the afternoon (I would be an awful Englishwoman!) when I want a hot drink. I will have to switch to tea to use up some of the teas I have been receiving in these boxes.

Patterns from May 2020 Modern Quilter's Box
Patterns from May 2020 Modern Quilter’s Box

The quilt patterns are good for using up large prints, but they are not very interesting. I’ll have to look at them more closely and see if making a quick quilt with some of the fabrics would be satisfying. I don’t want to use up the fabric just to use it. Some of it I really like and would like to be able to see it  in my house.

The Market Bag is interesting. I have one in my Minikins patterns, but it might be worthwhile to try it for one of the raffle baskets. It takes a 1 1/2 yards, so it would offset some of the acquisitions I have been making lately.

It is fun to receive a box like this even if I don’t need the items in it.

CAYG

I have been wondering how it would be if I cut bags out as I moved through the pattern instead of cutting out all the pieces in advance. Sometimes I just want to start and having to cut feels like a drag. I know it is good to have everything ready so you don’t have to stop to cut, but cutting is such a drag. I have a good system for cutting as I go with quilts, but haven’t quite figured out such a system with bags and accessories. What I really need is a nighttime Workroom Assistant who comes in stealthily at night and cuts for me while I sleep. Of course, that wouldn’t orient me to the pattern.

I recently sewed a Sewing Stand from the Sew Sweetness Minikins  Season 2 and decided that I would cut as I went.

First, I learned that I get oriented to the pieces when I cut them out. I read the first instruction and had no idea what pieces to use. I went to the video to see what Sara (the designer) was doing and finally got it. I think that getting oriented to the pattern by cutting out the pieces is a good thing.

I think cutting the fabric and labeling it ‘lining’ and ‘main’ is a must, but cutting and working with the interfacing could be done as I go.

Second, I found that having the pieces for the first few steps gets me going. It might be possible to be successful with CAYG if I cut a few pieces out, but cut the rest as I moved through the pattern.

Third, aside from the first few steps, I think I can cut interfacing and stiffener as I go along.

I think the problem I am experiencing comes from cutting everything out and then letting the project languish. This is happening with the UCAB. I lose my orientation to the pieces if I don’t start working on them right away.

As a result, I think that if you are not going to work on the project right away, that you should only cut out a few pieces, then cut the rest when you get back to it. If you are going to work on the project instantly, then cut all the pieces out and get busy sewing.

May Donation Blocks

As I did last month and for previous months, I made more donation blocks. After April’s work, I had a stack of 24 blocks. Now I have XX. Peggy, the community quilt organizer for BAM, I hope, will be happy.

Sewing the Windmill means that I was also churning out donation blocks. Using leaders and enders between each Windmill piece generates a lot. I have to keep the Windmill pieces in order, thus so many donation blocks. I am thinking about making another Traffic Jam quilt instead of more of the 16 patch donation blocks, but we will see. Until I decide, there will be more 16 patches.

I had to spend some time cutting scraps for new 2.5 inch squares as I was running out. You can see that some of the blocks don’t have a lot of contrast, use a ‘different’ background or look unlike my normal meticulous monochromatic blocks. I guess I am making due. I didn’t really want to cut more foreground squares until I really need them.

I am pretty fond of the red-violet block in the second row. The background is made from a shirt I made for DH a few years ago.

Sewing Room Stand

As mentioned, I had (took) Friday-Monday off for Memorial Day weekend. While I had to clean the house, I also took the time to finish a few projects that needed finishing or knocking other must-do projects off my list.

Minikins 2: Sewing Room Stand

One thing I started and finished was a Sewing Room Stand from the Minikins Season 2 patterns.

I made the item in a couple of hours. I used the video portion of the pattern (Sew Sweetness Minikin patterns comes with a video as well as the printed pattern). I didn’t find it difficult. I thought it was a lot easier than Tooly McToolston, though the Sewing Room Stand is smaller and doesn’t have as many pockets. It is the same idea.

Minikins 2: Sewing Room Stand tablet side

One of the things I like about this pattern is the possibility of standing a tablet on it and having the tablet oriented in such a way that I could see a pattern as I was working on it.

I thought the stand would come out larger based on the picture on Sara’s website. My tablet is not large (*inches?), but the one in Sara’s photo seems larger and the stand is still larger. Granted, my tablet does not hang over the ends, but still seems like it is overwhelming the Sewing Room Stand.

Minikins 2: Sewing Room Stand tool side

Thetool side is tall enough to accommodate a medium sized tool, so you could have your tools and your tablet in use at the same time.

I turned pretty quickly to the video to make this item. I was not getting what the printed pattern was saying. The video made it very clear, so I was glad to have it.

As far as I can tell, the pattern doesn’t fold up into a flat package.

Minikins 2: Sewing Room Stand empty

I chose the colors as this will be a swap gift and these are the colors the person requested!